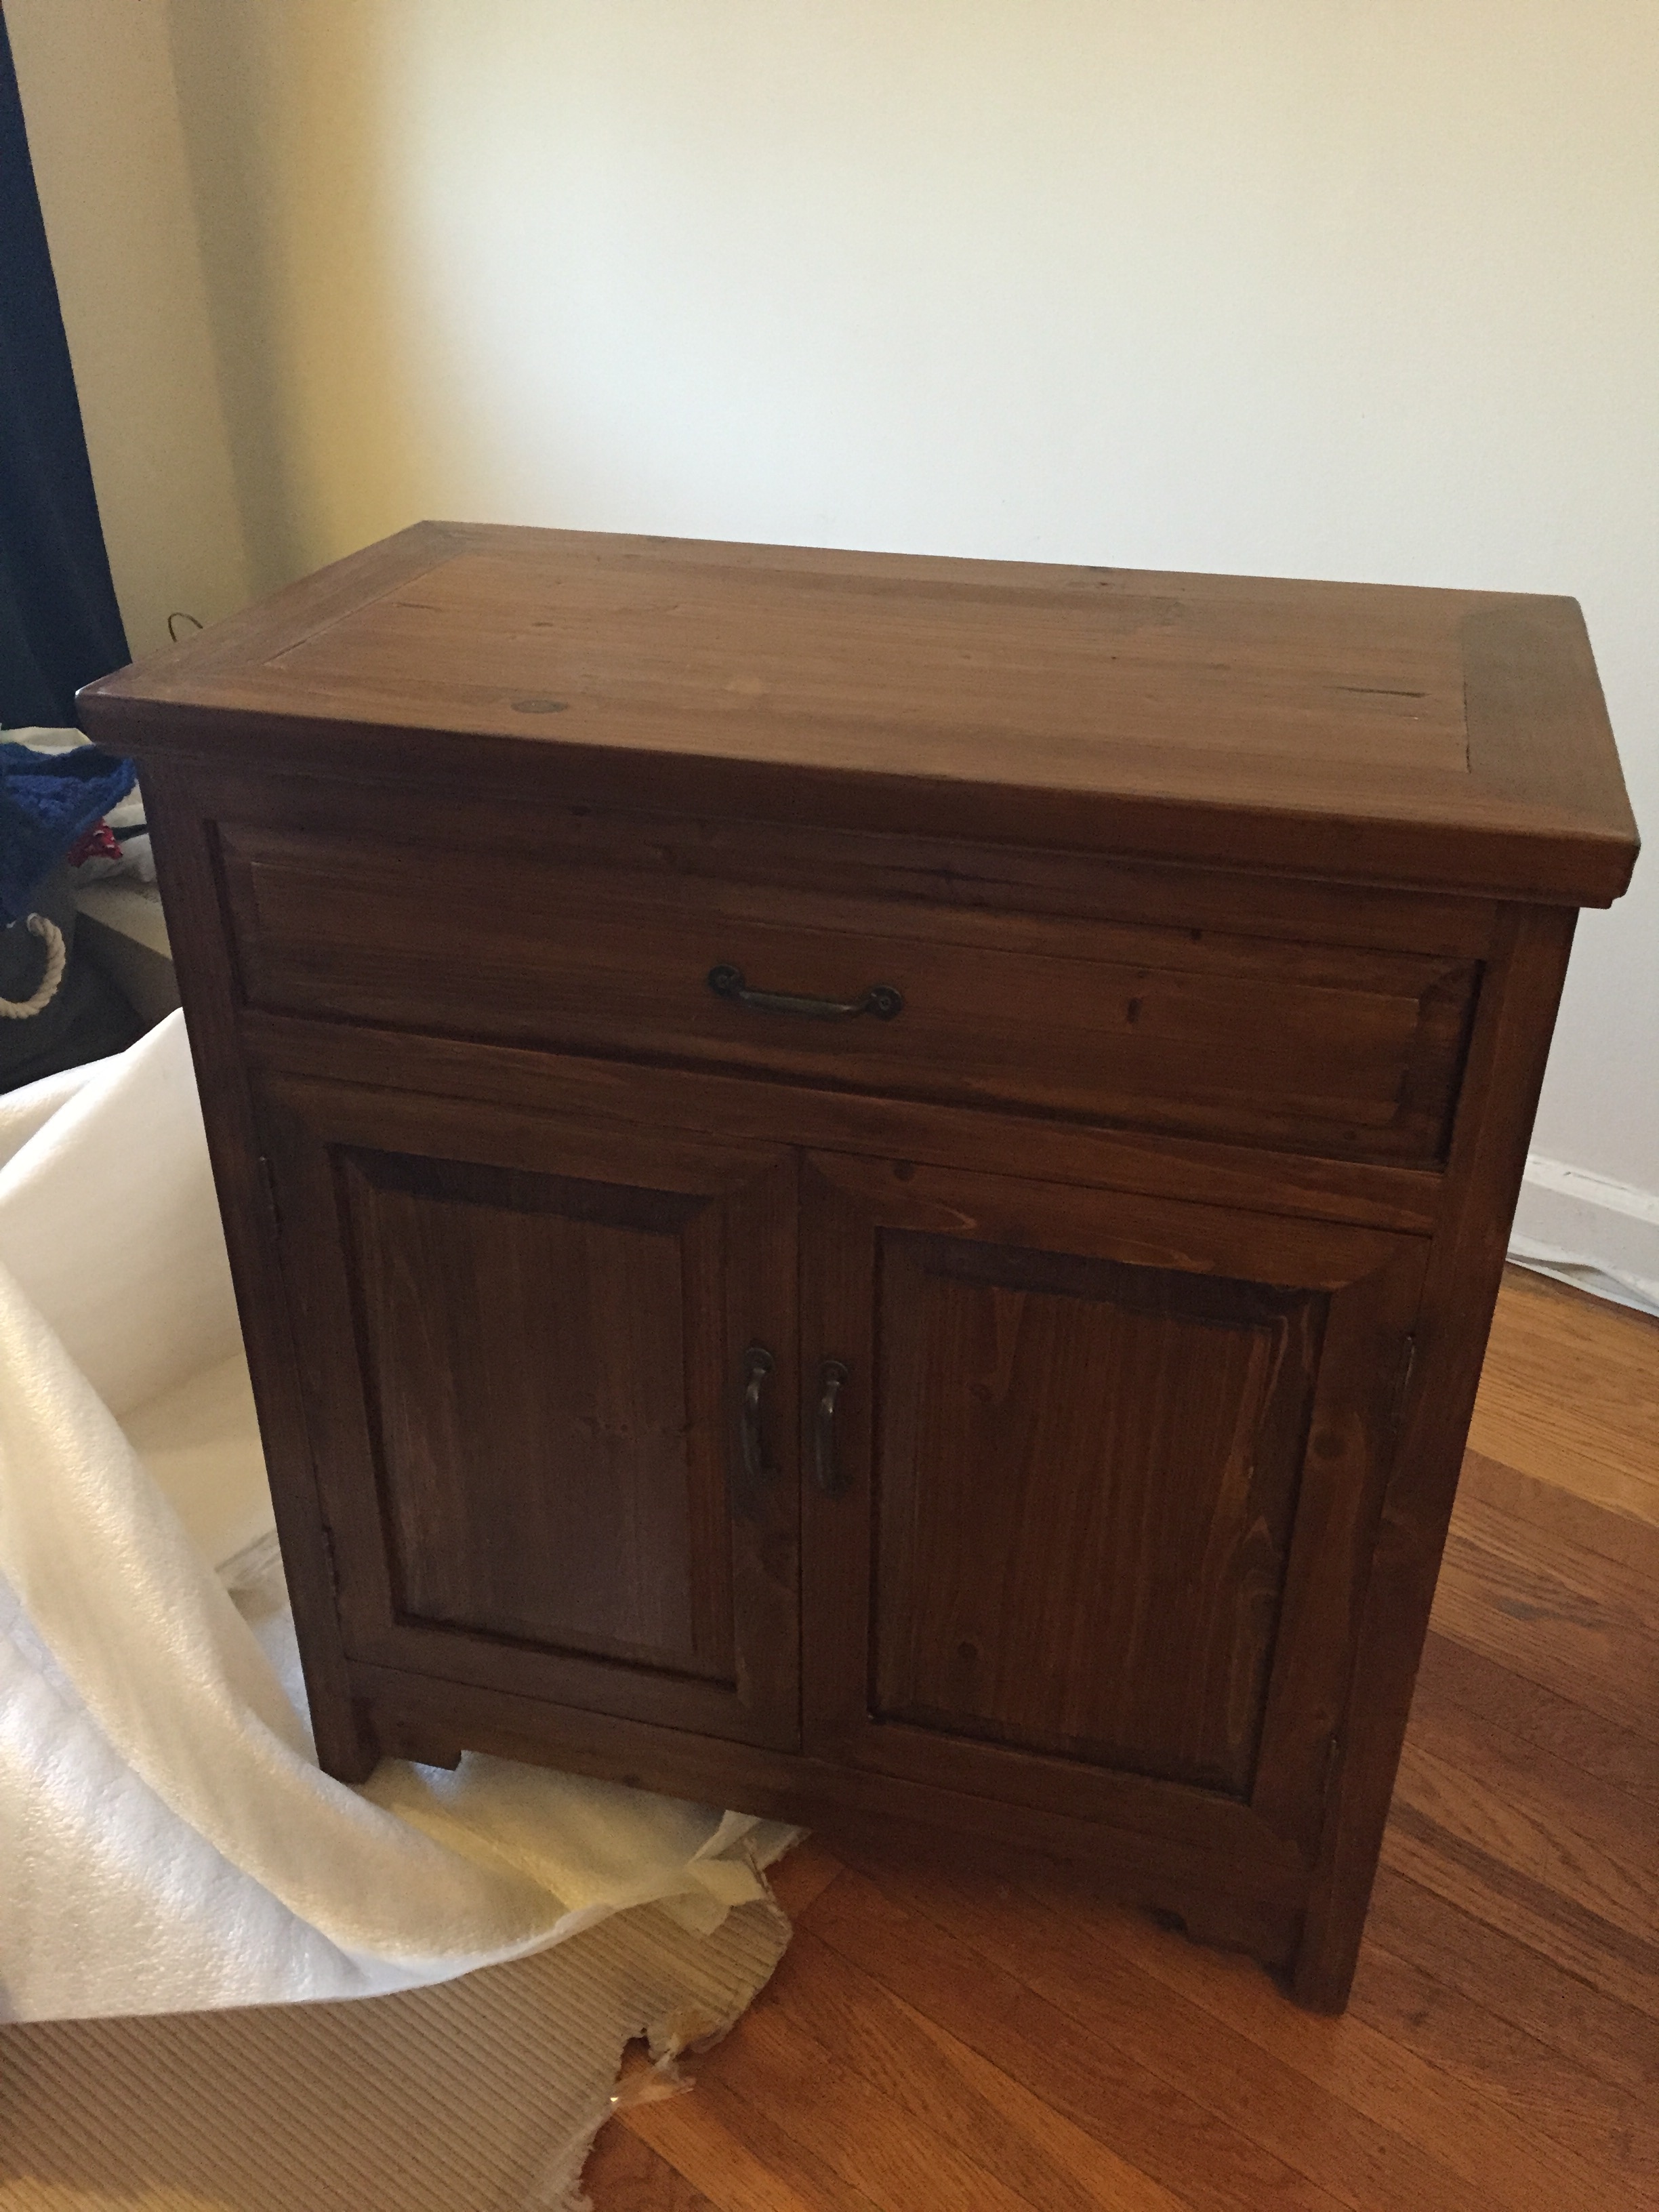
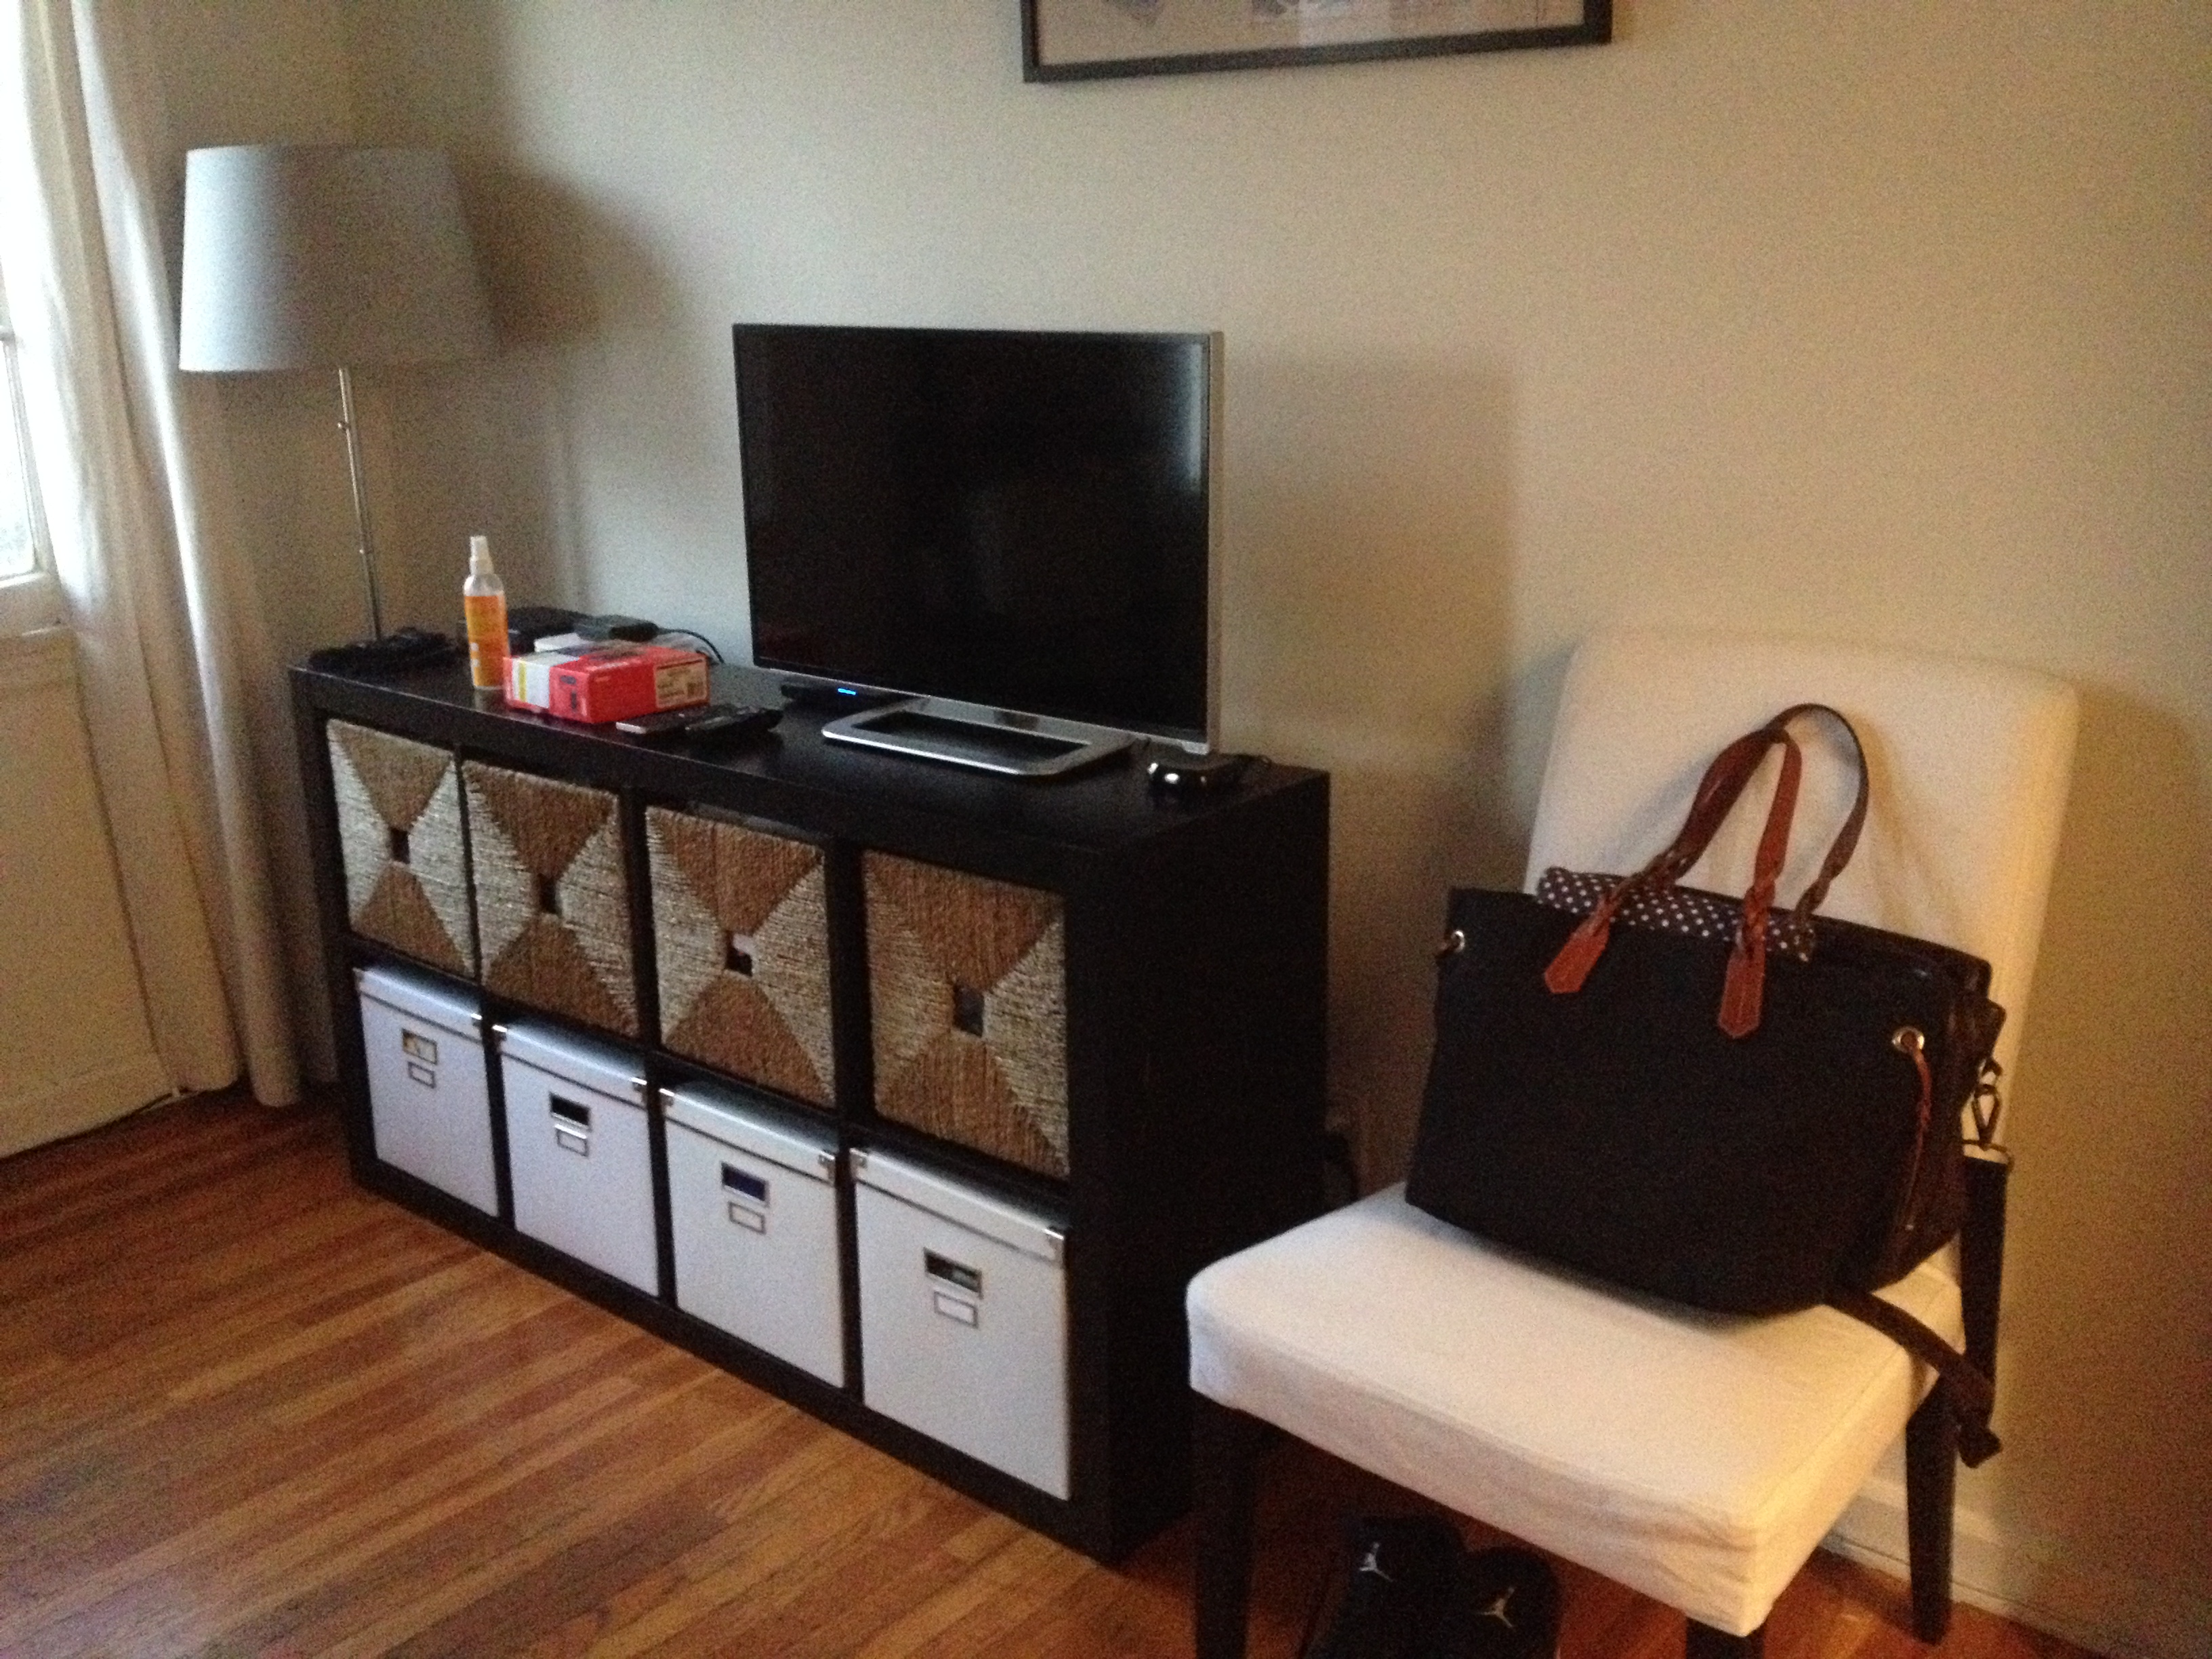
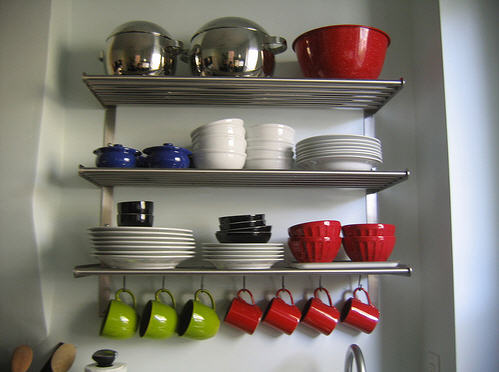
For those that have been following along on social media, you may have seen this little preview:

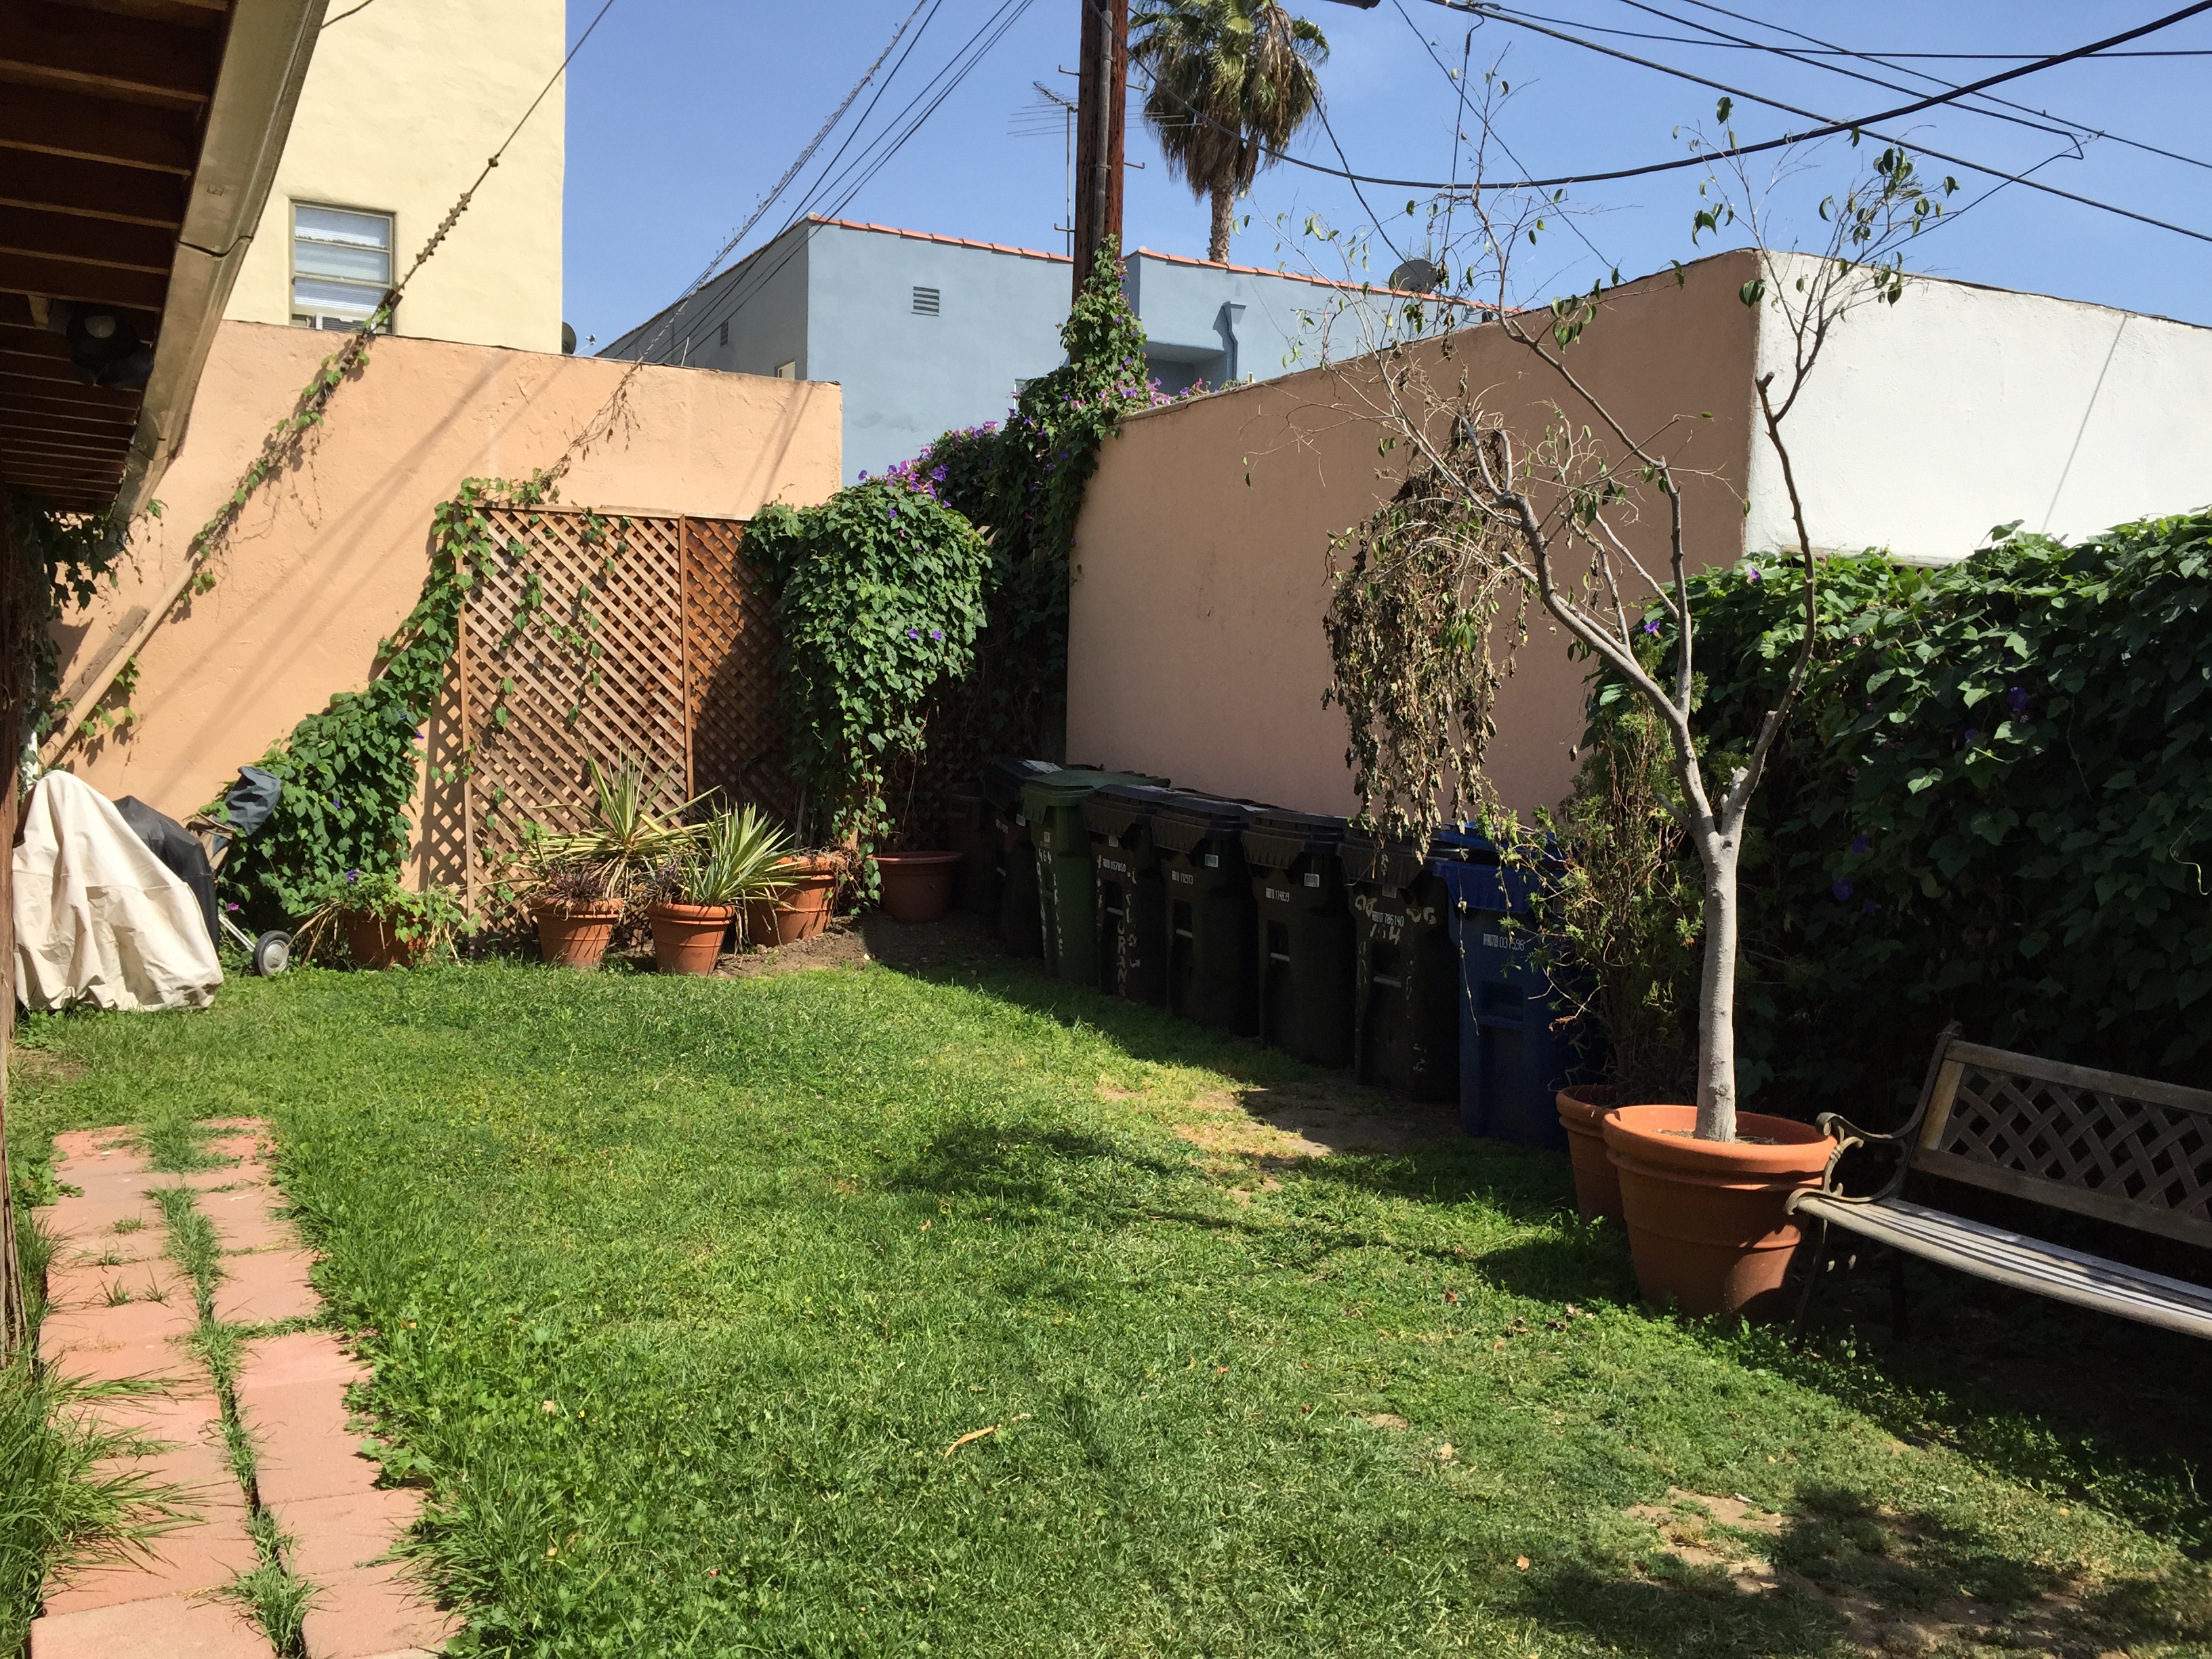
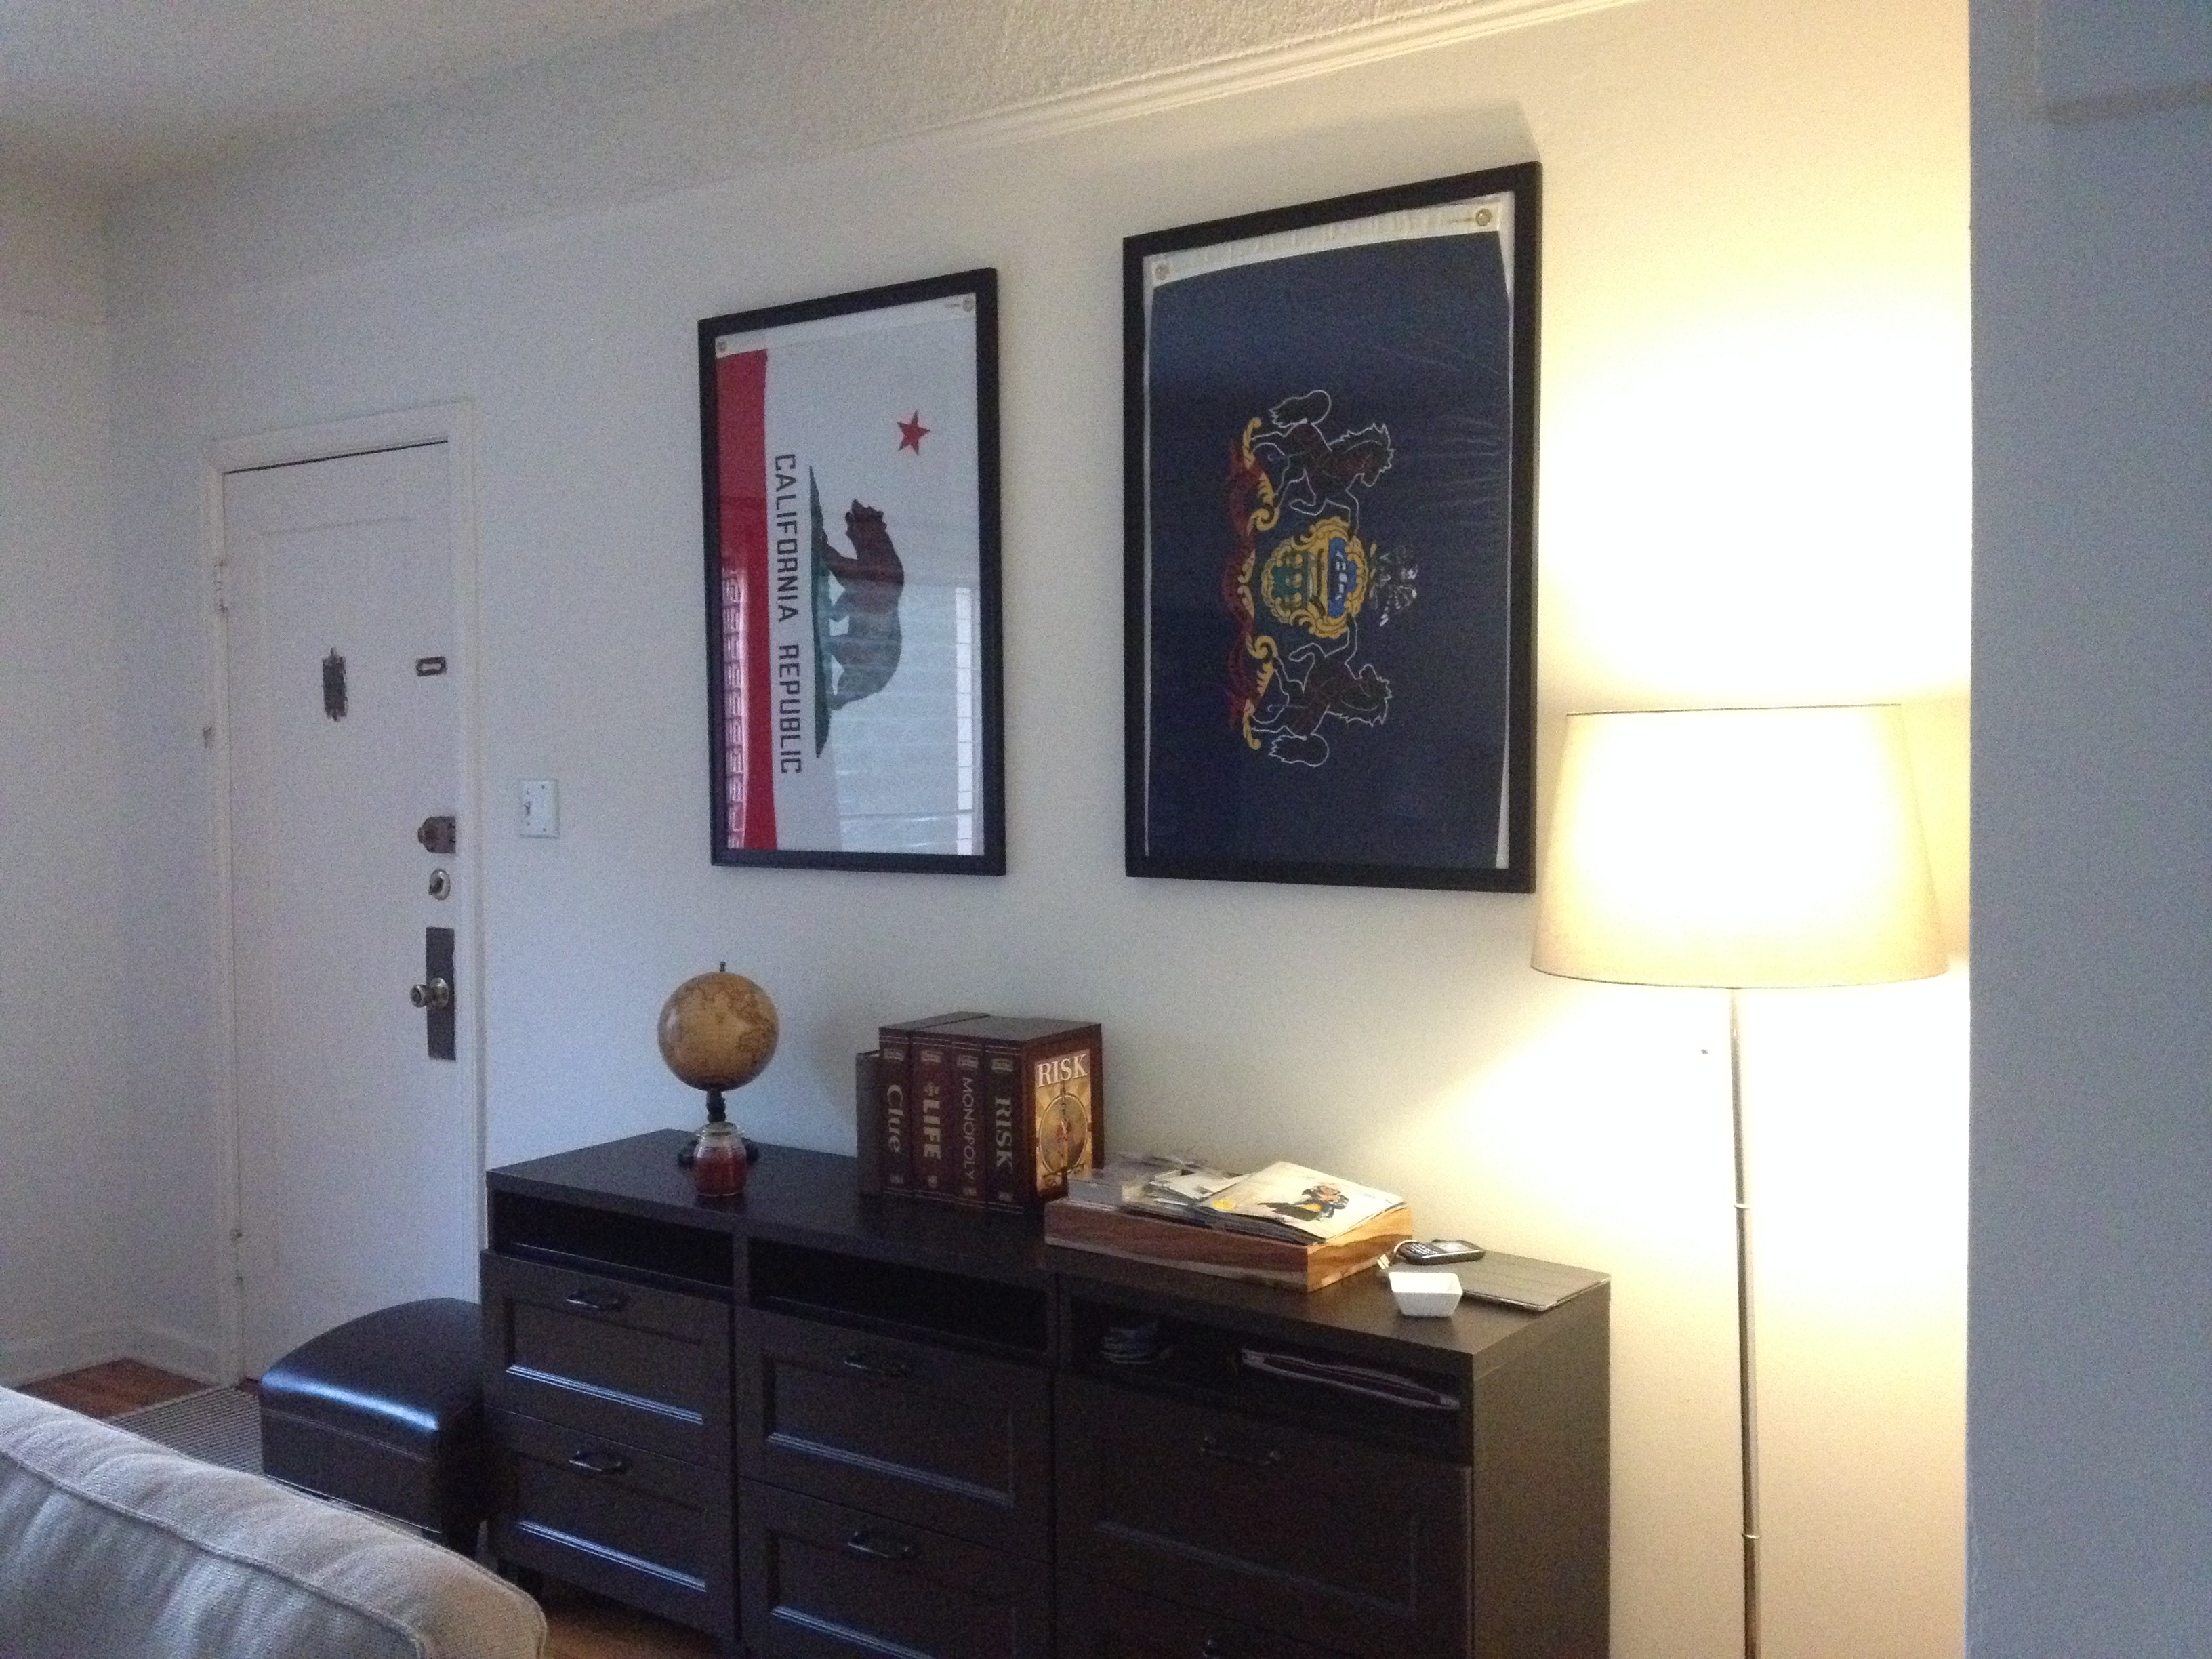
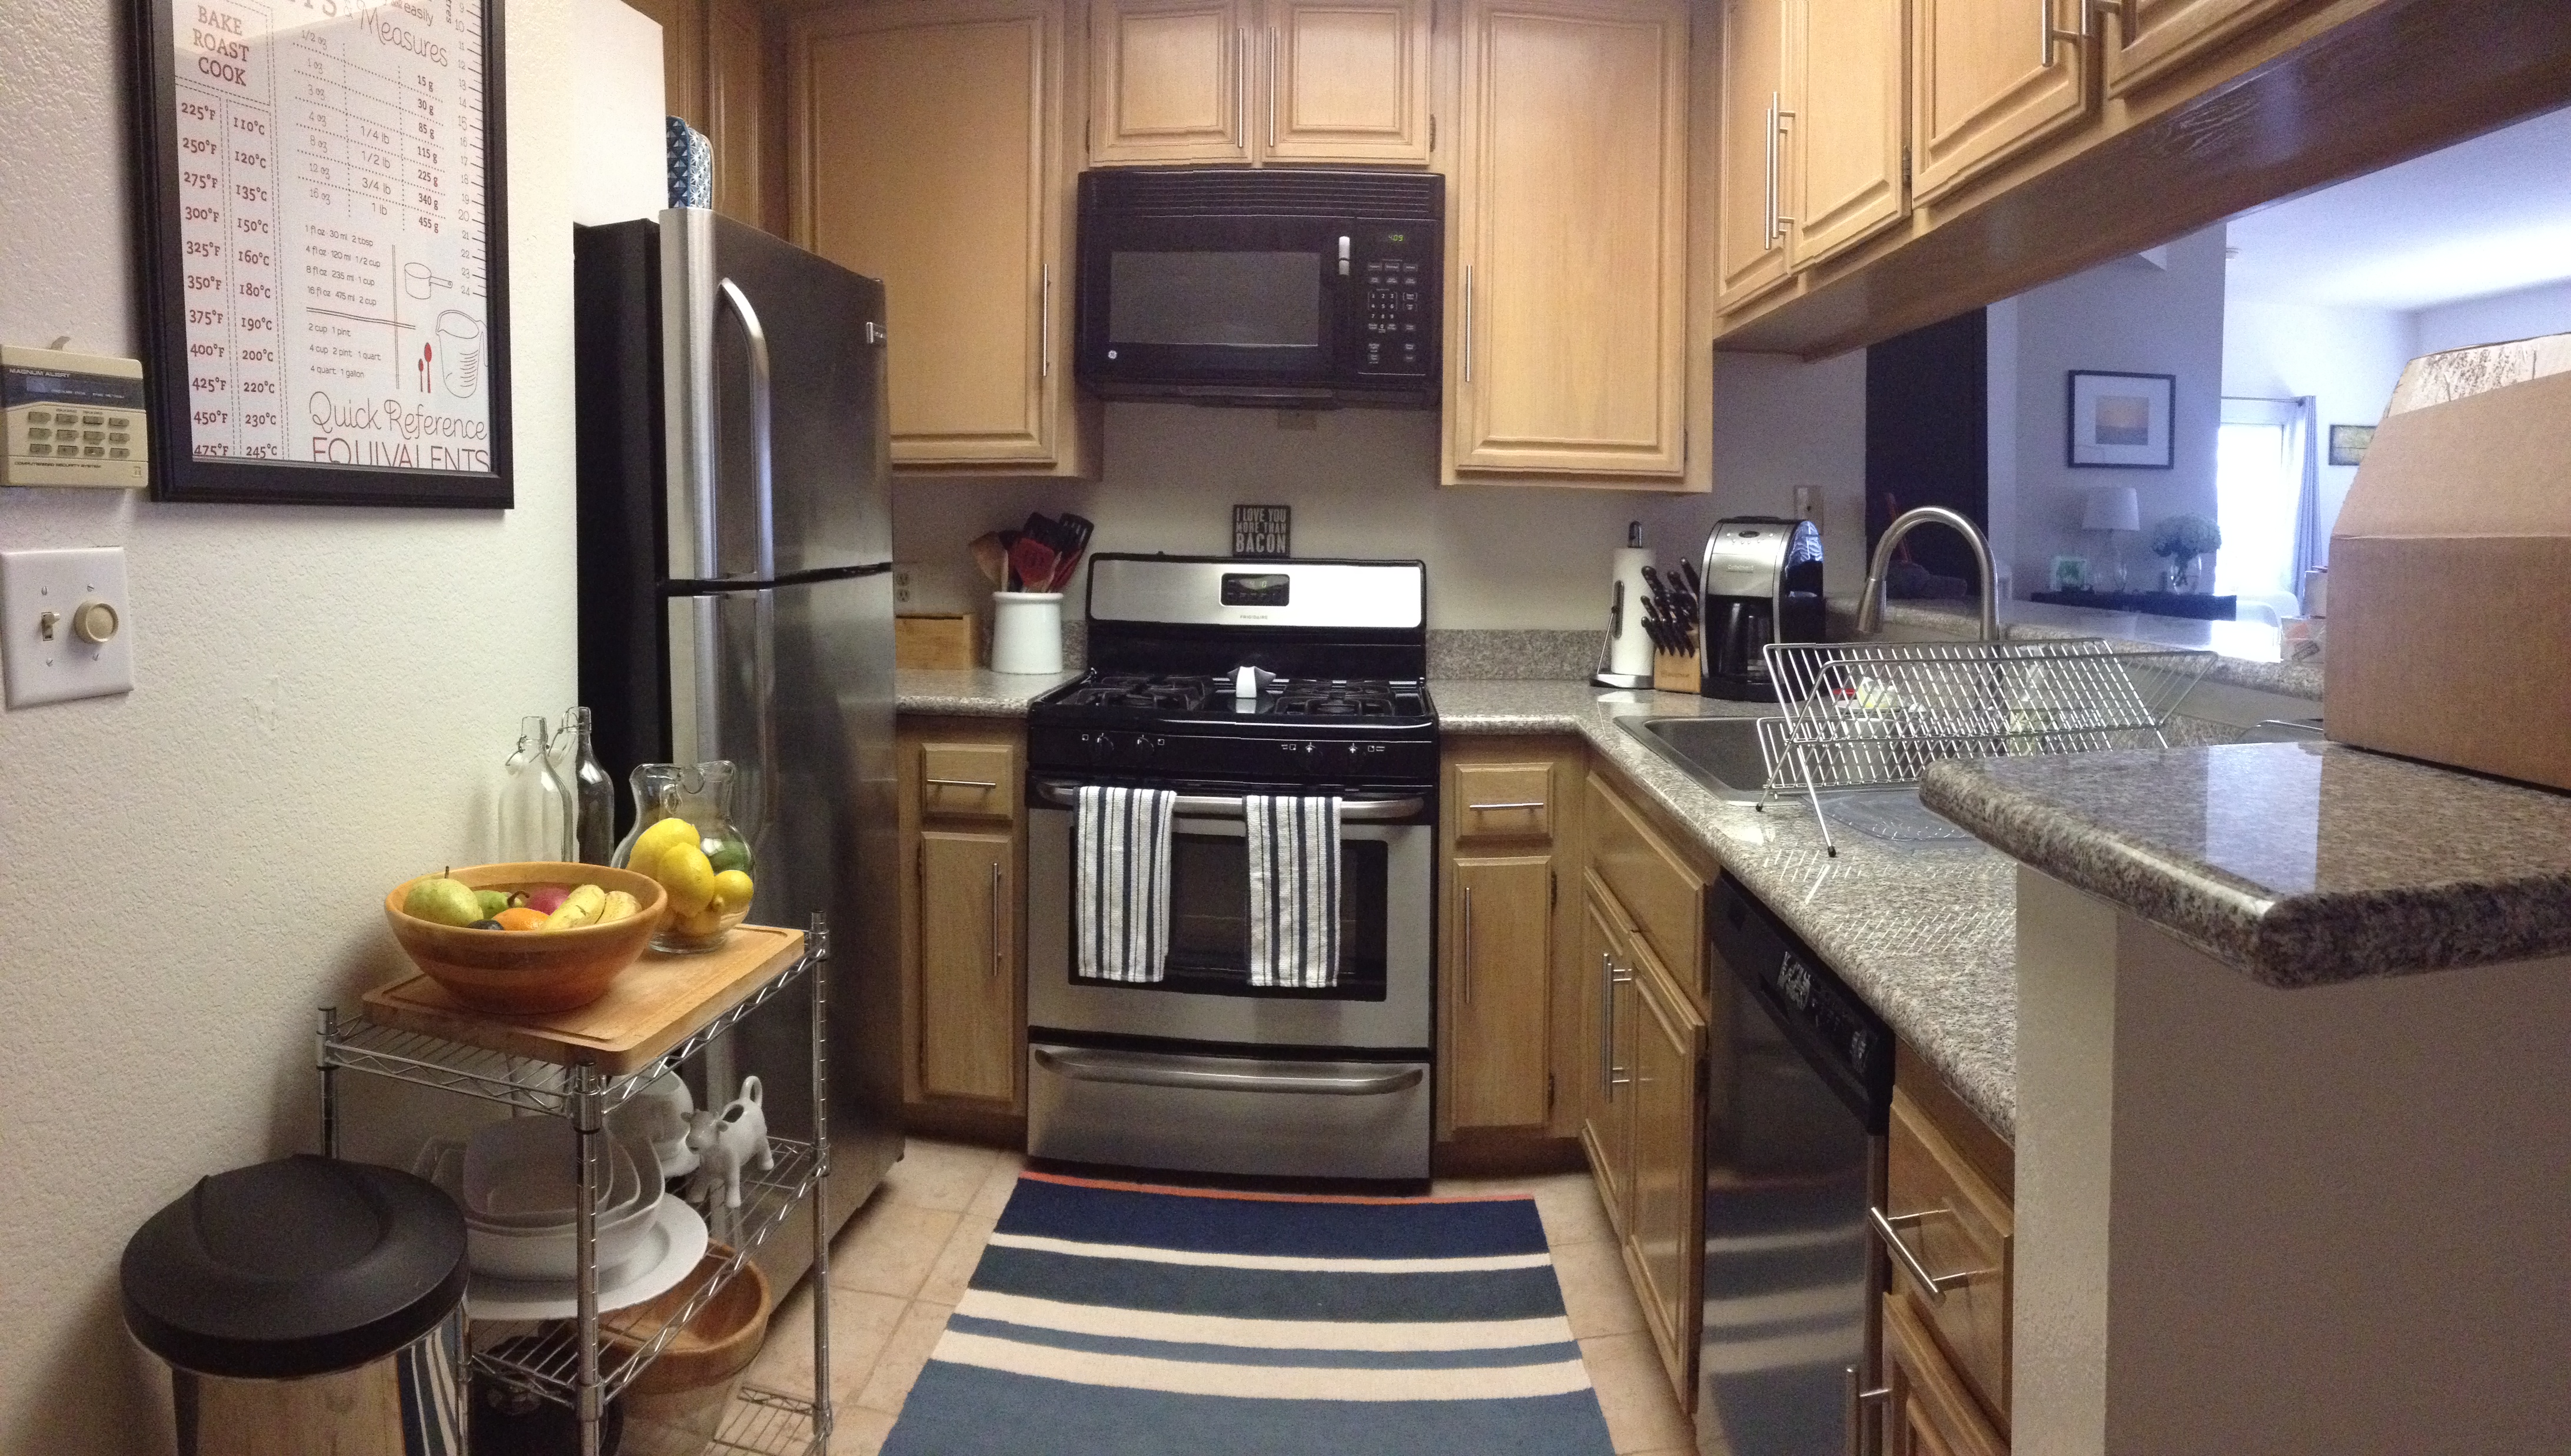
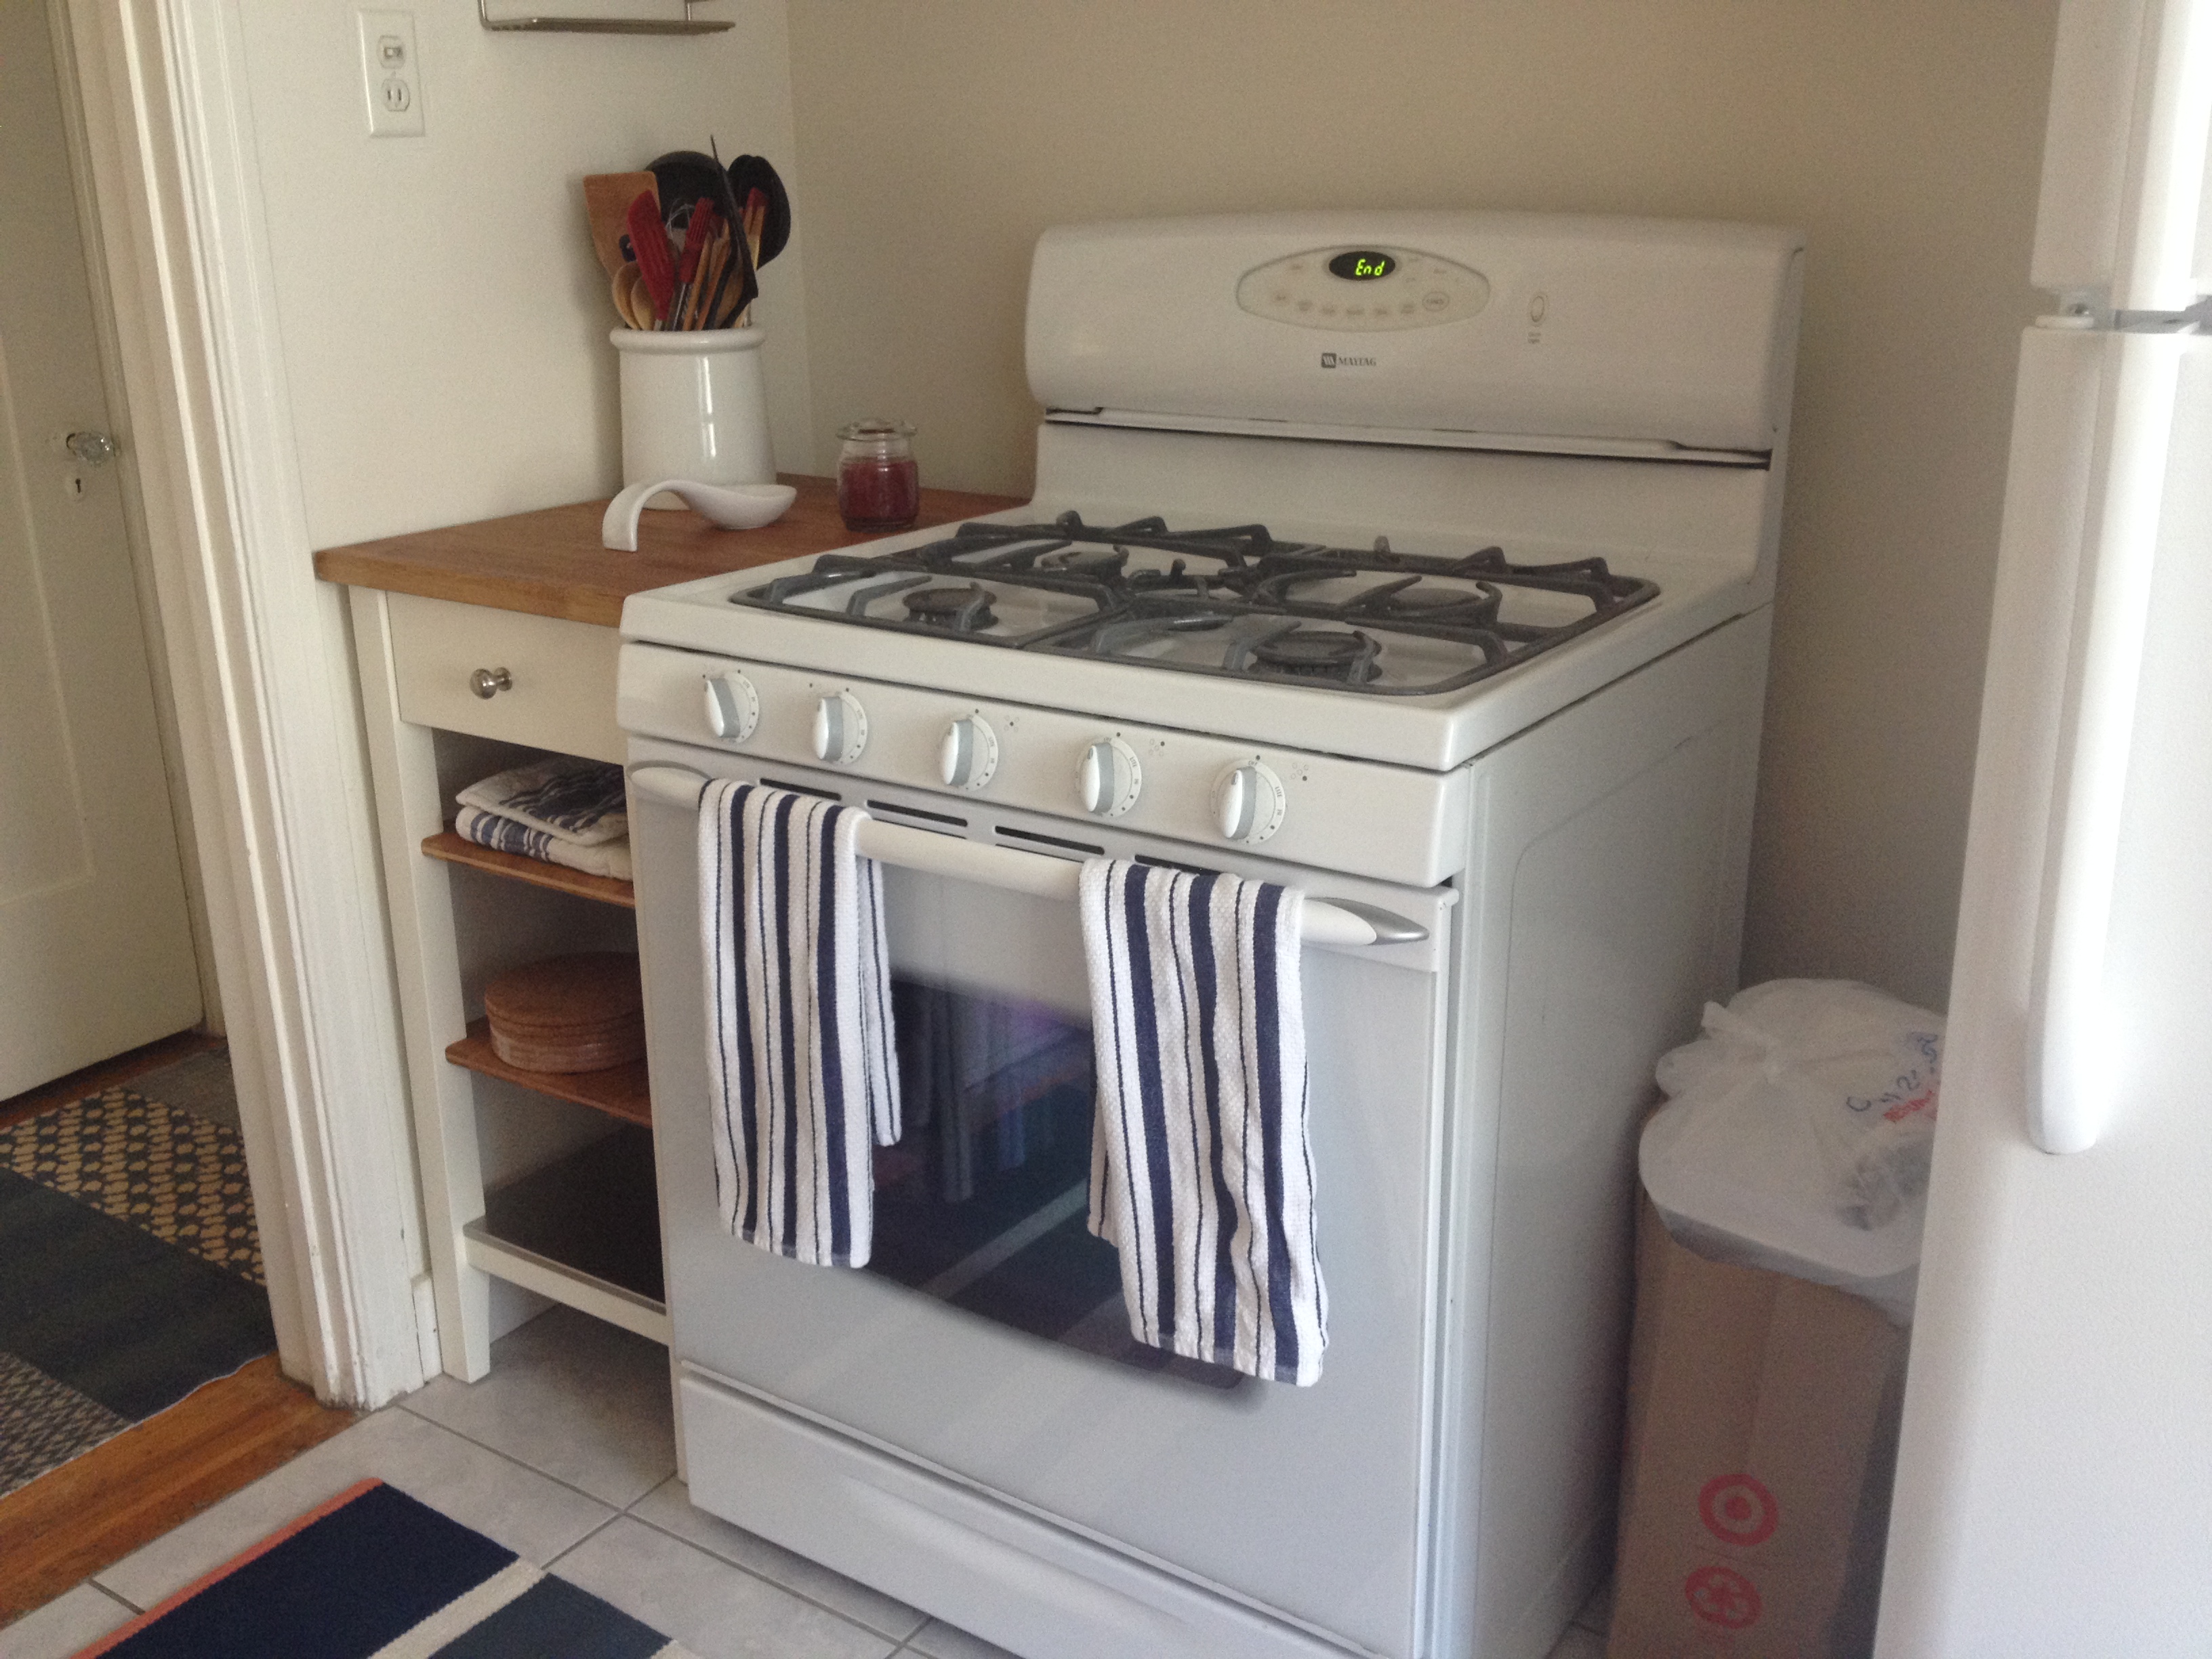
Jefe and I recently moved and although the pro’s of our new place greatly outweigh the con’s, there were definitely some concessions we made with the new apartment. One of the top ones is the kitchen and its counterspace (or lack there of). I have to admit that I was spoiled for 3 years when I had this at my disposal:

And then we moved to our last place, where I thought our counter space was minute.

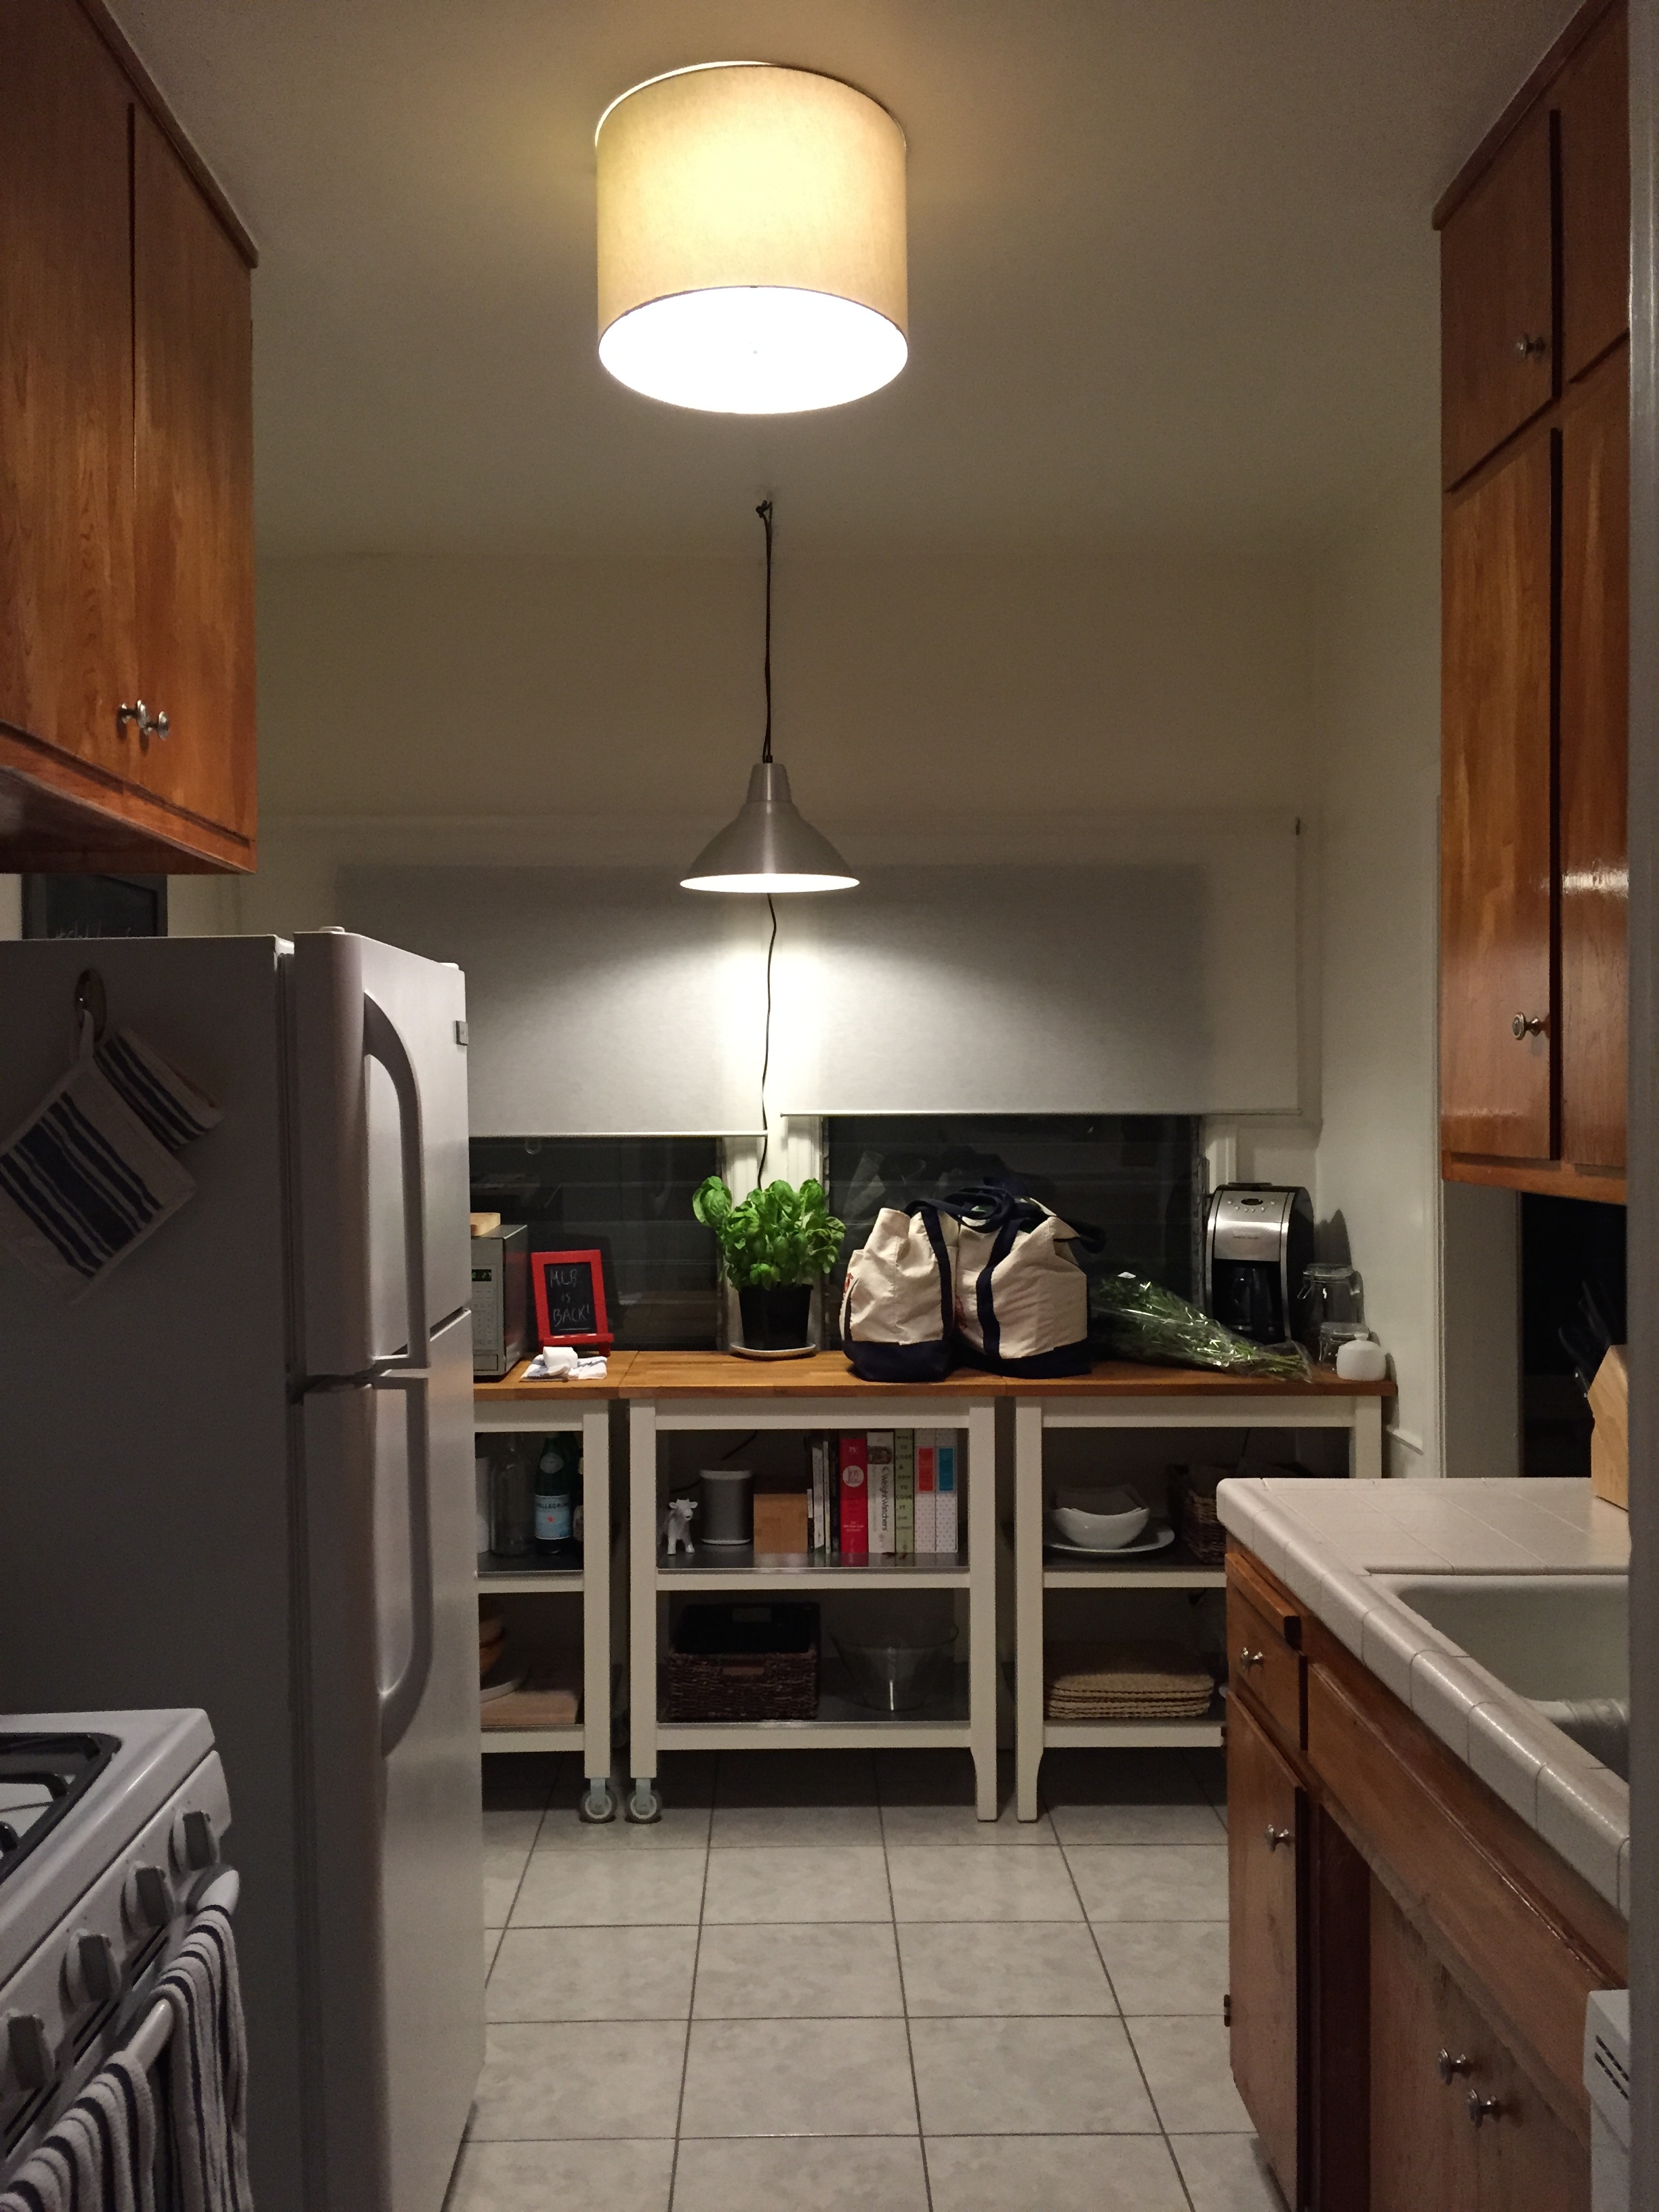
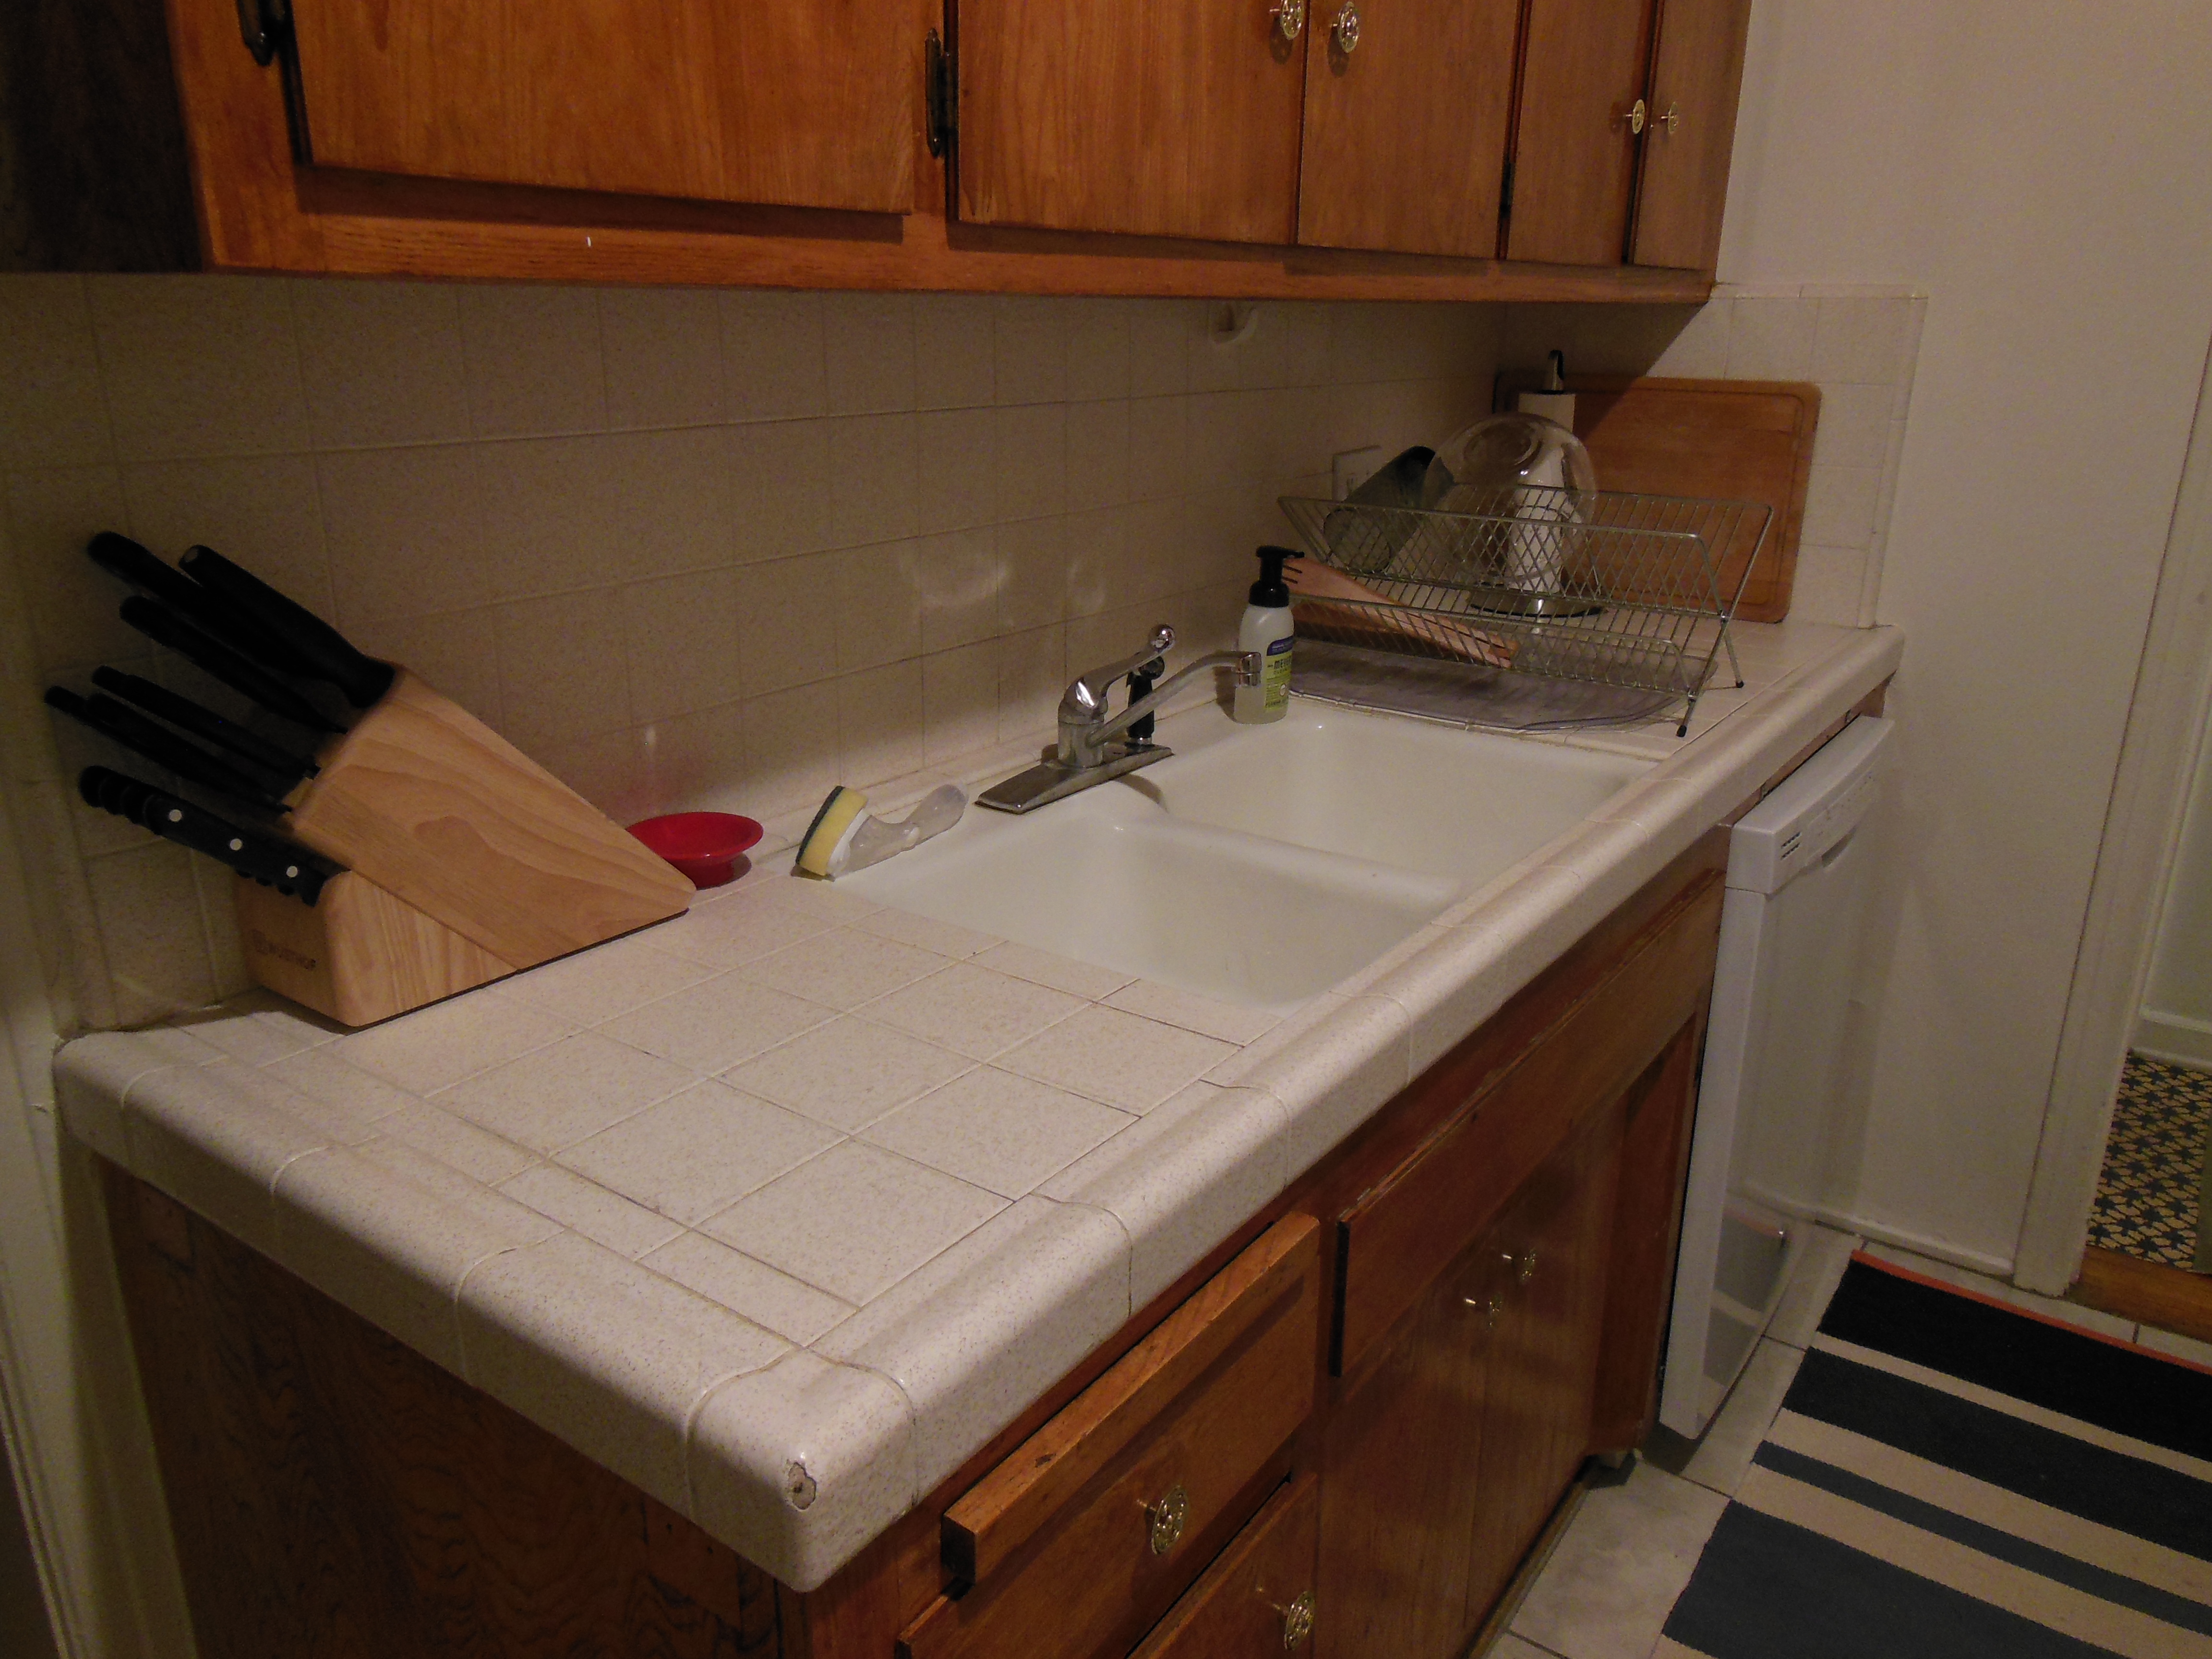
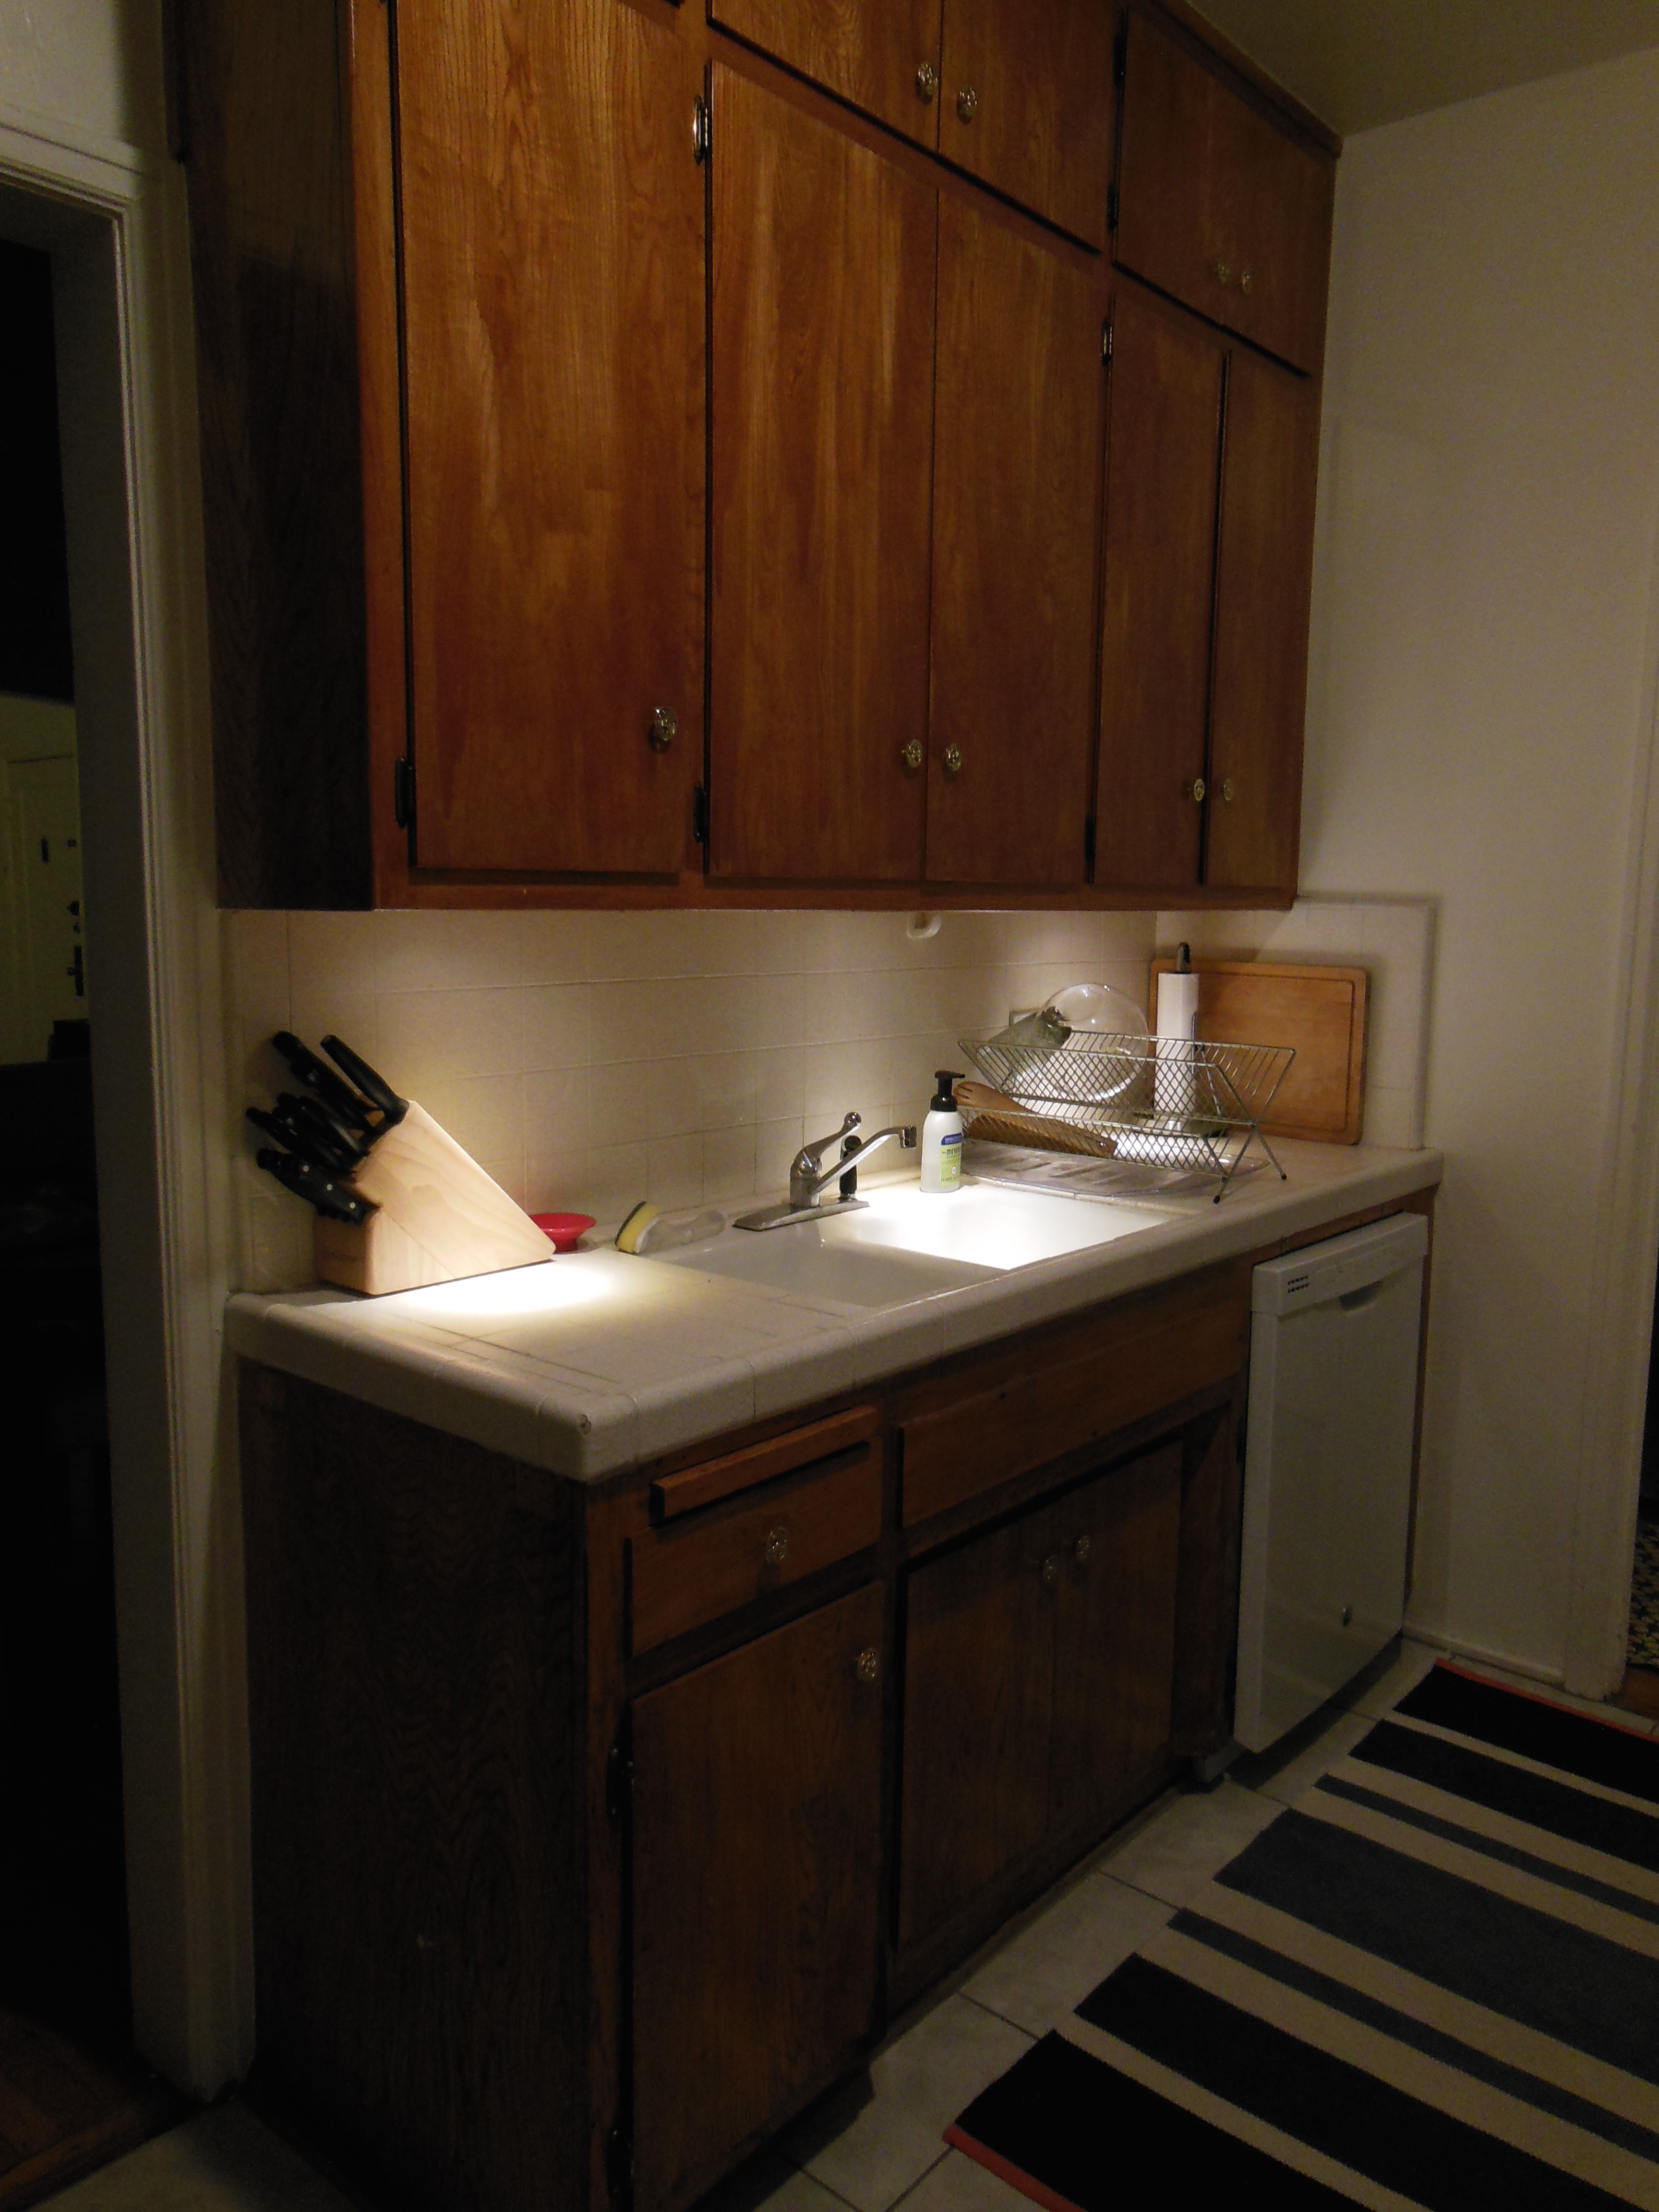
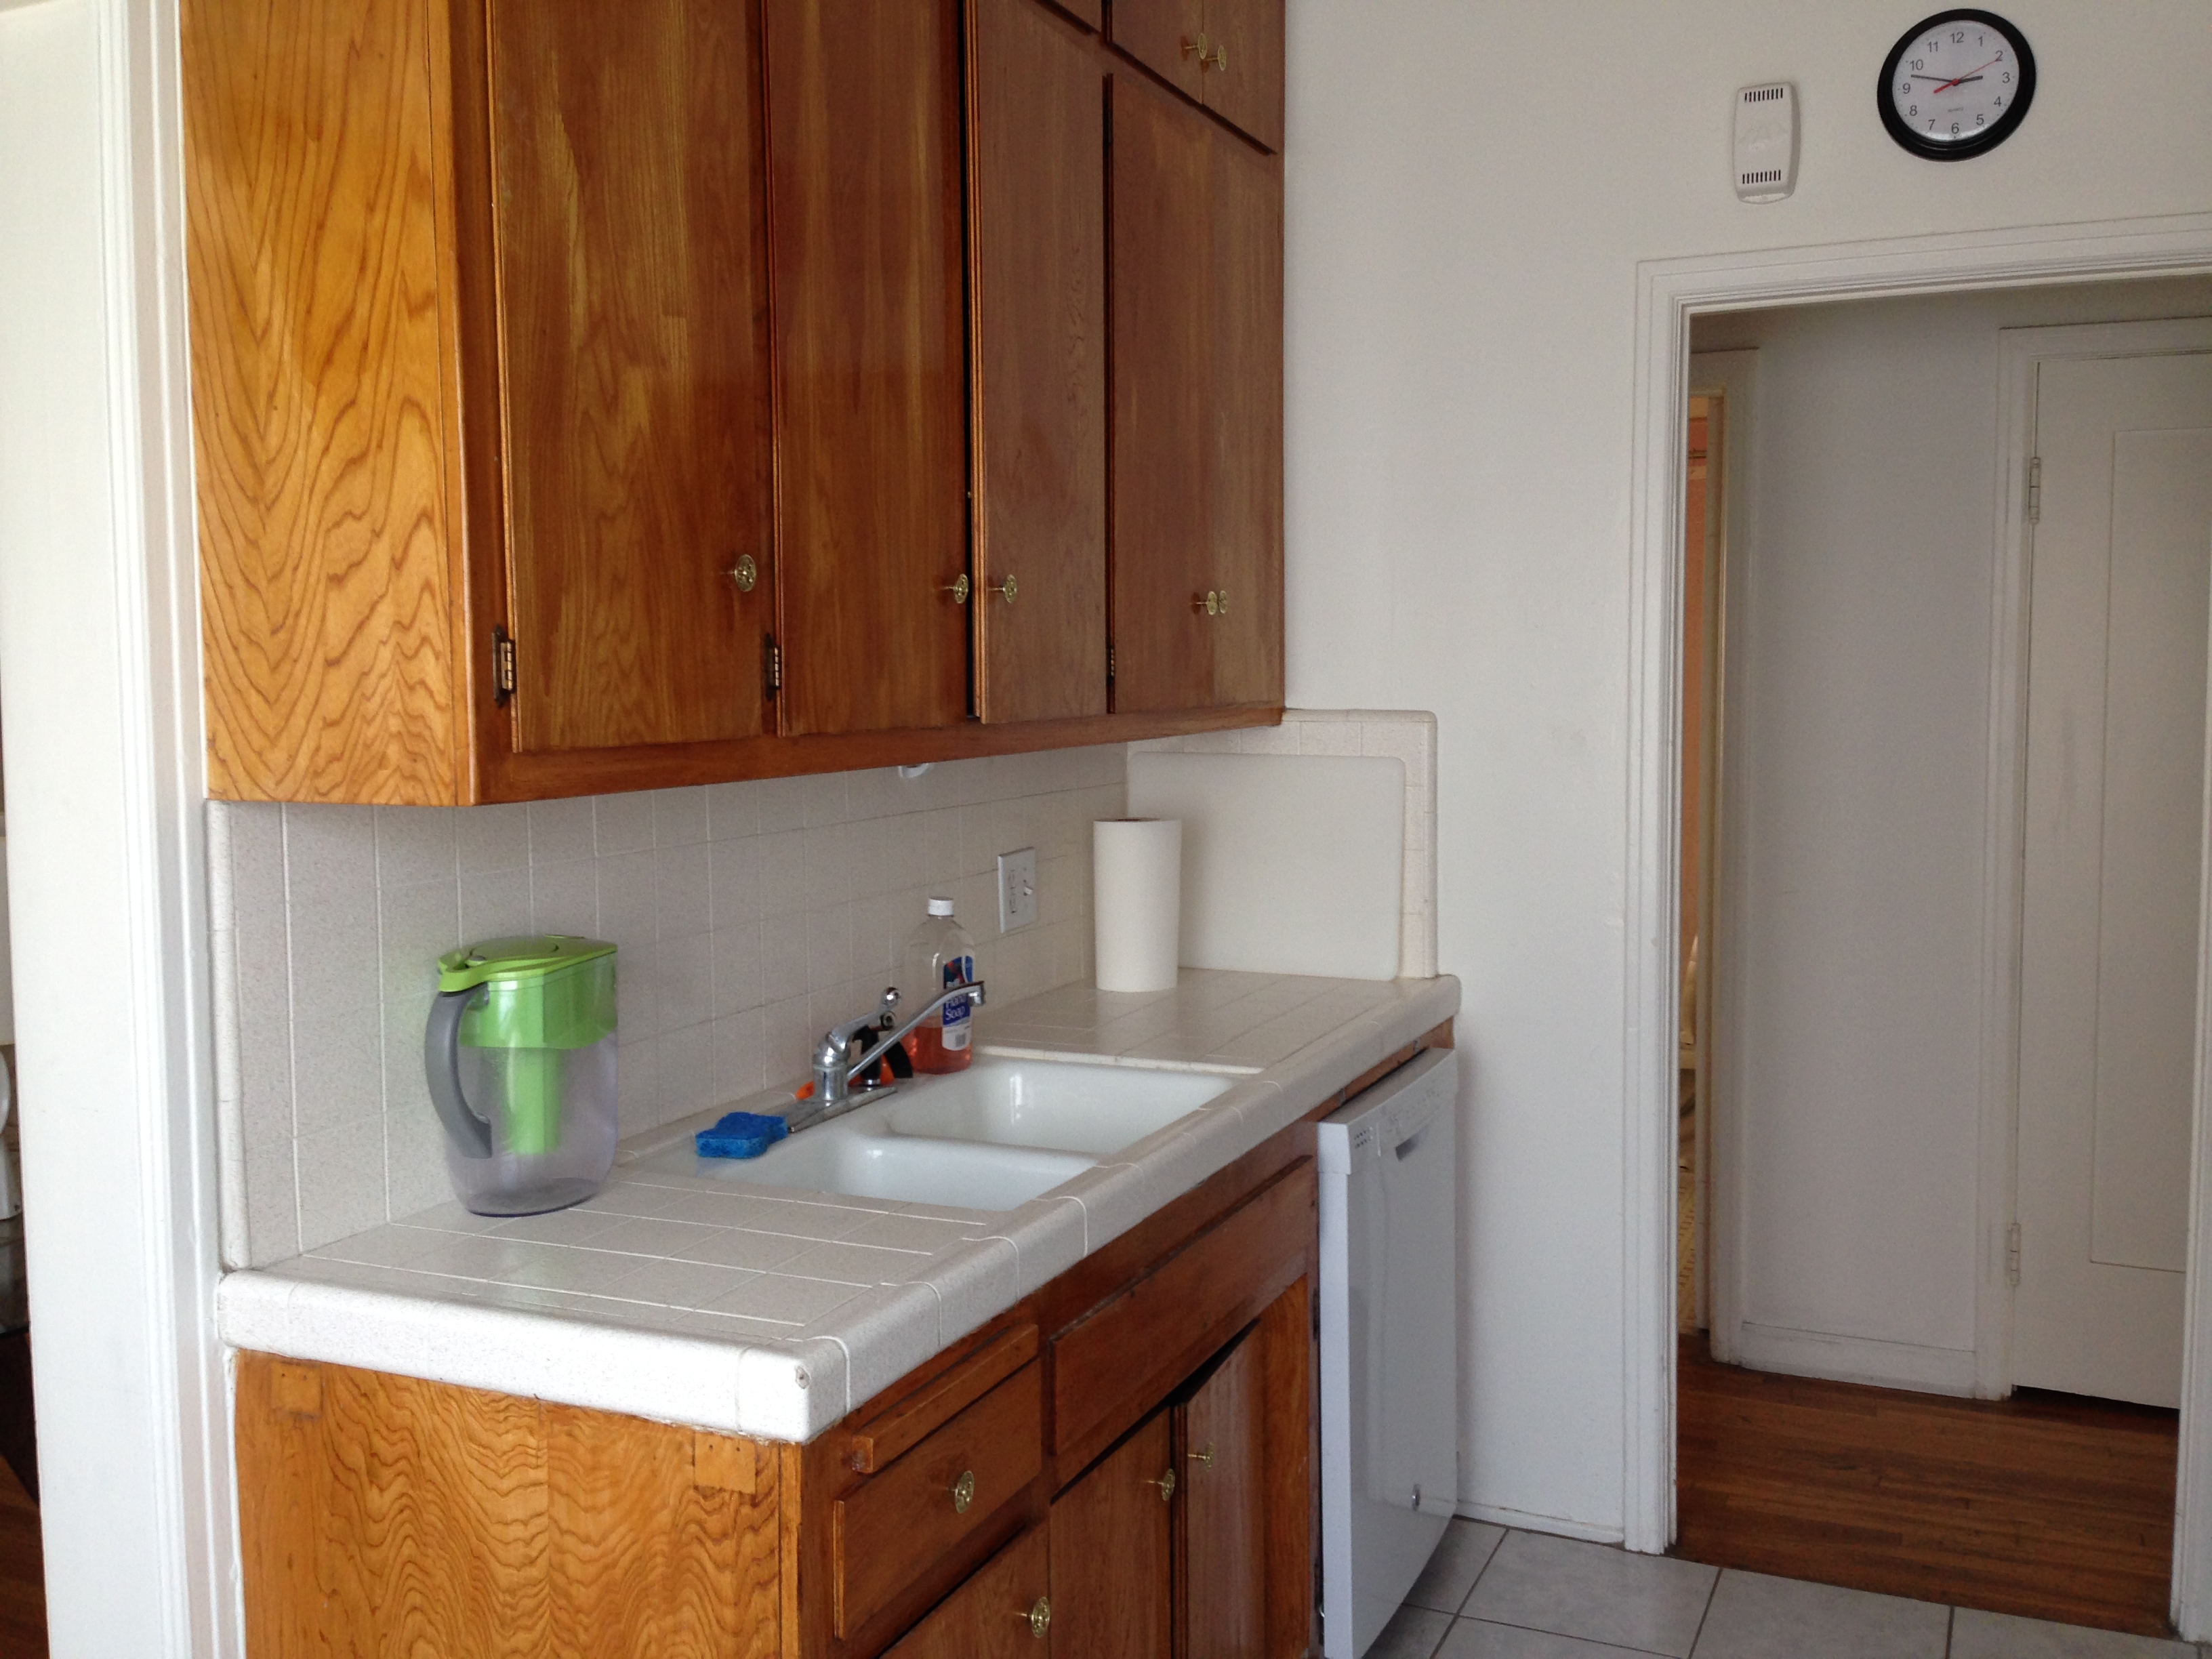
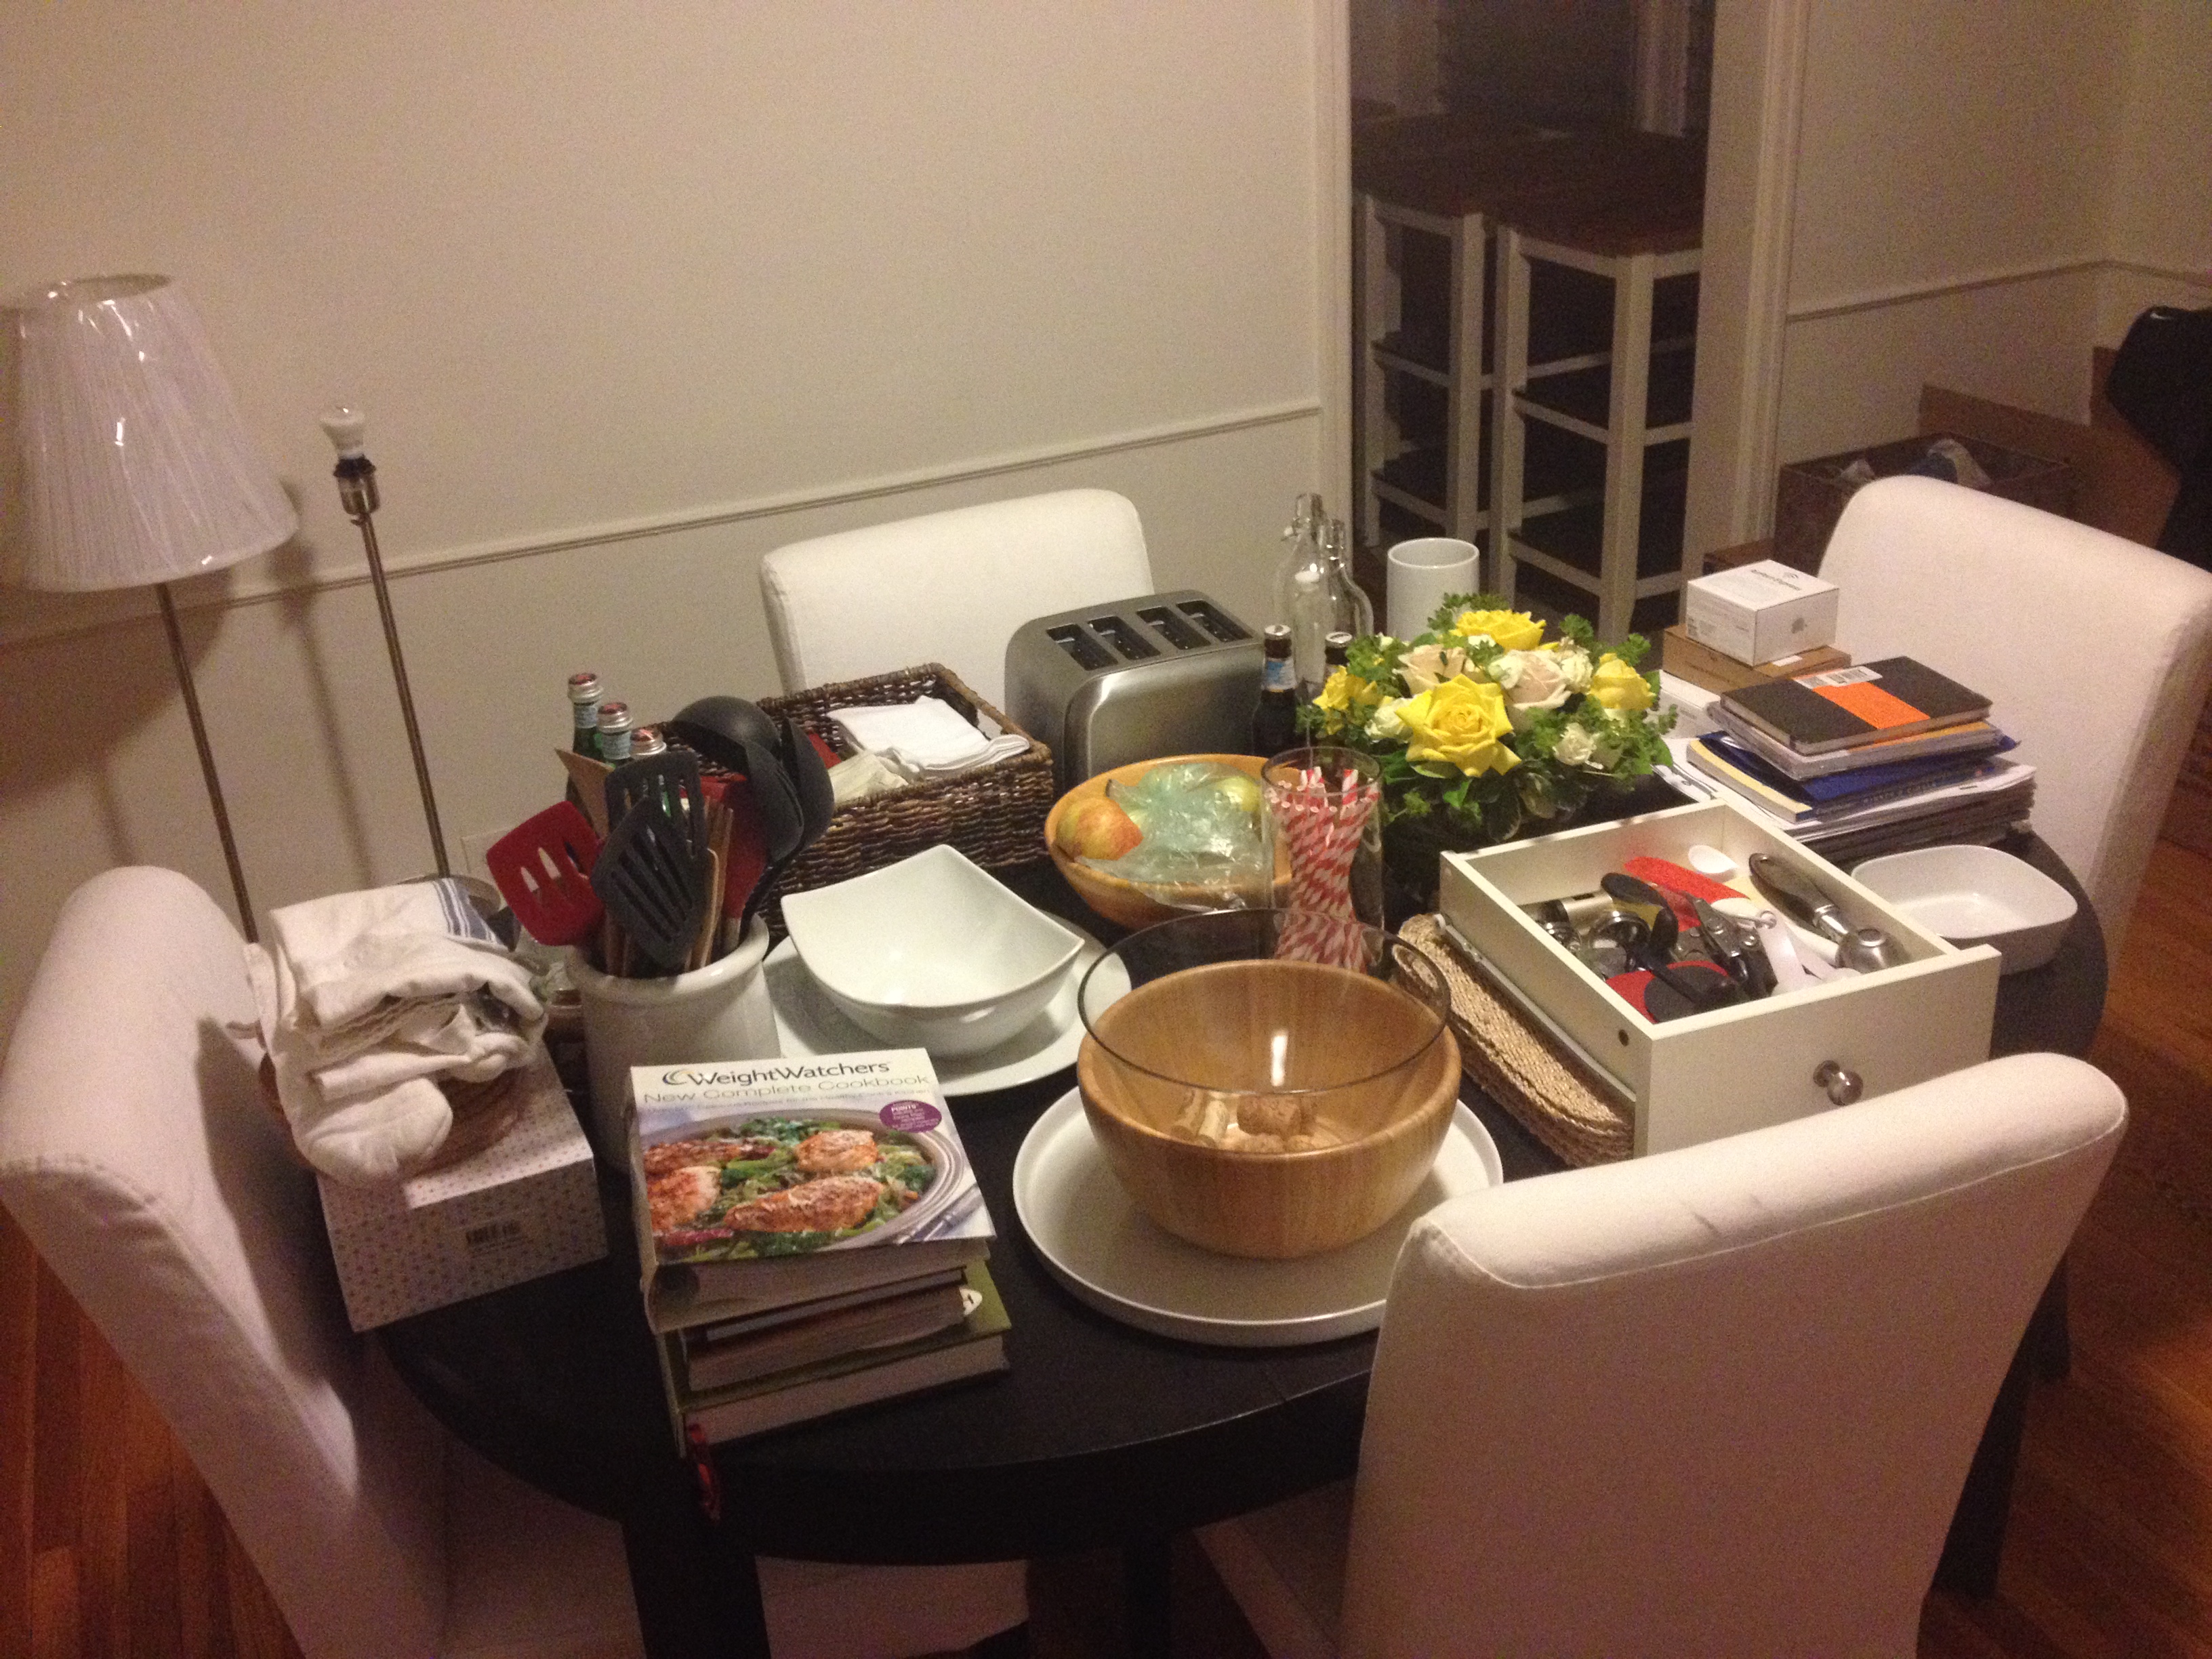
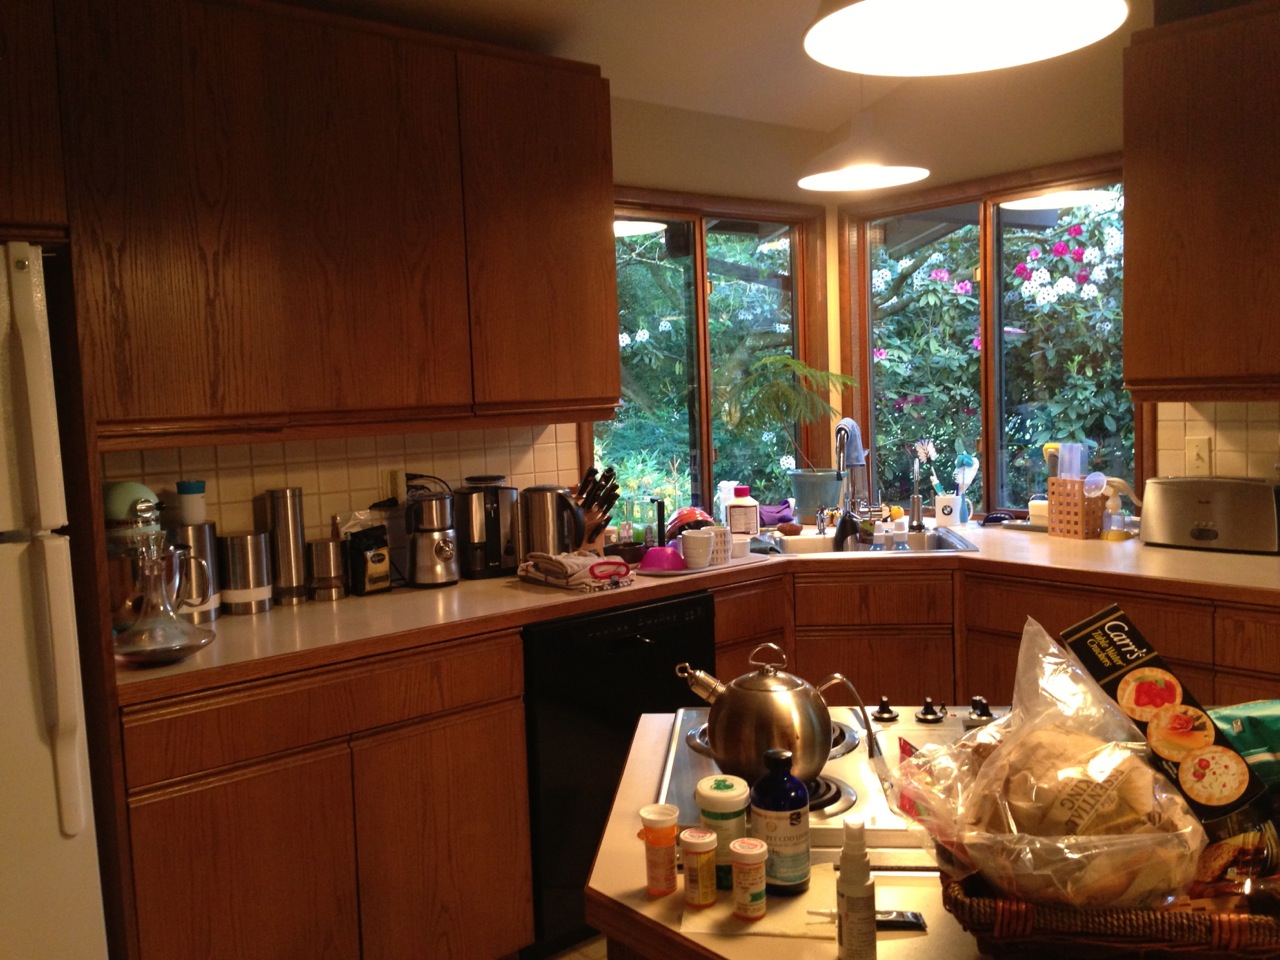
But I had no idea how small it could be until we got to our new place:

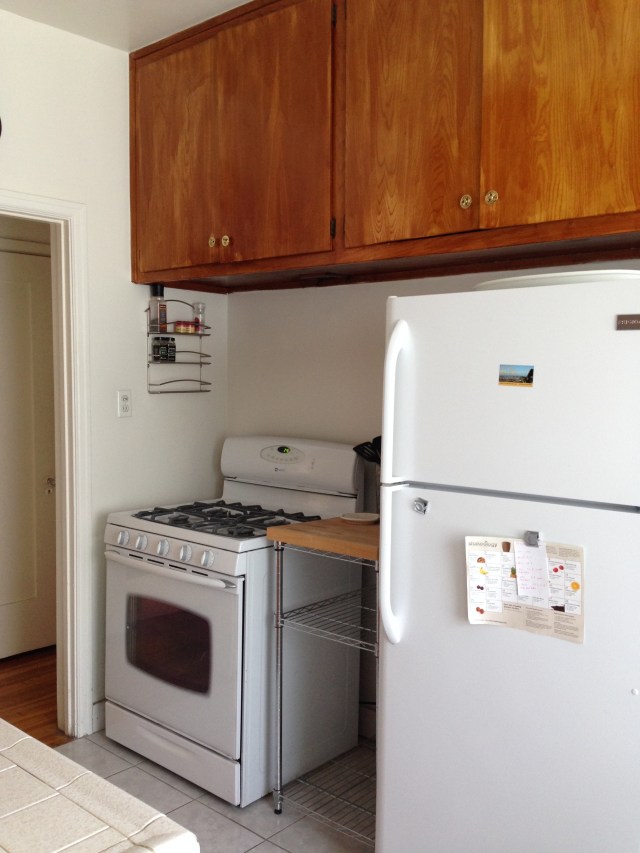

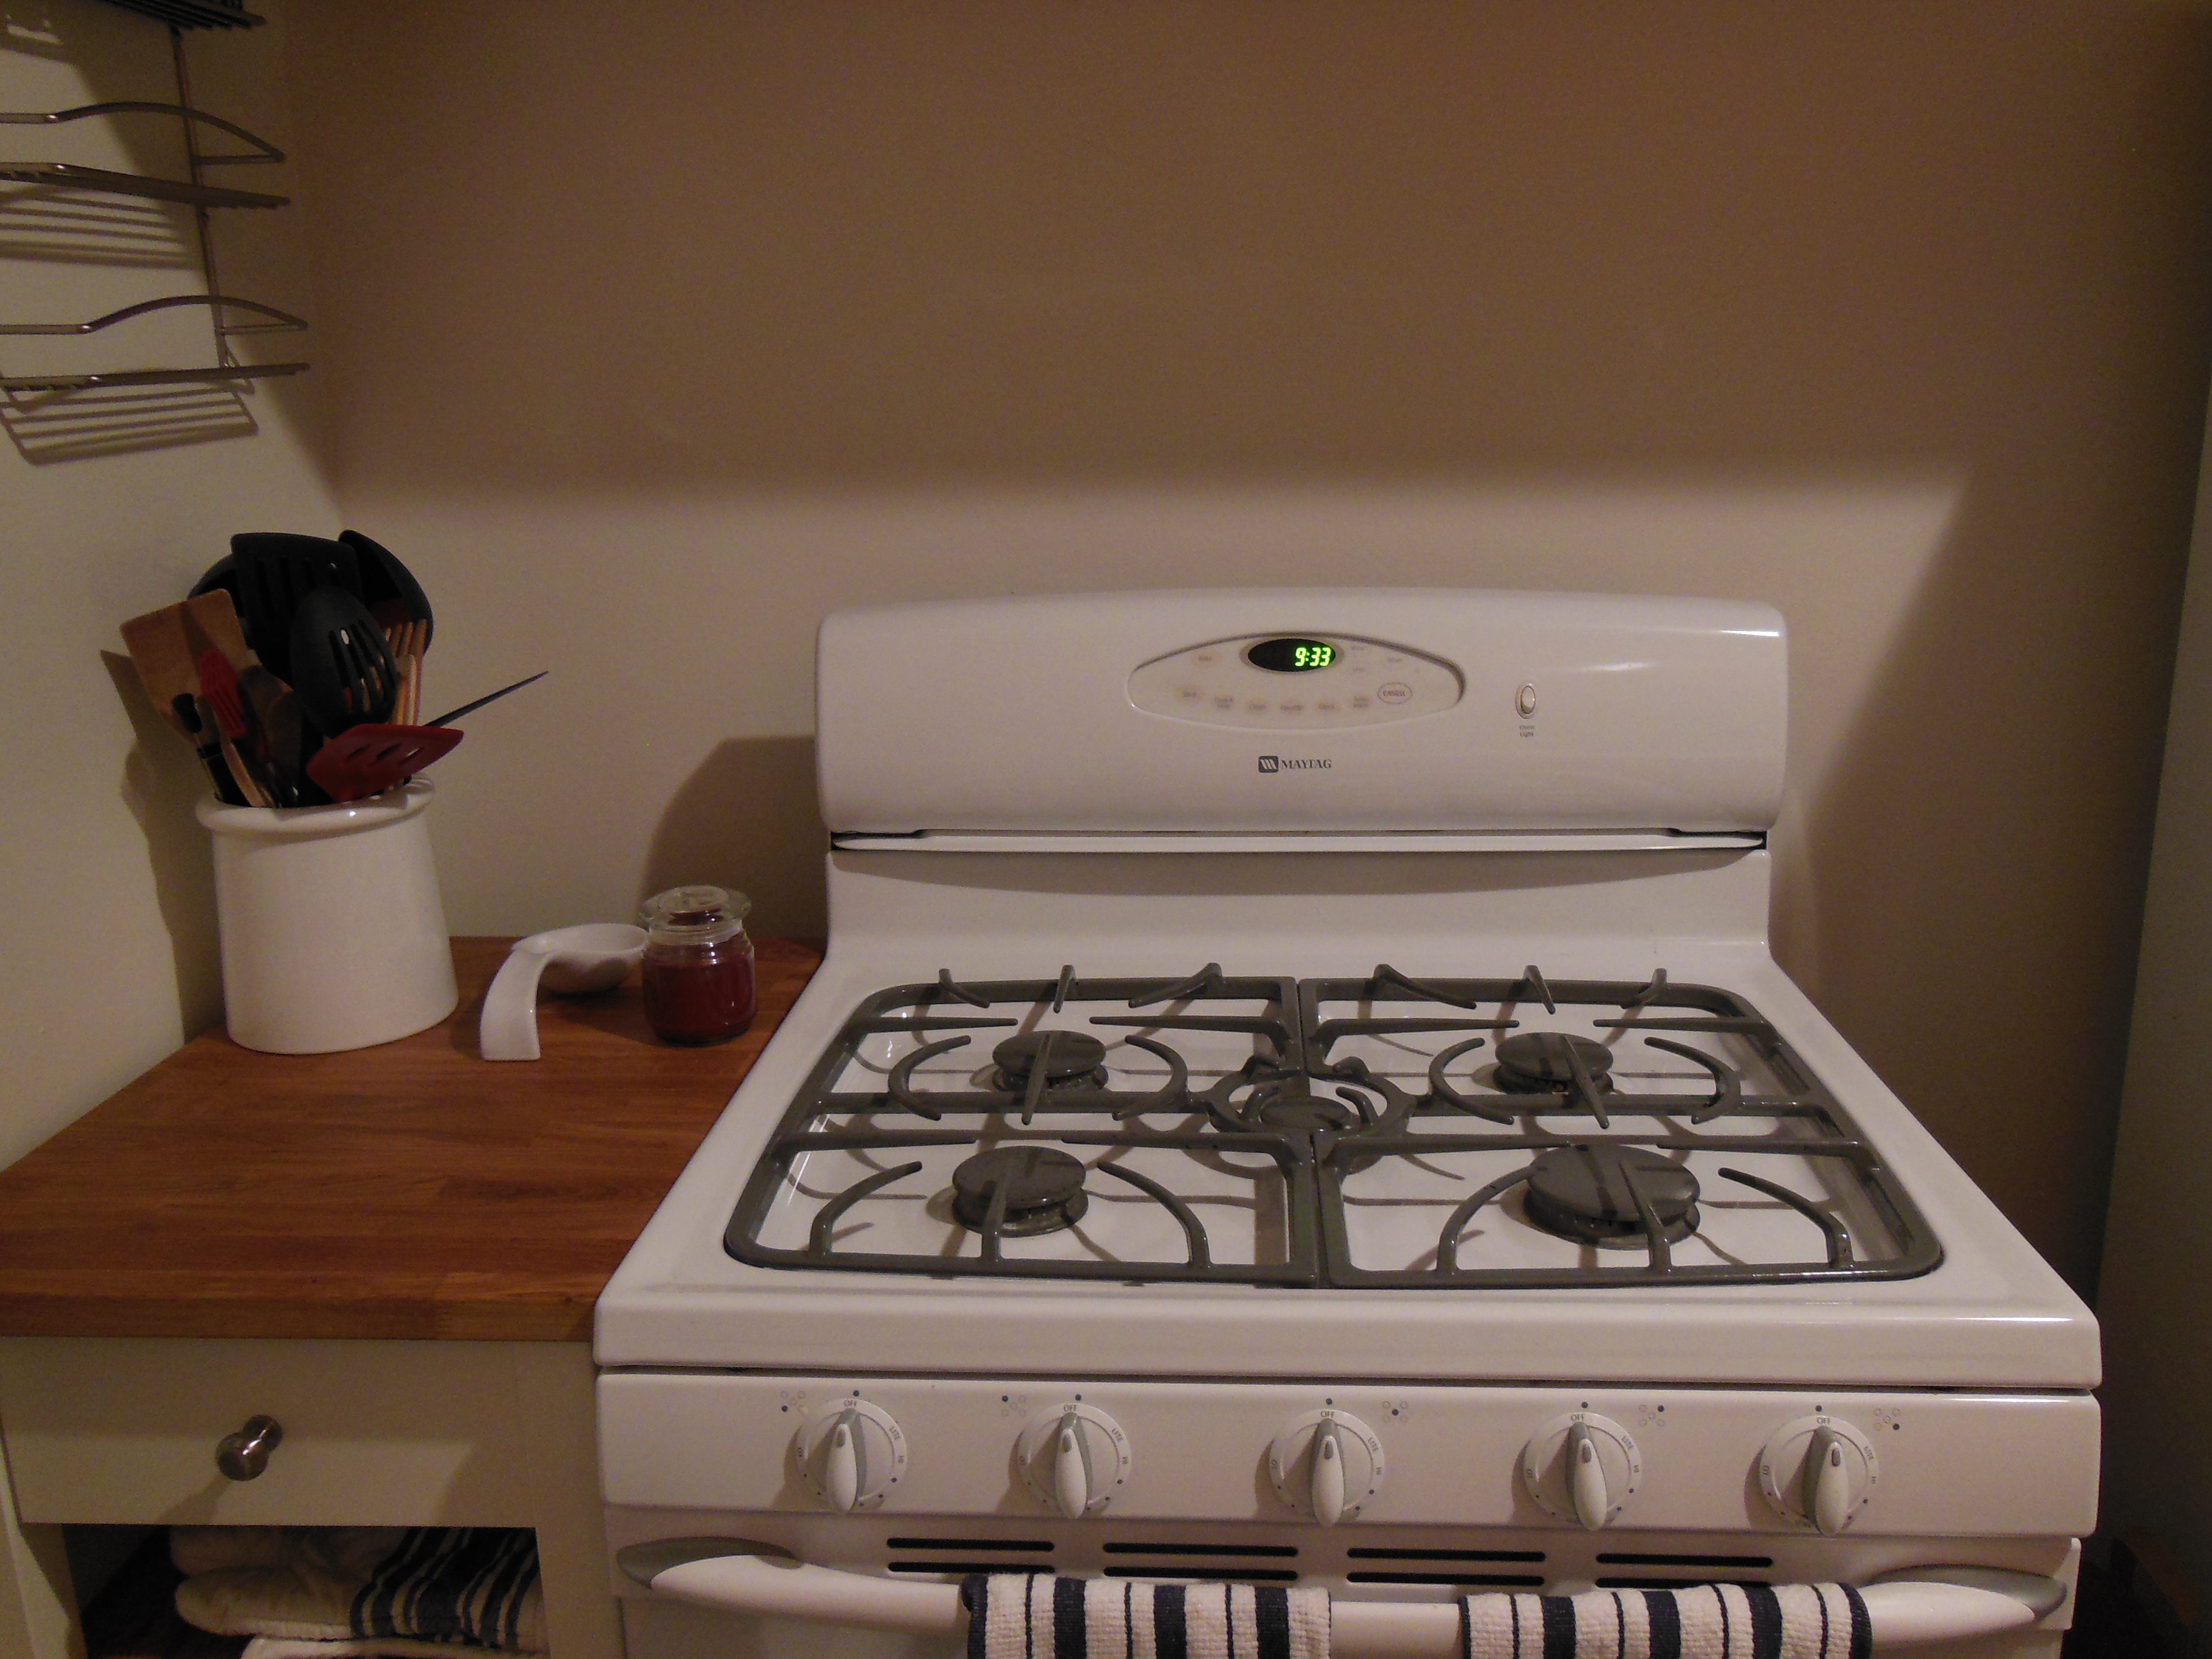
That’s it! Those two slivers on either side of the sink are it. The cart next to the stove is the previous tenant’s. The saving grace, however, is that there is plenty of empty space under those two windows. The previous tenant had that little cafe table there, but as we’ll be using our dining table through that doorway to the right for eating, I decided to add wall to wall counter space with a combination of a few islands.
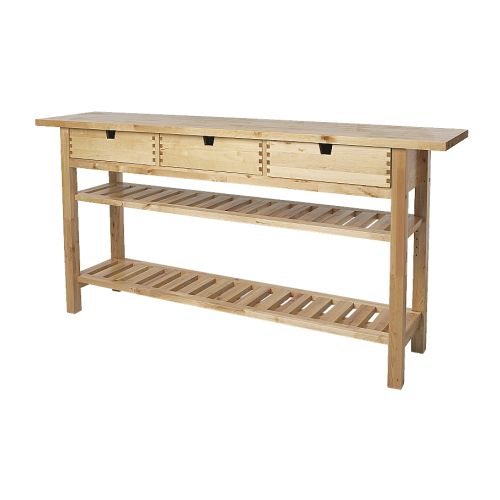
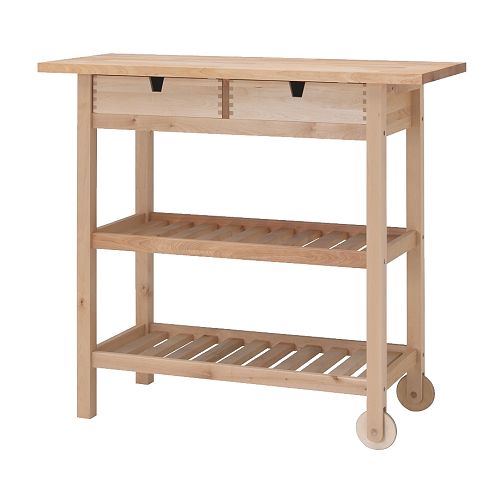
Plan A) to use our existing Forhoja and pickup up a Norden that would almost span the entire space and then add the small Stenstorp to give us some counter surface next to the oven. (No, this post was not sponsored by Ikea, but if they’re looking to throw something my way, this new apartment dweller wouldn’t be sorry….)


The Burbank Ikea, however, had other ideas. The two closest locations no longer carry the Norden and if we wanted it, we’d have to drive an hour plus OR have it shipped. With it weighing in over 100 lbs, those shipping costs were not really in the budget.
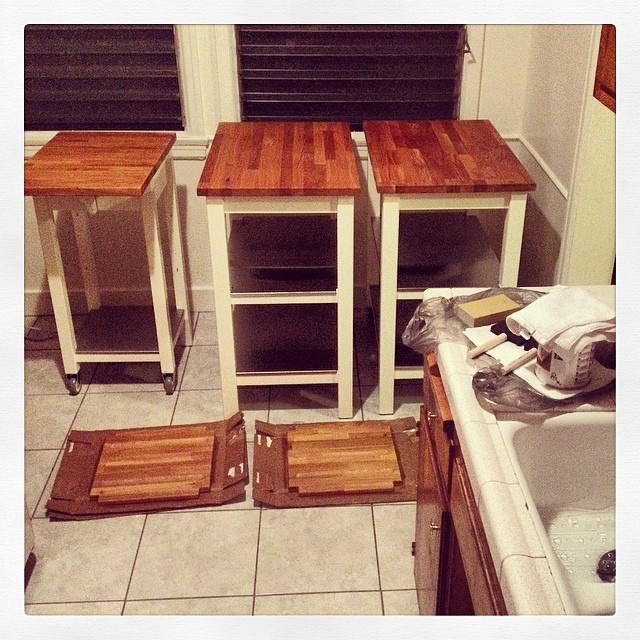
Plan B) Sell our Forhoja, still purchase the small Stenstorp for next to the oven, and purchase 2 more standard Stenstorp islands.
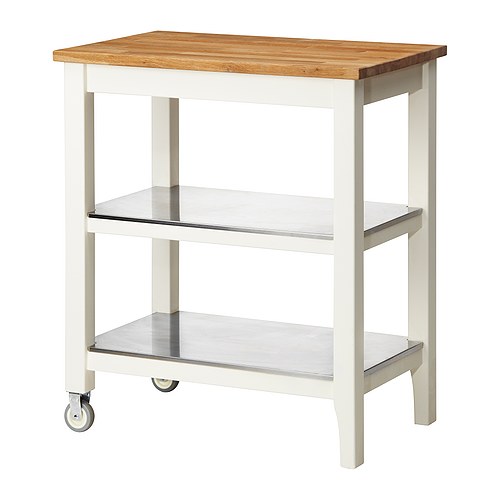
Although this option is slightly pricier than the initial plan A (which is why we didn’t go with it in the first place despite it being the more aesthetically pleasing), it will end up costing less than had we had the Norden shipped. And all of it was in stock!
Fast forward a few days, I start assembling them and I read the directions that the butcher block tops need to be treated with Behandla mineral oil (note – it must be the food safe kind, not the stain) no less than 3 times a week for the first few months. Nothing is ever easy. As we didn’t know this upon purchase, I had to make a trip BACK to Ikea for the mineral oil. Luckily, I actually was thinking ahead and chatted up an Ikea employee in the kitchen department. She advised that you really only need to do one, REALLY great coat the first time, let it sit overnight and then every couple of months as needed.
Seeing as these islands were purchased to hold all of our smaller appliances such as our microwave and coffee maker, it was music to my ears that I wouldn’t have to move them 3+ times a week just to brush on some oil.
So for the last two weeks, the islands have been assembled, but the tops covered with tea towels until I was actually home long enough to tackle the job.
Finally last weekend I found enough time to hunker down and get it done. First I had to empty the shelves I had already stocked to avoid coating everything in sawdust.


(Apologies for all the lame iPhone photos – after spending the last few weeks packing and unpacking, the last thing I felt like doing was searching through piles of stuff for my camera and tripod.)
Per the Ikea employee’s suggestions, I started with a fine 220 sanding block on the surfaces as well as the smaller Stenstorp’s shelves. I wiped any dust and splinters off the top. As I had the time, I figured I’d crank out two coats in one night just for the added protection so I cracked open the Behandla and painted one coat over each island top with a foam brush. Per the can’s instructions, I let sit for 15 minutes, wiped with a cloth, and then let the counters dry for 3 hours.


This first application really helped me figure out the right consistency for how thick my coats should be. After I let them dry, I decided to do the one heavy coat I was recommended. I did another round of sanding and then painted on the oil nice and thick and let it sit overnight. Come morning, I very gently used an even finer 320 sanding block to clean off the excess layer.
With each application, the tops have gotten slightly darker and smoother. So just for added measure (and as we had no plans for Sunday morning), I did one final thin coat that morning. I let it sit for 15 minutes, wiped with the cloth and let them dry for another 2-4 hours.
So far, I’m really pleased with the end result. I don’t feel like I’ll need to oil them for a few months, but will keep an eye on them for now.


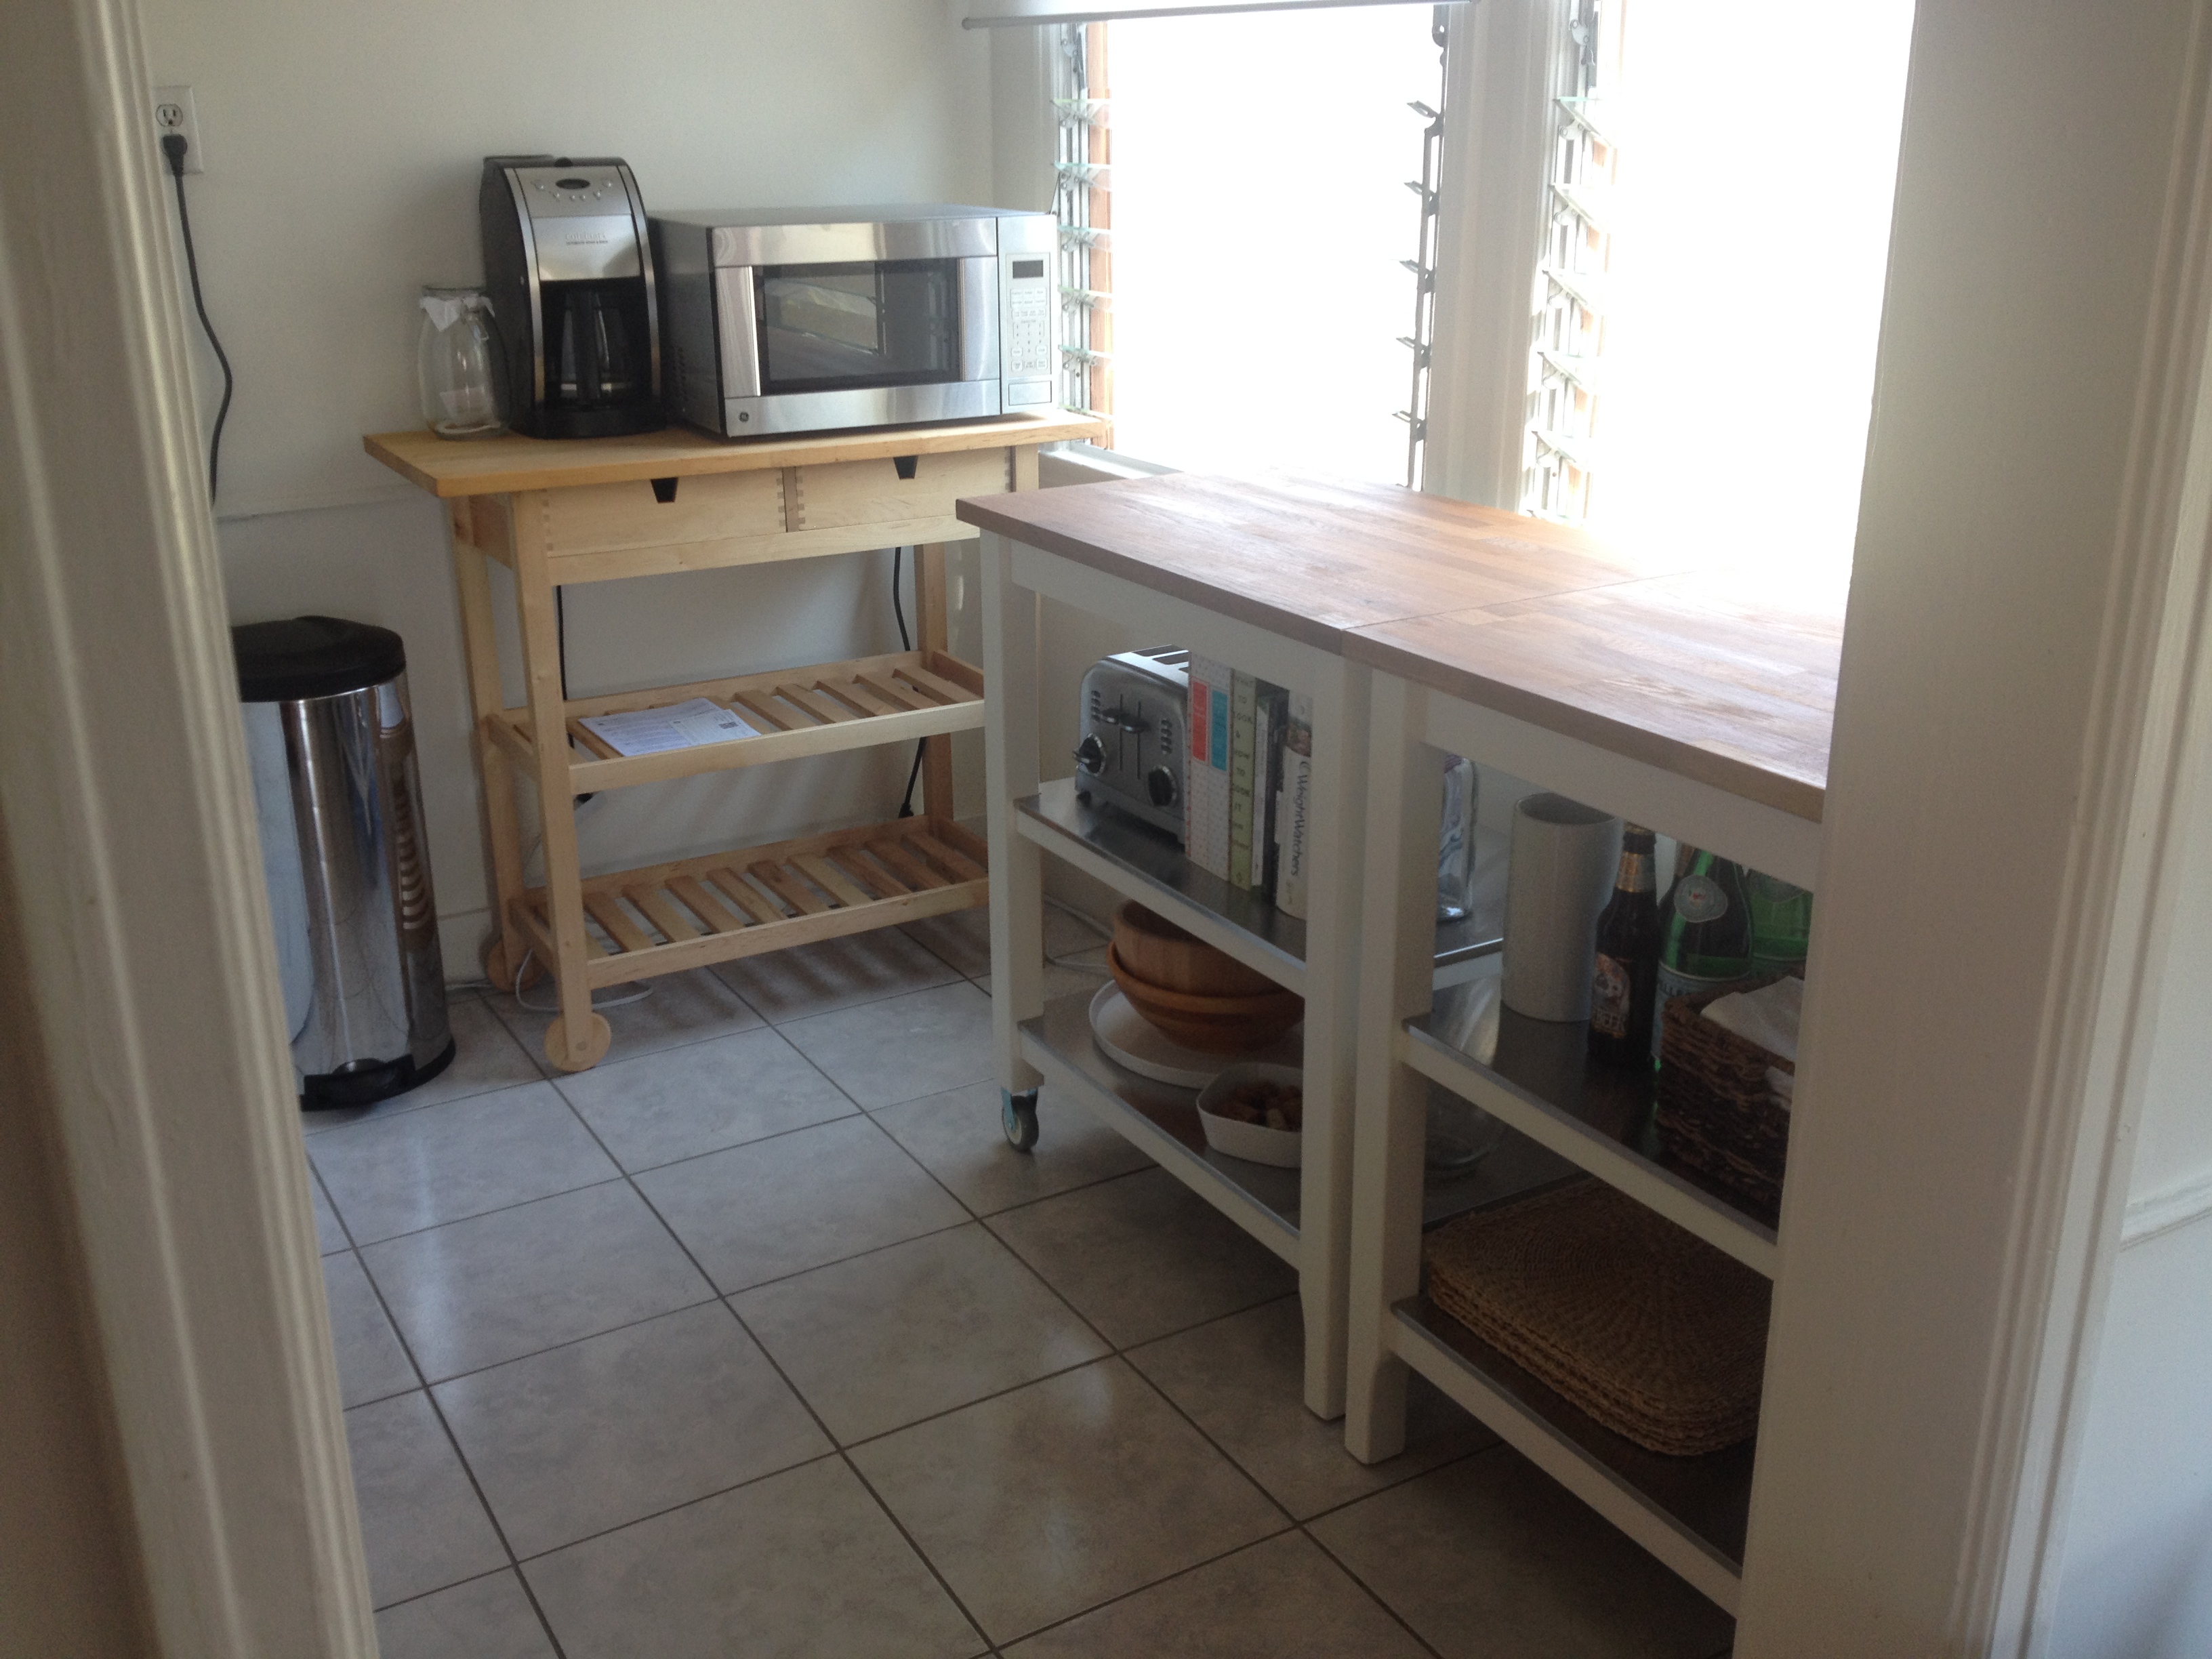
We still have our Forhoja as we realized that it’s been nice to not cover up half of our new counters with a microwave. In doing so we discovered that *technically* we have enough room for one more Stenstorp under the windows.

It will mean 3 lined up end to end, giving us 93 continuous inches of counter space. Although it’s not totally necessary, I feel like it’s what the space needs to not feel cramped and we’d sell the Forhoja to help offset our costs.
It’s admittedly a lot of islands for one space, but aesthetically they’re in line with our style and I know that should we need one or two in a future home, they will transition well. They’re also some of the most popular kitchen carts sold by Ikea so I’m confident we could resell them on Craigslist should we find that we don’t need them in said future home.
So project #1 of the new apartment down. Many more to go.