MIA

So where the hell have I been?  I know, I know – life just got away from me.  I’ve been refocusing on myself a bit – trying to get healthier, taking care of some actual health stuff too.  Then a crazy girls weekend with my bests from college followed by getting sick for a full week just as I was cutting out caffeine and anything that tasted delicious….

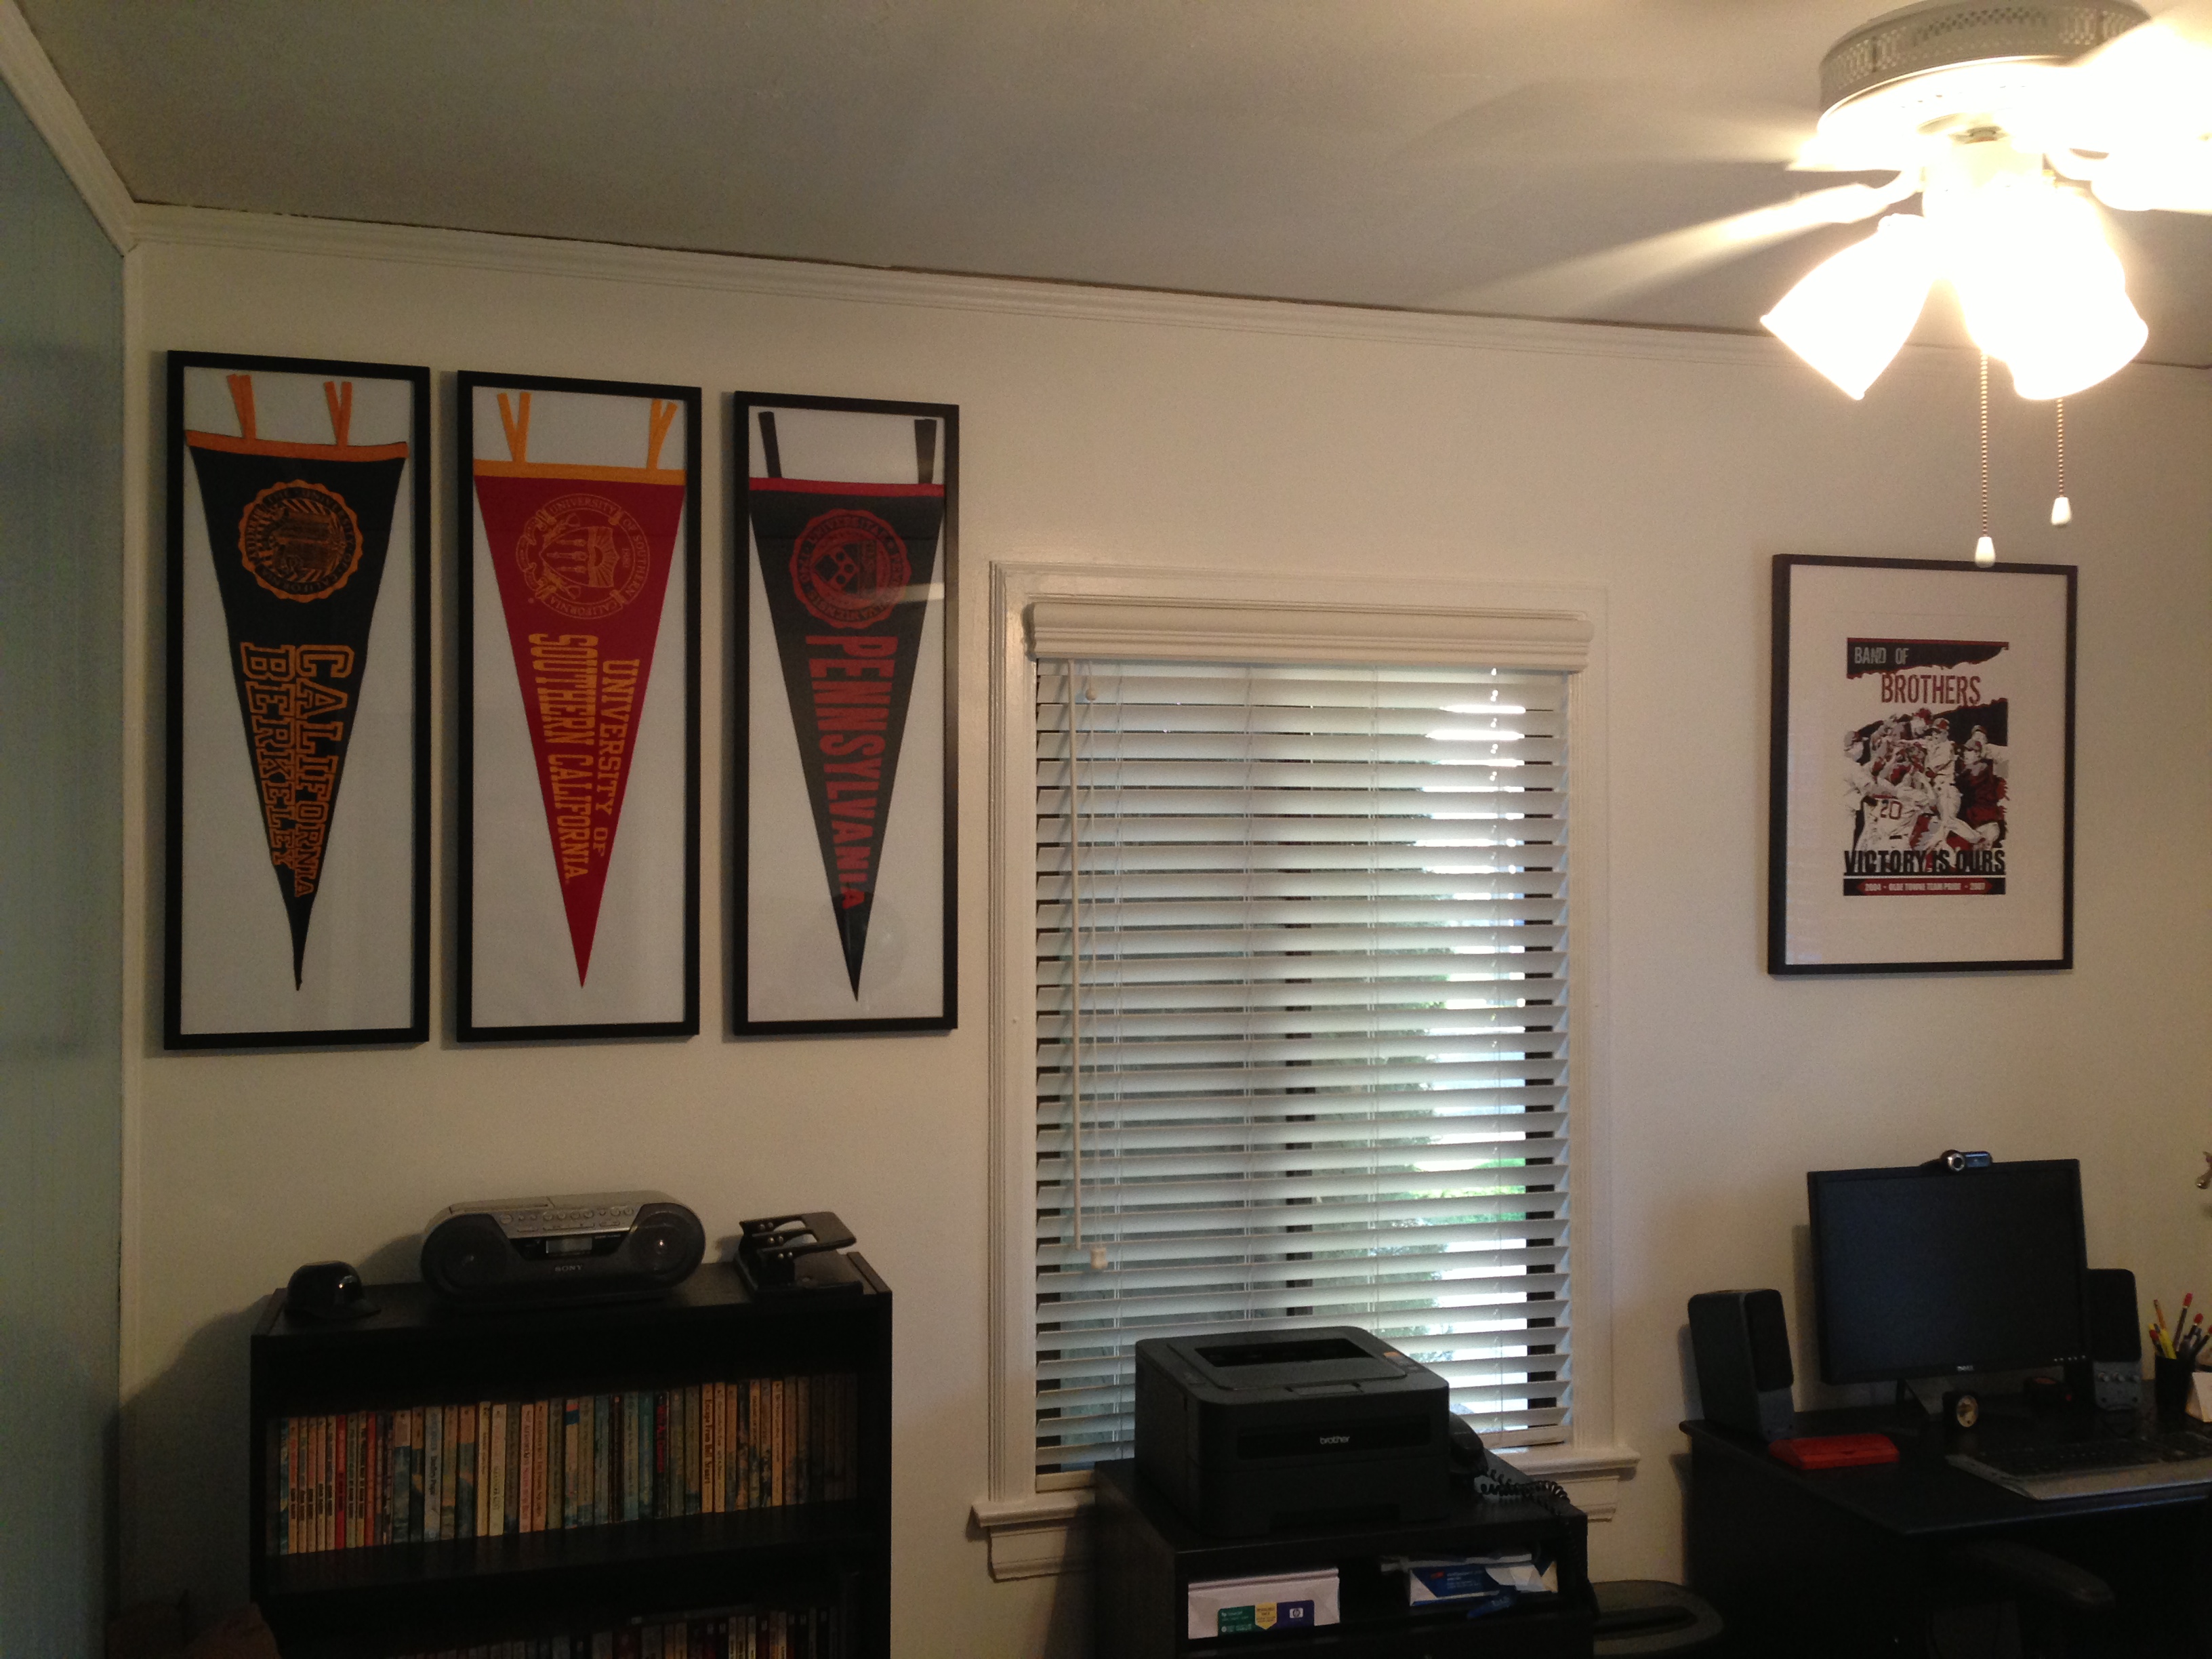
Today’s gonna be a quick recap of updates around Chez Sledge.  Last when I left you, we were working on our office.  Since then we got our new chair from Wayfair:

New Office Chair!

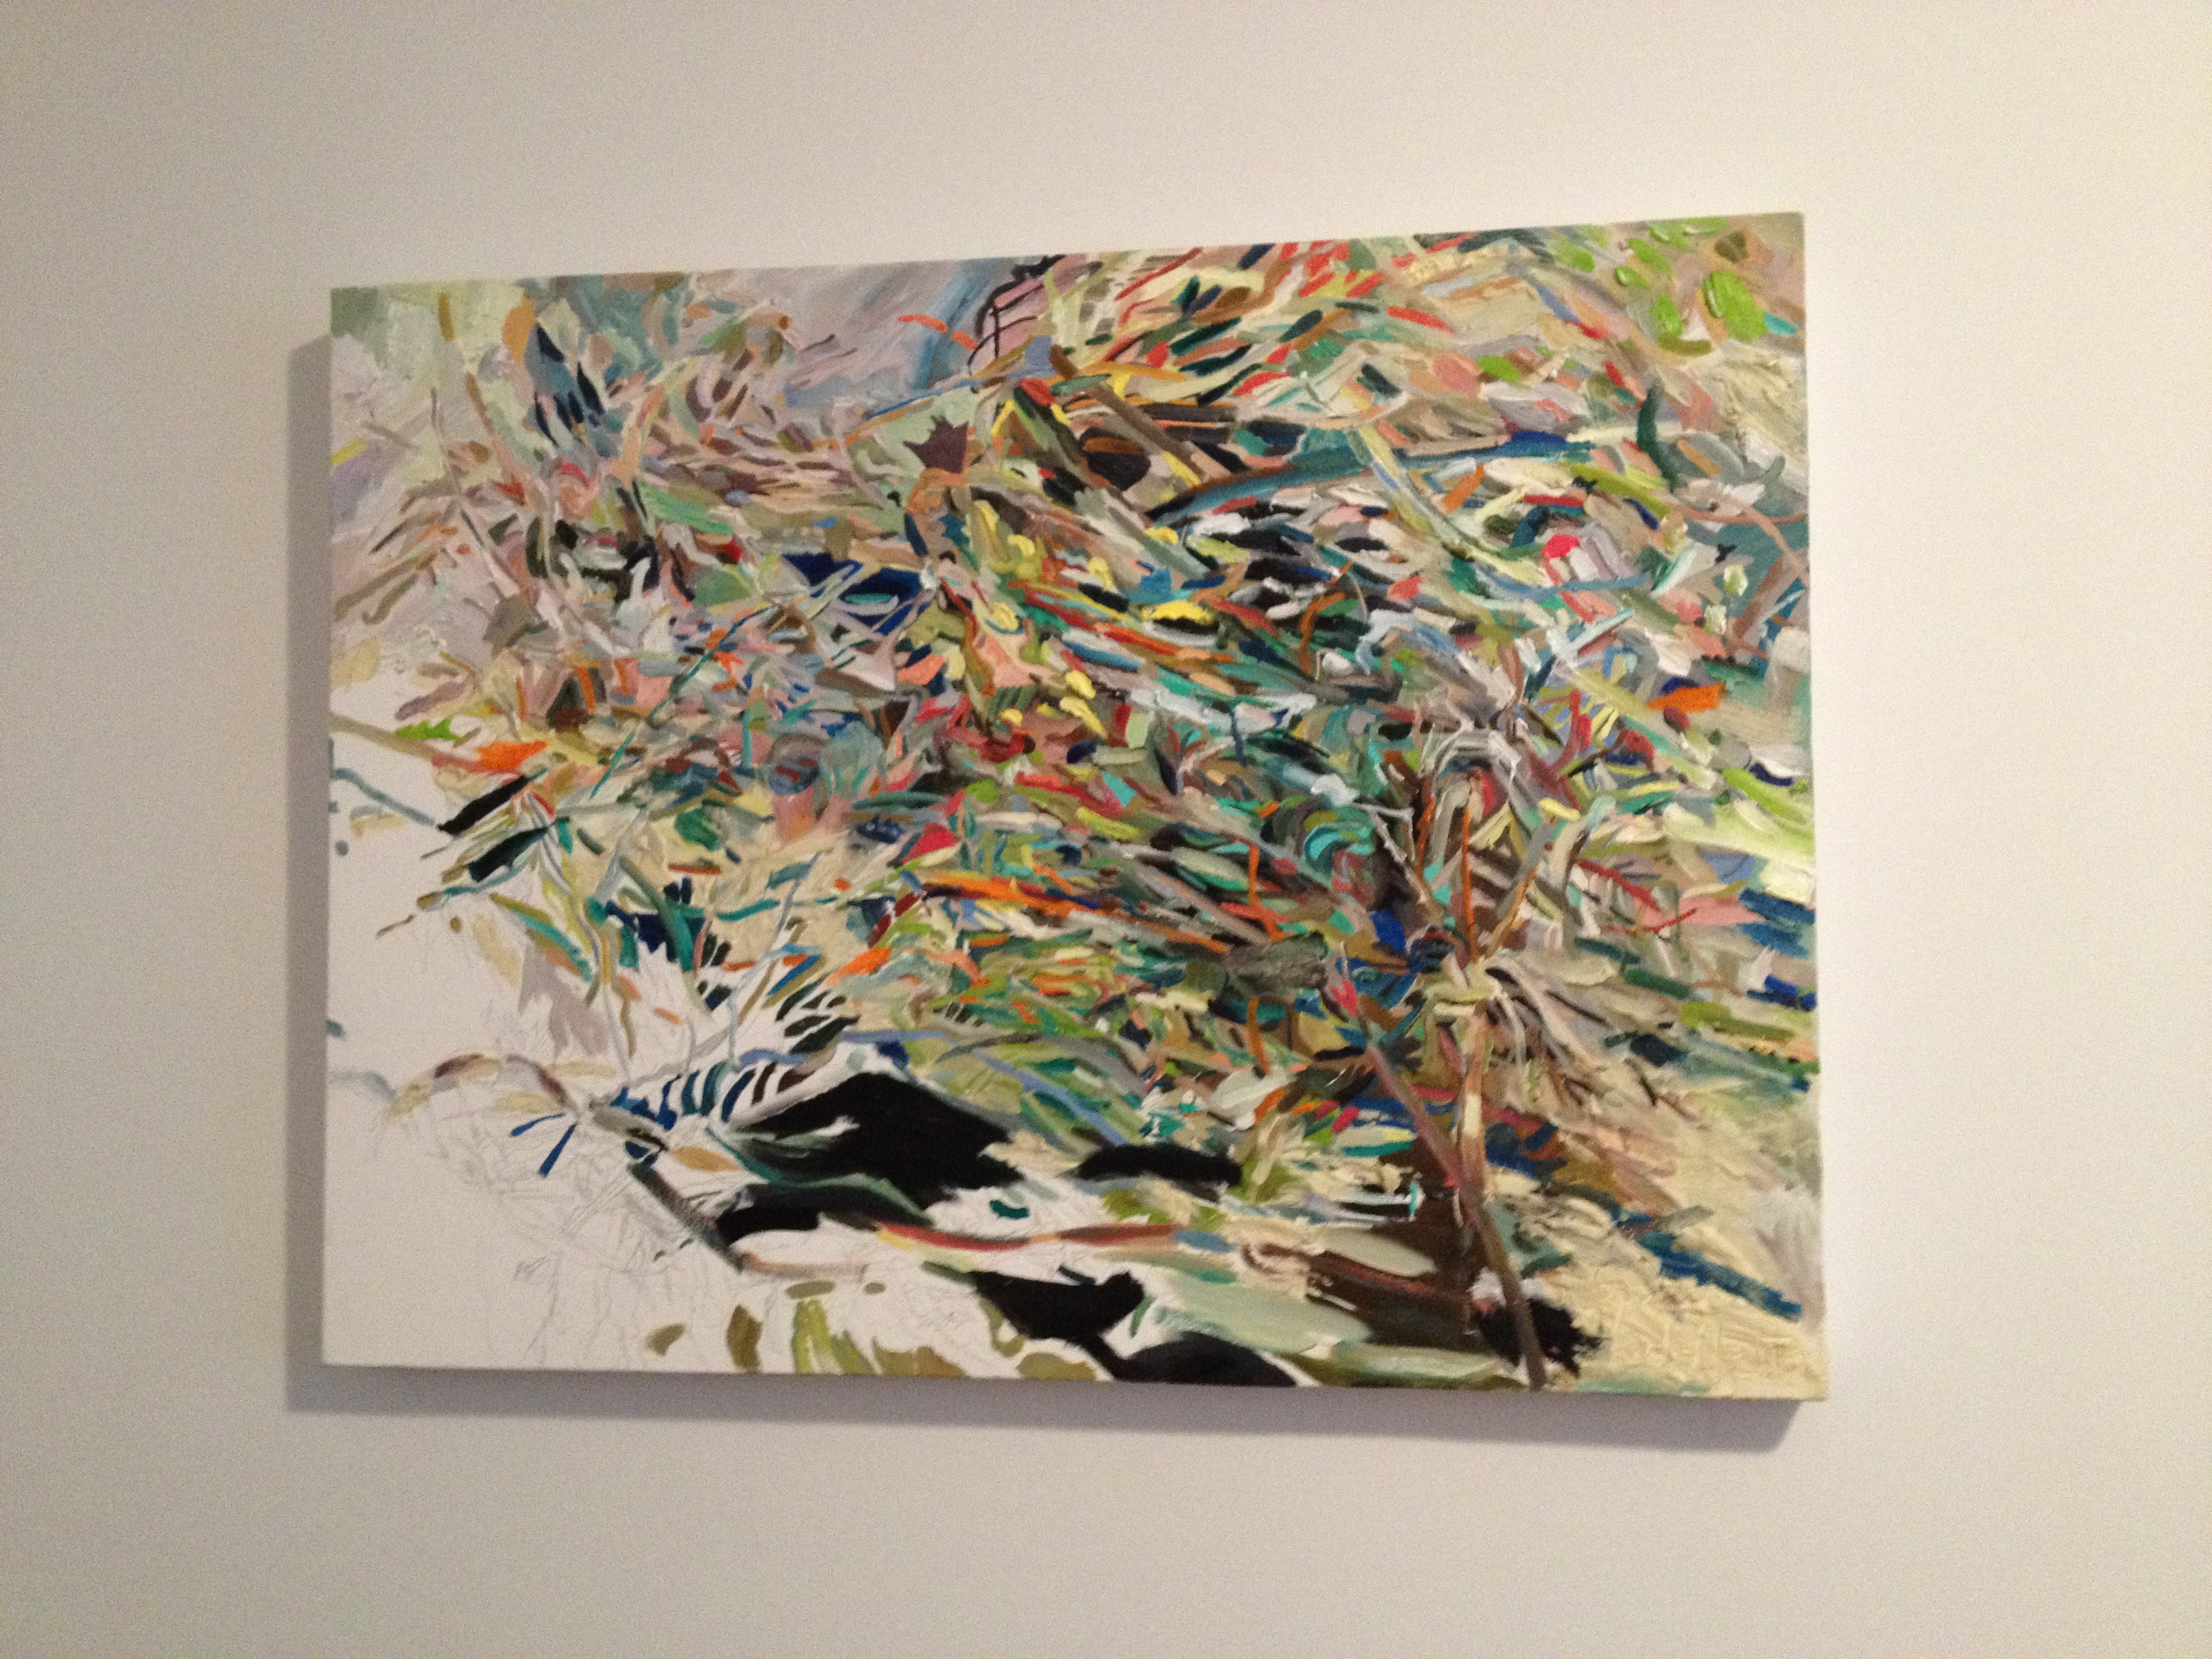
And last weekend Jefe hung up some more art.  Can you believe he took those photos of Fenway himself?  The one of the stadium’s green seats with the single red seat is stunning.

Fenway Artwork

Fenway Artwork - Detail

The room is really coming together; I can’t wait until we can afford that armchair so I finally have my reading nook!  I’m planning to relocate that white chair to the dining room, scoot the shelf unit over and make room in the corner on the left for it, right by the floor lamp and next to the window.

New Office Artwork

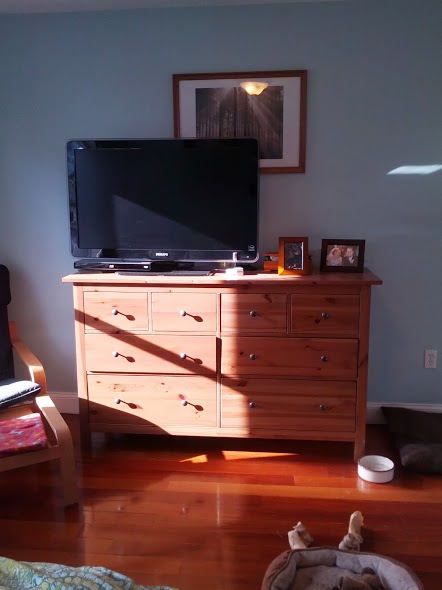
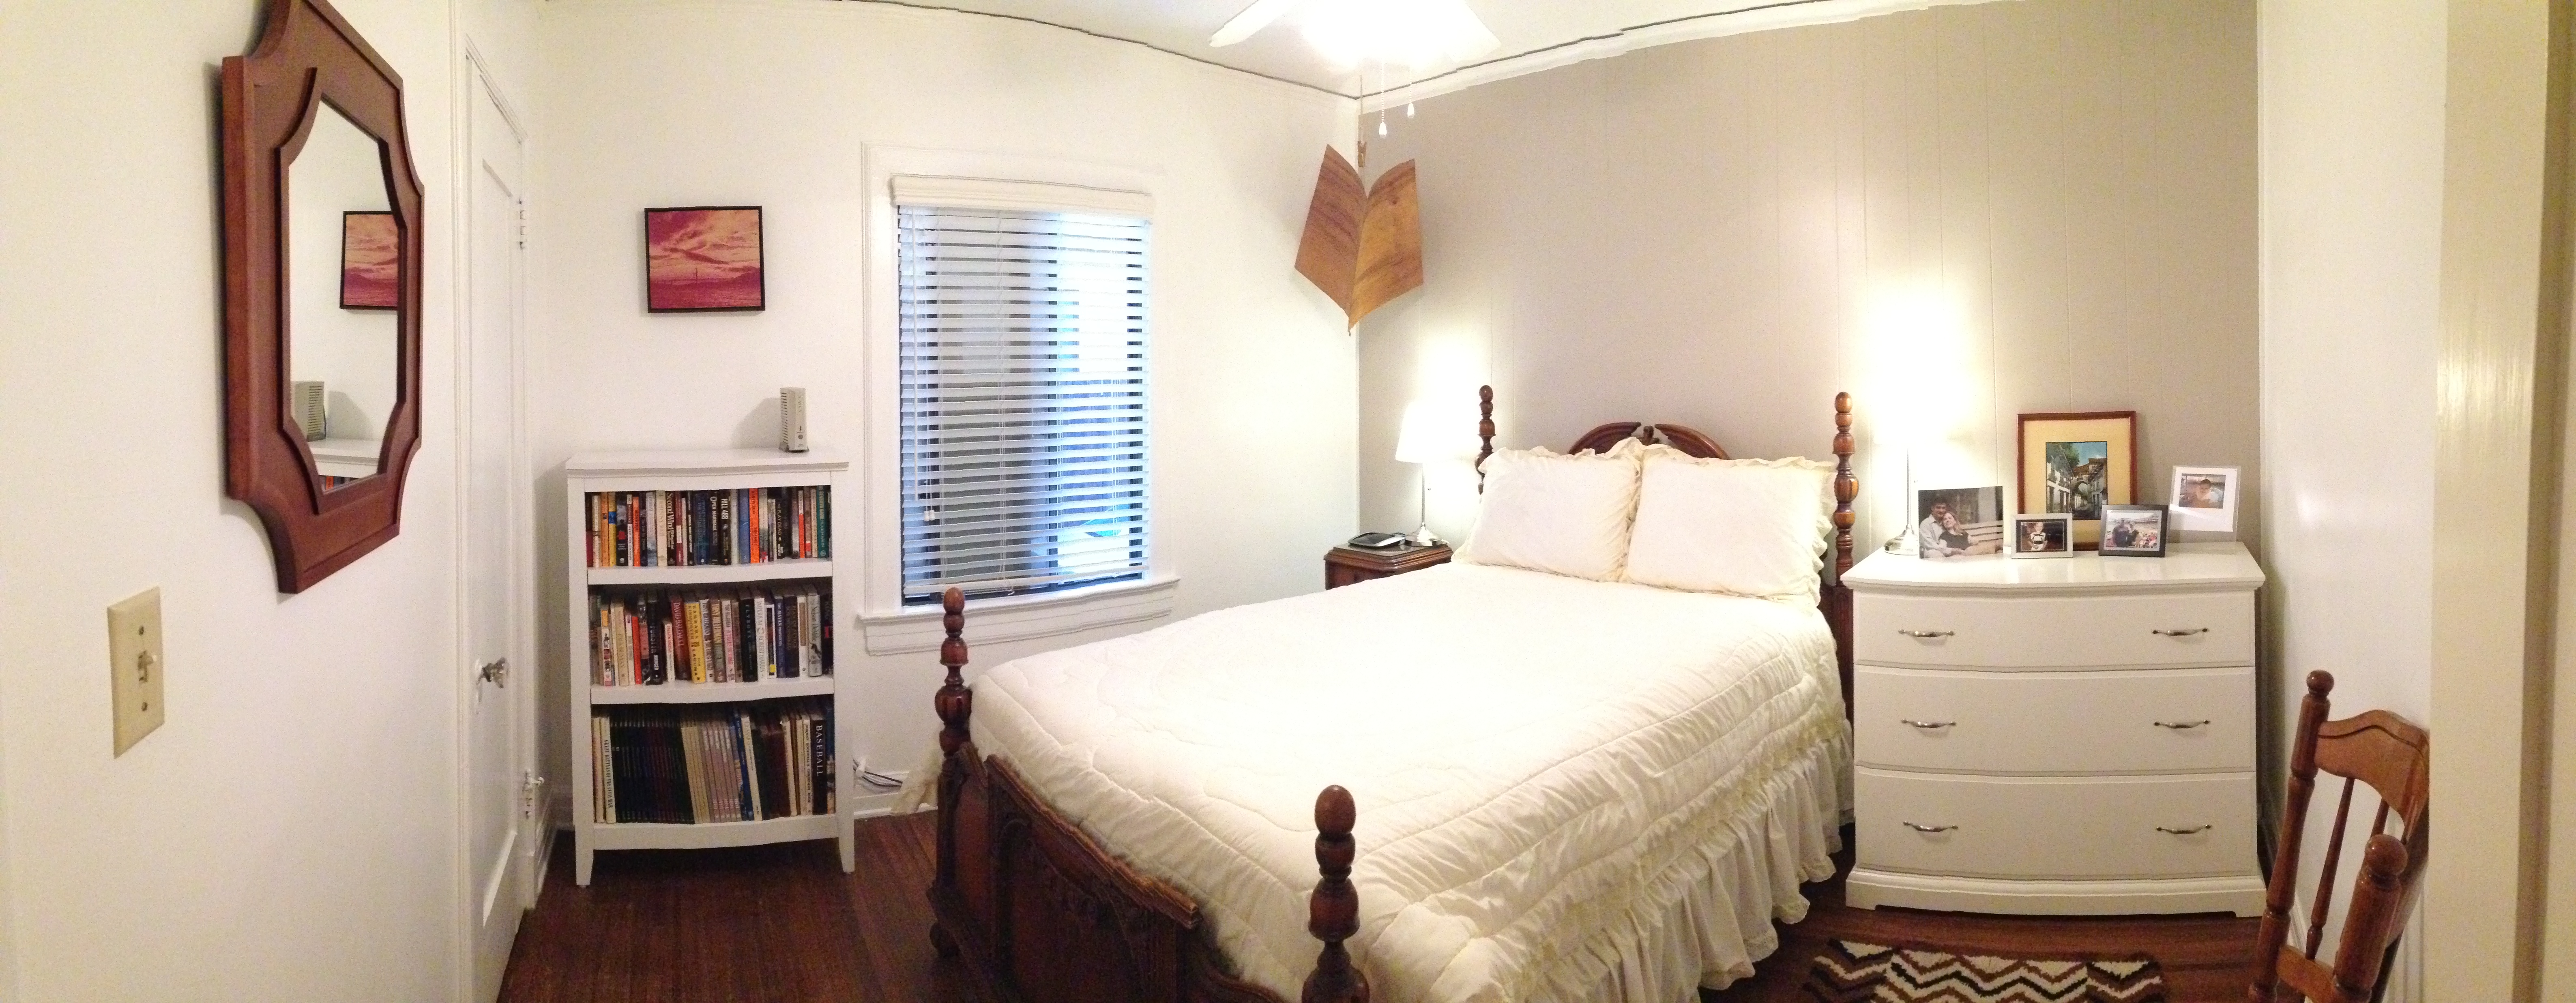
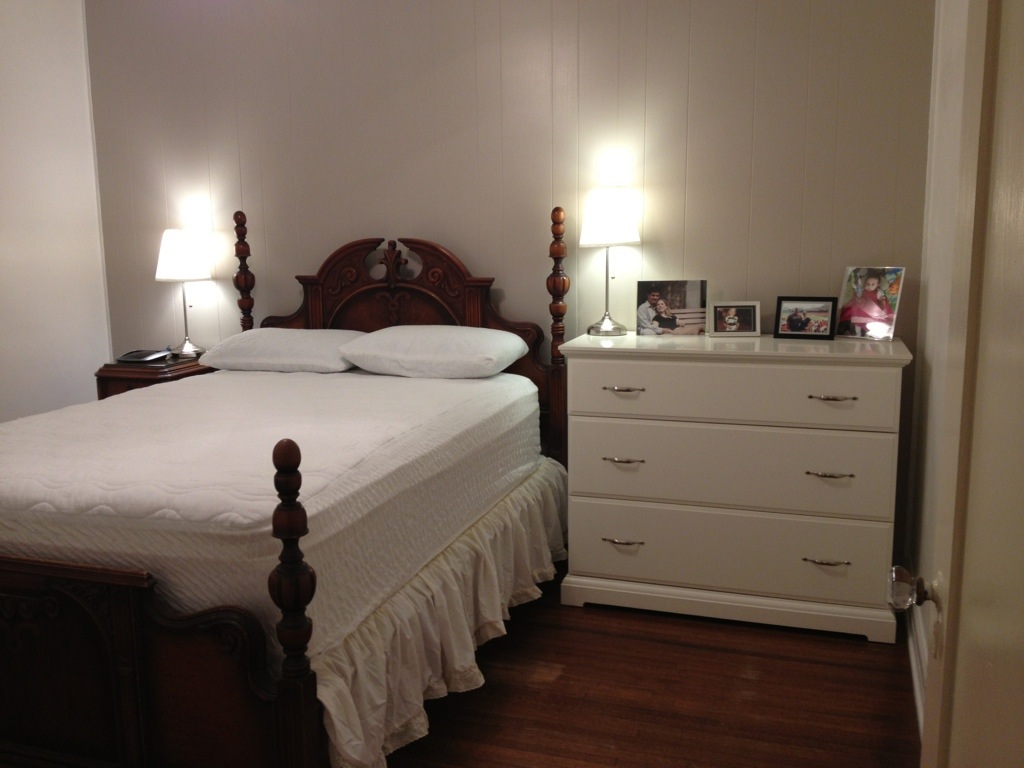
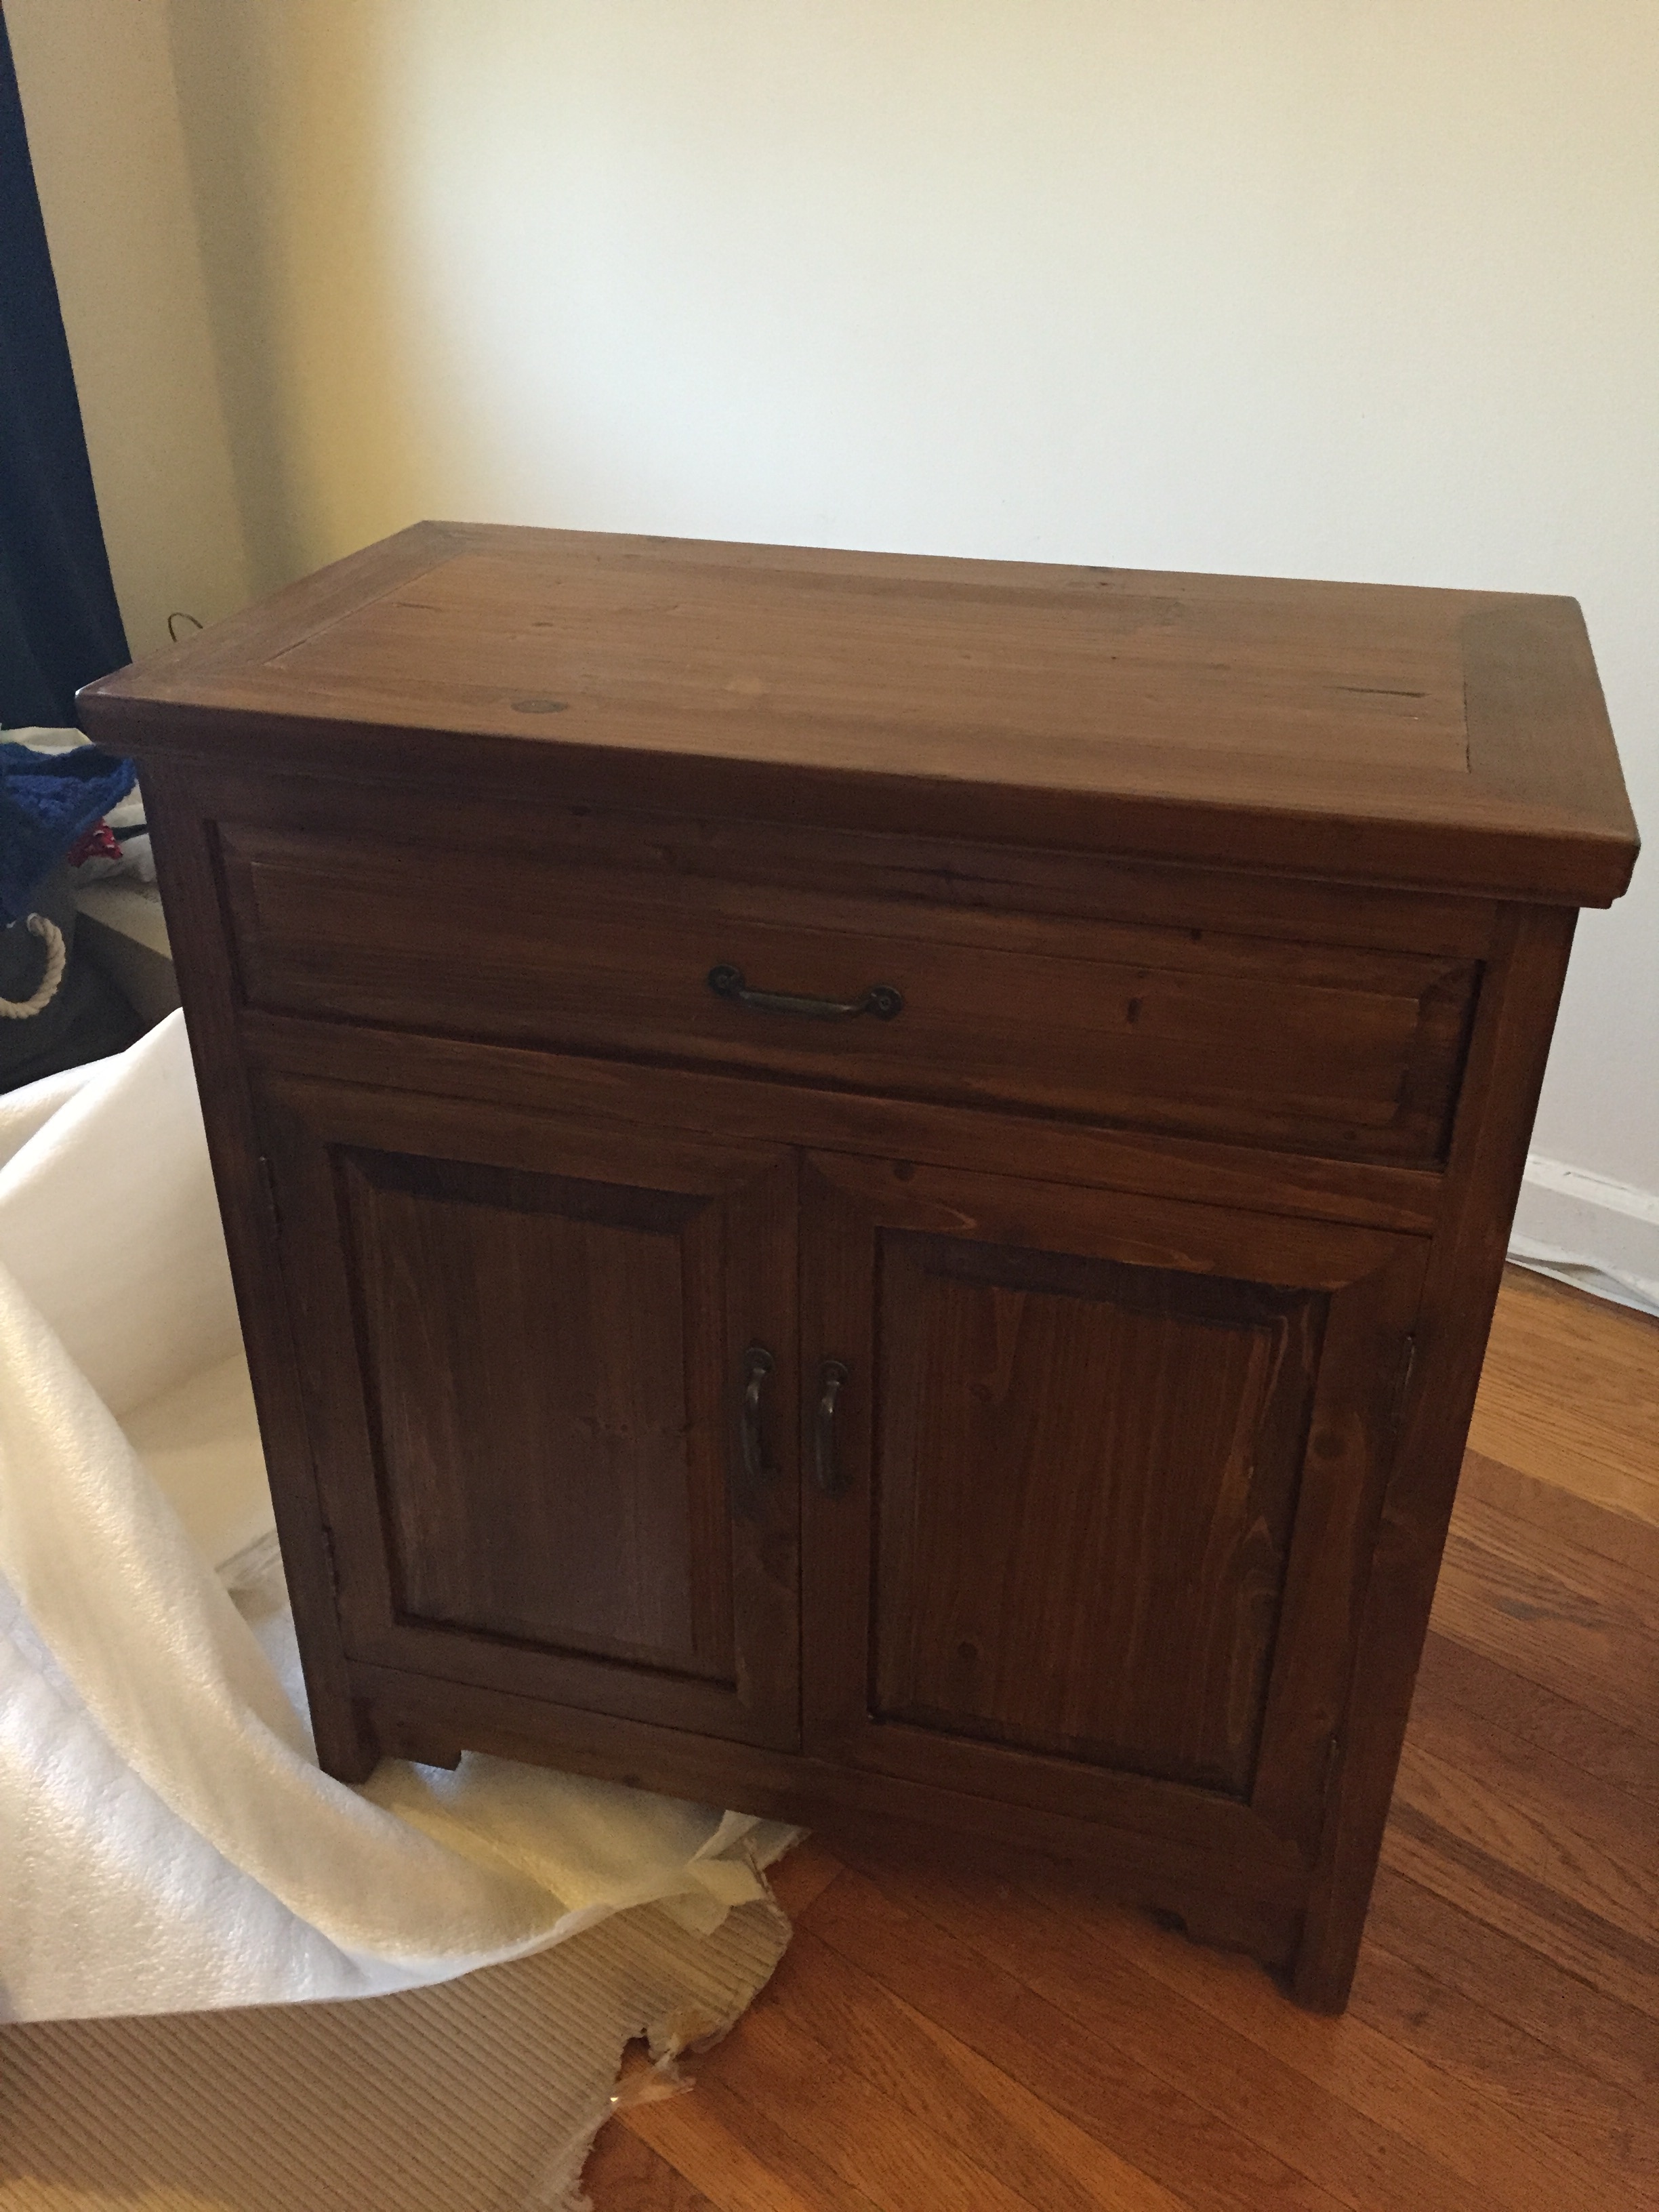
Next up is a quick update in the master bedroom.  We finally managed to find a new nightstand for Jefe; it was made of solid wood with a reclaimed style to it.  It was the first time we ordered anything from Joss & Main and I was thrilled with the outcome.  Everything came pre-assembled and well packaged.  From date of order until delivery was less than 2 weeks!

Jefe's New Nightstand

Jefe's New Nightstand 2

We’ve slowly been switching out the furniture in this room and with the addition of the new nightstand, it admittedly looks a little more mismatched than eclectic at the moment.  That’s always the challenge once you move out of matching furniture sets to create a more curated look; it can look like quite the hodge podge of random items until you get close to the finish line.  Here’s a little refresher (with a few updates) of what I’d eventually love the room to look like:

Sledge Bedroom Revamp

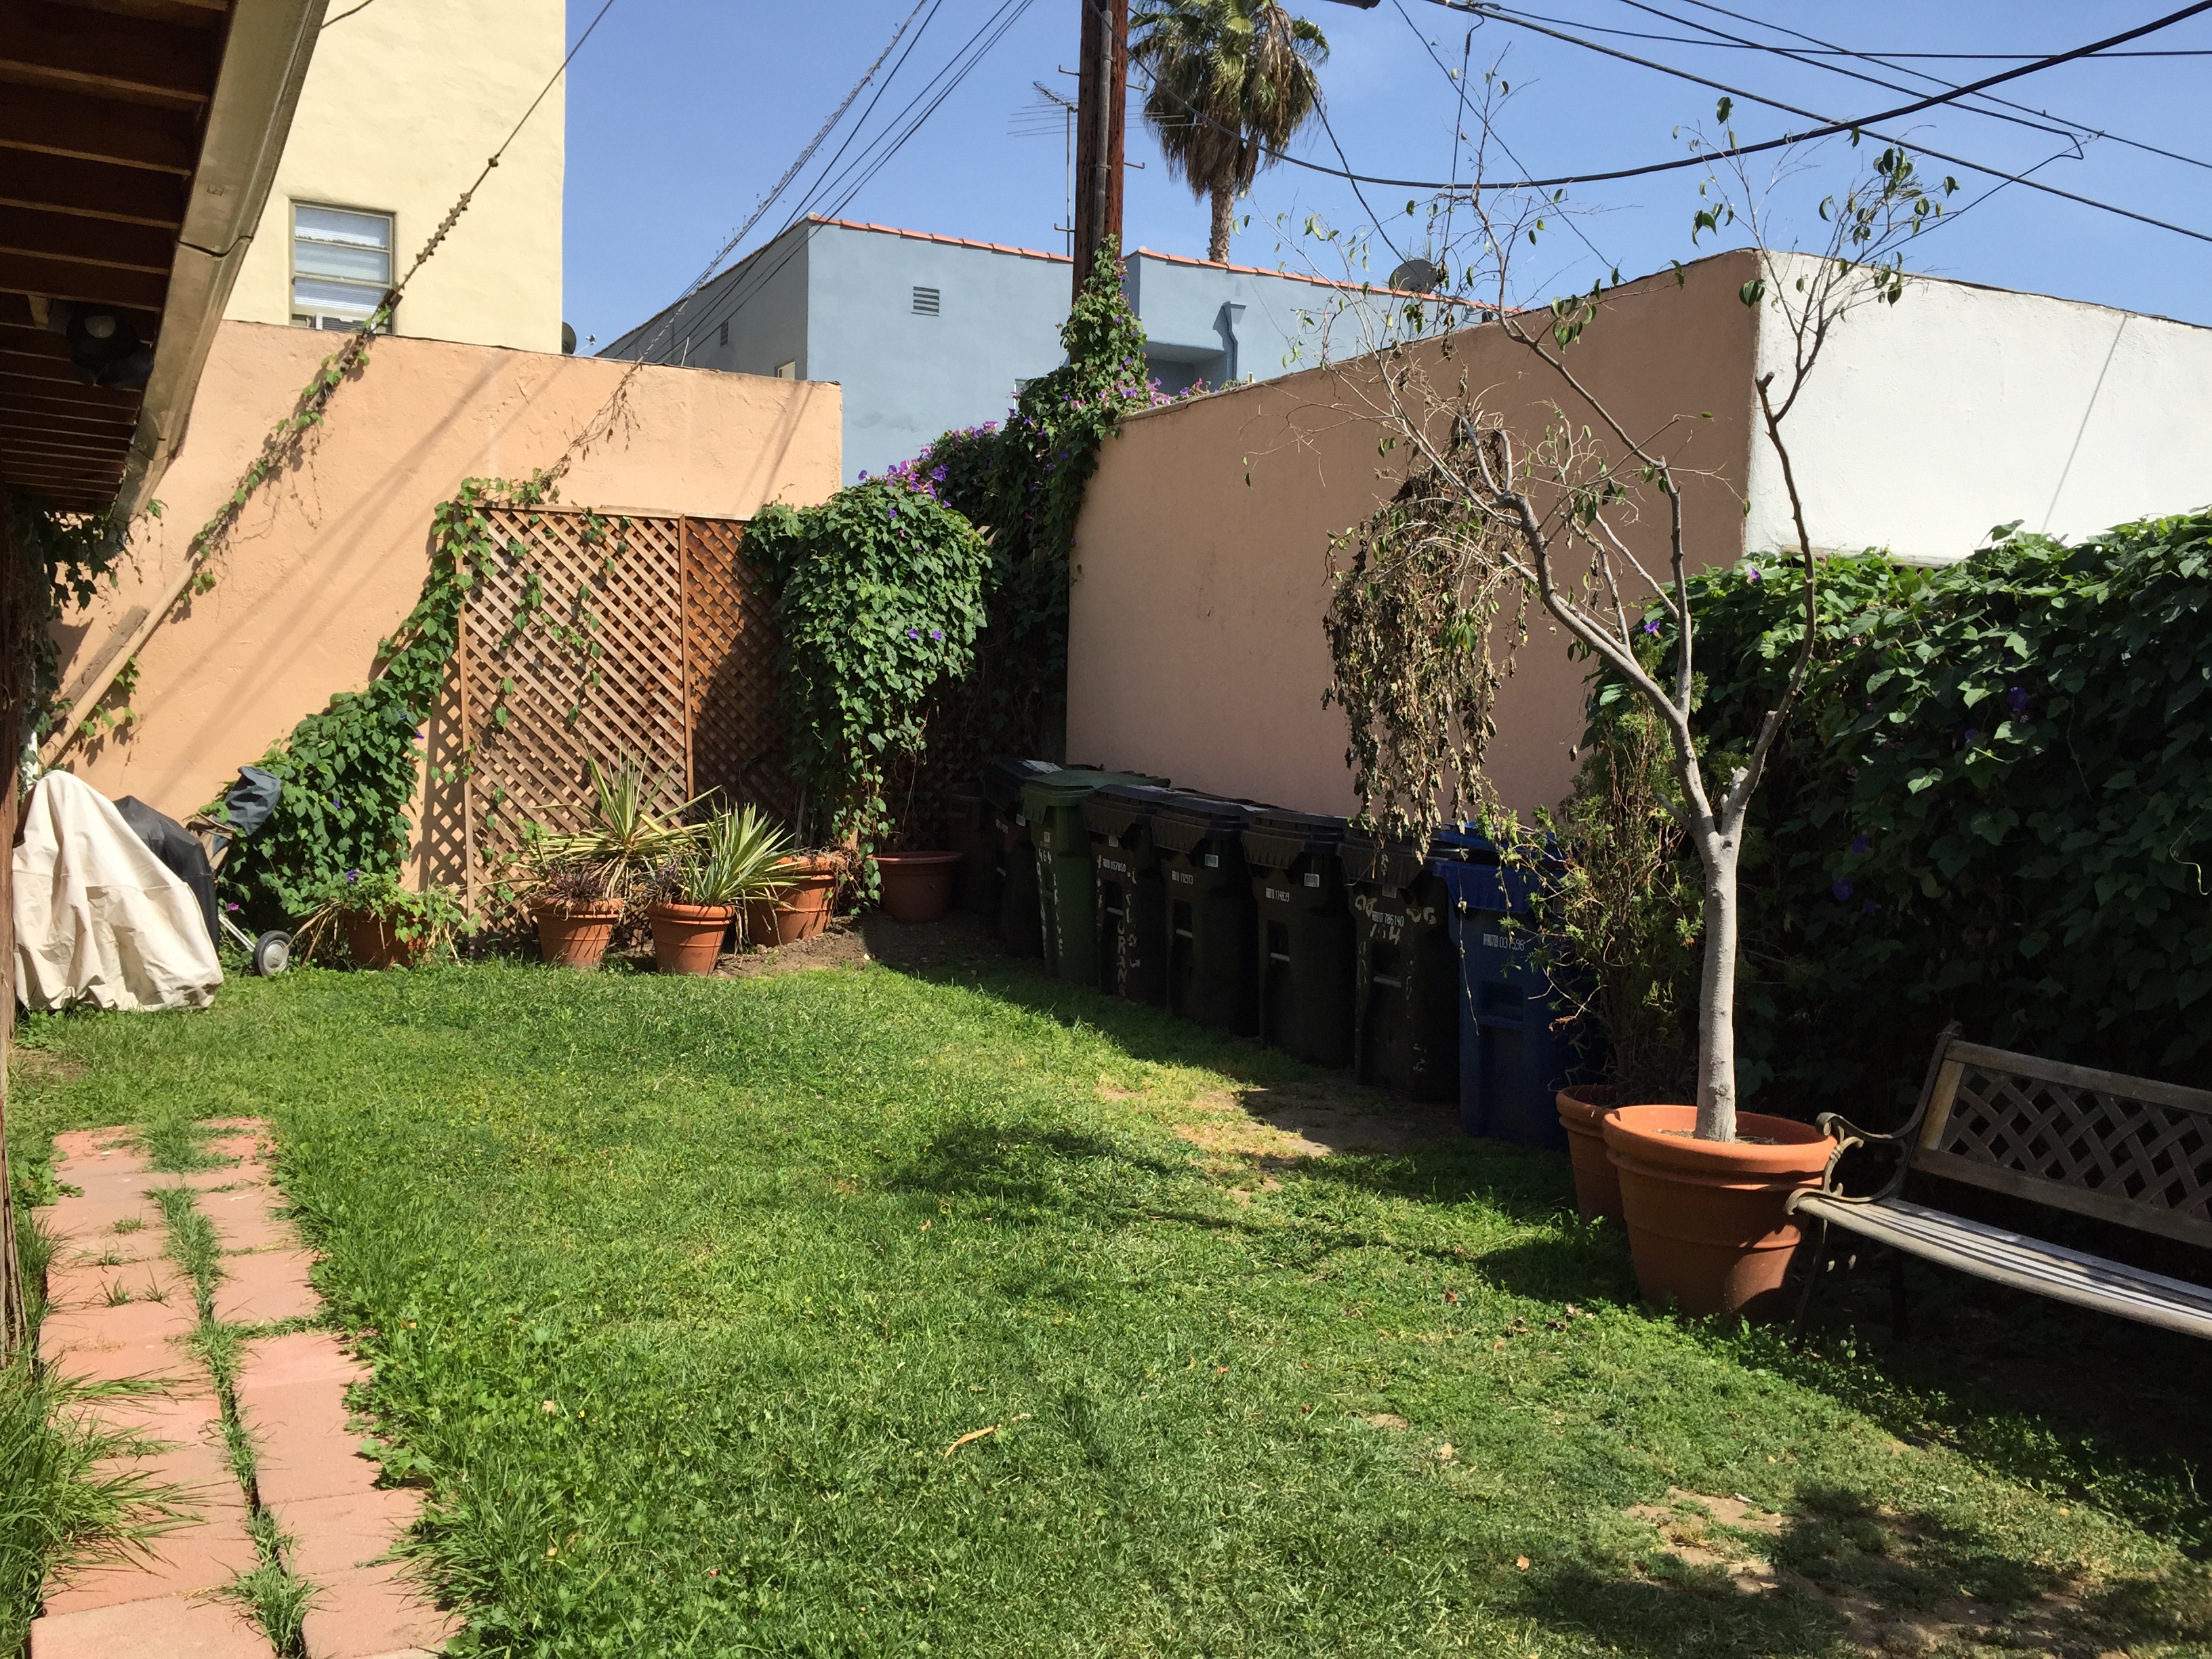
If you’re following along on Instagram, you’ll notice that we’ve made some serious progress in our backyard.  But there’s a few more pieces to come so I’ll just leave you with this little before & after until I can give you the full recap.

BEFORE

Backyard - Before

AFTERIMG_6491

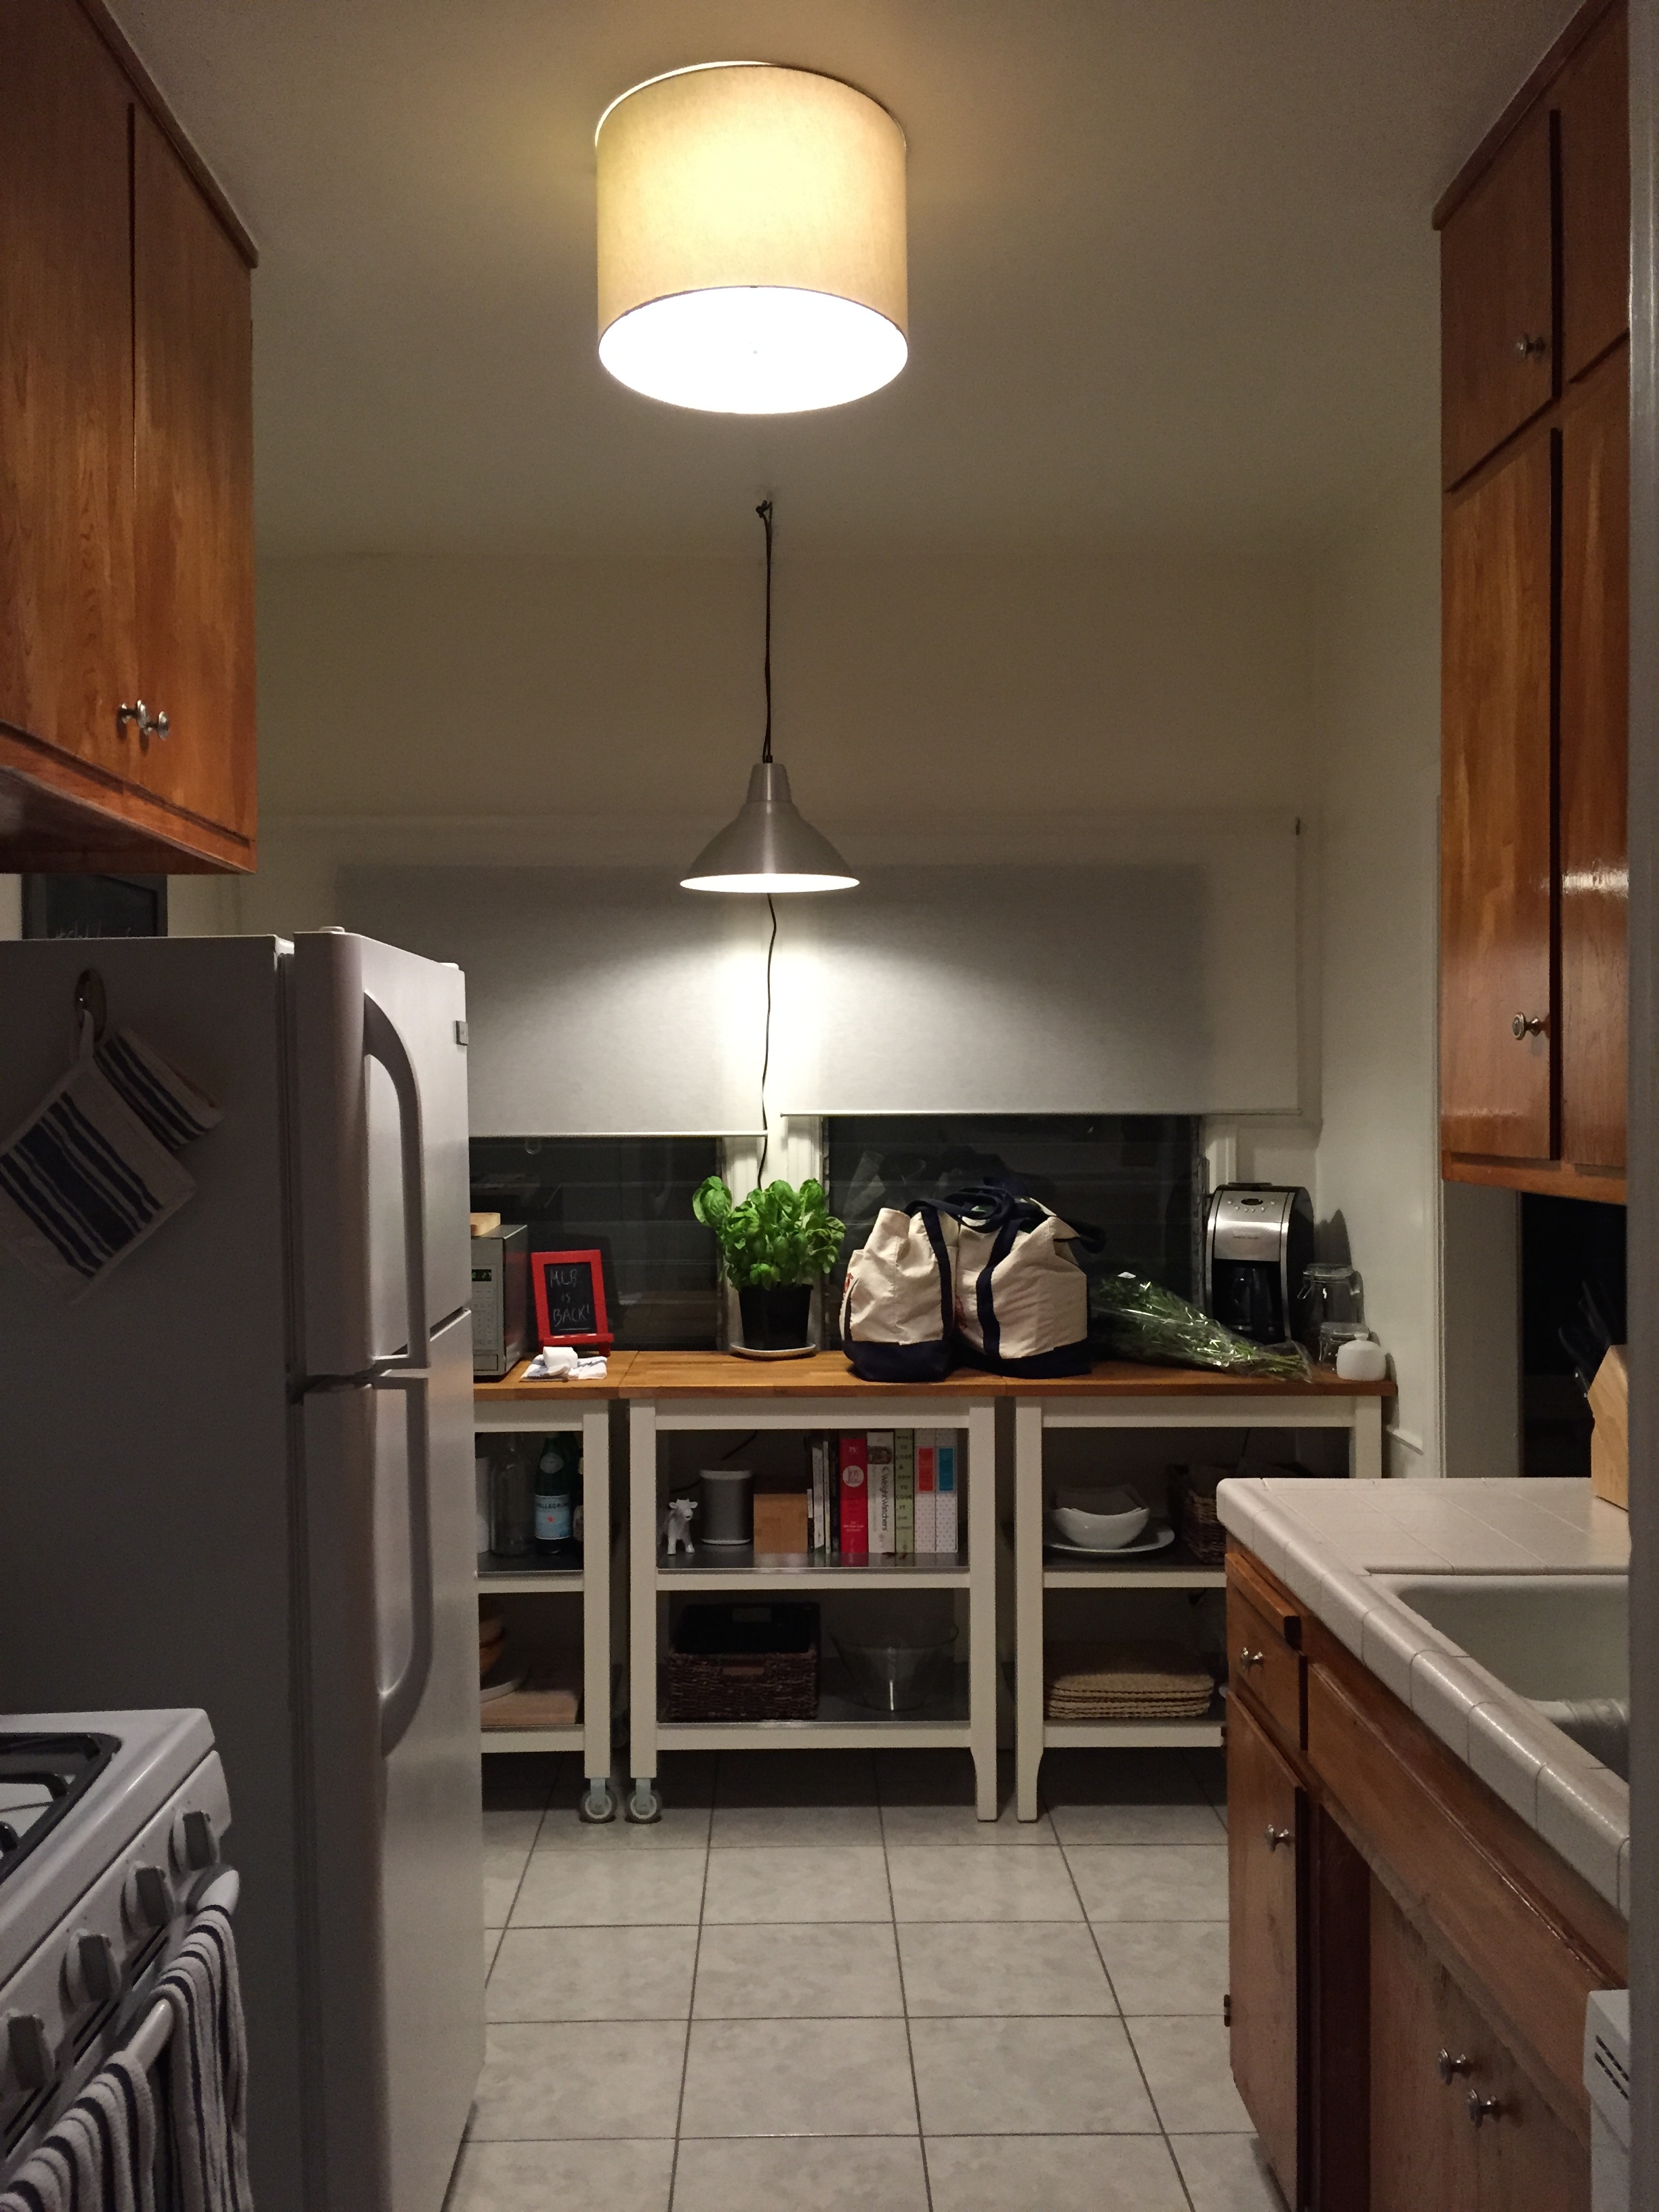
Lastly, I finally got around to tackling the lighting situation in our kitchen.  After a quick trip to HomeGoods during my girls’ weekend, I snagged a cheap, neutral drum shade to cover up that horrendous fake-brass boob light.

BEFORE

Kitchen Boob Light

AFTER

Kitchen Drum Shade

I still need to add a piece of fabric to it so you can’t see the ugly fixture it’s hiding underneath, but just by hanging the shade I can feel such a difference in the room.

Kitchen Drum Shade 2

Jefe and I also made a quick trip to Ikea last Saturday and managed to snag the Foto plug-in pendant and I can FINALLY see what I’m cutting while making dinner!  I need to use some white cord cover so it blends in a little more, but I’m really happy with it.

New Pendant Light

I tried hanging it with the ceiling screws included, but it turns out our ancient drywall is a bit crumbly in the ceiling so 3M hooks to the rescue.  I only wish I had tried them before I put giant holes in my ceiling but that’s what spackle is for, am I right?!

Here’s both lights in action:

New Kitchen Lights

All in all, we’ve been making some great progress around the place.  I’m really please with how it’s turning out!


Advertisement

The Island Archipelago

For those that have been following along on social media, you may have seen this little preview:

Instagram - Kitchen Islands

Jefe and I recently moved and although the pro’s of our new place greatly outweigh the con’s, there were definitely some concessions we made with the new apartment.  One of the top ones is the kitchen and its counterspace (or lack there of).  I have to admit that I was spoiled for 3 years when I had this at my disposal:

Swall Kitchen

And then we moved to our last place, where I thought our counter space was minute.

IMG_4778

But I had no idea how small it could be until we got to our new place:

IMG_3501

IMG_3498

IMG_3505

That’s it!  Those two slivers on either side of the sink are it.  The cart next to the stove is the previous tenant’s.  The saving grace, however, is that there is plenty of empty space under those two windows.  The previous tenant had that little cafe table there, but as we’ll be using our dining table through that doorway to the right for eating, I decided to add wall to wall counter space with a combination of a few islands.

Plan A) to use our existing Forhoja and pickup up a Norden that would almost span the entire space and then add the small Stenstorp to give us some counter surface next to the oven.  (No, this post was not sponsored by Ikea, but if they’re looking to throw something my way, this new apartment dweller wouldn’t be sorry….)

Forhoja

Norden

Small Stenstorp

The Burbank Ikea, however, had other ideas.  The two closest locations no longer carry the Norden and if we wanted it, we’d have to drive an hour plus OR have it shipped.  With it weighing in over 100 lbs, those shipping costs were not really in the budget.

Plan B) Sell our Forhoja, still purchase the small Stenstorp for next to the oven, and purchase 2 more standard Stenstorp islands.

Stenstorp

Although this option is slightly pricier than the initial plan A (which is why we didn’t go with it in the first place despite it being the more aesthetically pleasing), it will end up costing less than had we had the Norden shipped.  And all of it was in stock!

Fast forward a few days, I start assembling them and I read the directions that the butcher block tops need to be treated with Behandla mineral oil (note – it must be the food safe kind, not the stain) no less than 3 times a week for the first few months.  Nothing is ever easy.  As we didn’t know this upon purchase, I had to make a trip BACK to Ikea for the mineral oil.  Luckily, I actually was thinking ahead and chatted up an Ikea employee in the kitchen department.  She advised that you really only need to do one, REALLY great coat the first time, let it sit overnight and then every couple of months as needed.

Seeing as these islands were purchased to hold all of our smaller appliances such as our microwave and coffee maker, it was music to my ears that I wouldn’t have to move them 3+ times a week just to brush on some oil.

So for the last two weeks, the islands have been assembled, but the tops covered with tea towels until I was actually home long enough to tackle the job.

Finally last weekend I found enough time to hunker down and get it done.  First I had to empty the shelves I had already stocked to avoid coating everything in sawdust.

IMG_4824

IMG_4823

(Apologies for all the lame iPhone photos – after spending the last few weeks packing and unpacking, the last thing I felt like doing was searching through piles of stuff for my camera and tripod.)

Per the Ikea employee’s suggestions, I started with a fine 220 sanding block on the surfaces as well as the smaller Stenstorp’s shelves.  I wiped any dust and splinters off the top.  As I had the time, I figured I’d crank out two coats in one night just for the added protection so I cracked open the Behandla and painted one coat over each island top with a foam brush.  Per the can’s instructions, I let sit for 15 minutes, wiped with a cloth, and then let the counters dry for 3 hours.

IMG_4828

IMG_4821

This first application really helped me figure out the right consistency for how thick my coats should be.  After I let them dry, I decided to do the one heavy coat I was recommended.  I did another round of sanding and then painted on the oil nice and thick and let it sit overnight.  Come morning, I very gently used an even finer 320 sanding block to clean off the excess layer.

With each application, the tops have gotten slightly darker and smoother.  So just for added measure (and as we had no plans for Sunday morning), I did one final thin coat that morning.  I let it sit for 15 minutes, wiped with the cloth and let them dry for another 2-4 hours.

So far, I’m really pleased with the end result.  I don’t feel like I’ll need to oil them for a few months, but will keep an eye on them for now.

IMG_4836

IMG_4840

IMG_4839

IMG_4845

IMG_4844

We still have our Forhoja as we realized that it’s been nice to not cover up half of our new counters with a microwave.  In doing so we discovered that *technically* we have enough room for one more Stenstorp under the windows.

IMG_4842

It will mean 3 lined up end to end, giving us 93 continuous inches of counter space.  Although it’s not totally necessary, I feel like it’s what the space needs to not feel cramped and we’d sell the Forhoja to help offset our costs.

It’s admittedly a lot of islands for one space, but aesthetically they’re in line with our style and I know that should we need one or two in a future home, they will transition well.  They’re also some of the most popular kitchen carts sold by Ikea so I’m confident we could resell them on Craigslist should we find that we don’t need them in said future home.

So project #1 of the new apartment down.  Many more to go.

Decorating for the Soul

First and foremost – I’d like to send out a little love in to the universe as we’ve reached Sledgehammer with Style’s 1st BLOGIVERSARY!  I can’t believe I’ve been putting my random thoughts out in to the interweb universe and a few of you have actually read them and come back for more!  Thank you everyone for keeping me inspired to keep writing and decorating!

Speaking of decorating, today’s post is about how decorating can be therapeutic and great for the soul.  Who needs a shrink when you’ve got a 25% off coupon for Crate & Barrel?!  Such is the case for today’s “client”.  My best friend Harriet recently went through a life change when she and her husband amicably went their separate ways.  She kept their place in Boston and in an effort to get a fresh start, decided she wanted to revamp her bedroom.

So here’s where we are starting: a gender neutral space populated mostly with post-college Ikea furniture.

Before 5

Before 1

Before 2

Before 3

Before 4

So once the big split happened, the first thing I recommended to her is to rearrange her furniture.  It was the quickest and easiest way to get a new perspective on things without spending a dime.  So while we planned her new room, she literally flipped her perspective 180 degrees.  And what a change!  It felt like a whole new room.

Next up, she decided on her point of inspiration for the design: a peacock feather.  It holds some serious sentimental value for us as it was part of our sorority in college, but that doesn’t mean I’m going to let her plaster the room with feathers and dip everything in peacock blue.  So we took the elements we liked such as that deep rich blue as a starting point.

Since it’s such a bold color, we decided that it could be an accent color while we would create a room around it with soft, neutral colors to give her a calming haven to retreat to at night.  So here’s my first run at a plan for her room:

Slide1

This is also the point when, despite her protests, I convinced her to paint.  It’s the quickest, cheapest way to totally transform a space.  We decided on a pale purple which would accent the peacock blue/teal accents we had been eyeing.  But as all designs go, we didn’t quite agree on which purple that was.  She’s a bit more of a girlie girl and leaned more towards a shade with pink undertones.  I recommended she pick up some test pots of a few colors and try them out before she paint the whole room in a color we (I) weren’t totally convinced was just right.  Here’s the tester:

IMG_20130915_133019

We both agreed that the one on the left was way too pink.  The one on the right is a bit more in line with what we were thinking.  So a few weeks later, she bit the bullet, bust out the credit card for some new furniture AND tackled painting the whole room herself with one fabulous finished product (I apologize for the photos as we haven’t had a chance to do some serious “after” photos yet):

IMG_20131001_084310

IMG_20131001_084323

Now we had some serious momentum to keep rolling.  The dresser is the Sorano 6-Drawer Dresser from Crate & Barrel.  It reminds me of driftwood; I’m totally in love with it.  Harriet and I went through a LOT of rug choices.  She was particularly found of this Sonnet Area Rug in turquoise from Home Decorators Collection:

Sonnet Rug

But ultimately, she decided on the Jasper Area Rug in aqua from Crate & Barrel.  And to round out her shopping cart, she chose this amazingly comfortable Haven Chaise which she had fallen in love with during a window shopping trip in LA with yours truly.

Then after a long search for non-white bedding that wouldn’t show dog fur (she has an adorable long-haired dachshund named Snickers), Harriet picked some great bedding from West Elm: the Braided Matelasse Duvet Cover.

West Elm Bedding

So after some tweaking thanks to a new paint color and some new design decisions, here’s the updated mood board for the space:

Slide1

Then thanks to the Red Sox fabulous season and a spot in the playoffs, Jefe and I took off for Boston for a baseball game and some much needed time with my bestie.  Unfortunately for her, the West Elm duvet was out of stock online.  I, however, live around the corner from the store…. so my carry-on ended up filled to the brim with bedding instead of clothes.

While we were enroute, Harriet had a great bed frame delivered.  It’s got storage for those bulky sweaters needed to bear the Boston winters.  It’s from a local retailer, Jordan’s.

Once we landed in Boston, Jefe had to take a work call so Harriet and I took a quick jaunt to Home Goods where we made an INCREDIBLE score.  We found a pair of AMAZING lamps that matched her new rug exactly.  And they were the perfect way to bring some of the pale, minty teal over to the other side of her room on her future beside tables.  Check out one of these gorgeous, curvy ladies (note that we ensured that we could fix the crooked shade before she purchased):

IMG_3616

What an amazing score.  Under $100 for BOTH of them.  We were stoked.  And Jefe gave us quite the look when we both walked in the front door, arm in arm with our lamps.  We looked like little girls with their arms caught in the cookie jar.

So now our search has turned to sheets, nightstands and a side table for her chaise and some artwork.  We both love the idea of black and white photos throughout the whole room; we just have to find the right ones.

And while we were there, we discussed a few other areas of her place we’d love to tackle down the road.  I love a good project so there will definitely be more to come!

Isn’t It Revealing?

Yesterday after a great brunch with Jefe’s family, we FINALLY tackled some finishing touches to his parents’ place that were long overdue.

First we started in the office.  A few frames from Aaron Brothers and 3 college pennants later, and we’ve got a wall of artwork.  We choose a few long, skinny frames that were meant for 3 photos.  We ditched the precut mat, attached the pennants to the white backing with a little painters tape, and closed them up.  These 3 pre-made frames cost us a LOT less than the custom ones and they seemed to work just fine.  The pennants happen to represent the alma maters of Jefe, his father, and his brother so it makes it all the more meaningful.  What do you think?!  (Please excuse the bad lighting as I wasn’t planning to blog about this quite yet, but couldn’t hold in the incredible results….)

photo

Next we moved to the right, in the area above the desk.  Luckily, Jefe’s dad already had some great, classy artwork already framed that we popped up there.  It’s a print commemorating when the Red Sox won the World Series in 2004.    Just around the corner to the right, Jefe found this stellar metal sign – an old ad with Ted Williams.  It’s got great coloring, has vintage style and is sports-themed (Have I mentioned this is a die-hard Red Sox family?!)

Last week we relocated a plant from their dining room to really it give it an old-school library feel.  And that sucker has THRIVED.  It’s grown at least 6 inches in the last week, thanks to the direct sunlight.

And without further ado, the big picture, literally:

image

We haven’t tackled the artwork on the accent wall yet as we’re waiting to get a large poster custom framed.  Once that’s up, we’ll finish it off with Jefe’s dad’s diploma and a small gallery wall of Sox themed artwork above the globe.

Moving down the hall to the guest room, we finally tackled hanging the great Target mirror we ordered.  Much to our surprise, it was much lighter than anticipated.  It was also NOT painted red – it was the perfect shade of wood to match the bed frame.  Go figure.  So that was quite the happy accident.  And in the spirit of using what you’ve got, we hung a great picture of Golden Gate Bridge that Jefe’s parents already had up on the wall above the bookshelf.

image_4

We still have a few more to things to go in this room including his mother’s rug and painting from Ecuador as well as a planned family photo gallery wall.

But here’s the **almost** finished product:

photo

More to come soon as we’ve got our momentum going to really get this project finished.  And yes, I’ve recently become obsessed with the iPhone’s panoramic option.  It really is a quick and dirty way to get wide-angle shots in VERY tight spaces – an overworked blogger’s dream.

Are any of you trying to wrap up any unfinished projects?  How did you find your motivation?

Coming Attractions

Here’s just a sneak peek at what I have coming for you this week:

-A new reader Q & A from my friend Anne about her gorgeous pre-war apartment in Manhattan revolving around some modern art:

iPhone Pics 062

-A progress post on Gloria and Harry’s office and guest bedroom (and here’s a sneak peek!):

20130506-103236.jpg

20130506-103318.jpg

-A reveal of our newly updated kitchen!  So stay tuned for some exciting new stuff coming your way this week; I can’t wait to share!