Hiatus & a Project!

So I inadvertently have been taking a blogging hiatus.  Work has been nuts and as of my last post, Jefe and I were traveling.  A LOT.

Since then, I’ve felt less than inspired as I grew so tired of seeing the same stuff online recycled over and over and felt the pressure that if something wasn’t “Pinterest Perfect” that there was little point in blogging. But I do love writing.  And designing – be it for myself or my limited group of family and friends who are crazy enough to unleash me on their own homes.

With that all said, I have a new life update that will include a LOT of projects in the future that I will do my best to write about and recap in semi-real time: Jefe and I moved!  Now, don’t get too excited dear East Coasters, we haven’t moved that far (yet).  We’re only went a mile east and 2 blocks north of our last apartment.

You may ask – why bother if it’s really that close in the same hood?  #1 = square footage.  We gained over 300 extra square feet back by upgrading to a 2 bedroom.  #2 – PARKING.  I finally have a garage space to call my very own!  No more fighting for a spot and worrying about early morning moves to avoid street cleaning.

There’s also a million other reasons like the 3 walk-in closets, a backyard, etc.  But I’ll let the pictures do the talking.  And note these are all 100% before pictures as we’re still unpacking boxes and I’m not quite ready to share the place in it’s current state.  I also have HUNDREDS of ideas of how to make this place a true stunner that we can call home.

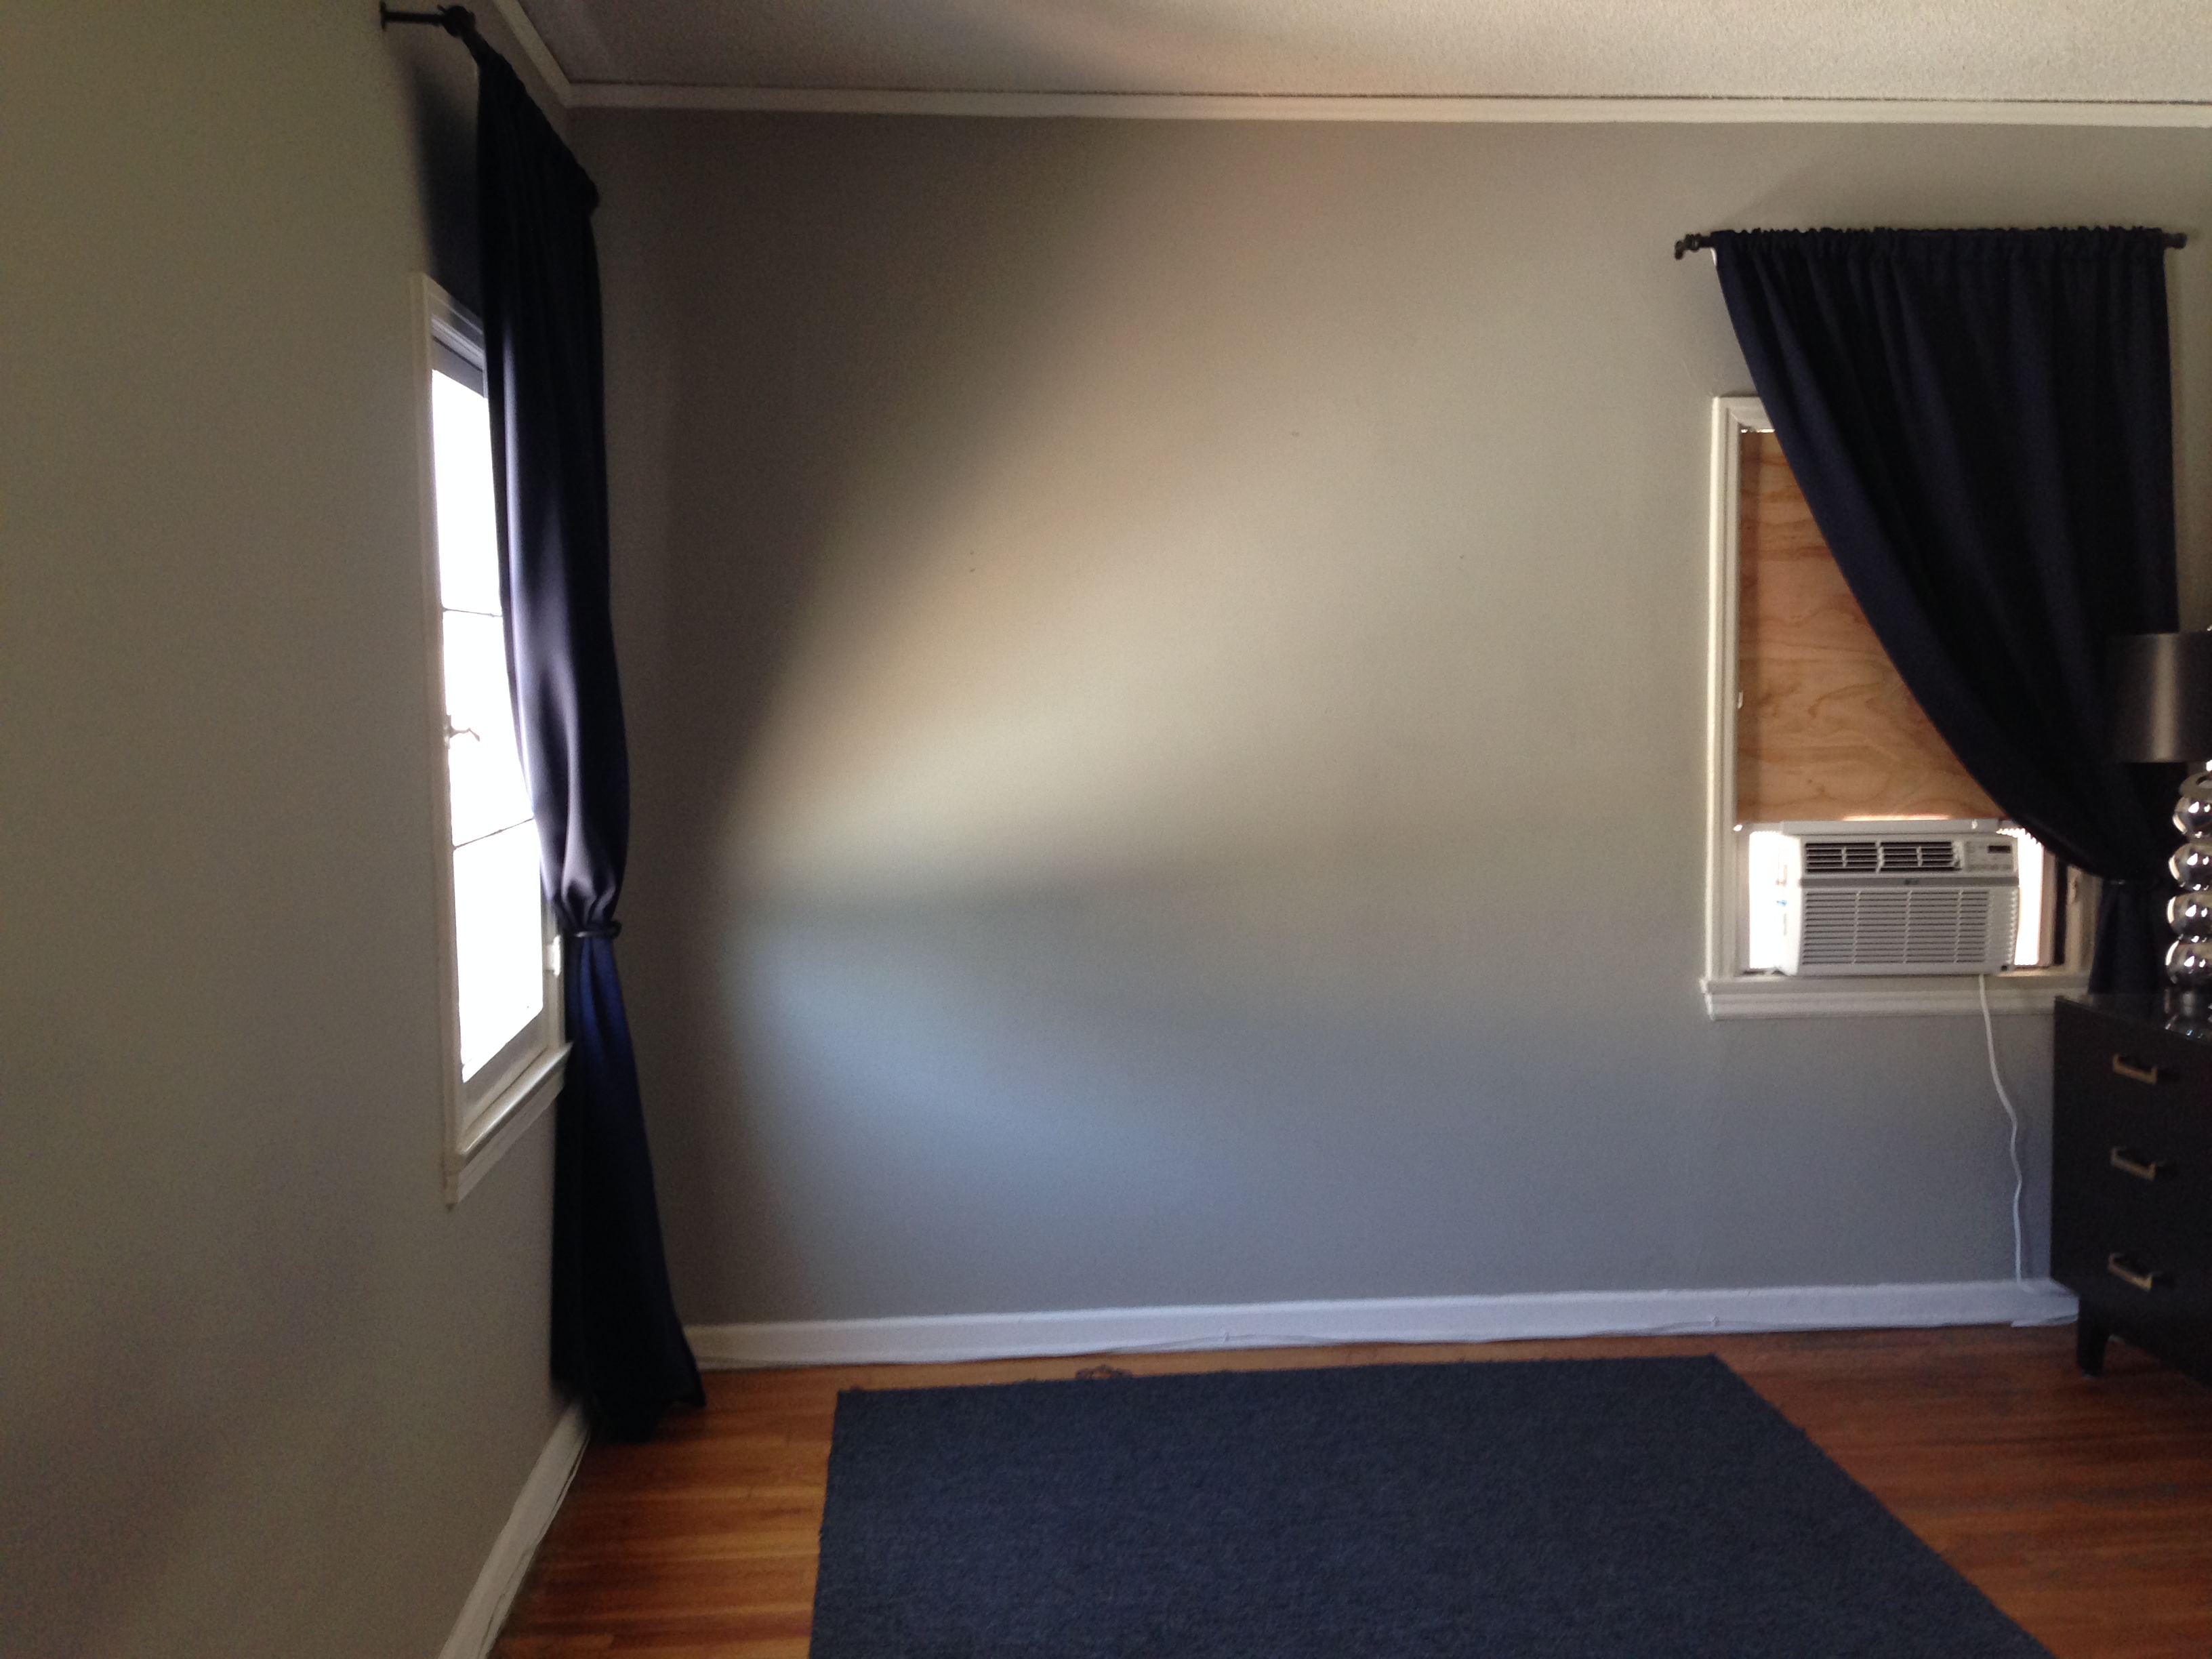
Bedroom: It was painted grey by the previous owner.  And we would have loved to keep it.  But our landlord is pretty strict about paint and we didn’t want to inherit the financial responsibility of required professional painters down the line.  So white it will be (But we’re keeping the navy blackout curtains.  Nap time just got 1,000 times better.)

IMG_3462

IMG_3463

IMG_3467

IMG_3469

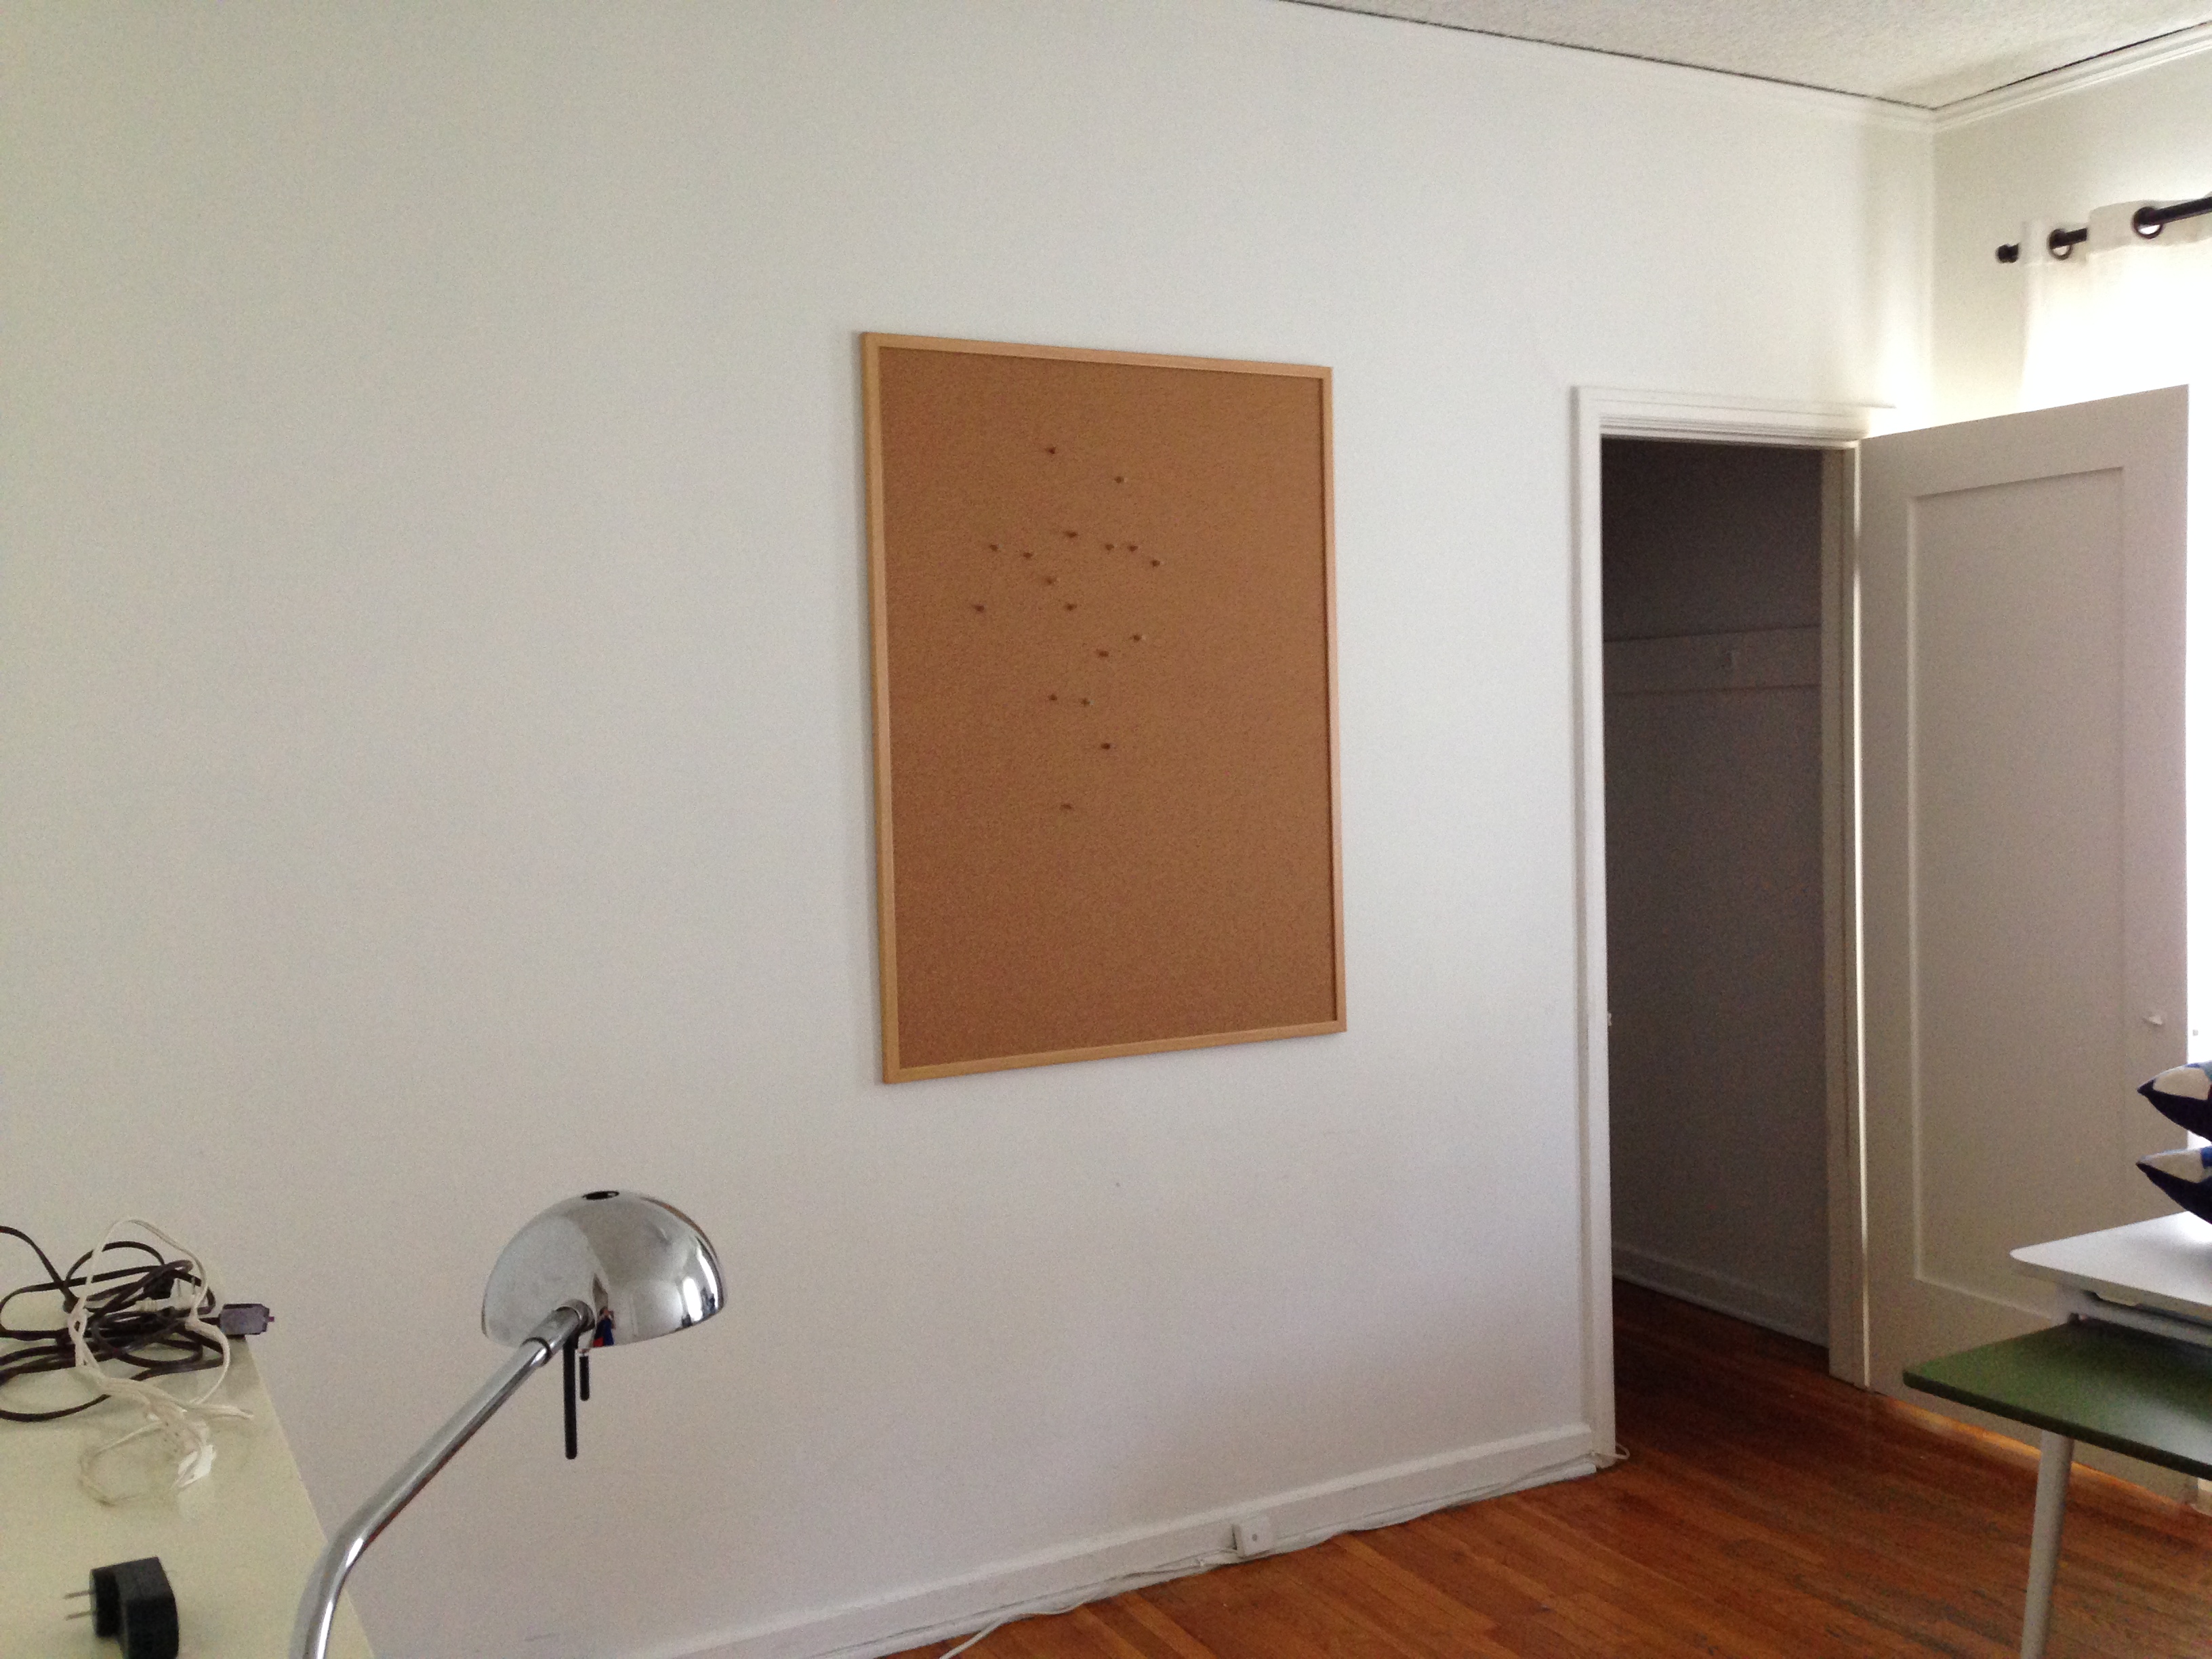
Second bedroom: Our future office.  I’m already worried this is going to turn in to a bobblehead museum, but one challenge at a time Sledge.

IMG_3475

IMG_3471

IMG_3474

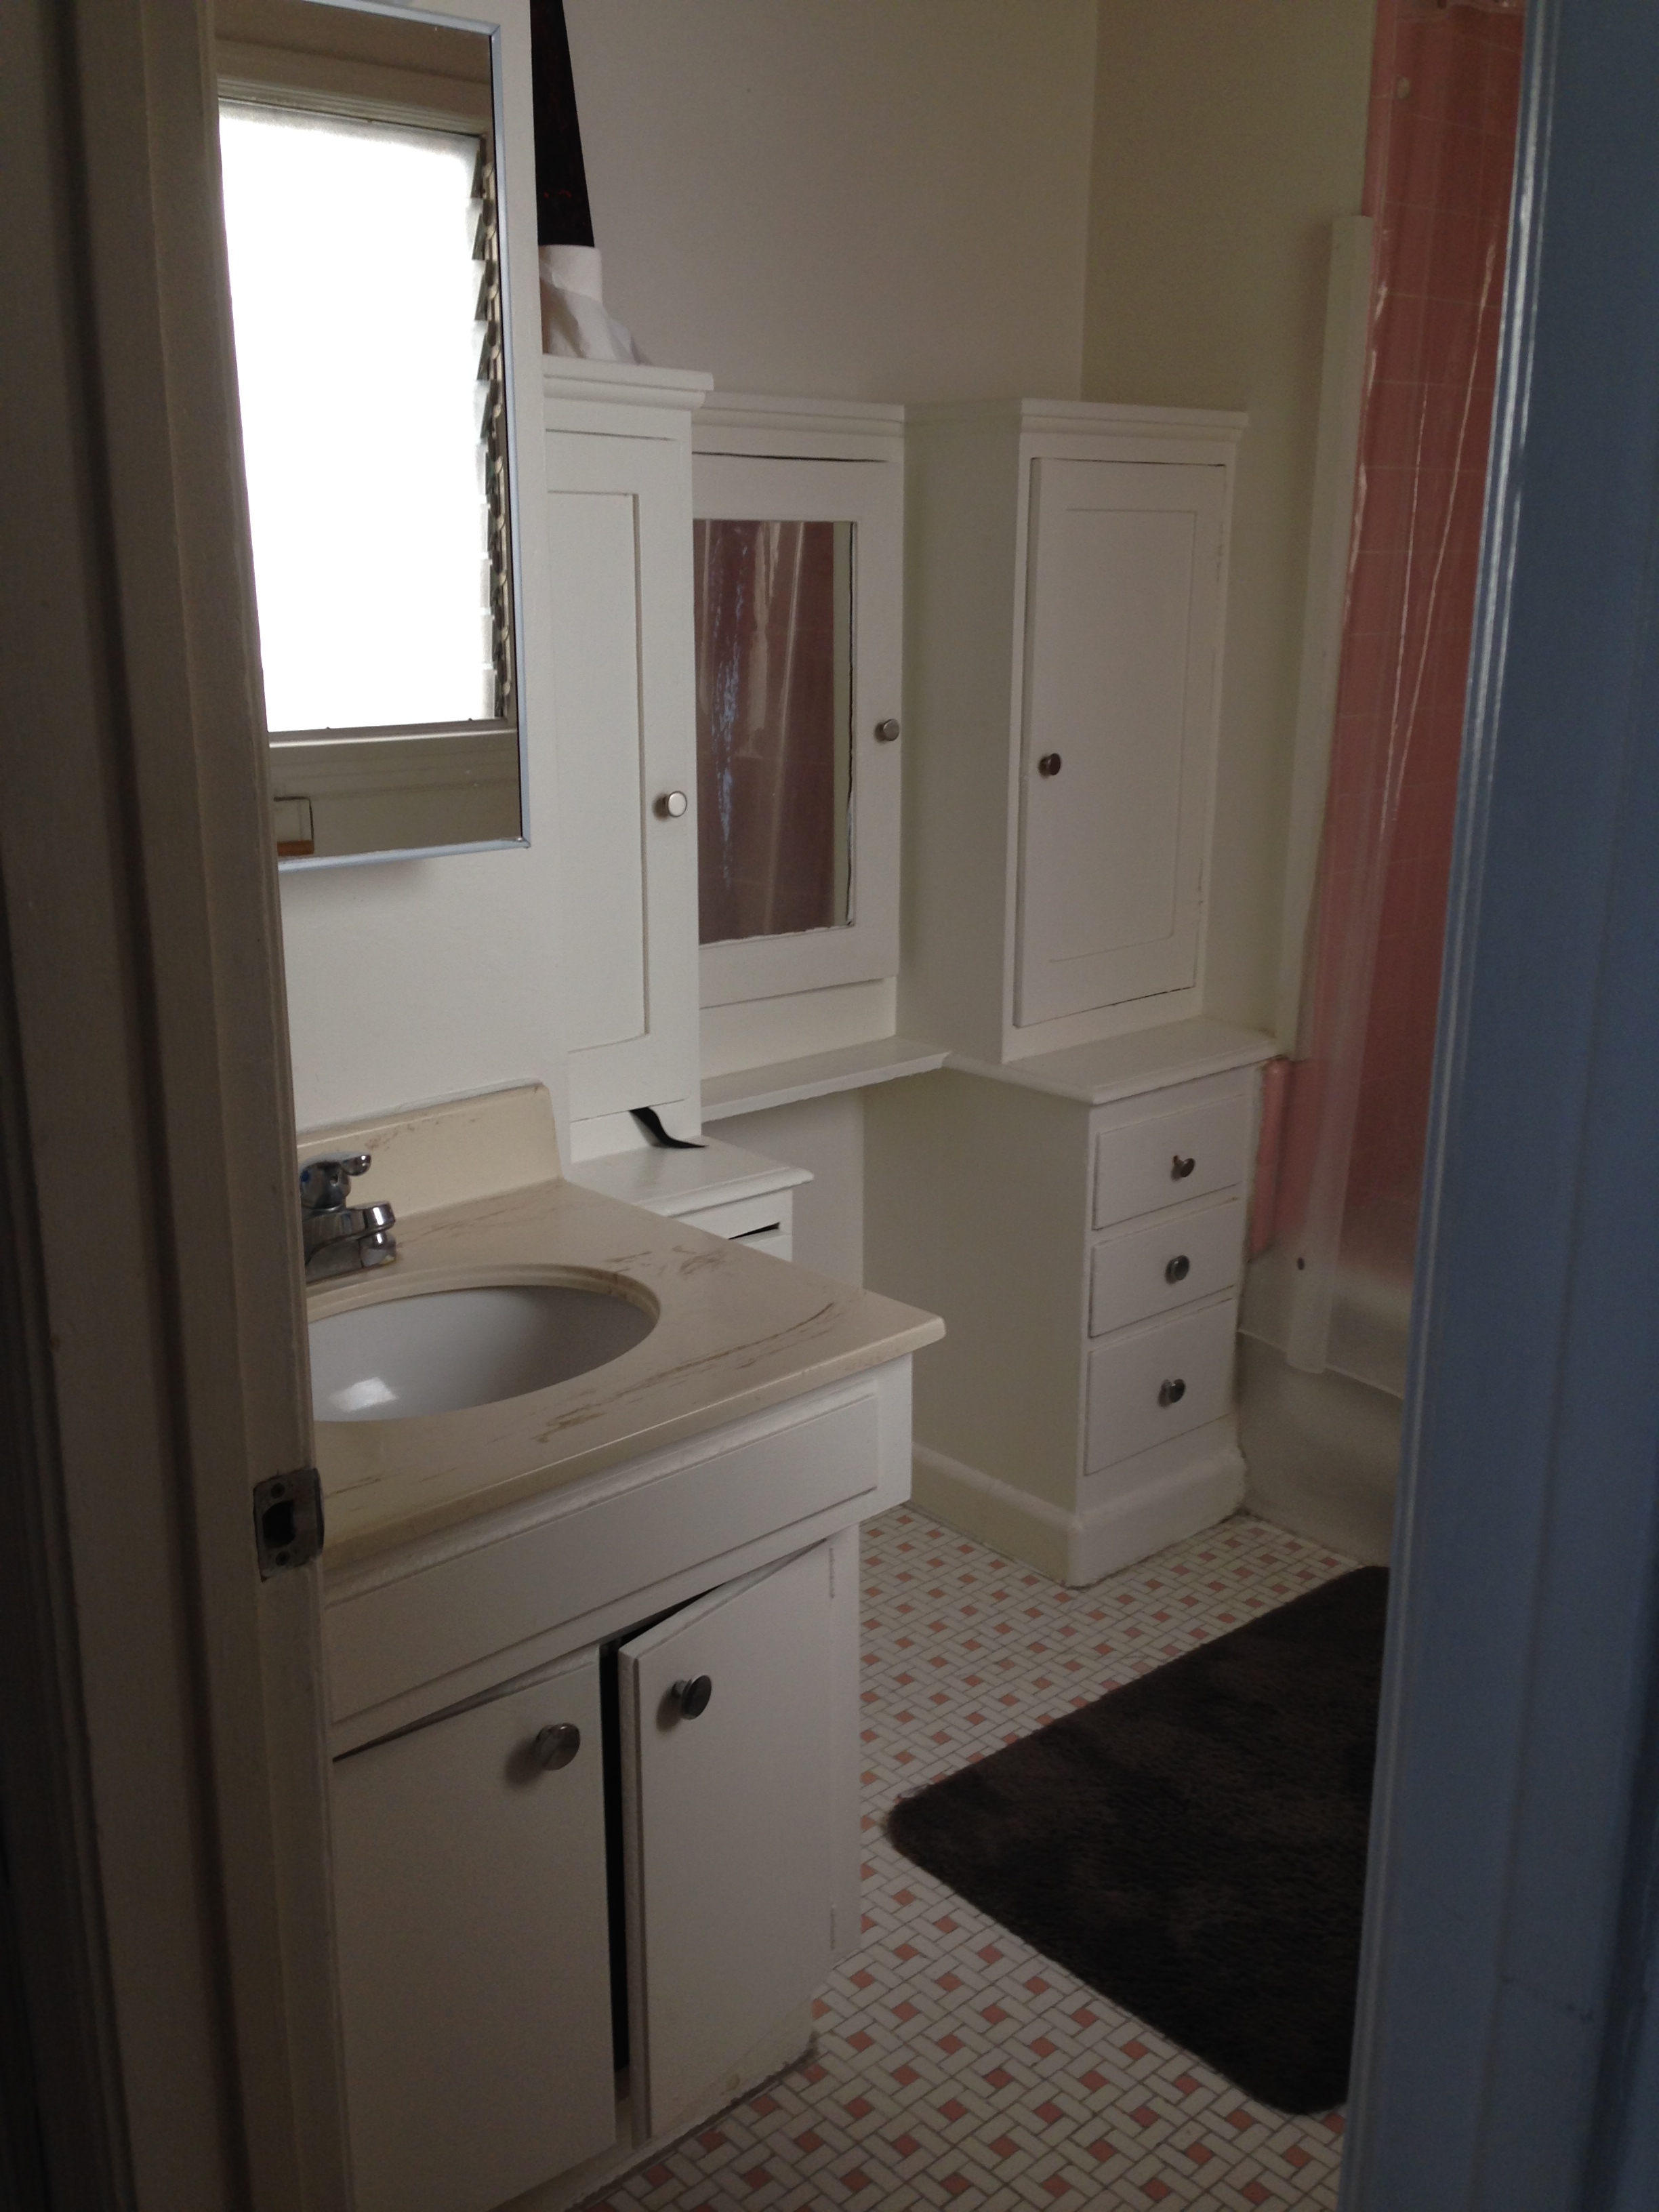
Bathroom: So this may be the one down side – we’re downgrading from 1.5 pure white bathrooms to a single with pink tile. Luckily, a non-clear shower curtain can cover 75% of it.

IMG_3483

IMG_3484

IMG_3486

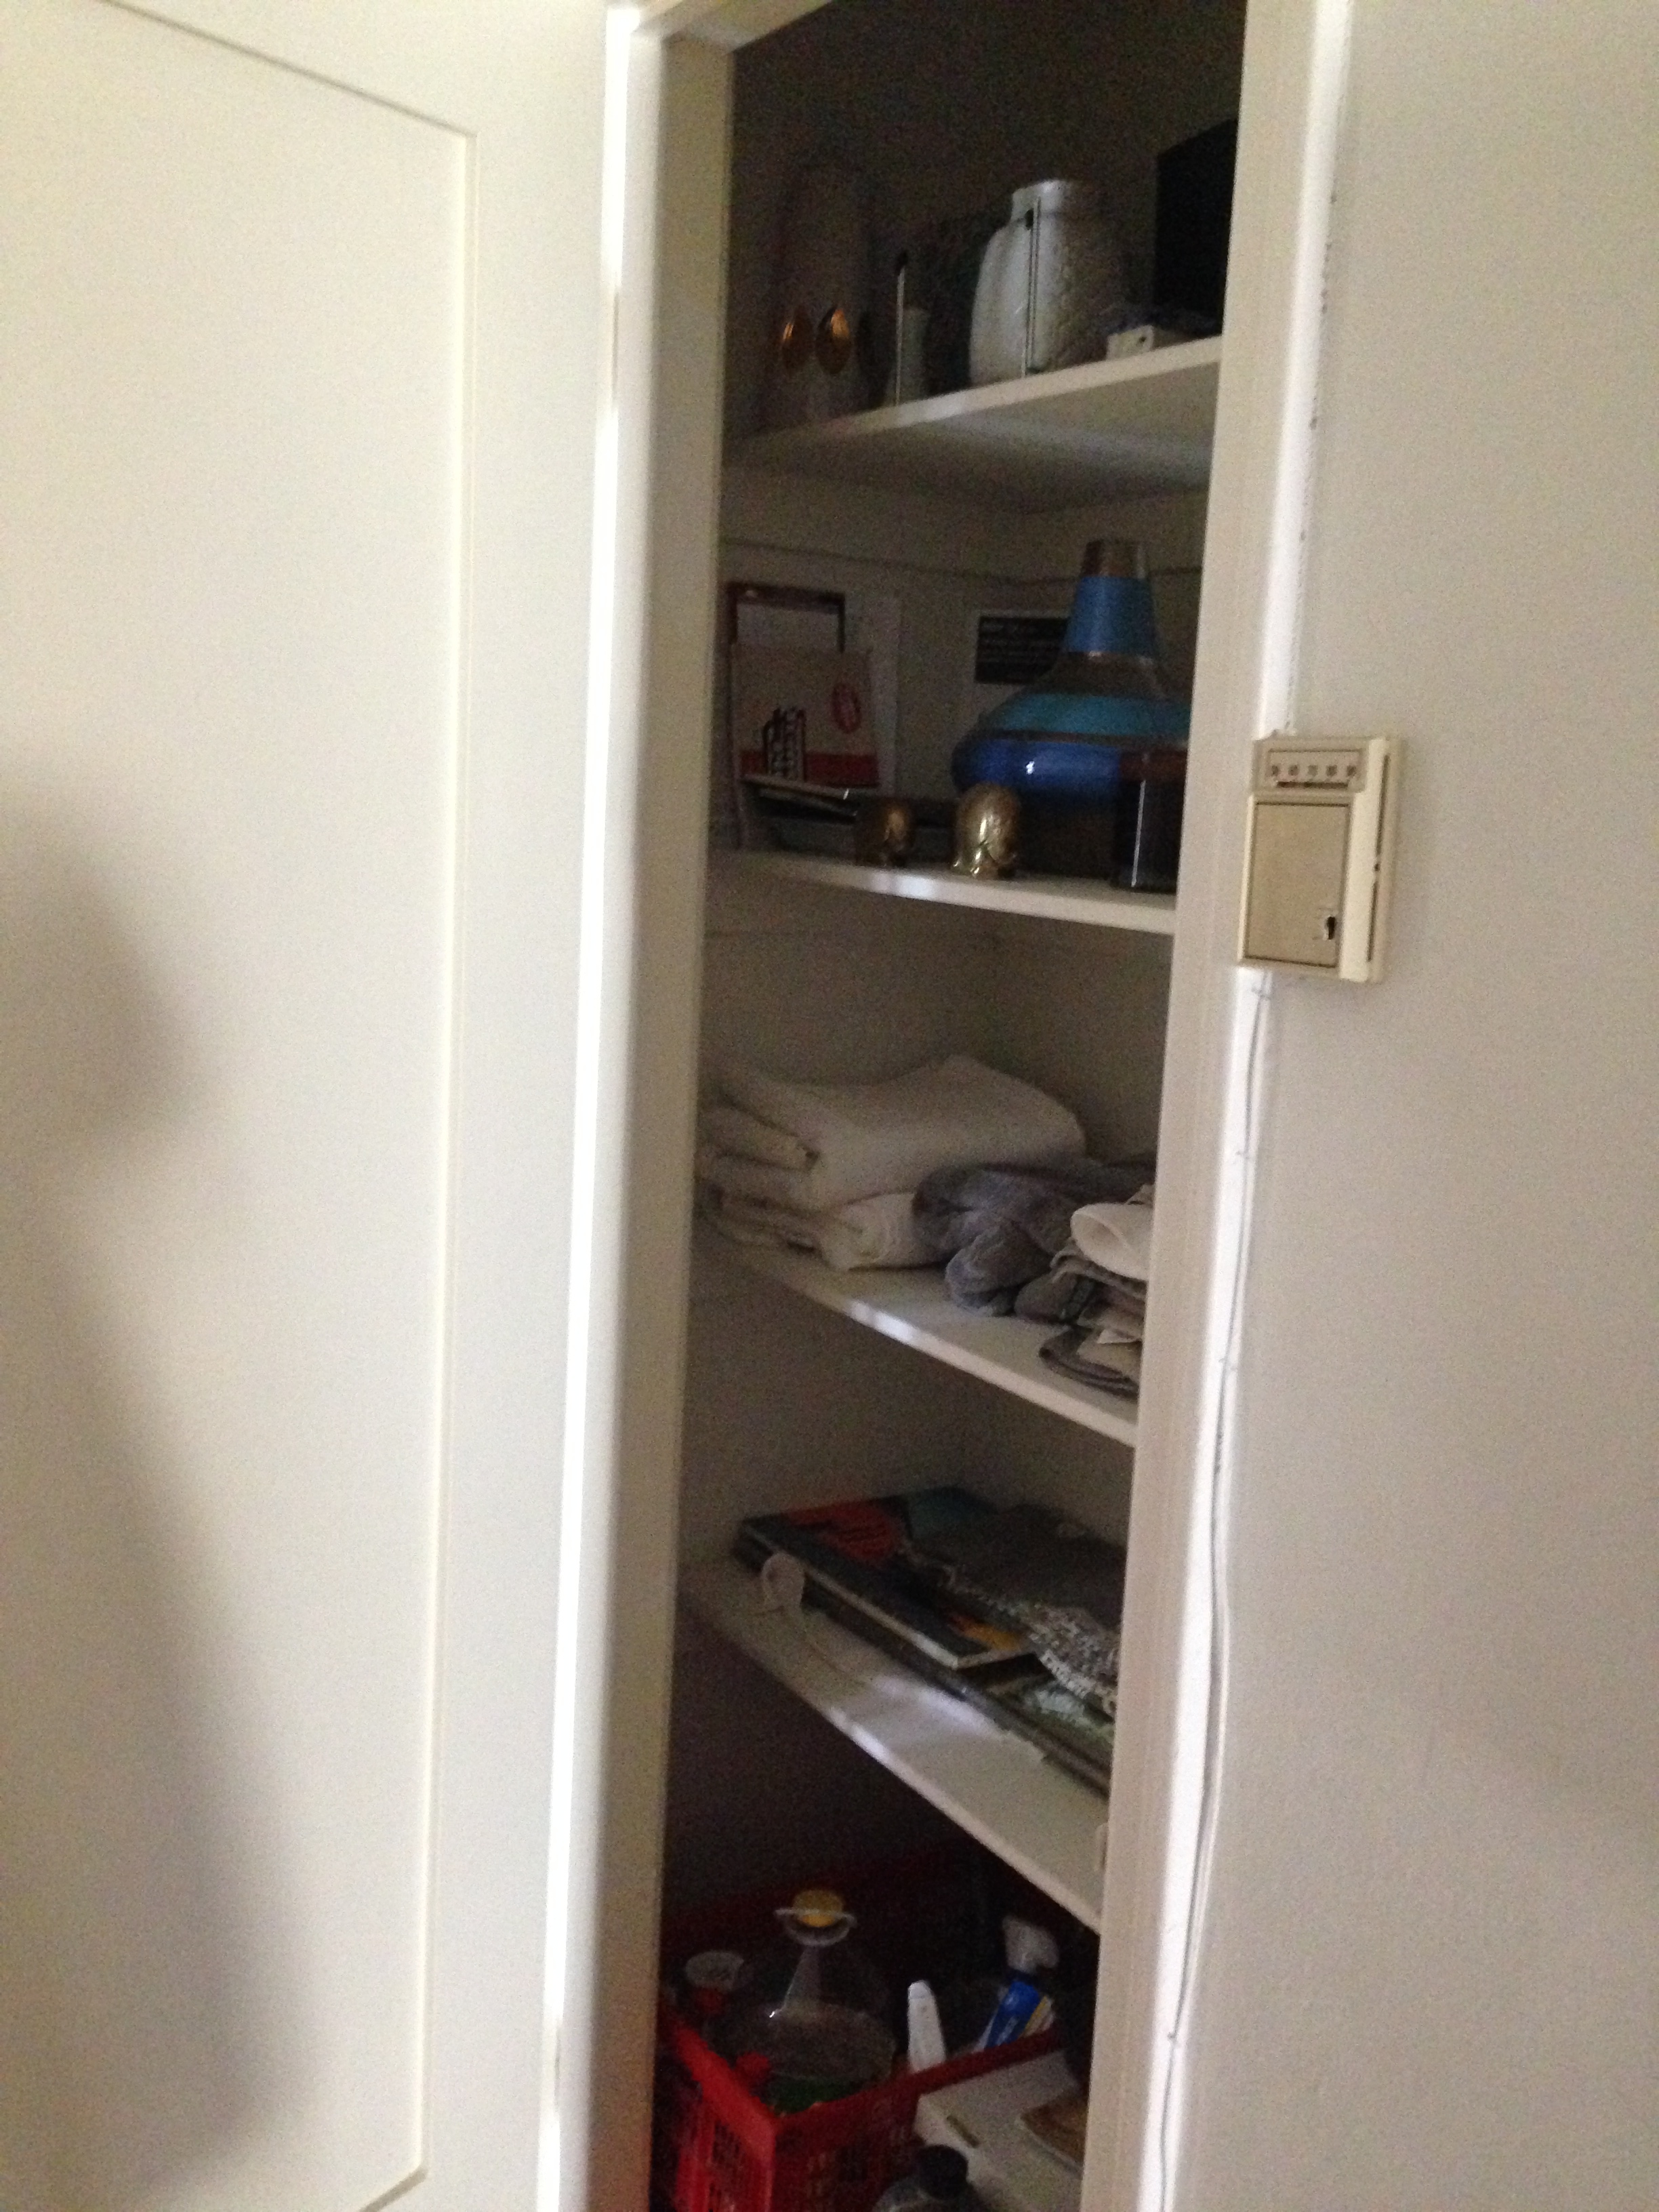
Hallway: Closets. Closets.  Closets.  I think I just heard an angel sing.  The grand total is 3 walk-in closets and 2 linen closets, one of which we’ve already turned in to a pantry.

IMG_3482

IMG_3481

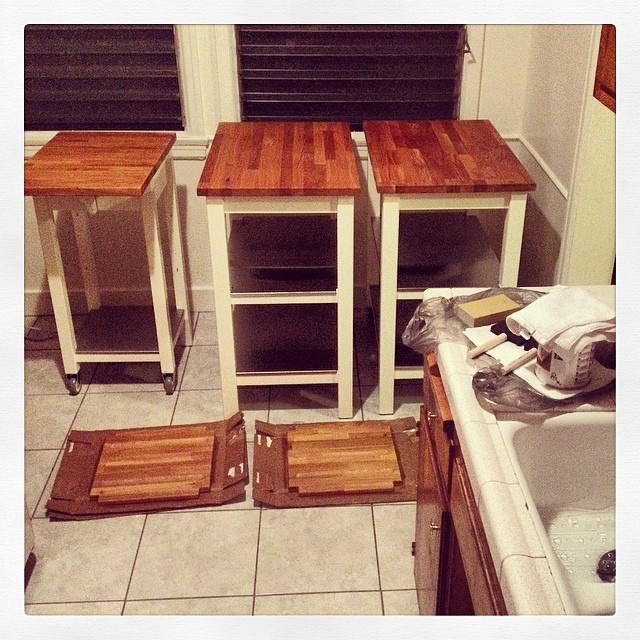
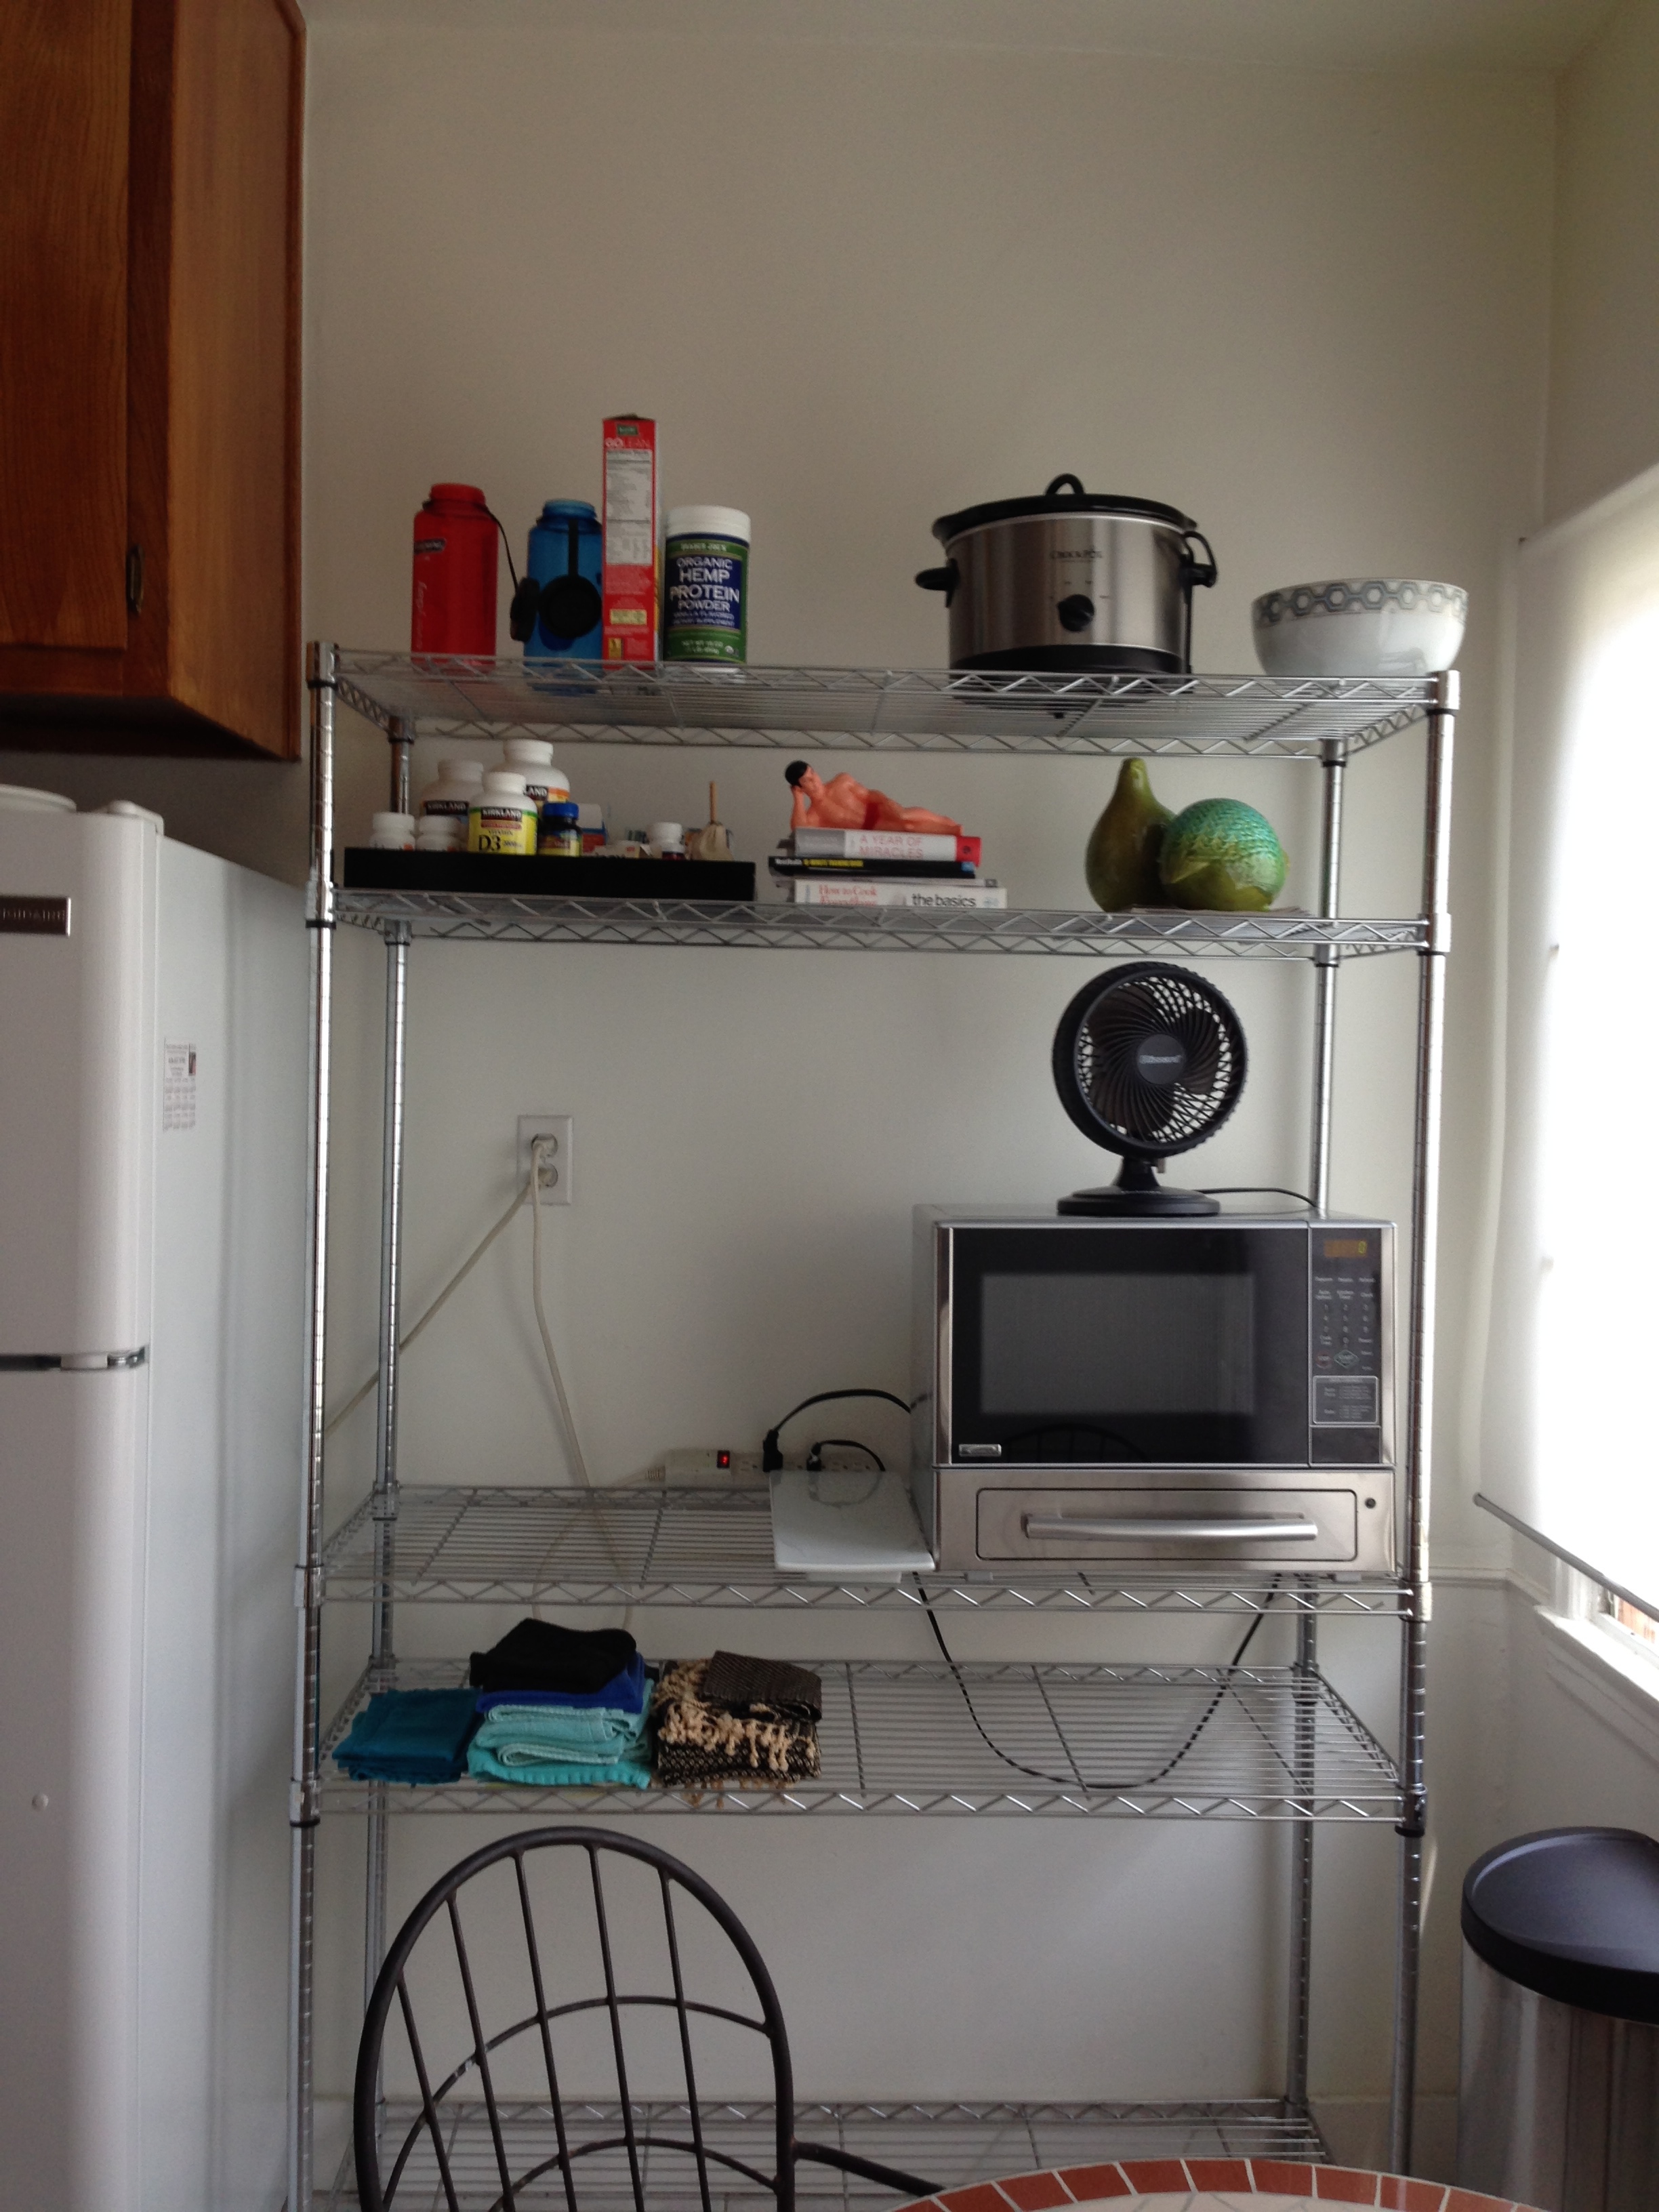
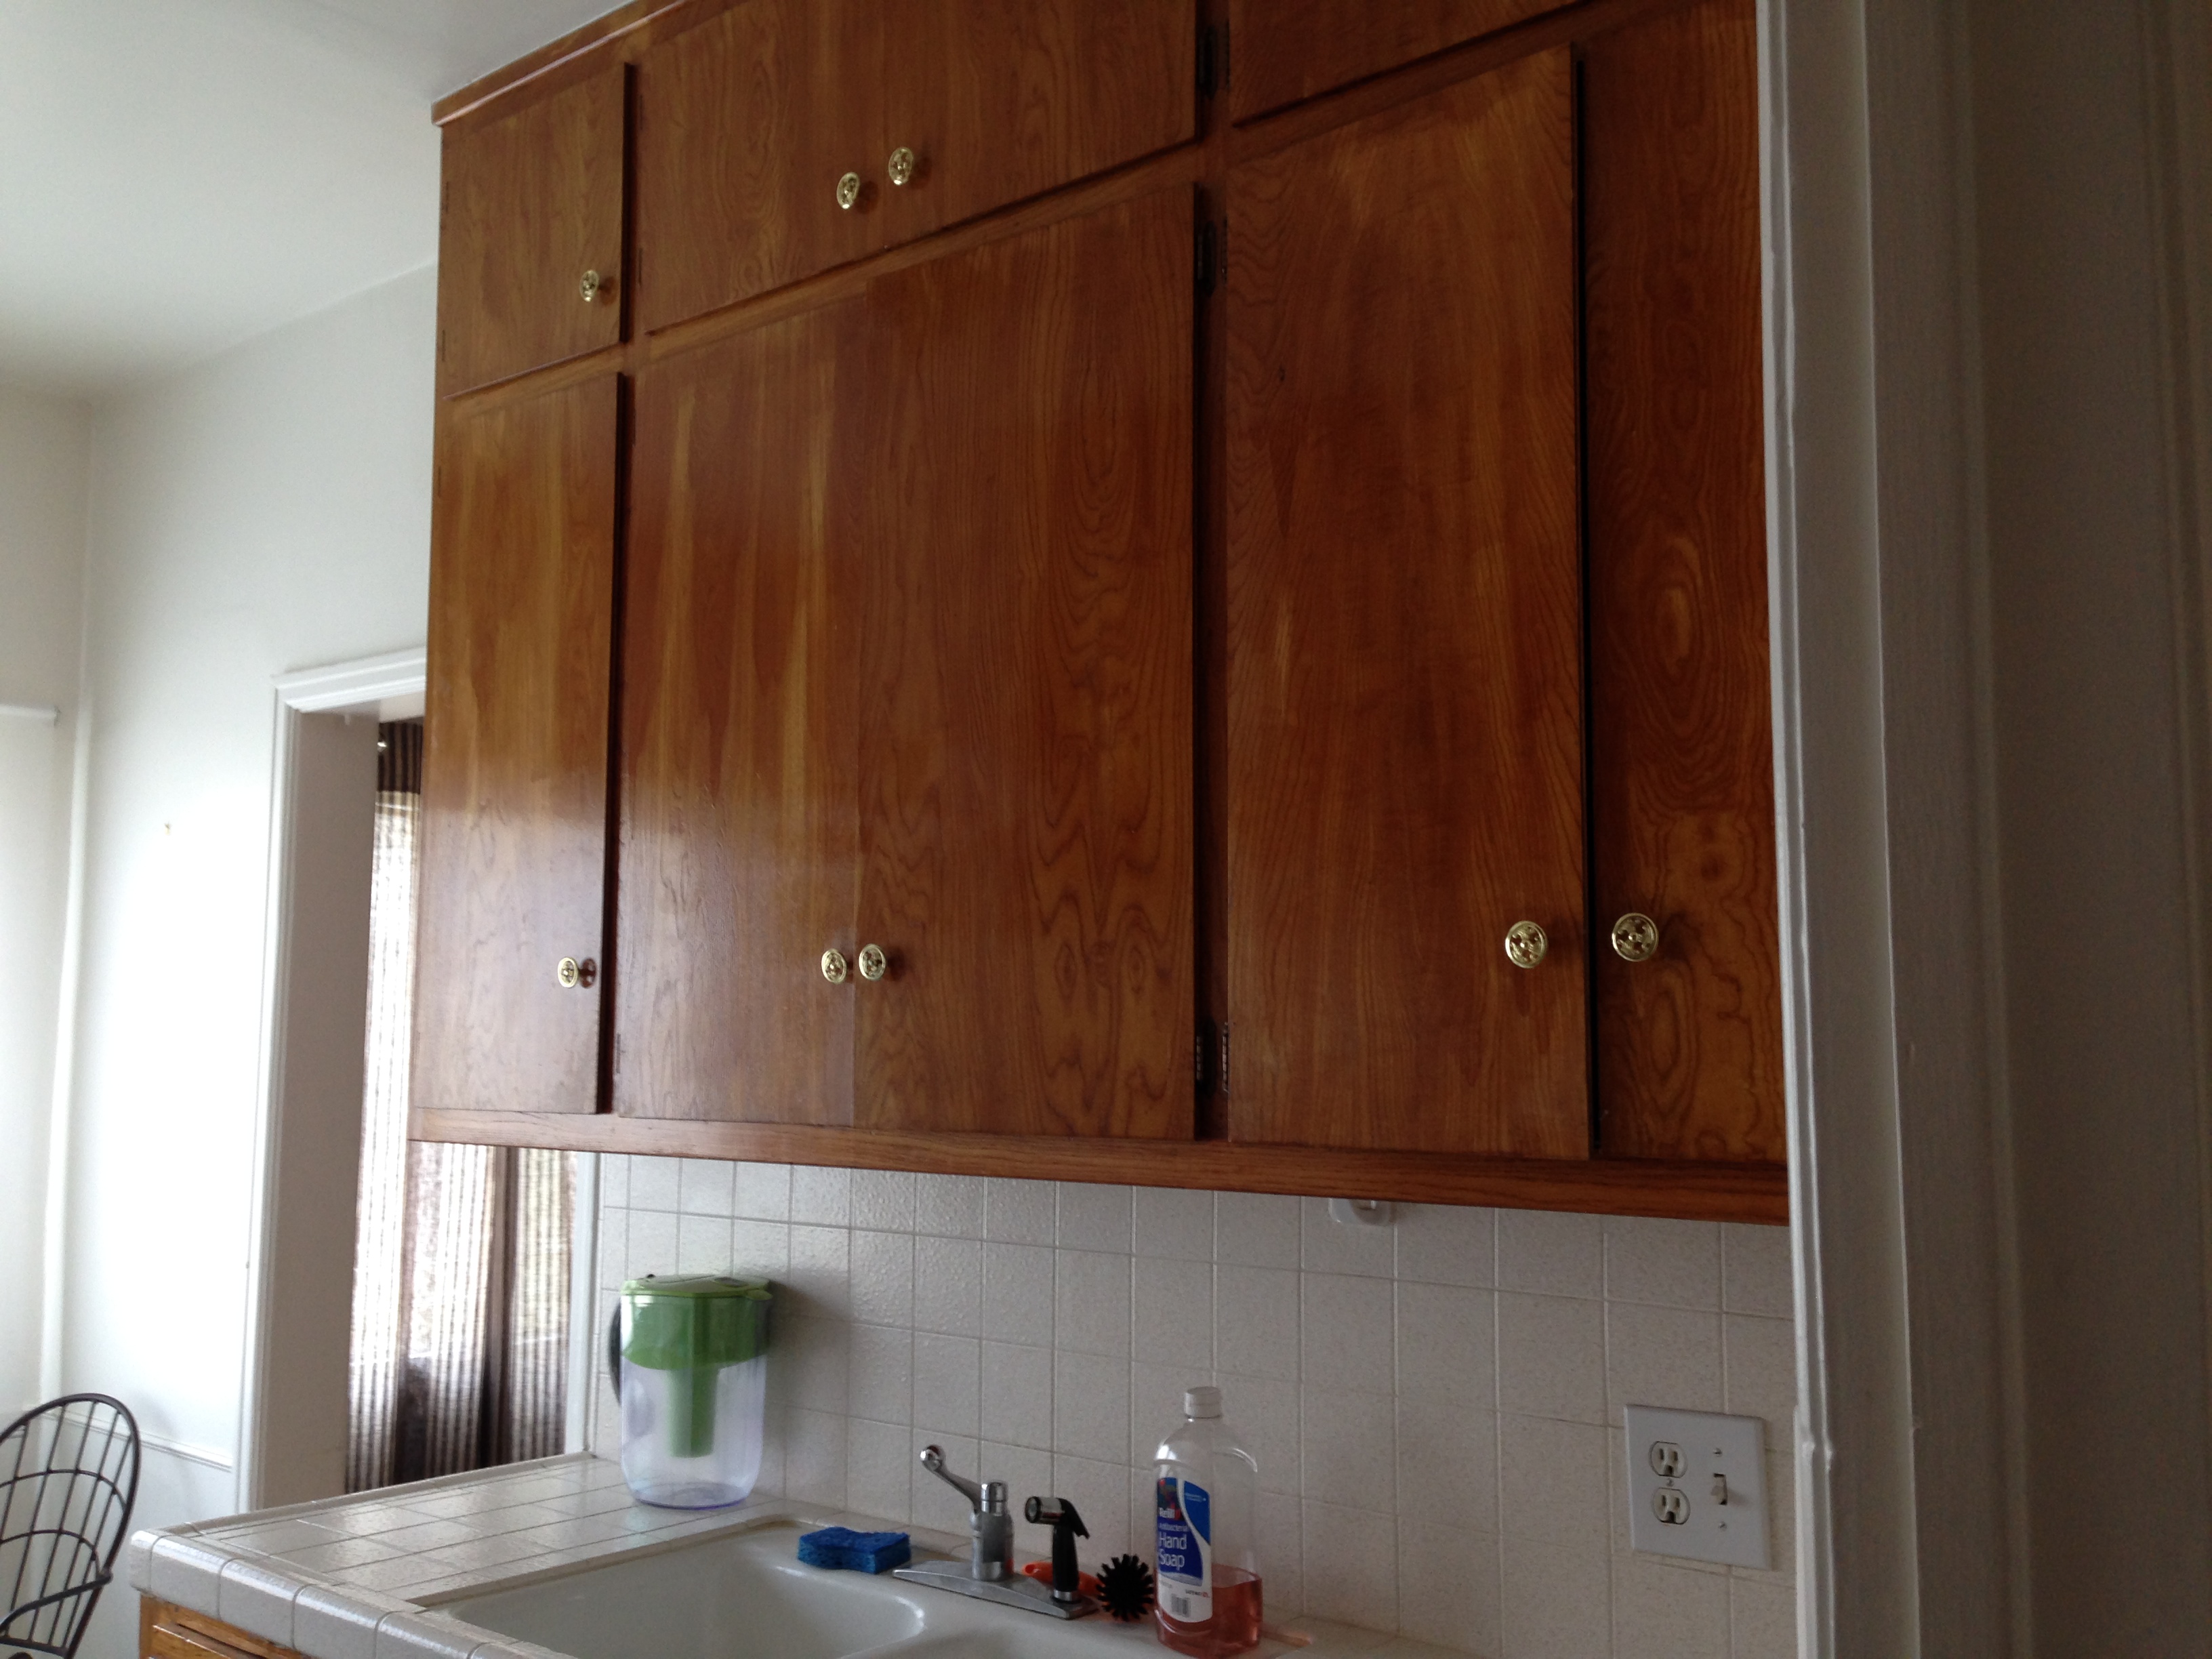
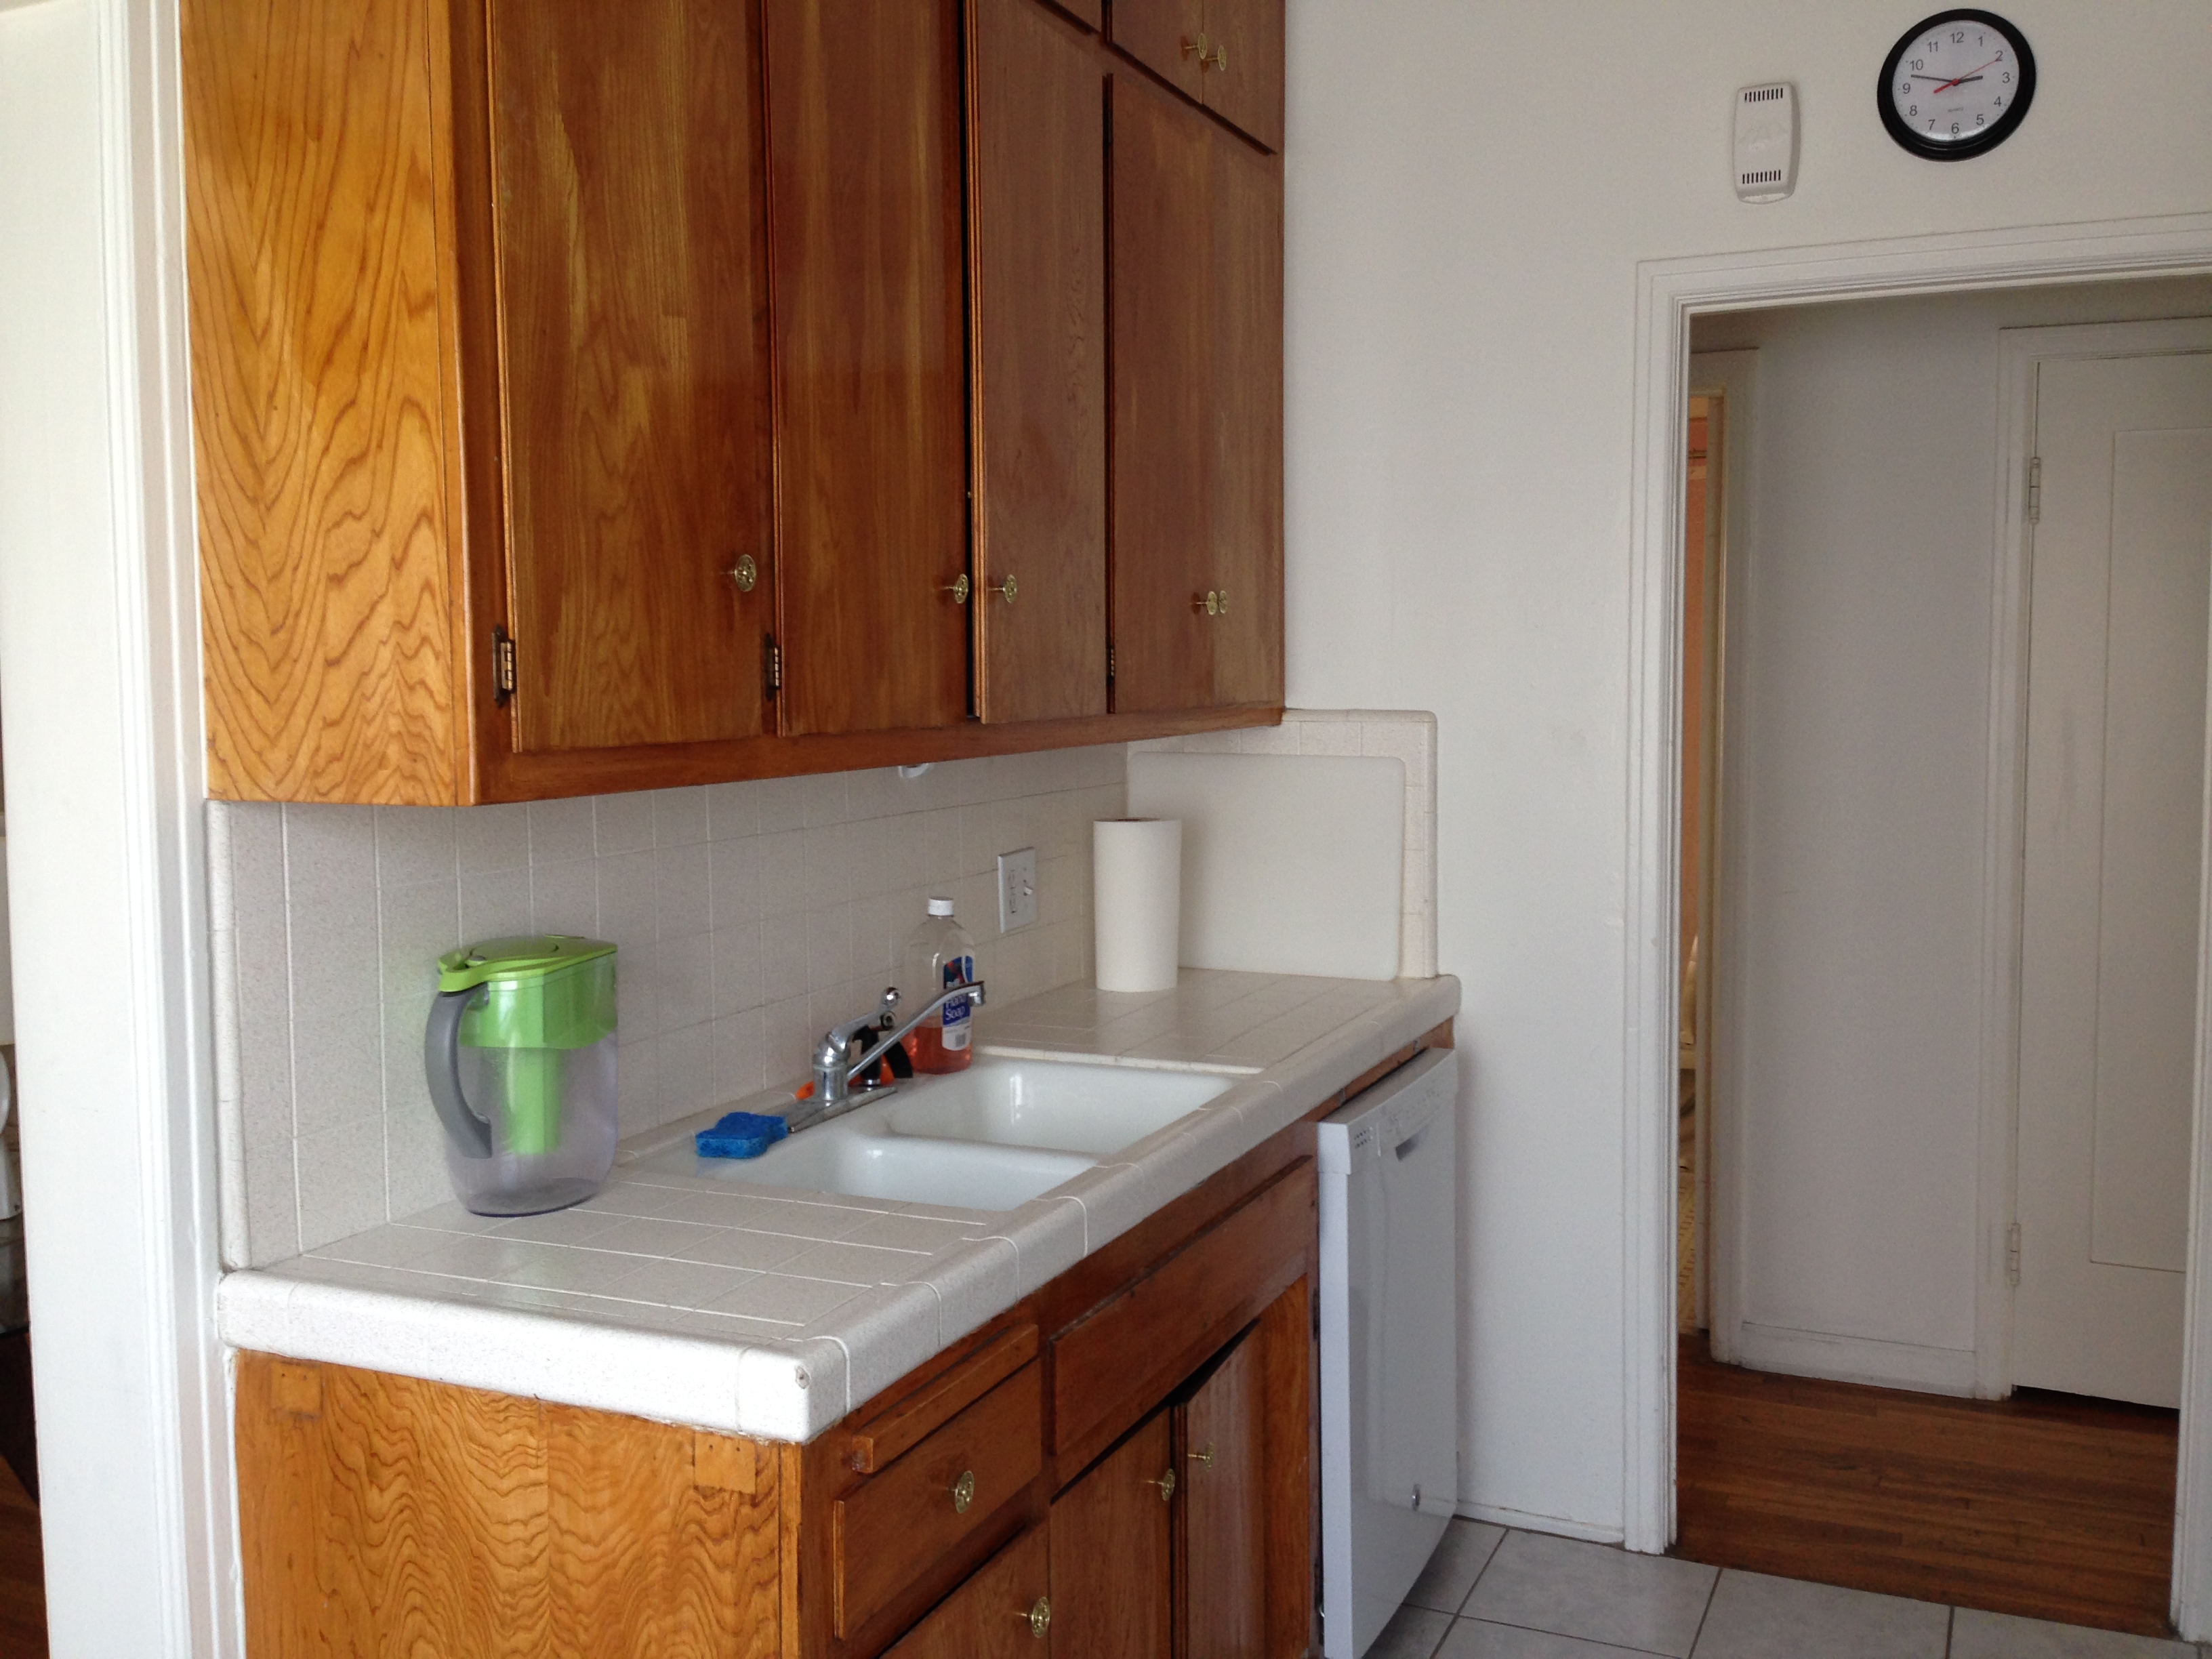
Kitchen: What it lacks in counter space it definitely makes up for in storage space.  And new appliances are a definite perk I was afraid we weren’t going to find again.  And although I’d prefer stainless steel, I honestly don’t mind the white, especially with what I have in mind.  Winner winner, chicken dinner.

IMG_3498

IMG_3500

IMG_3505

IMG_3506

IMG_3501

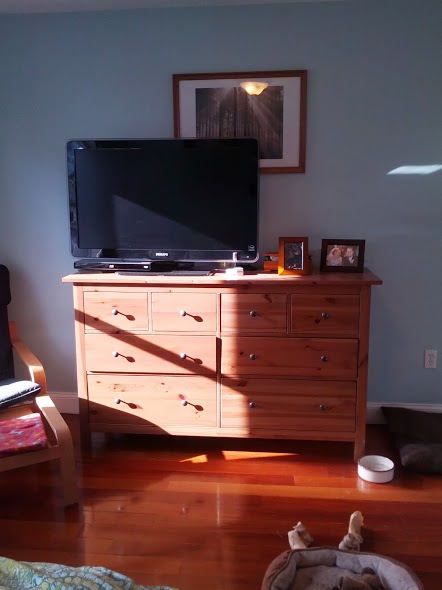
Living room: All the space we could need and then some.  I’ll just need to create some sort of fake mantel/shelf getup for the Christmas stockings.

IMG_3493

IMG_3495

IMG_3520

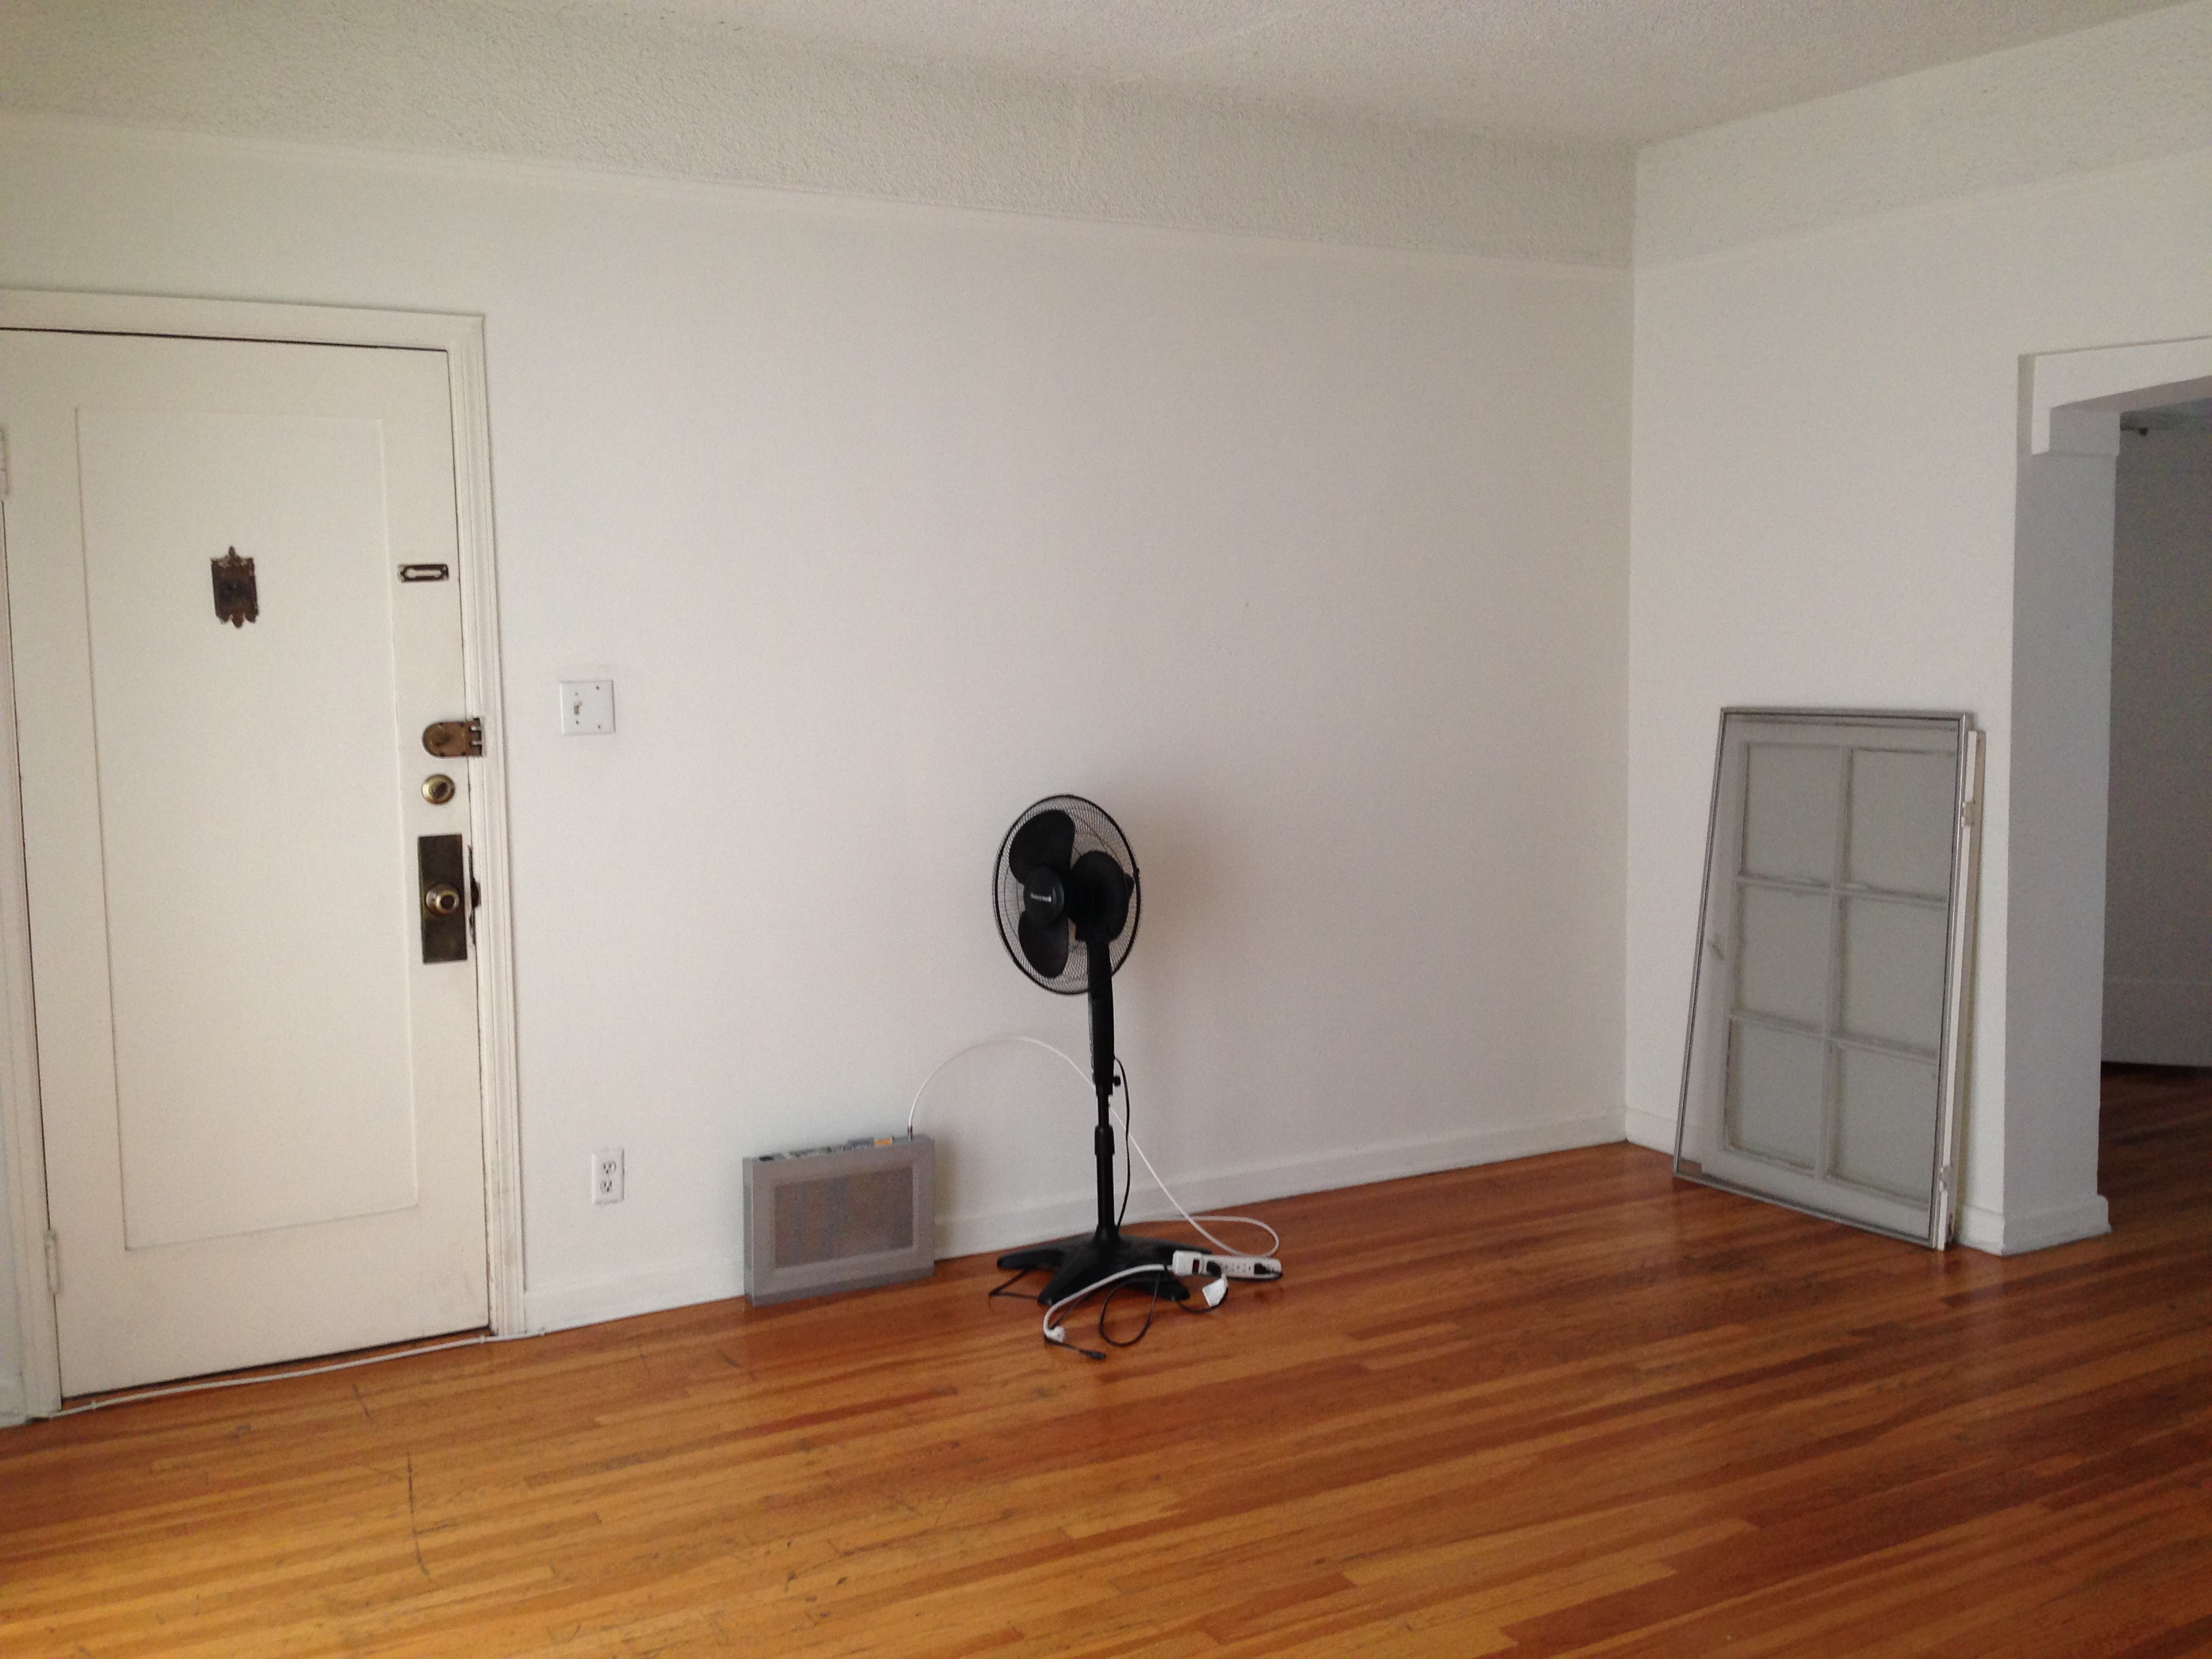
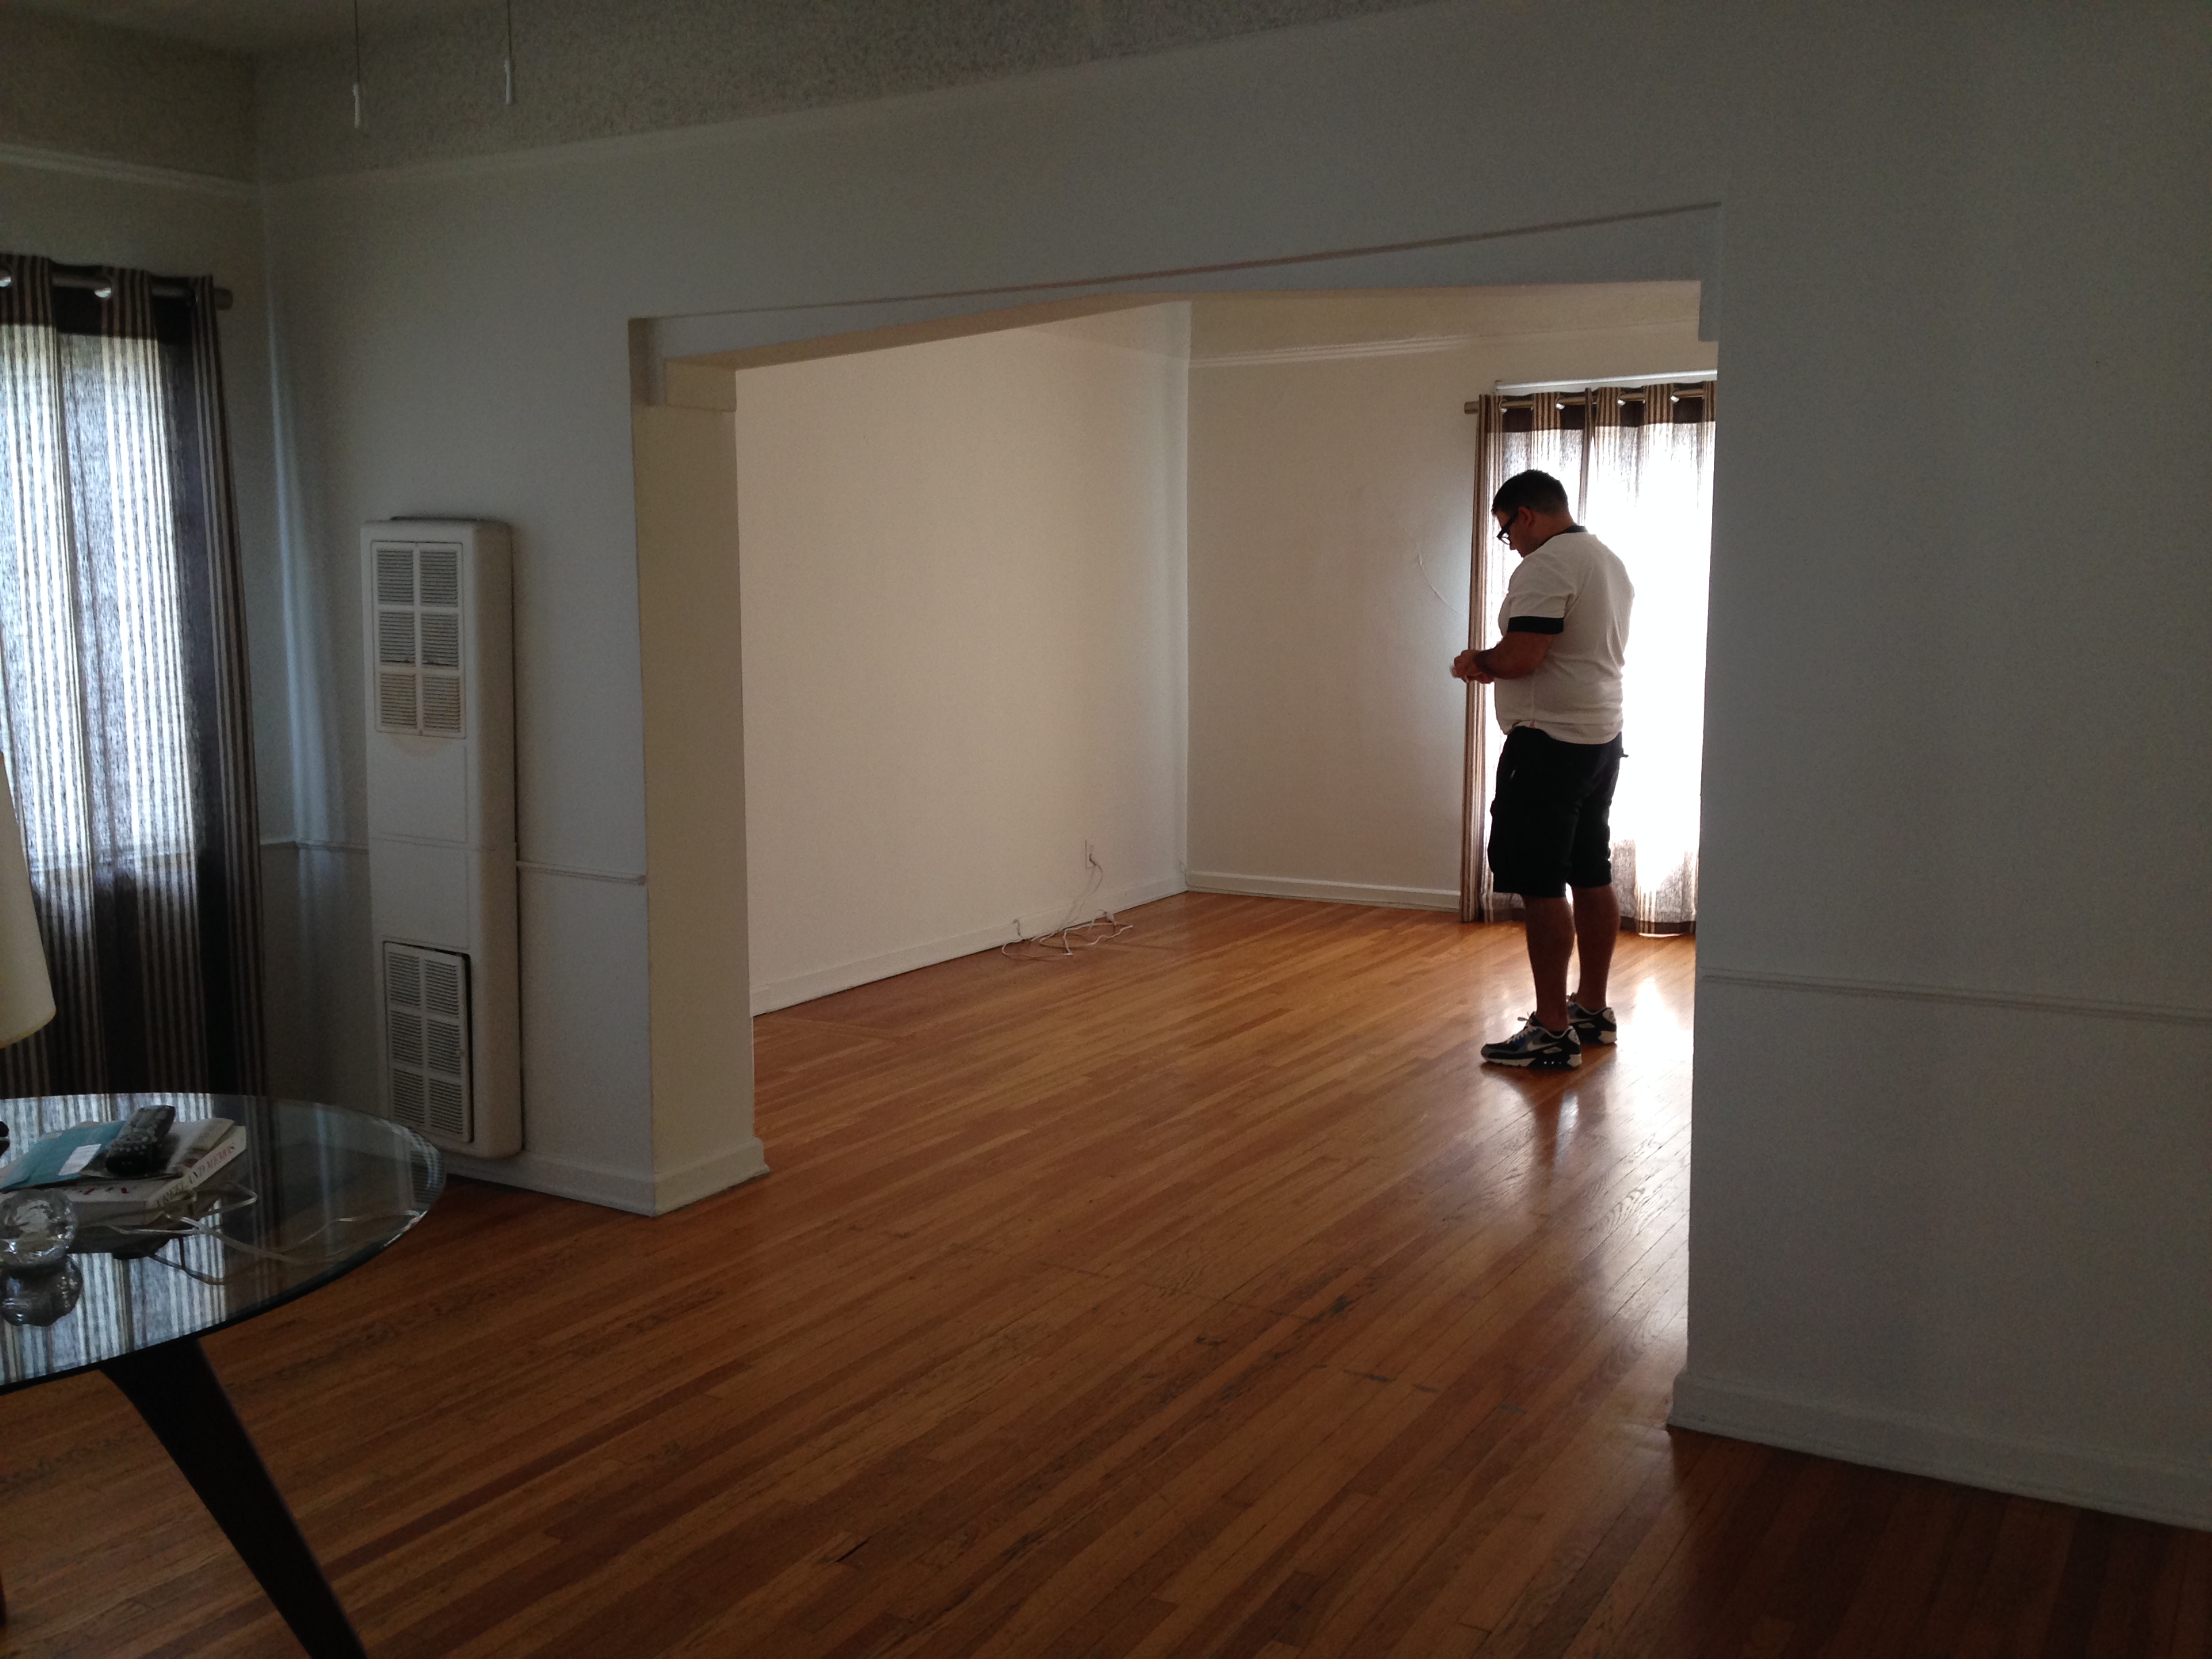
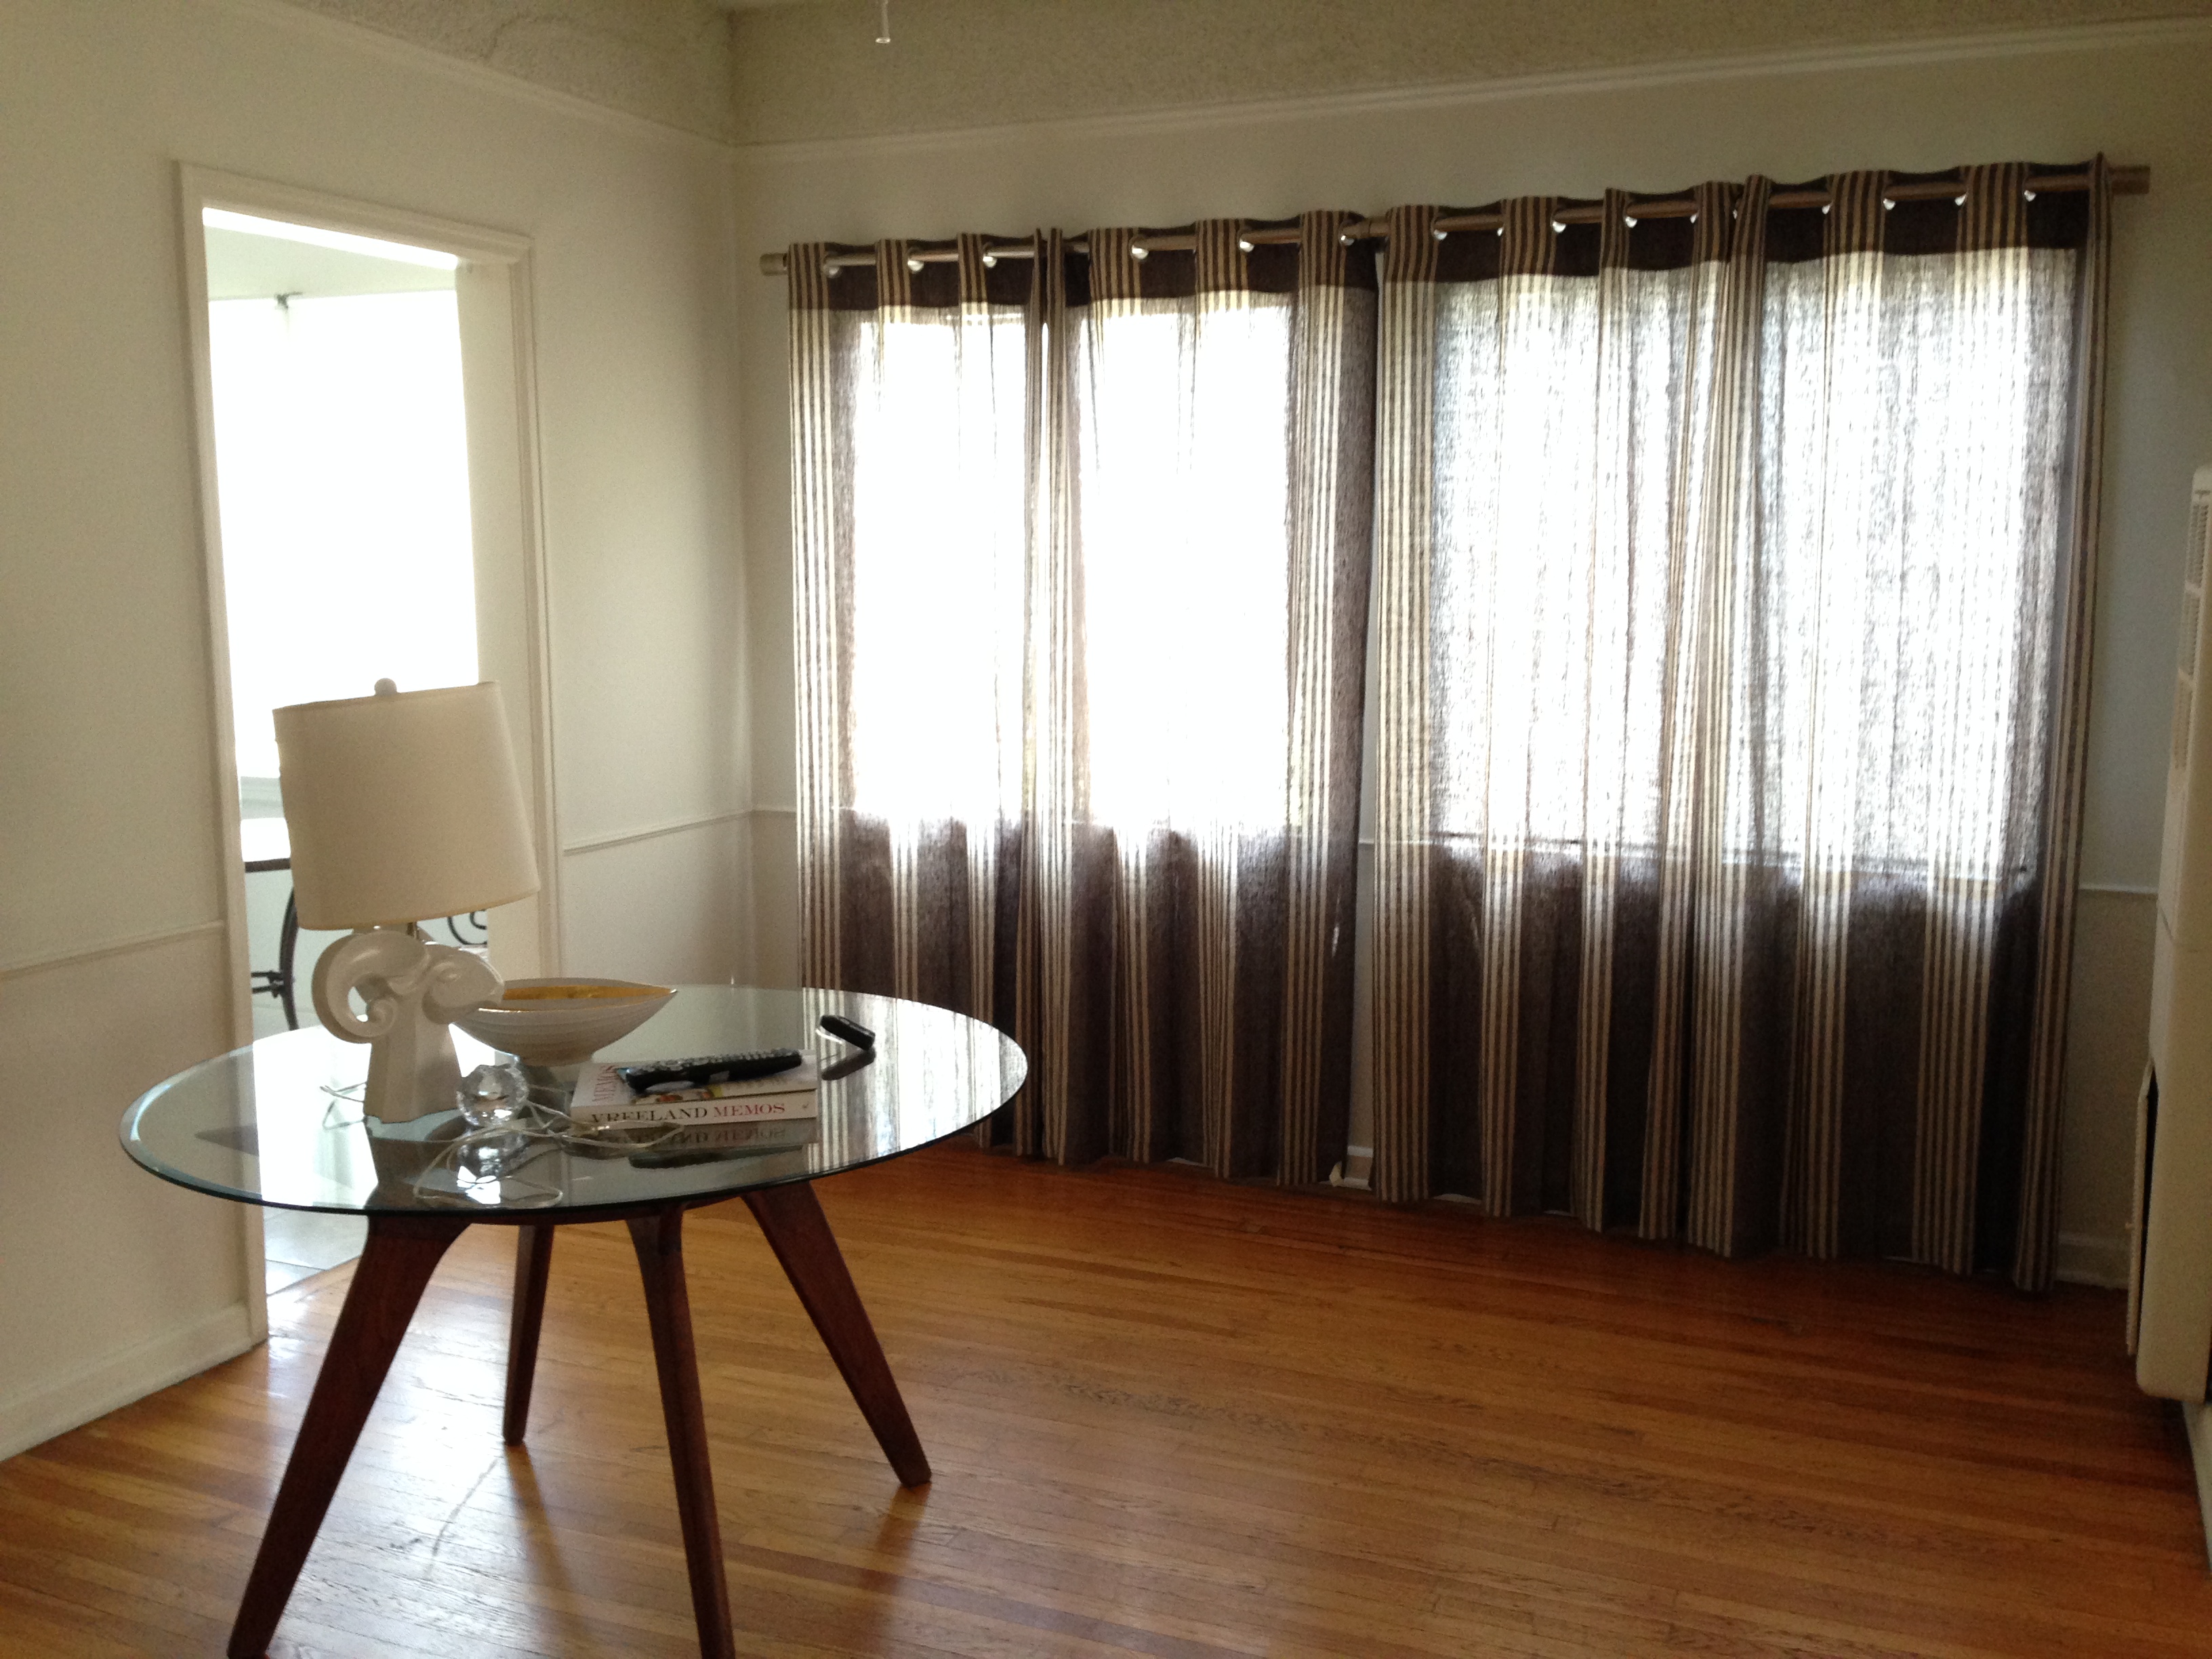
Dining room:  No longer will we have to cram into a tiny space between our dresser in the living room, the bedroom door and the sliding balcony door.  We shall have a whole room for eating and entertaining.  And it’s got a walk-in closet.  I am officially spoiled.

IMG_3519

IMG_3521

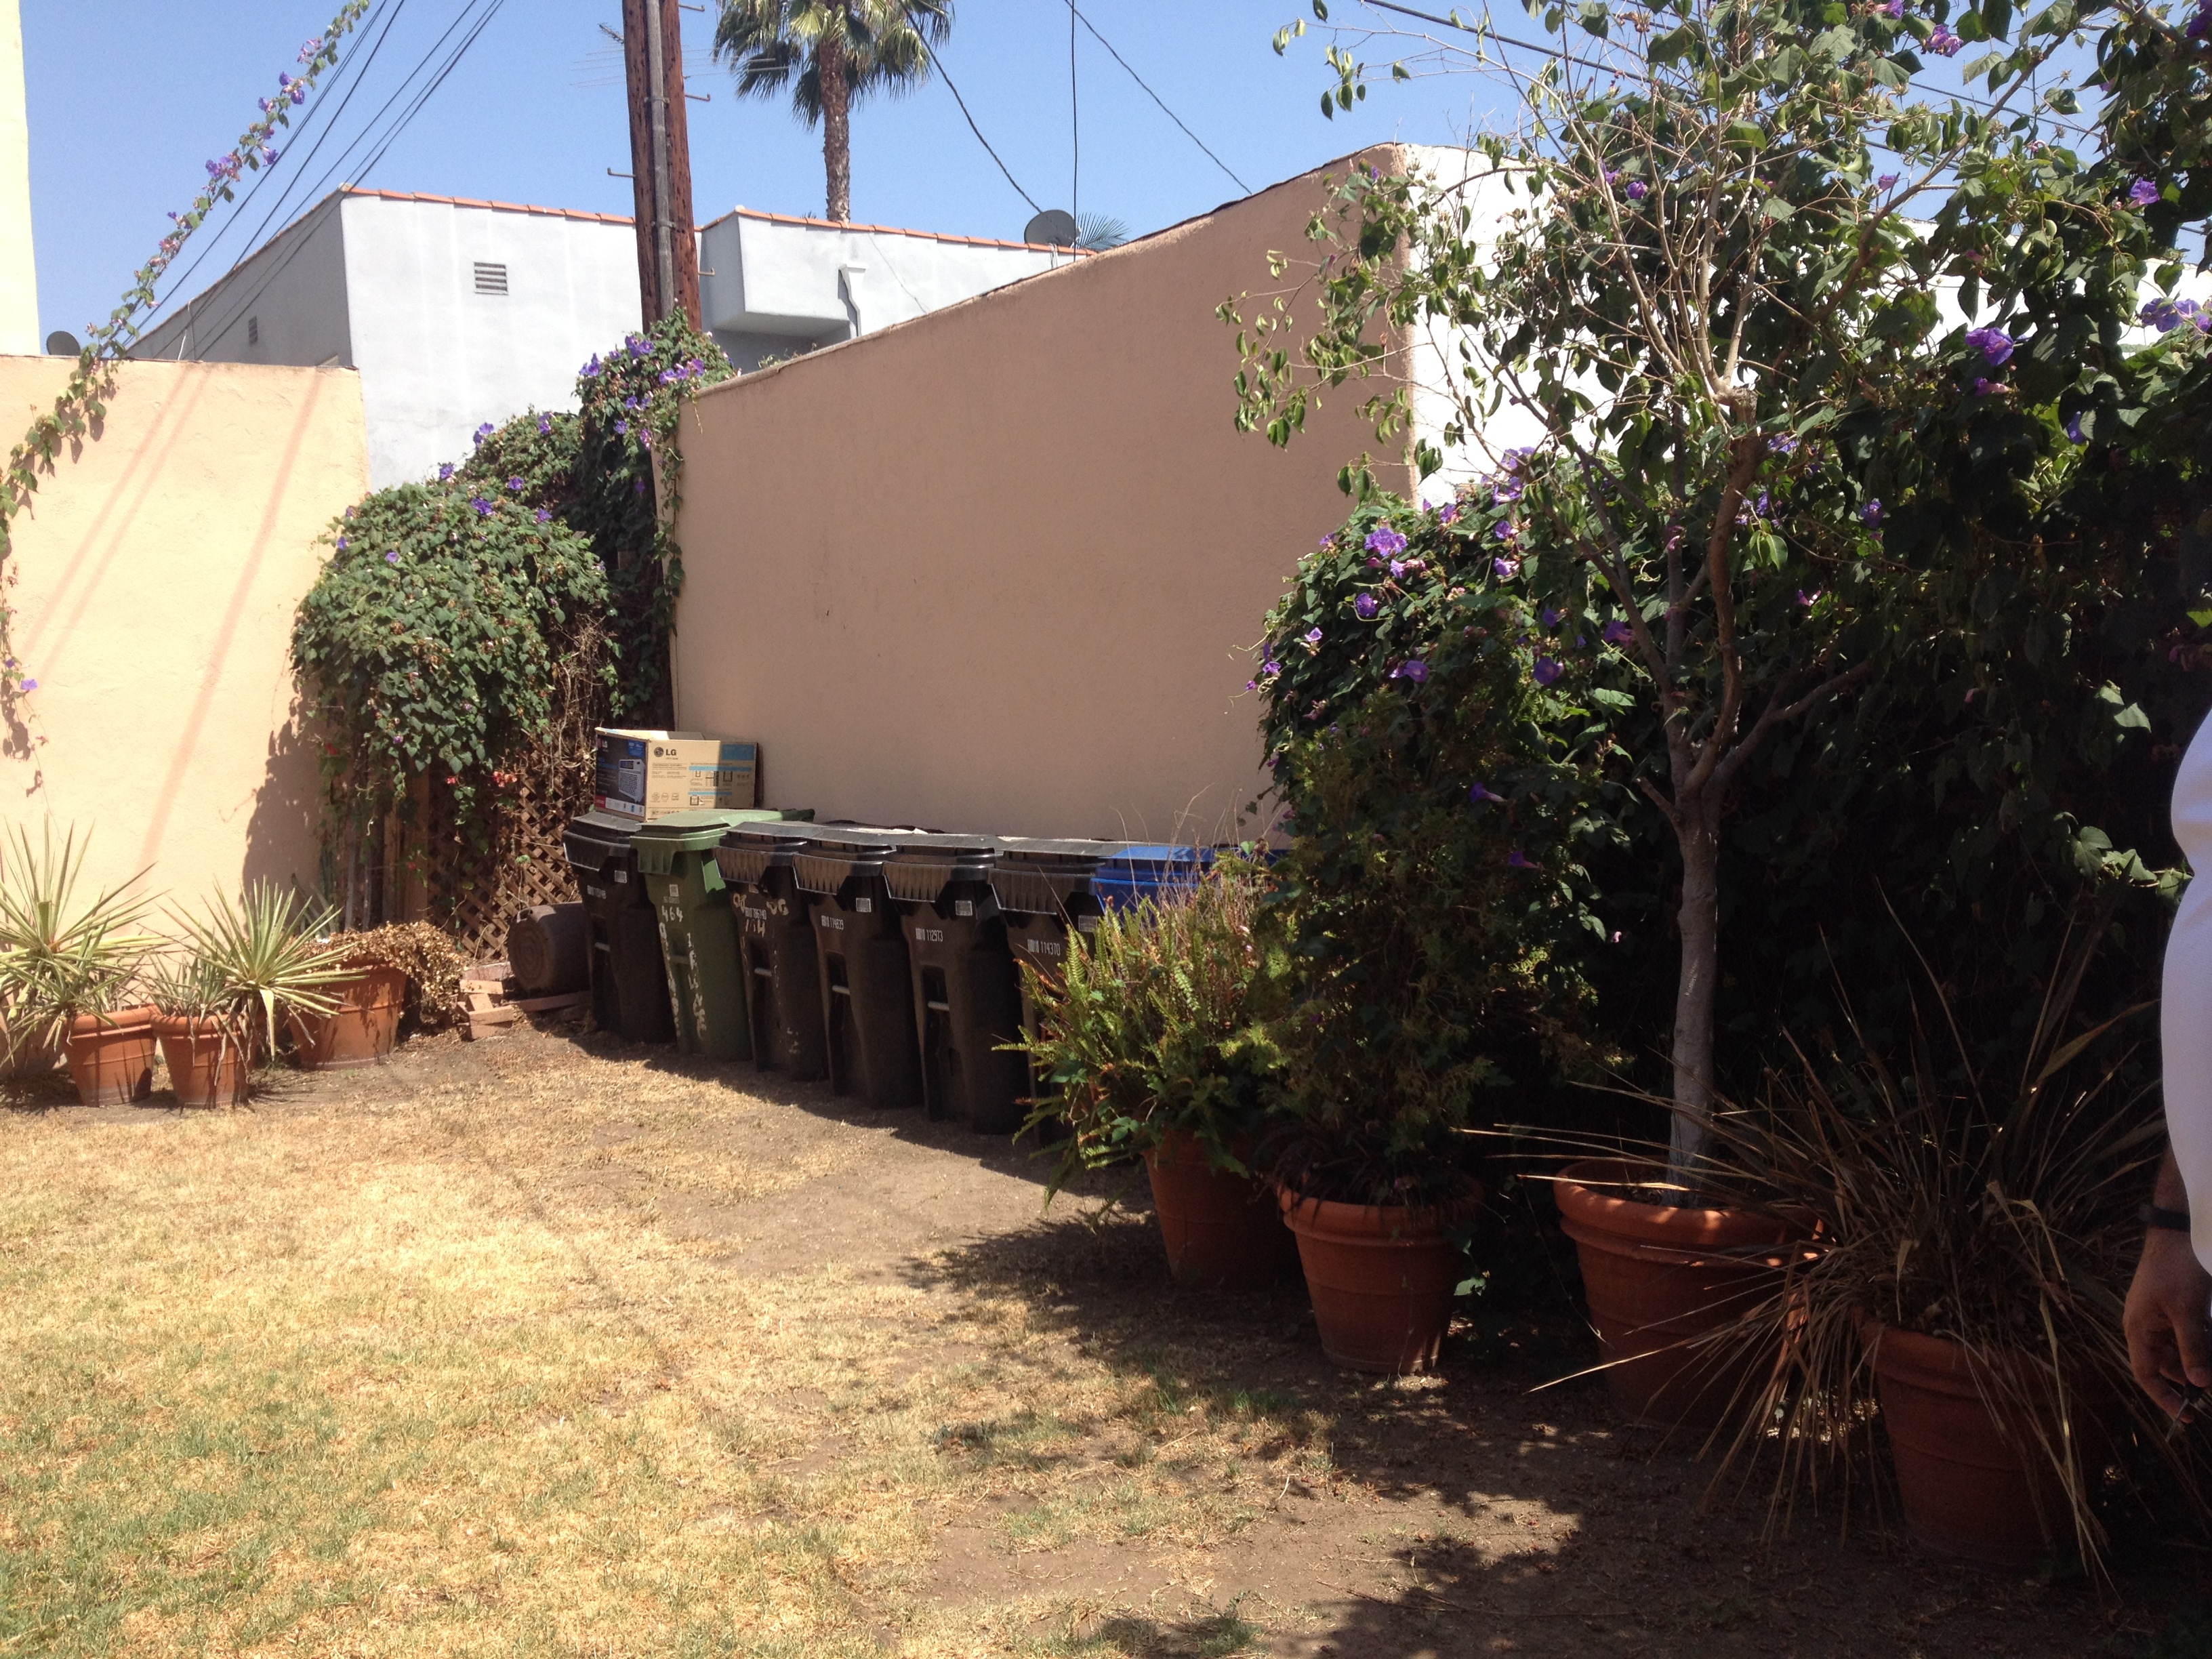
Backyard: The landlord told us no one ever uses it and we’re welcome to set up a grill, furniture, etc.  My head is bursting with ideas, I can hardly stand it.  I’m already envisioning dining al fresco, Parenthood-style.

Parenthood Outdoor Dining

IMG_4720

IMG_4722

So there you have it friends, the new space.  We moved in two weeks and although we still have a ways to go, its already starting to feel like home.

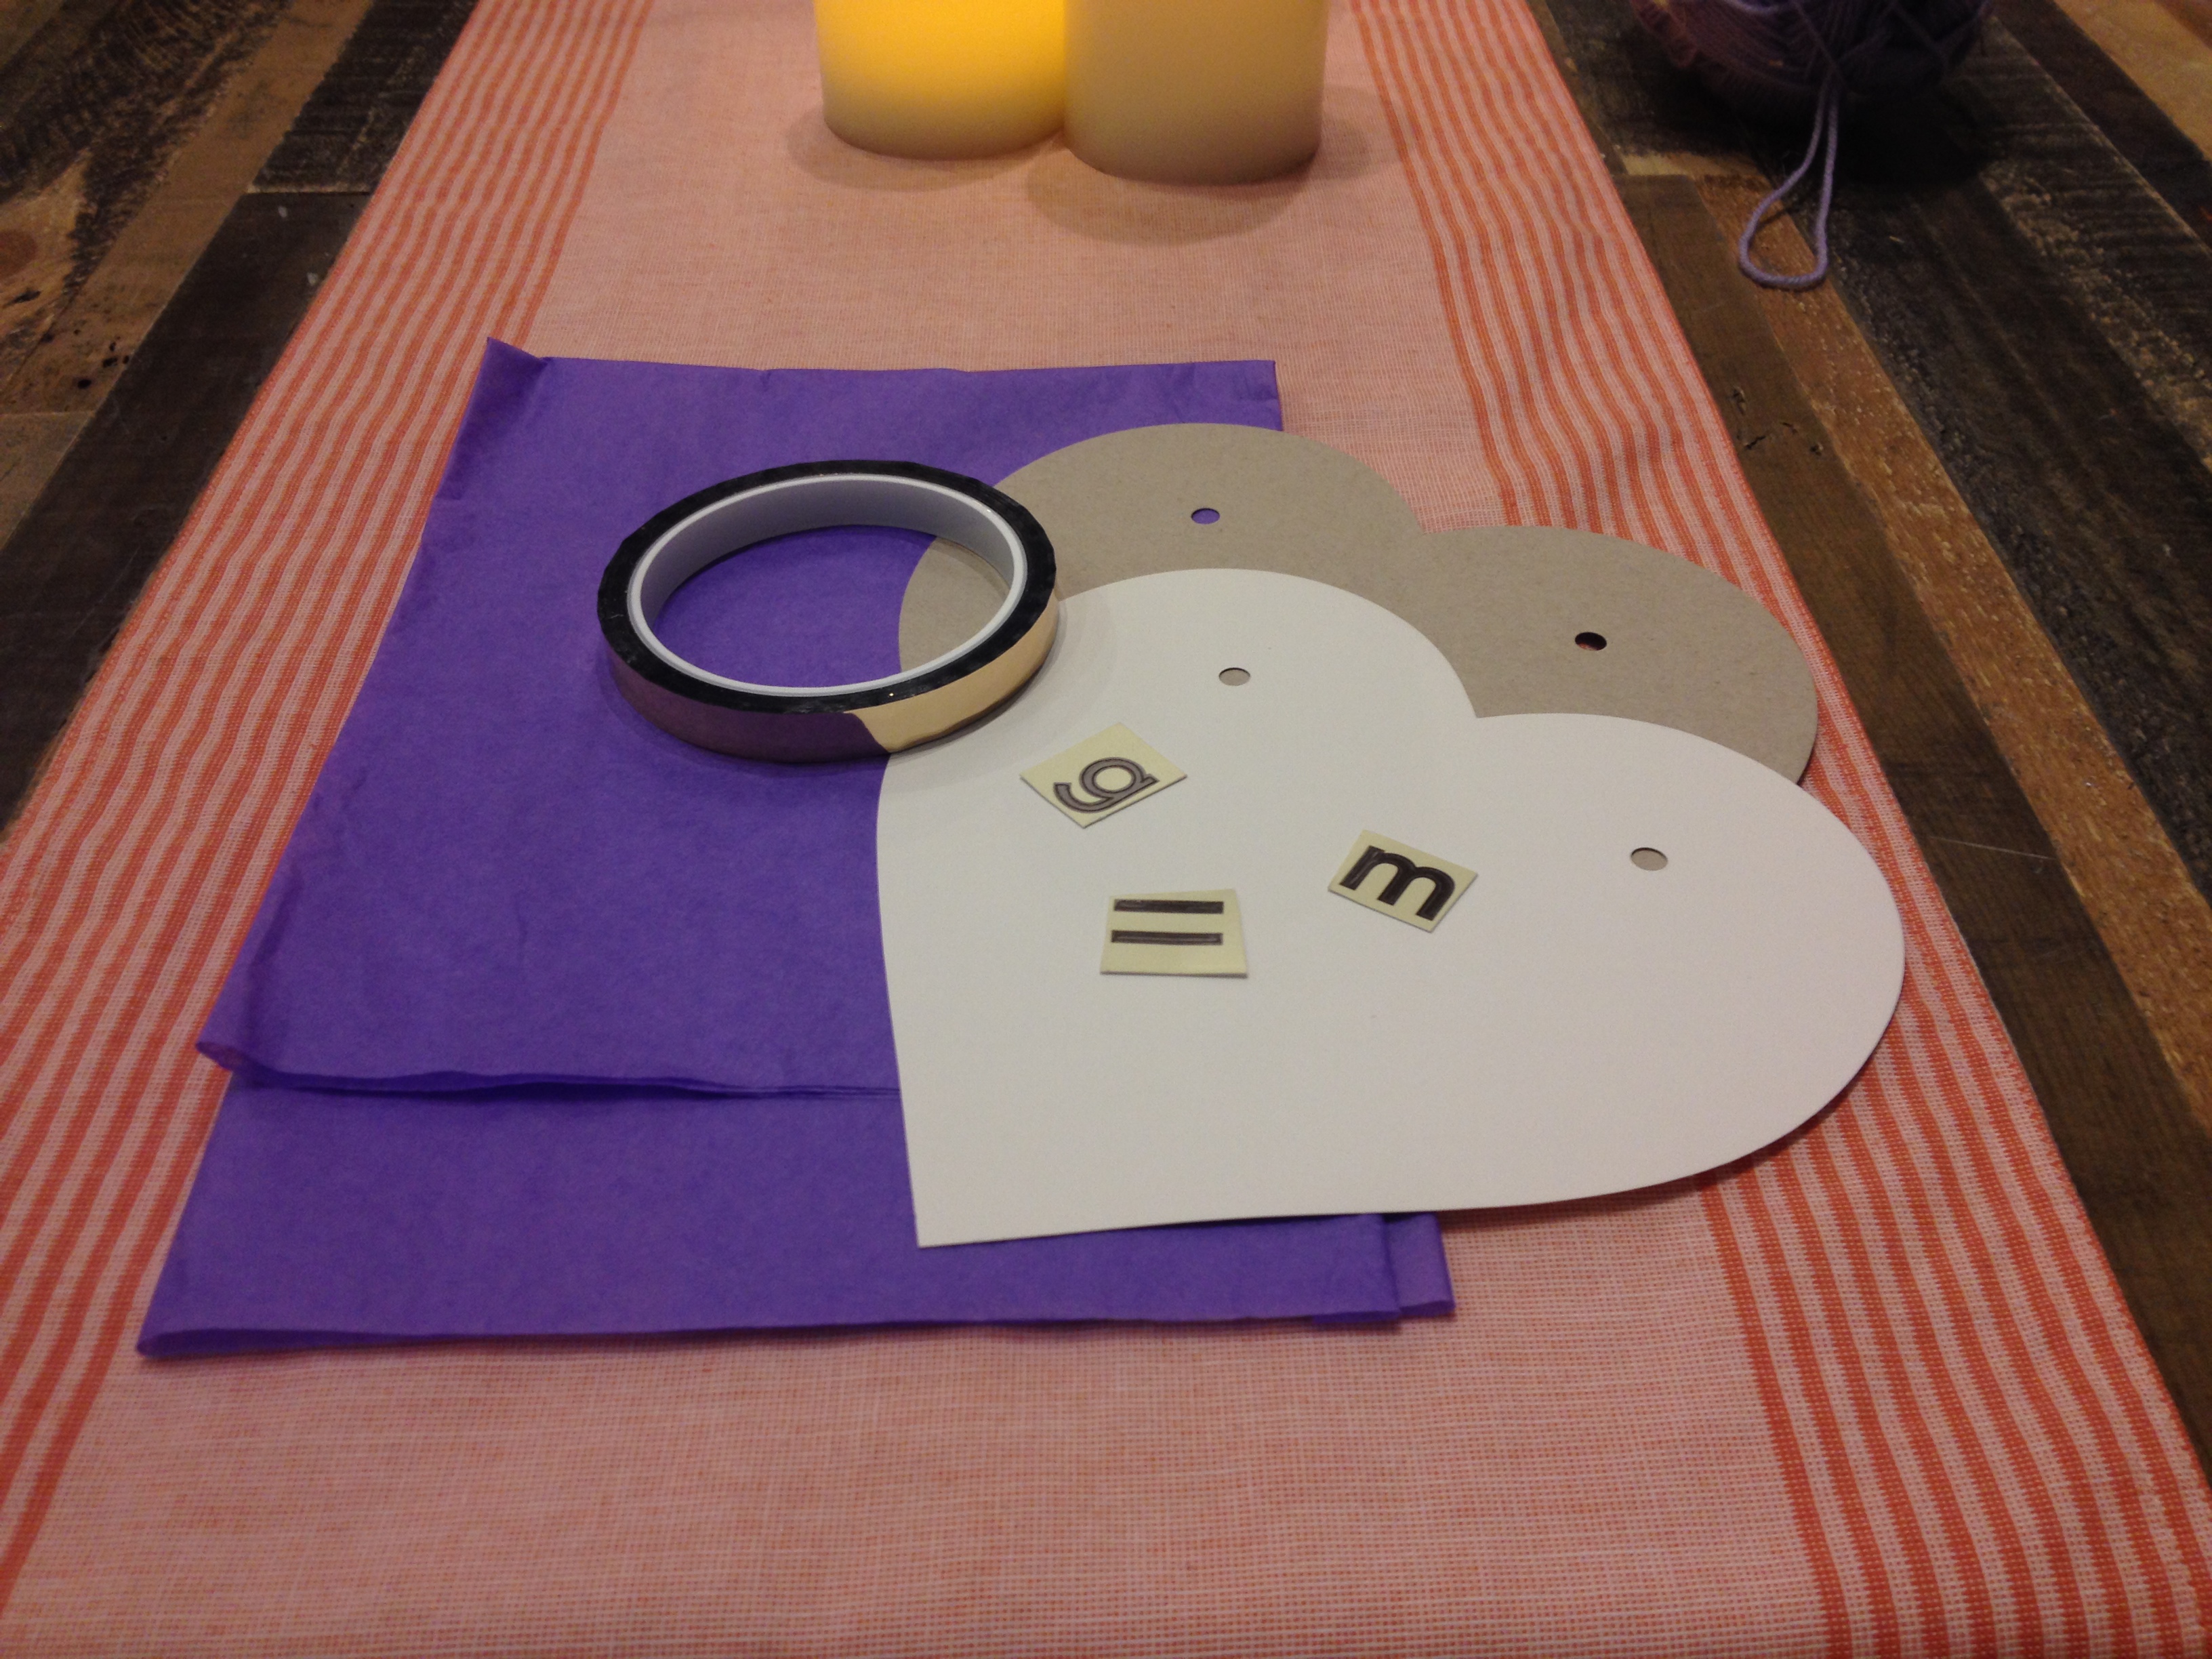
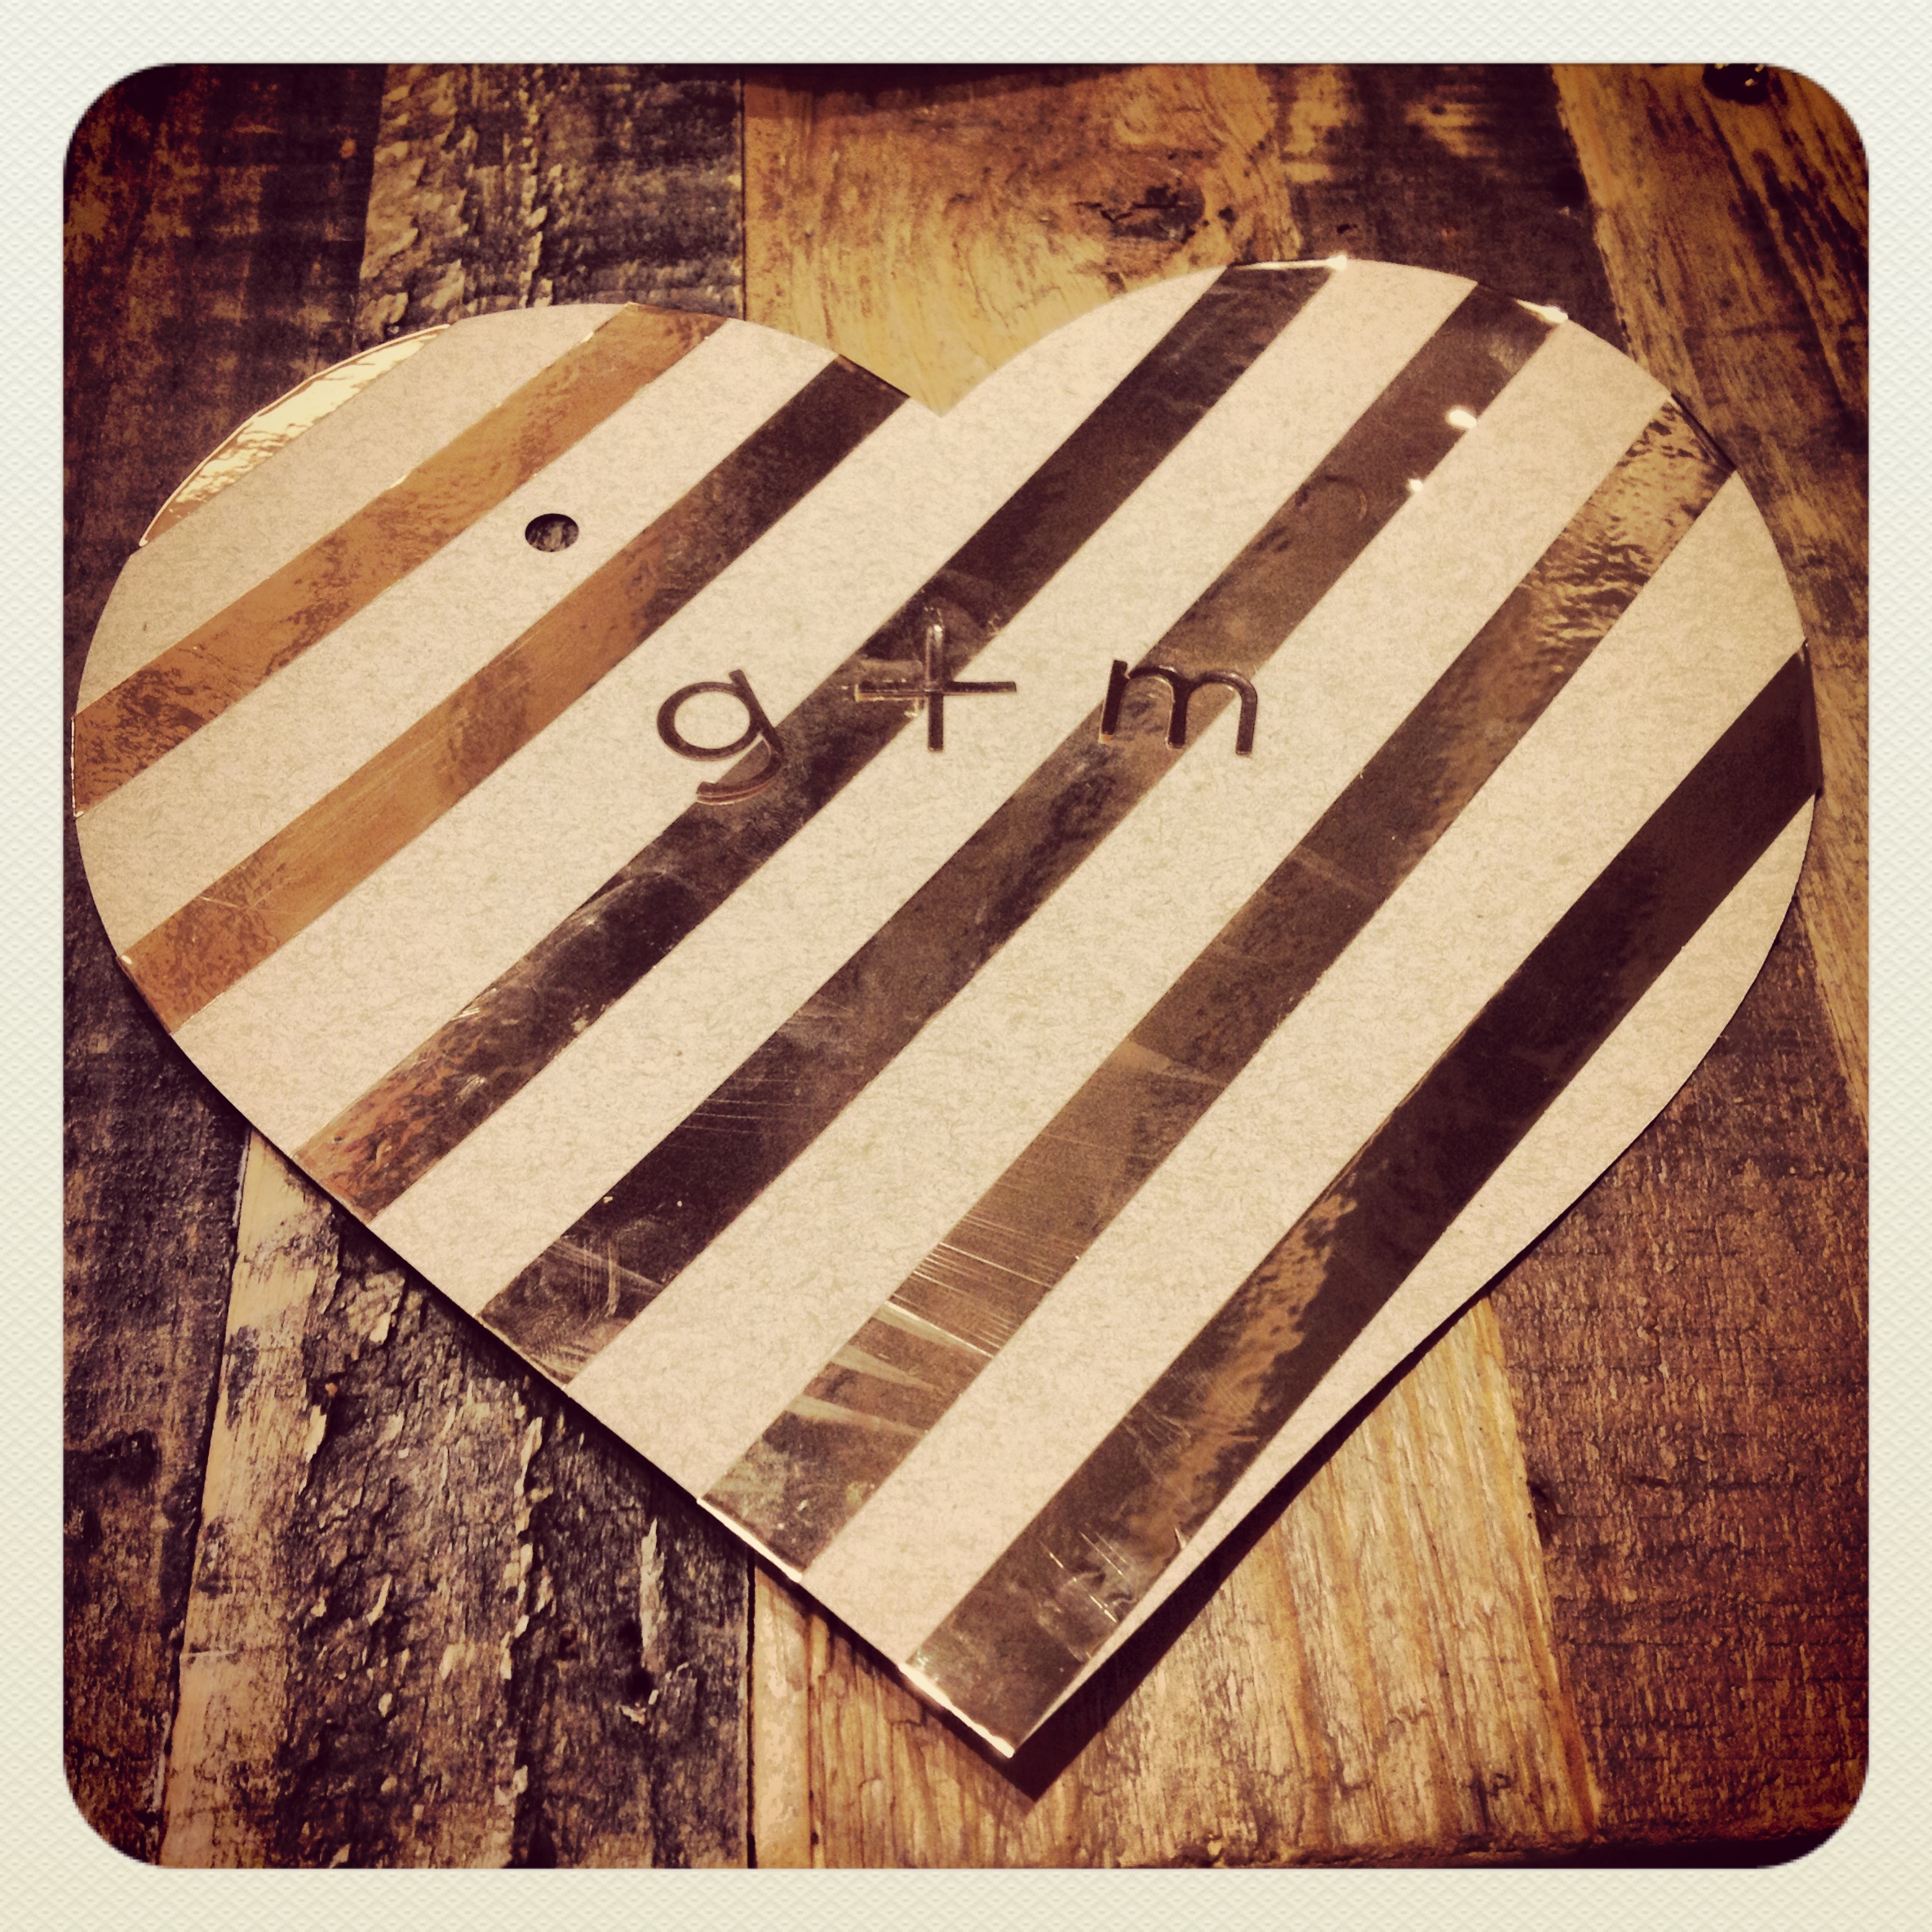
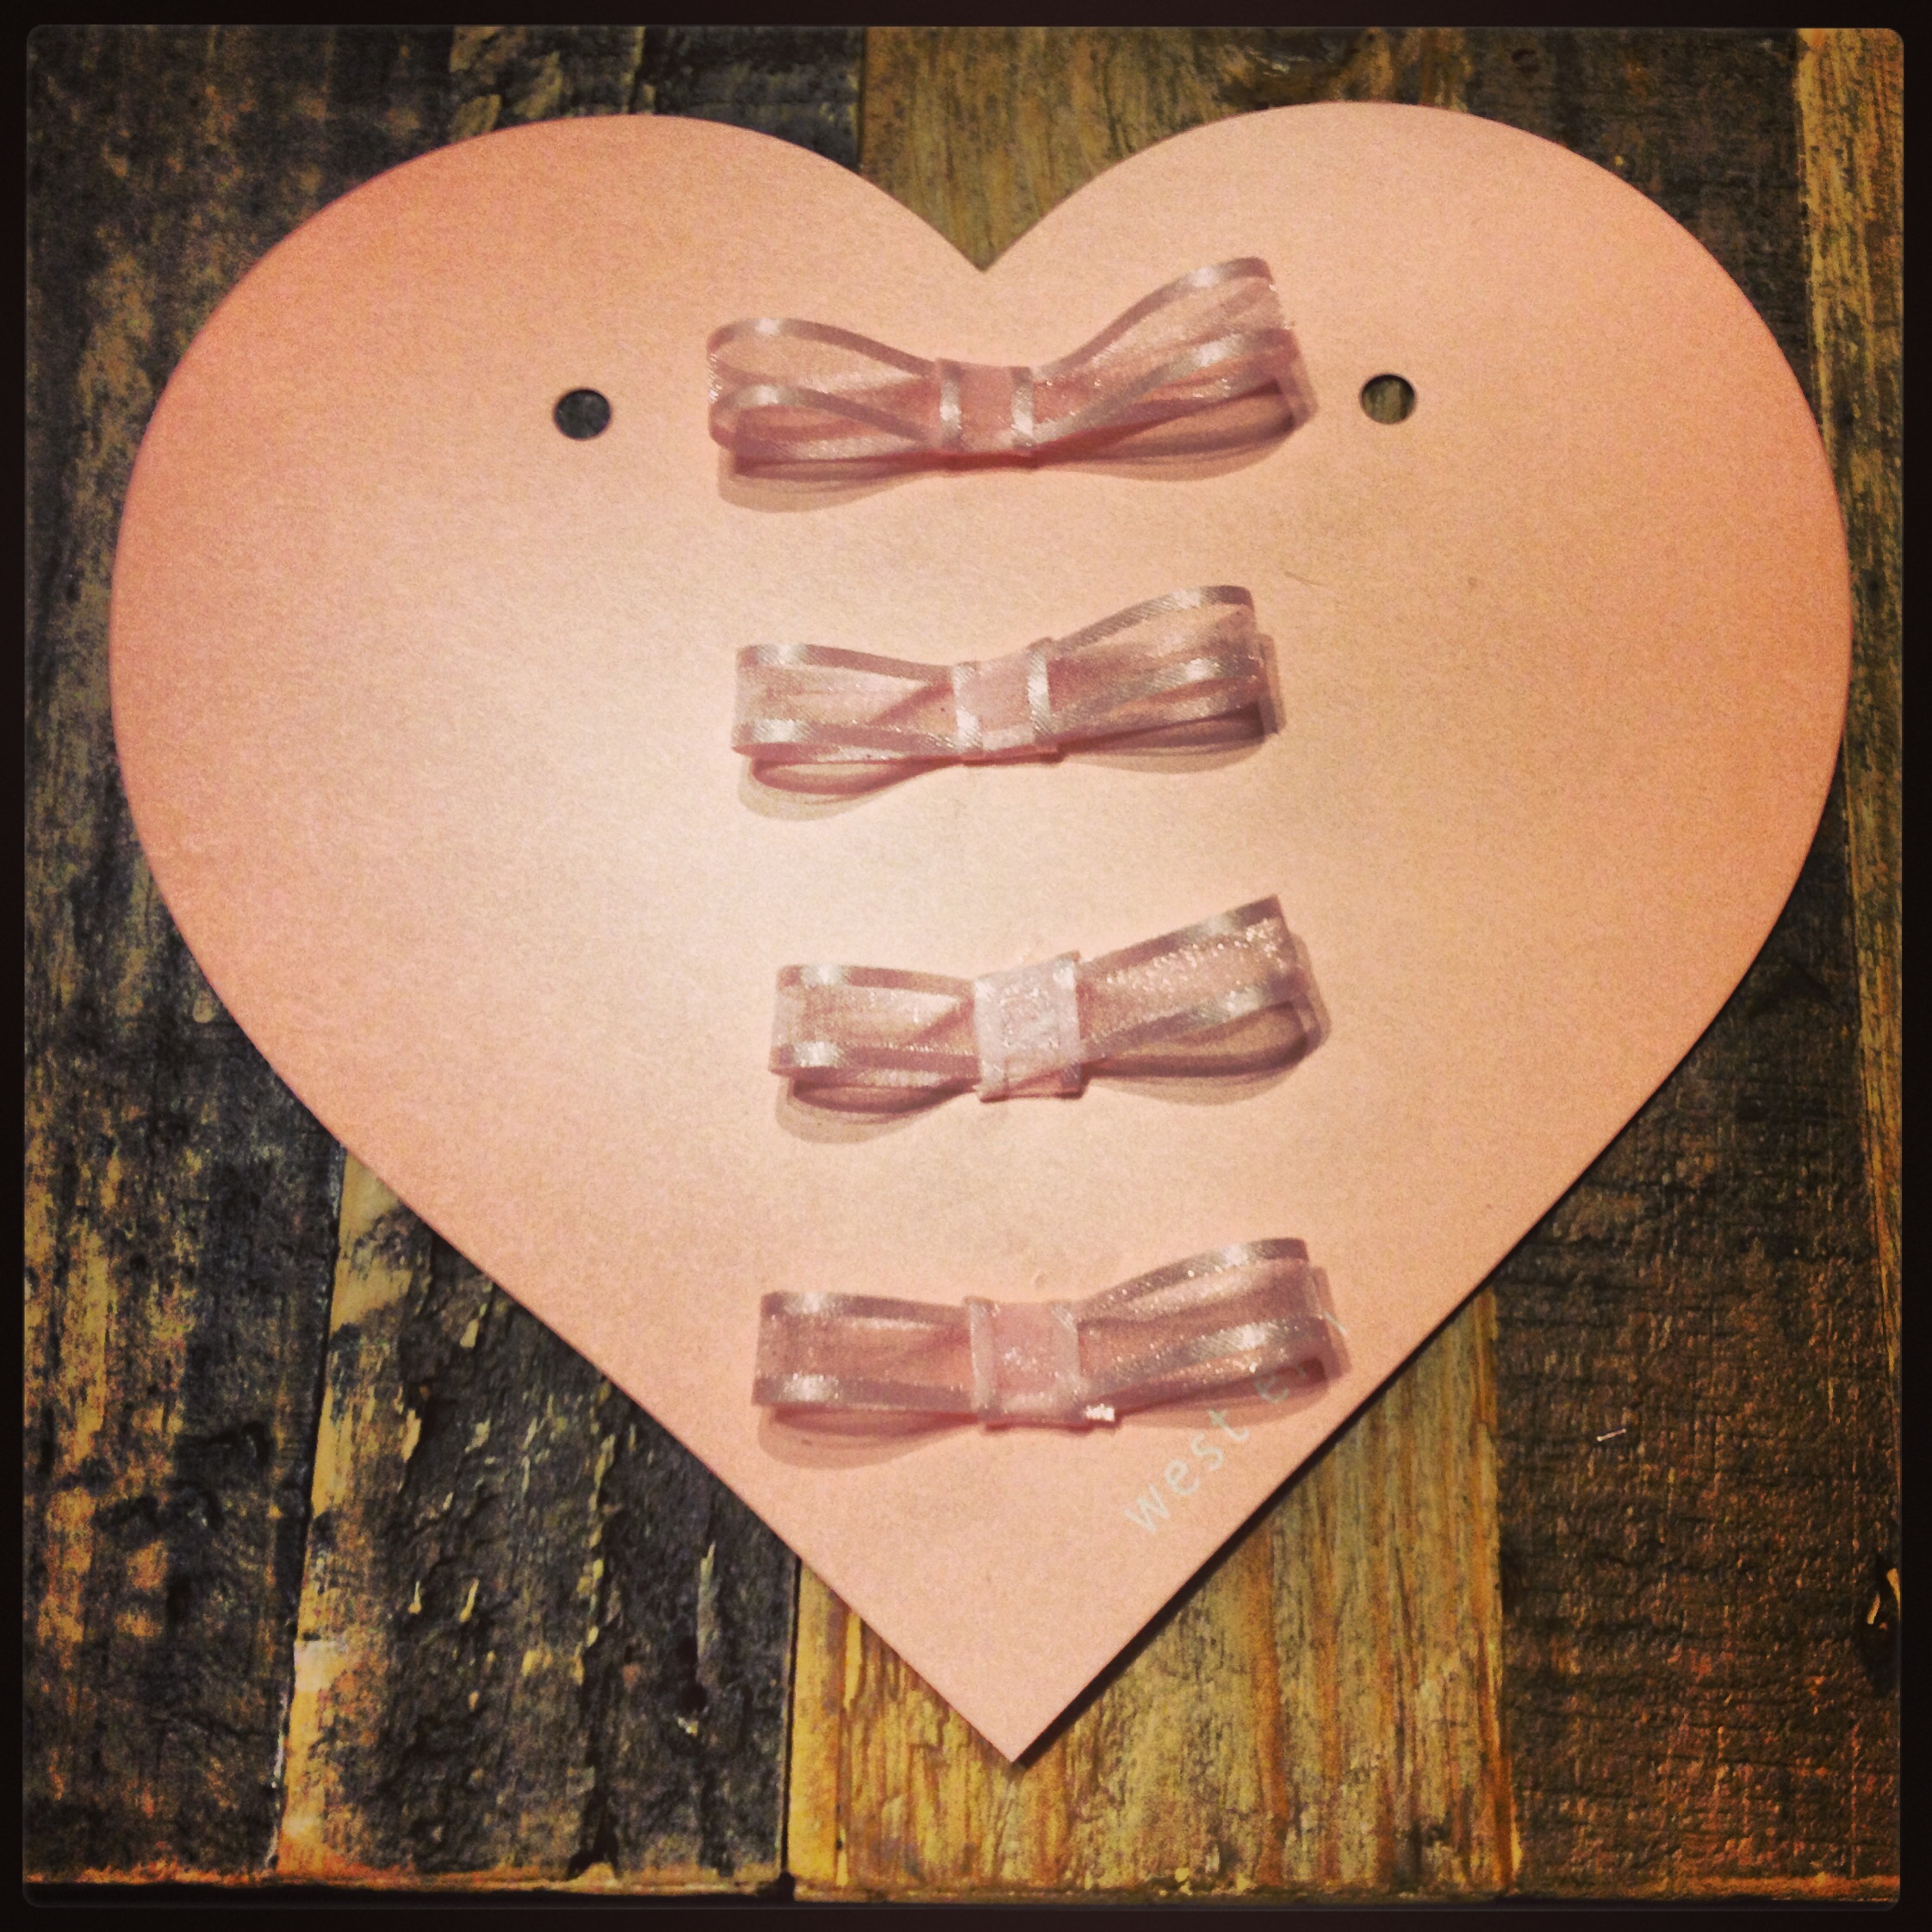
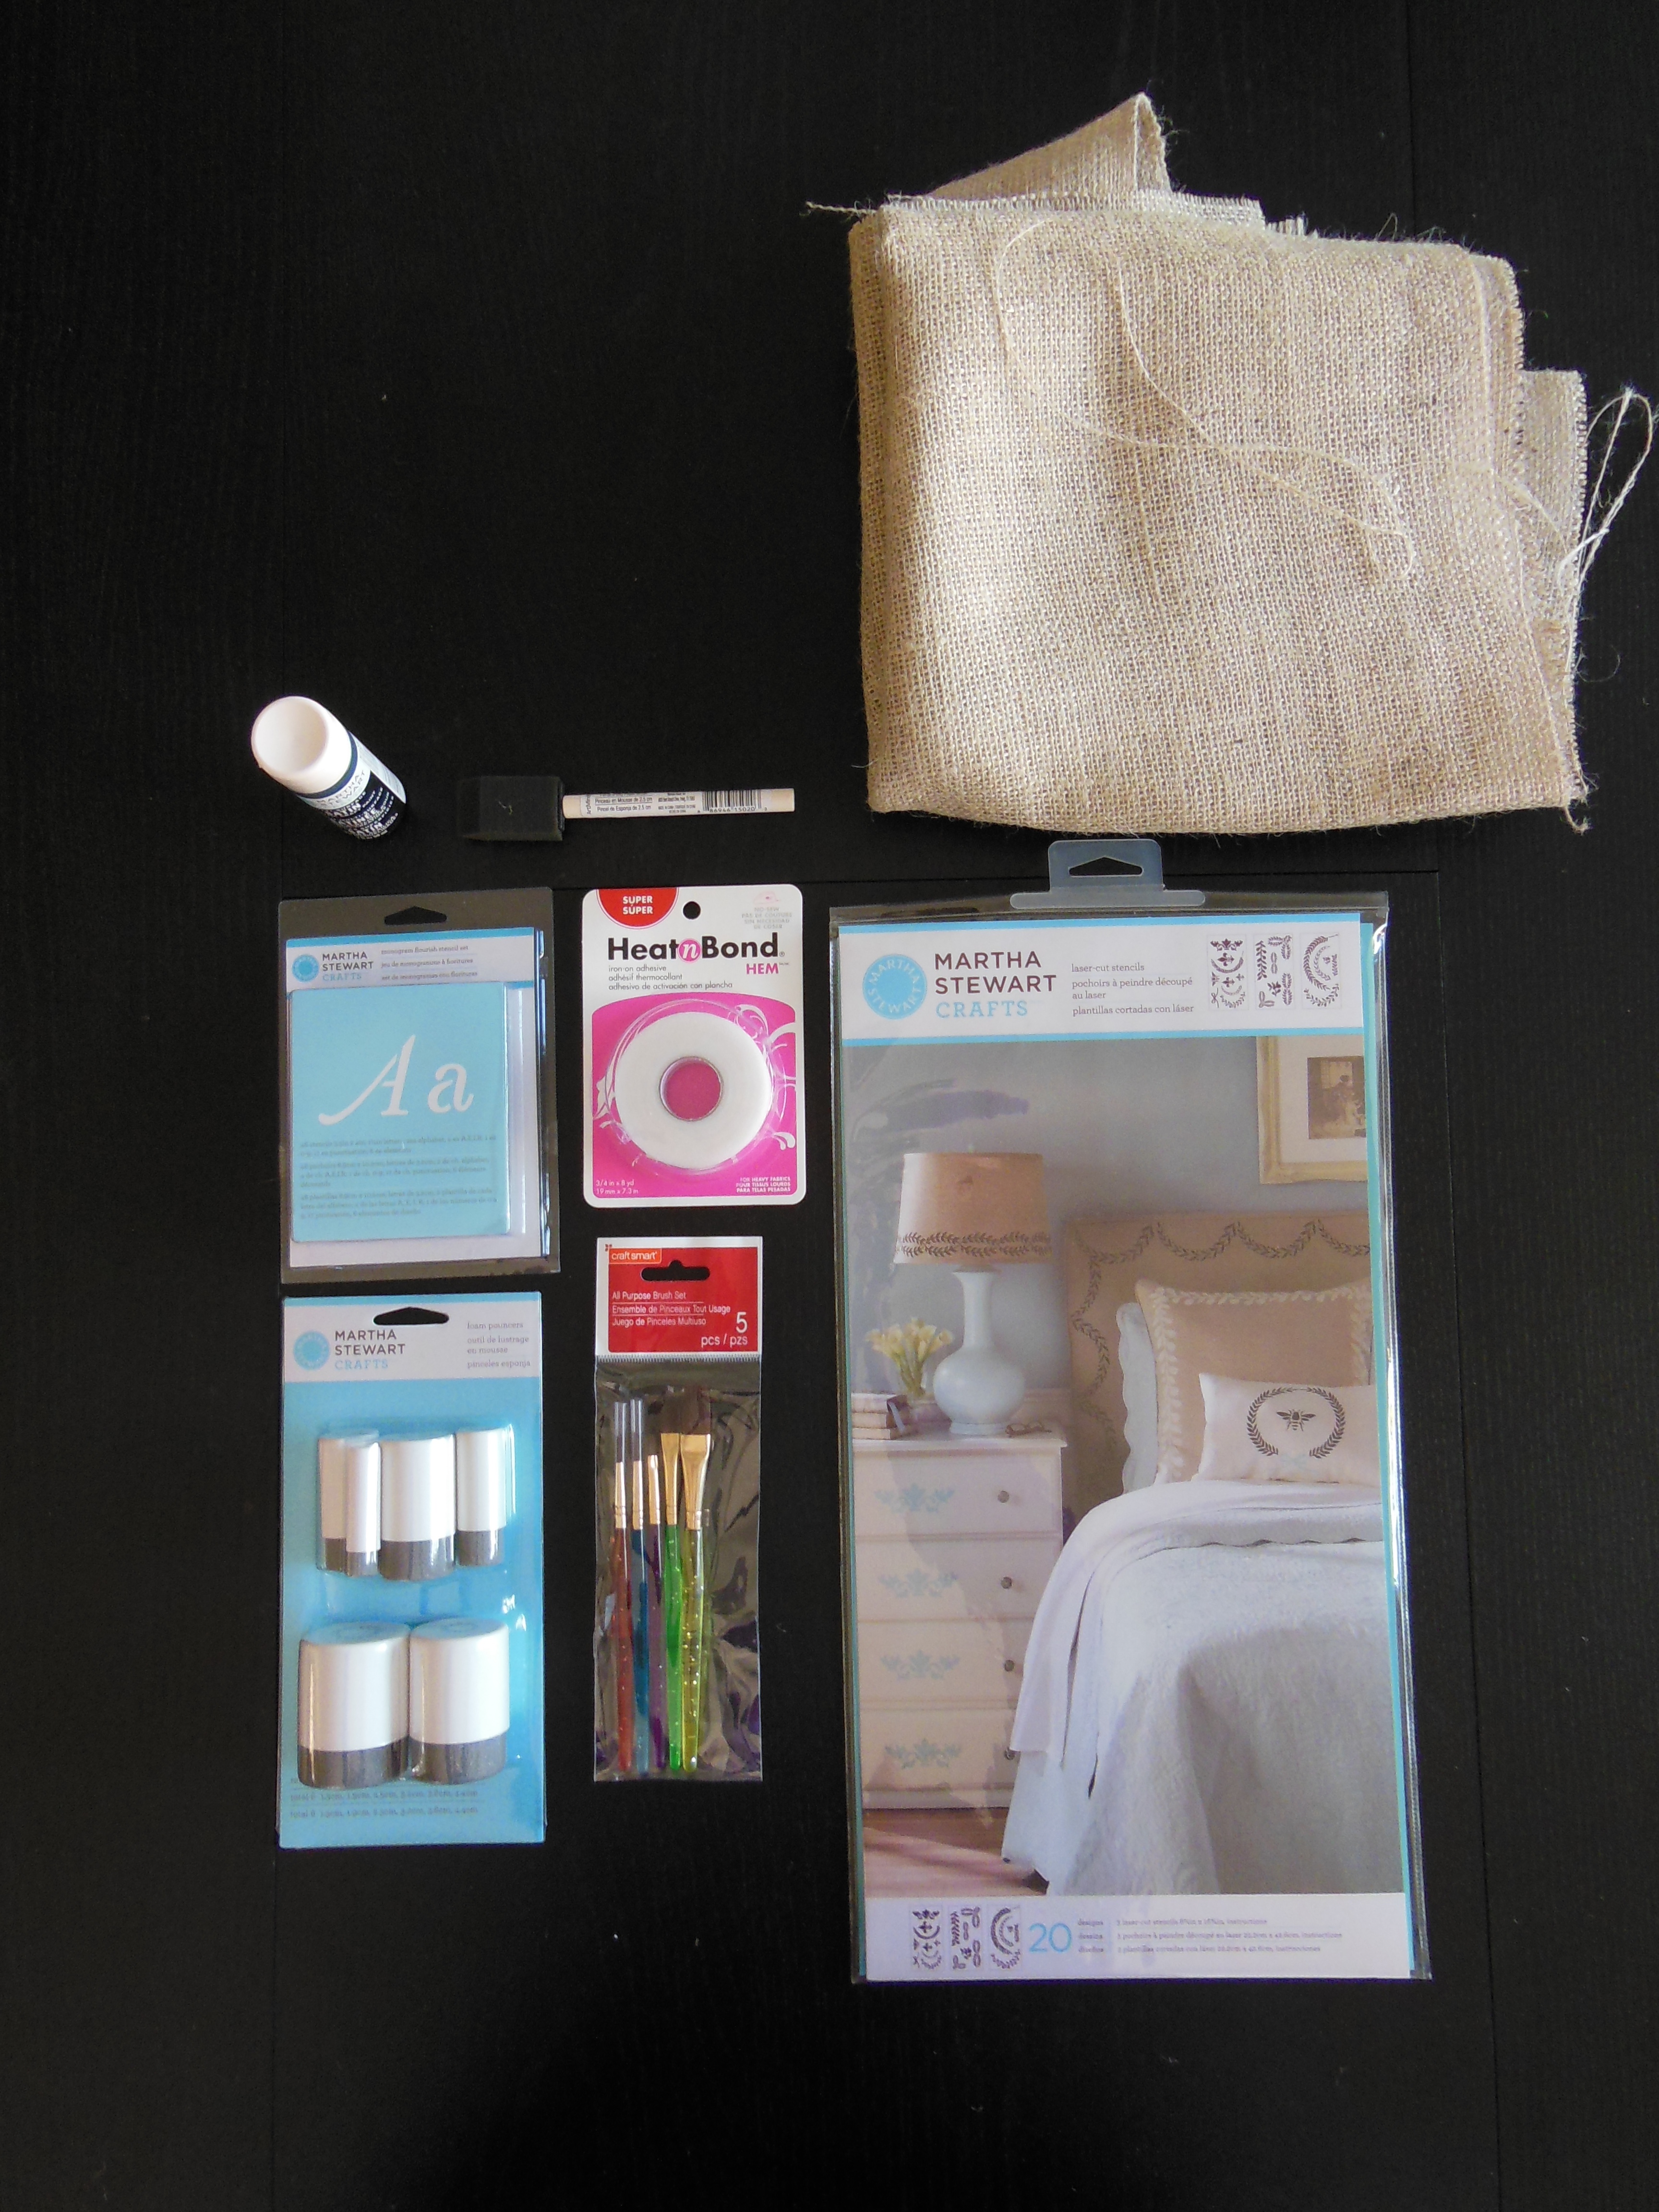
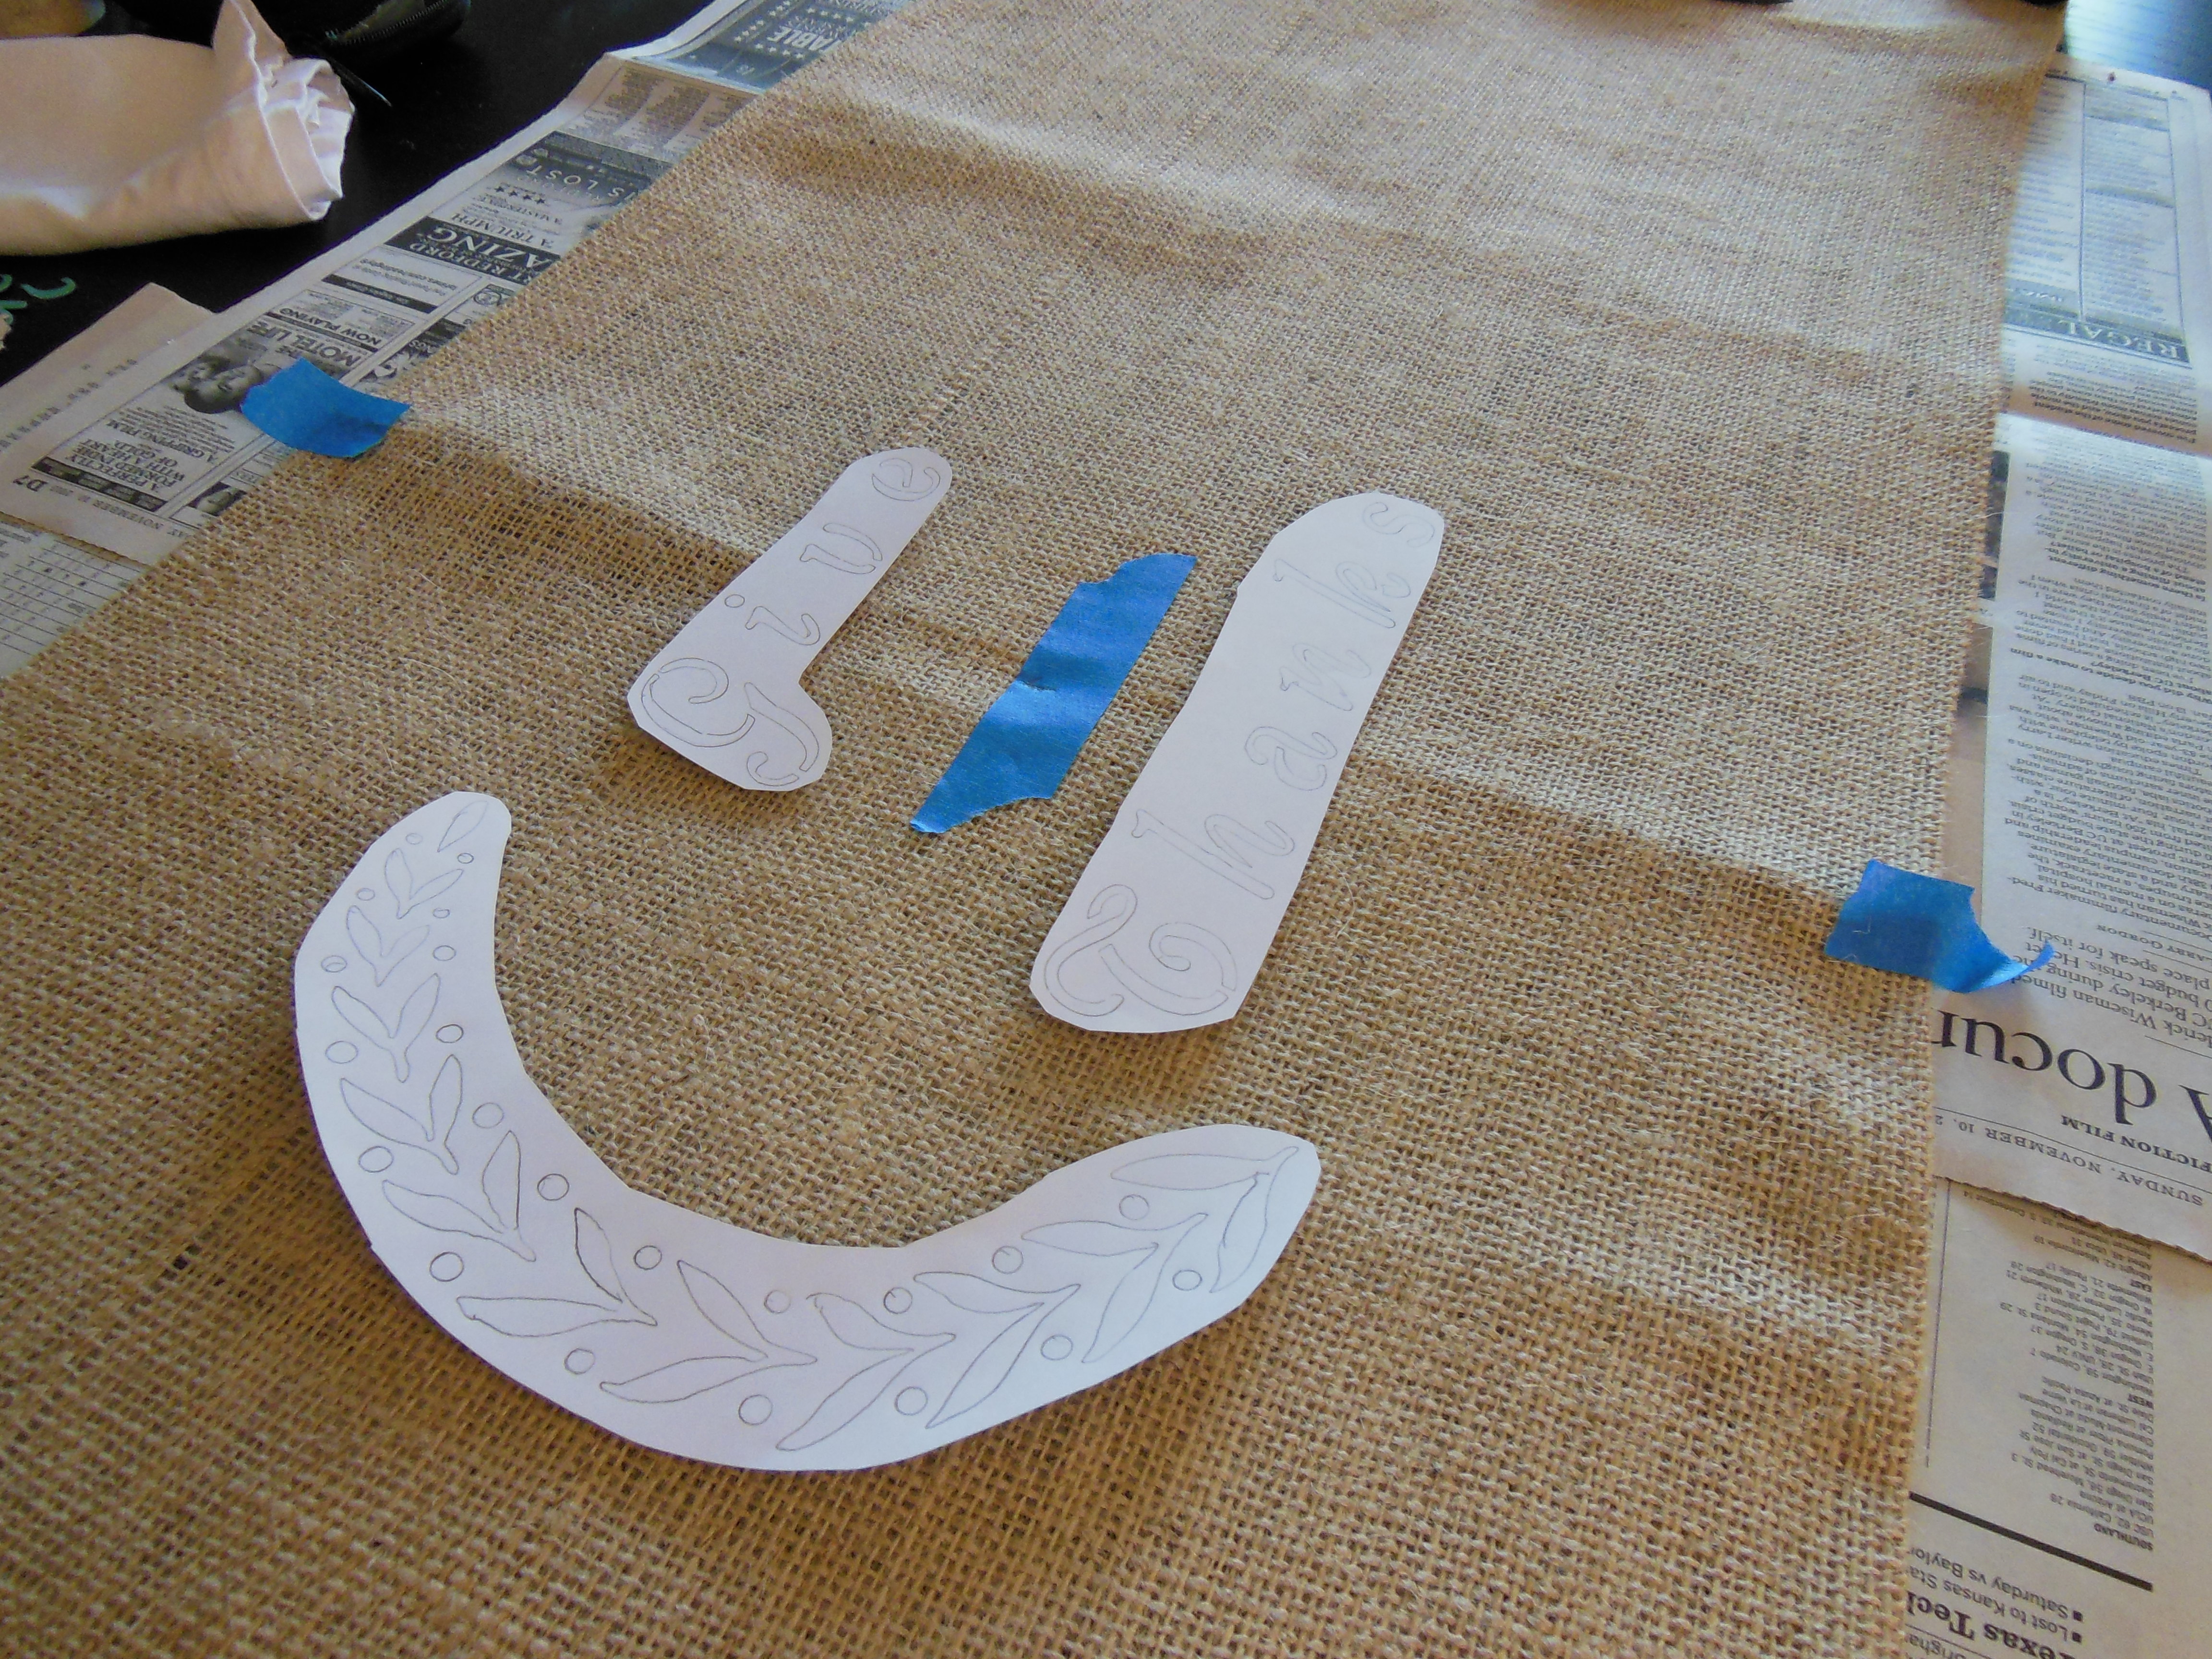
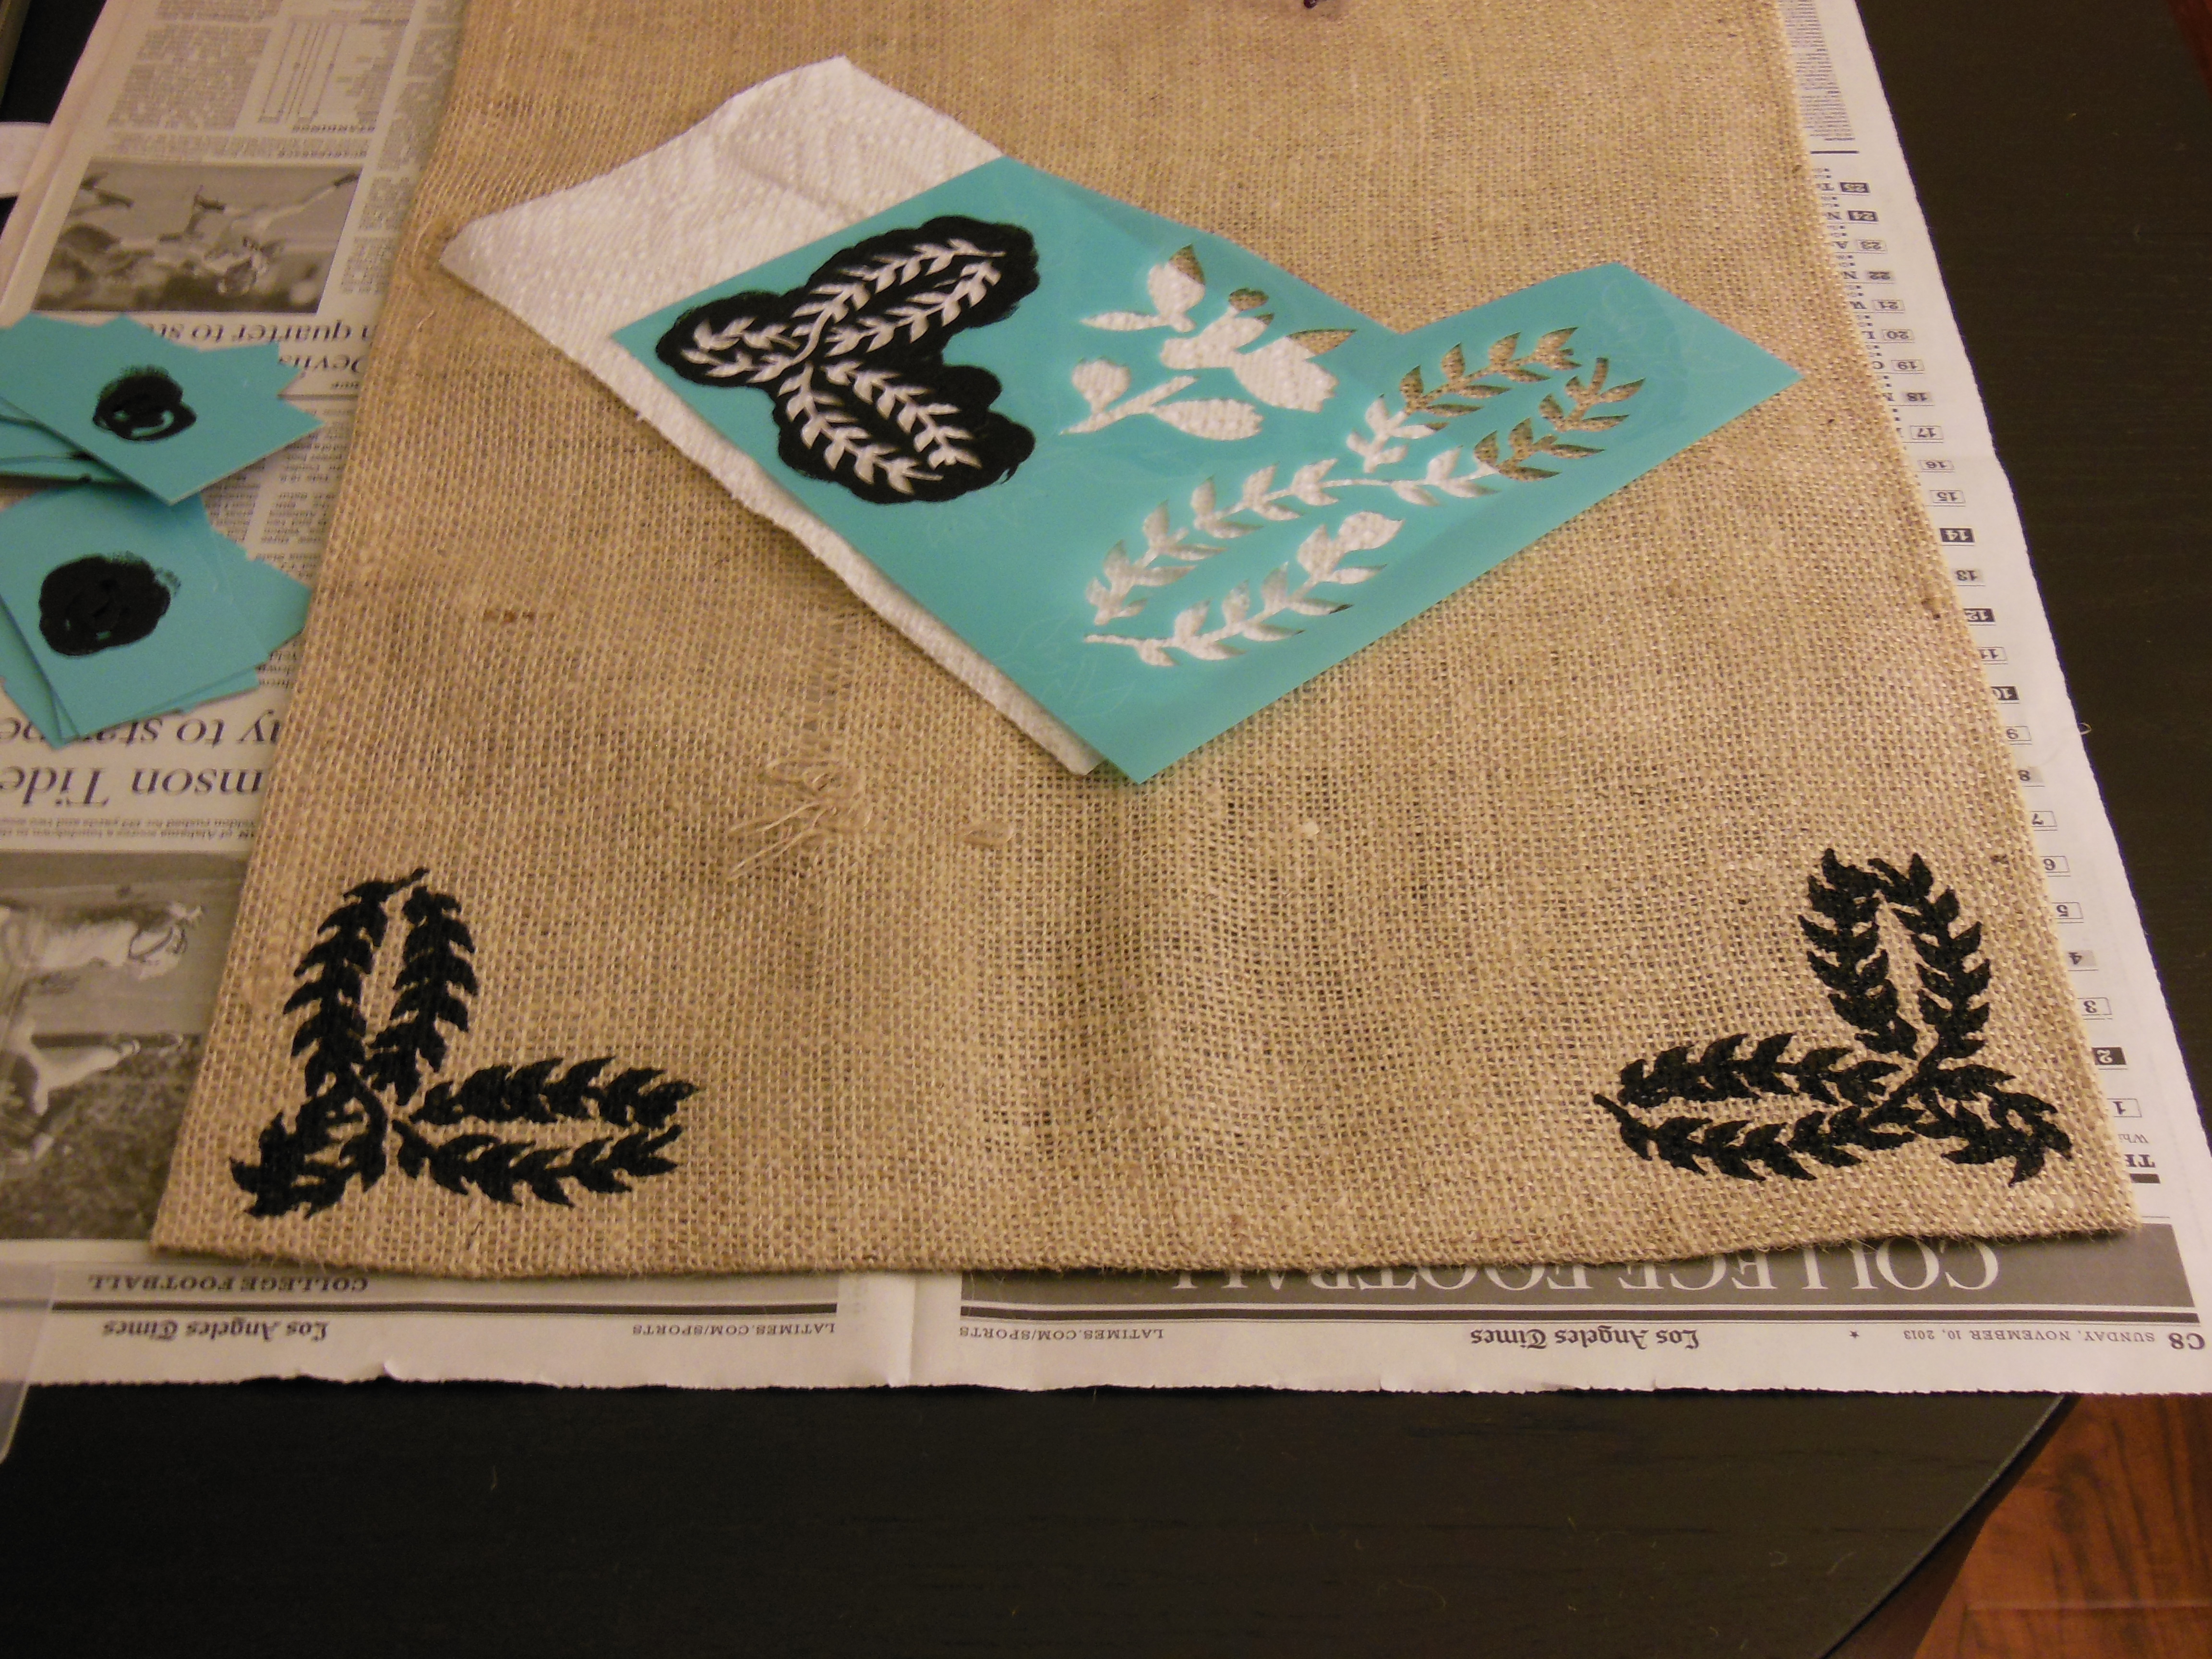
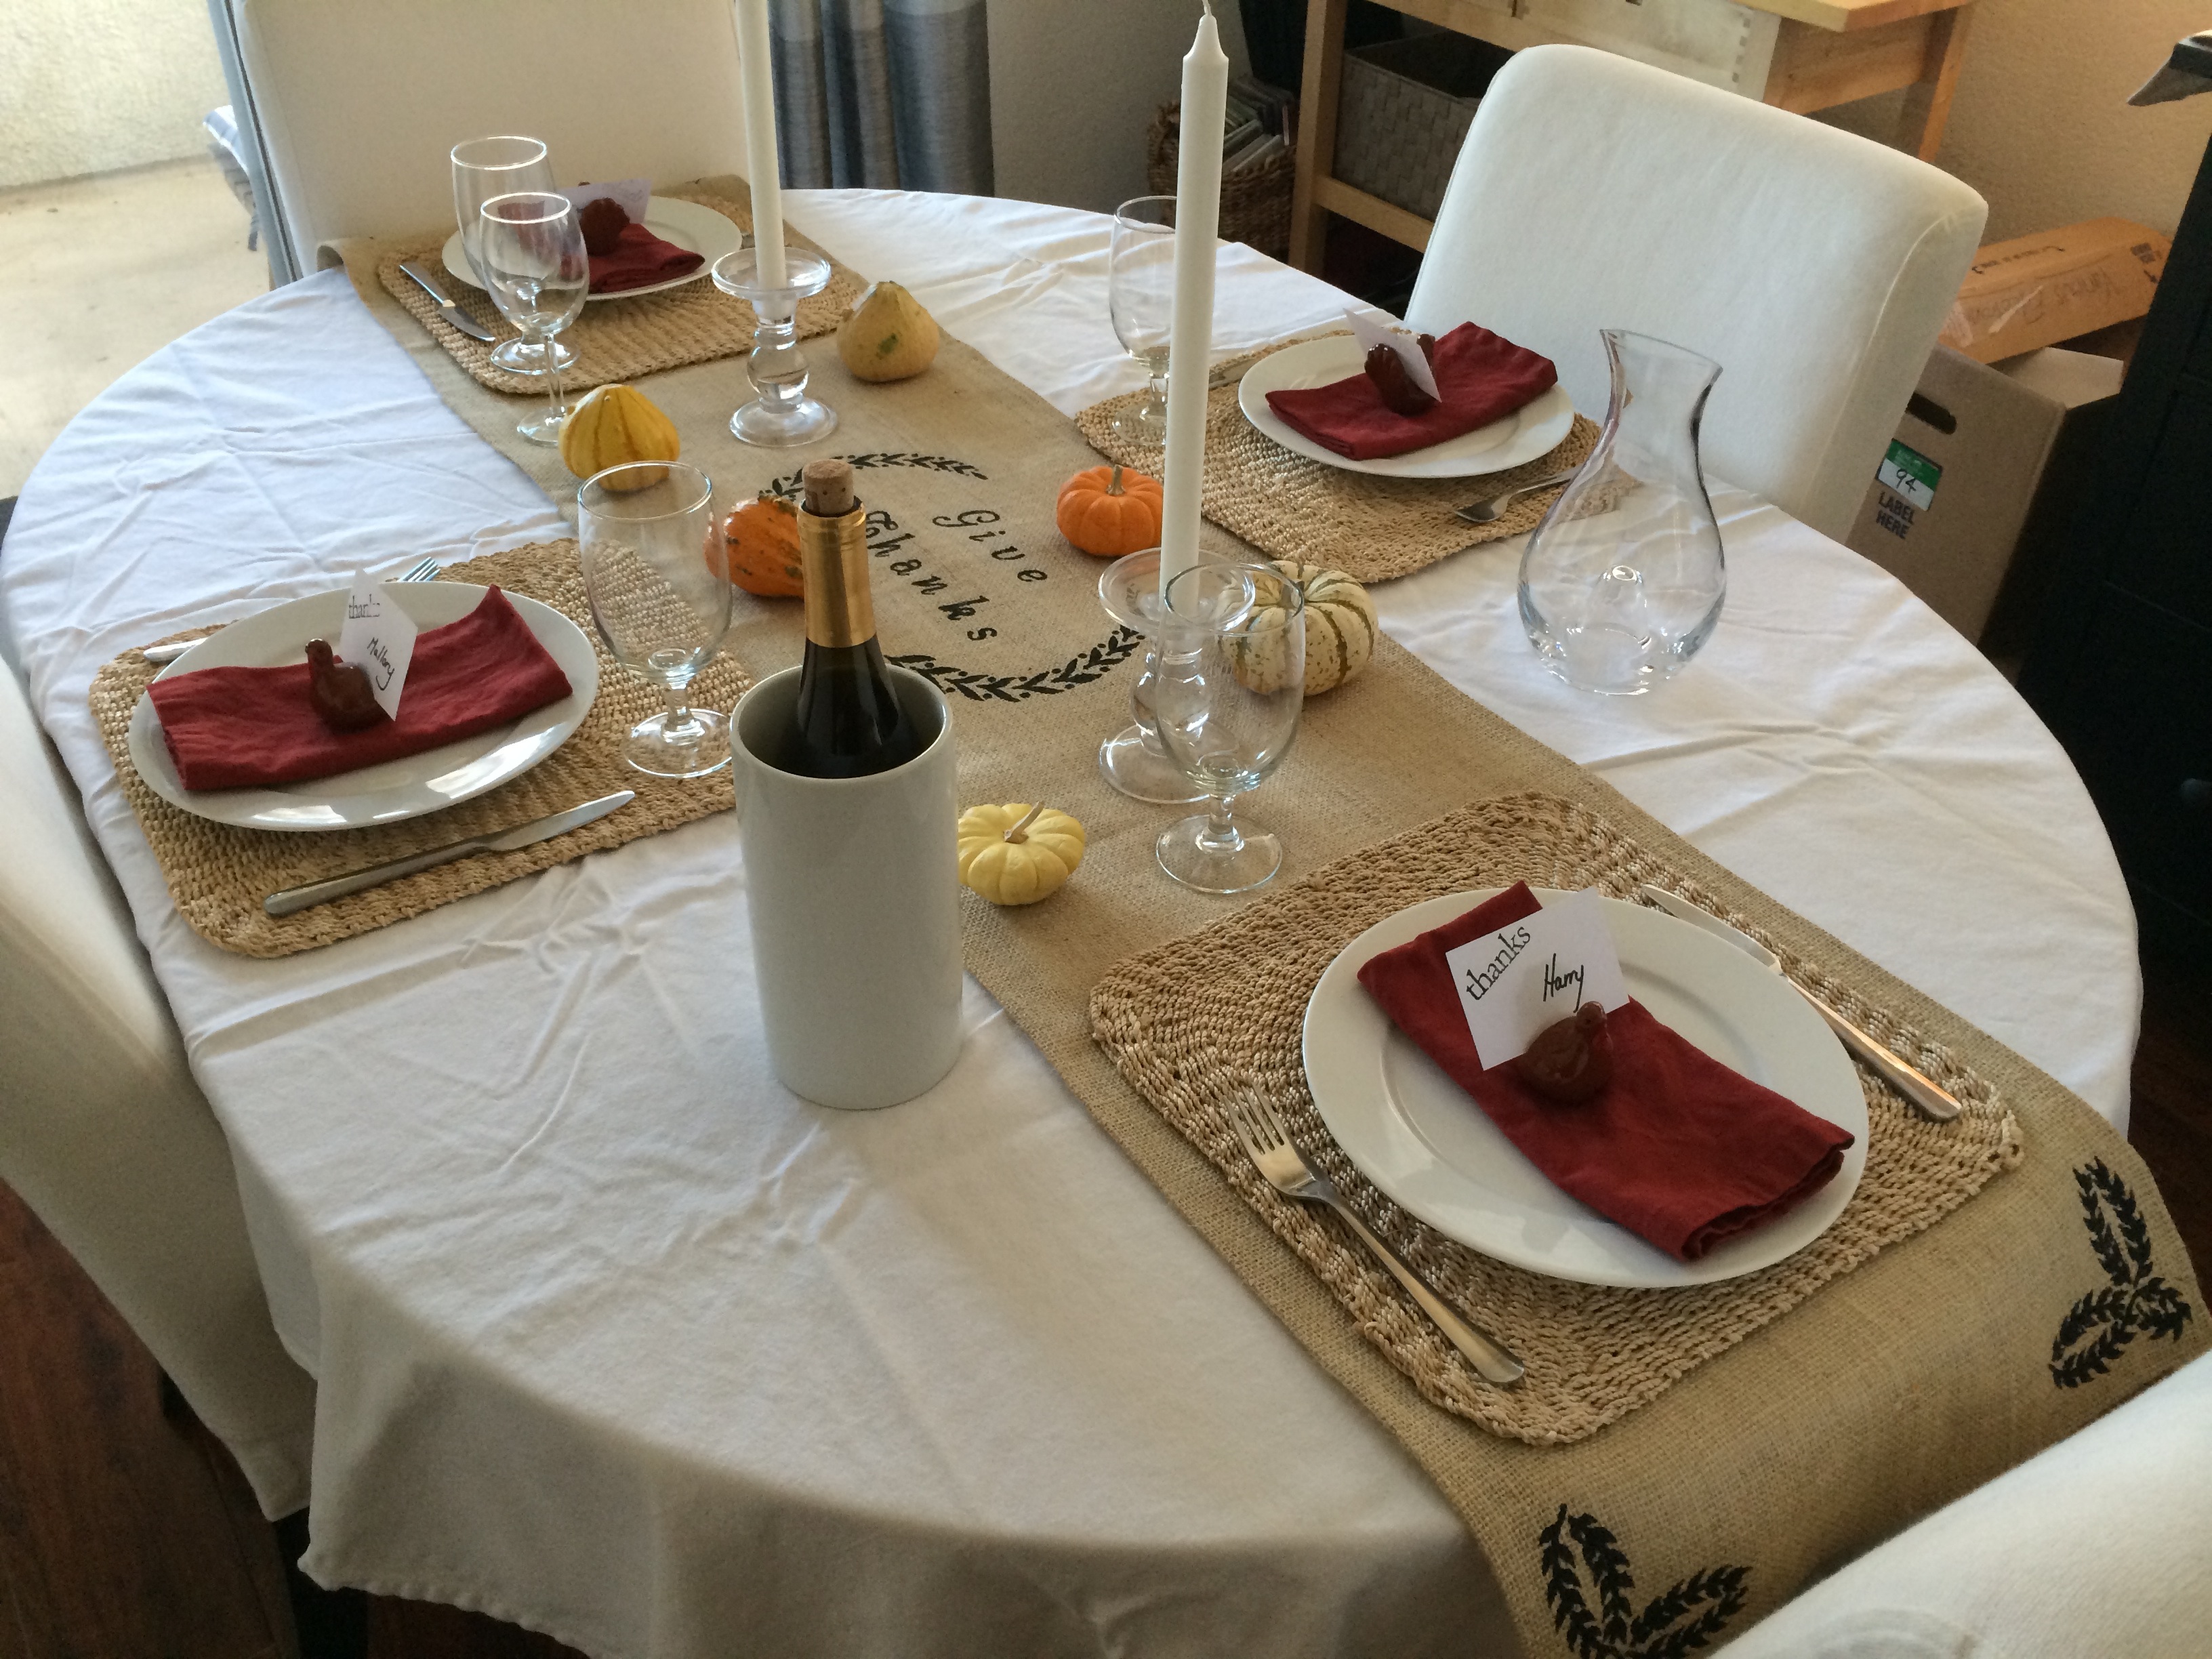
I’ll be back soon with ideas and plans for each of the rooms; I can’t wait to get started!  But for now, I’ll leave you with a preview of the first real project in the new place:

Instagram - Kitchen Islands

Share Your Heart

Last night I ducked out of the office (before it was even dark!) and headed over to West Elm for one of their DIY workshops.  This particular event was Valentine’s Day themed – crafting paper hearts to be sent to St. Jude’s Hospital where they will string them all together in an attempt to create the world’s largest paper chain!  And for each heart we created, West Elm donated $1 to the hospital.

photo 3

The actual crafting was free and they provided all of the supplies.  While there, I met some great people including a group of visual merchandisers for Macy’s, West Elm’s store manager and CJ, a stylist who runs their Instagram, @westelmla.

photo 2

There were also some great-looking refreshments, but as I’m still sticking hard core to my Weight Watchers plan (down 3 lbs so far!), I opted to just capture it on film.

IMG_4123

So let the crafting begin.  For my first heart, I knew I wanted it to be purple-themed in honor of my childhood friend Jill and all the kids like her at St. Jude’s.  I started out with a giant sheet of purple tissue paper.  I started doing a little ripping for a “rough edge” and needless to say, the finished project is not my best work, but I think the kiddies will like a heart option that isn’t pink or red.

IMG_4140

Next up, I snagged the roll of gold tape about as fast as I could and some letters for a little Jefe + Sledge action (that’s Geoff & Mallory for those new to the blog).  Of course, I opted for stripes.

IMG_4136

And lastly, I came across this ribbon at the bottom of a supplies bucket and knew exactly what to do with it – a little Kate Spade inspiration for a sickeningly sweet, picture perfect pink heart.

IMG_4139

So that about rounds out the night.  Here’s a little hint at what this store’s portion of the paper heart chain will look like strung up in St. Jude’s.

IMG_4141

If you want to catch some of the other hearts created, check out West Elm LA’s Instagram feed or search for their hashtag: #shareyourhearts.

Gobble Gobble DIY

As promised last week, we’re going to do a little time traveling here on SWS and travel back to the days of yore – holiday season so that I can recap some of my fabulously festive projects for you.  Today I’m sharing with you the little last-minute DIY burlap runner I whipped together in the few days before Thanksgiving.

Threshold Trellis Runner

This idea came to me when I realized that my new, lovely fall-themed Threshold runner from Target probably wouldn’t make it through Turkey Day unscathed.  It also didn’t look like it would hold up well through a cycle in the washer, so I decided that I needed an alternative runner option for our holiday table.  Enter free burlap fabric I had stashed in a drawer for the last year.

DSCN1267

I knew I wanted something Thanskgiving themed and after seeing more than my fair share of “Give Thanks” signs across Pinterest, I decided to make my own.  As my painting skills are seriously sub-par, I headed to Michael’s for some stencils provided by the god of craft, Martha.  Her stencils are pricey, so I searched for one with the highest likliehood of reuse, whipped out my coupon via iPhone, and dolled out $31 to the cashier (note: this was for ALL supplies purchased).  Now, I realize that this is $11 more than I paid for the finished runner I purchased at Target, but I really was looking for a one-of-a-kind piece that I made myself and the supplies I can reuse for many projects to come.

DSCN1259

Had there been more time this holiday season, I would have attempted to hand-make most of my gifts included a few of these bad boys for family members, but as we all know, December was a BLUR this year.

So, down to the nitty gritty.  First, I took one look at my burlap and knew it needed finished edges.  I used this tip (and overall DIY as a base) from Inspired By Charm and for the first time managed to cut a clean edge with the this type of fabric.

DSCN1272

Then I whipped out my handy no-sew hem type (who has room for a sewing machine anymore?!) and really cleaned up those edges.

DSCN1291

DSCN1282

Half-way through I also realized I *might* want to iron the rest of the fabric – just keeping it real folks.

DSCN1293

And it wasn’t until I had already done 2 corners that I realized I should be paying a *bit* more attention to detail, and decided to neatly fold the ends to give them a more finished and professional look.  (Did I mention it was VERY late at night when I finished this?!)

DSCN1299

Once I had the finished edges, I decided on my stencil design which I didn’t want it to look like a stencil – I chose to use a small brush to connect any lines.  When planning the spacing, laying the stencils out side by side left too much space between the letters in particular.  So I traced them on to a piece of paper with the desired spacing and laid them out.

DSCN1303

The blue painters tape represents both the horizontal and vertical centers of the burlap.

With that done, it was time to pull out the paint.  I kept the pencil tracing versions for reference and moved VERY slowly.  We don’t want this looking like a craft project, now do we?

DSCN1309

DSCN1315

DSCN1325

Once I had the middle painted, I decided it needed just a little more punch, so I pulled out another stencil to finish the ends.

DSCN1349

(Ignore the pulled thread in the middle of the fabric.  A casualty discovered too late in the game to stop crafting…)

After a few hours dry time, I had myself a new table runner!

DSCN1355

DSCN1352

On Thanksgiving Day, I was a bit preoccupied cooking an entire dinner for Jefe’s family to do much decorating, but I did manage to throw together an acceptable table setting.  At the time I was so busy and decided that ironing the table cloth was not worth the added fuss, but now that I see these pictures, I’m quickly regretting that.

IMG_0608

IMG_0617

Kudos go to Momma Sny for the turkey place card holders courtesy of the Dollar Spot at Target.  Dishware is Ikea 365 (5+ years old) and the napkins and water glasses were new from World Market.

The menu included a brined, 16 lb.  turkey (World Market’s Turkey Brine has done me well twice now), Momma Sny’s sweet potatoes, some mashed potatoes with a touch of garlic, stuffing, Jenny Hobick’s Bacon Green Beans, homemade cranberry sauce, my grandmother’s secret recipe apple pie and 2 pumpkin pies from Magnolia Bakery.  We capped it off with some fabulous wine and some VERY tired feet on my part.

IMG_3769

(secret Snyder family recipe apple pie, before baking)

So naturally the next day I did what any sane person would do after spending the previous day on her feet, cooking a meal for hours on end: ventured to Disneyland for Black Friday!

IMG_3809

Decorating for the Soul

First and foremost – I’d like to send out a little love in to the universe as we’ve reached Sledgehammer with Style’s 1st BLOGIVERSARY!  I can’t believe I’ve been putting my random thoughts out in to the interweb universe and a few of you have actually read them and come back for more!  Thank you everyone for keeping me inspired to keep writing and decorating!

Speaking of decorating, today’s post is about how decorating can be therapeutic and great for the soul.  Who needs a shrink when you’ve got a 25% off coupon for Crate & Barrel?!  Such is the case for today’s “client”.  My best friend Harriet recently went through a life change when she and her husband amicably went their separate ways.  She kept their place in Boston and in an effort to get a fresh start, decided she wanted to revamp her bedroom.

So here’s where we are starting: a gender neutral space populated mostly with post-college Ikea furniture.

Before 5

Before 1

Before 2

Before 3

Before 4

So once the big split happened, the first thing I recommended to her is to rearrange her furniture.  It was the quickest and easiest way to get a new perspective on things without spending a dime.  So while we planned her new room, she literally flipped her perspective 180 degrees.  And what a change!  It felt like a whole new room.

Next up, she decided on her point of inspiration for the design: a peacock feather.  It holds some serious sentimental value for us as it was part of our sorority in college, but that doesn’t mean I’m going to let her plaster the room with feathers and dip everything in peacock blue.  So we took the elements we liked such as that deep rich blue as a starting point.

Since it’s such a bold color, we decided that it could be an accent color while we would create a room around it with soft, neutral colors to give her a calming haven to retreat to at night.  So here’s my first run at a plan for her room:

Slide1

This is also the point when, despite her protests, I convinced her to paint.  It’s the quickest, cheapest way to totally transform a space.  We decided on a pale purple which would accent the peacock blue/teal accents we had been eyeing.  But as all designs go, we didn’t quite agree on which purple that was.  She’s a bit more of a girlie girl and leaned more towards a shade with pink undertones.  I recommended she pick up some test pots of a few colors and try them out before she paint the whole room in a color we (I) weren’t totally convinced was just right.  Here’s the tester:

IMG_20130915_133019

We both agreed that the one on the left was way too pink.  The one on the right is a bit more in line with what we were thinking.  So a few weeks later, she bit the bullet, bust out the credit card for some new furniture AND tackled painting the whole room herself with one fabulous finished product (I apologize for the photos as we haven’t had a chance to do some serious “after” photos yet):

IMG_20131001_084310

IMG_20131001_084323

Now we had some serious momentum to keep rolling.  The dresser is the Sorano 6-Drawer Dresser from Crate & Barrel.  It reminds me of driftwood; I’m totally in love with it.  Harriet and I went through a LOT of rug choices.  She was particularly found of this Sonnet Area Rug in turquoise from Home Decorators Collection:

Sonnet Rug

But ultimately, she decided on the Jasper Area Rug in aqua from Crate & Barrel.  And to round out her shopping cart, she chose this amazingly comfortable Haven Chaise which she had fallen in love with during a window shopping trip in LA with yours truly.

Then after a long search for non-white bedding that wouldn’t show dog fur (she has an adorable long-haired dachshund named Snickers), Harriet picked some great bedding from West Elm: the Braided Matelasse Duvet Cover.

West Elm Bedding

So after some tweaking thanks to a new paint color and some new design decisions, here’s the updated mood board for the space:

Slide1

Then thanks to the Red Sox fabulous season and a spot in the playoffs, Jefe and I took off for Boston for a baseball game and some much needed time with my bestie.  Unfortunately for her, the West Elm duvet was out of stock online.  I, however, live around the corner from the store…. so my carry-on ended up filled to the brim with bedding instead of clothes.

While we were enroute, Harriet had a great bed frame delivered.  It’s got storage for those bulky sweaters needed to bear the Boston winters.  It’s from a local retailer, Jordan’s.

Once we landed in Boston, Jefe had to take a work call so Harriet and I took a quick jaunt to Home Goods where we made an INCREDIBLE score.  We found a pair of AMAZING lamps that matched her new rug exactly.  And they were the perfect way to bring some of the pale, minty teal over to the other side of her room on her future beside tables.  Check out one of these gorgeous, curvy ladies (note that we ensured that we could fix the crooked shade before she purchased):

IMG_3616

What an amazing score.  Under $100 for BOTH of them.  We were stoked.  And Jefe gave us quite the look when we both walked in the front door, arm in arm with our lamps.  We looked like little girls with their arms caught in the cookie jar.

So now our search has turned to sheets, nightstands and a side table for her chaise and some artwork.  We both love the idea of black and white photos throughout the whole room; we just have to find the right ones.

And while we were there, we discussed a few other areas of her place we’d love to tackle down the road.  I love a good project so there will definitely be more to come!