I’ve been keeping a not so little secret. I teased it earlier this week but it’s time to confess: we revamped our office… in January. Jefe had been working from home a lot and apparently had been really discontent with the state of our office. So on MLK weekend, he sprung on me that he wanted to redo the office. I hadn’t even gotten to finish the plans I had for the office and we were already redoing it! Luckily what he wanted was in line with the overall plan I had for the space. But with all that said, we spent our holiday off work driving all the way to Torrance for a coveted desk we had to have…
As a little refresher, here’s what we were looking at last fall:
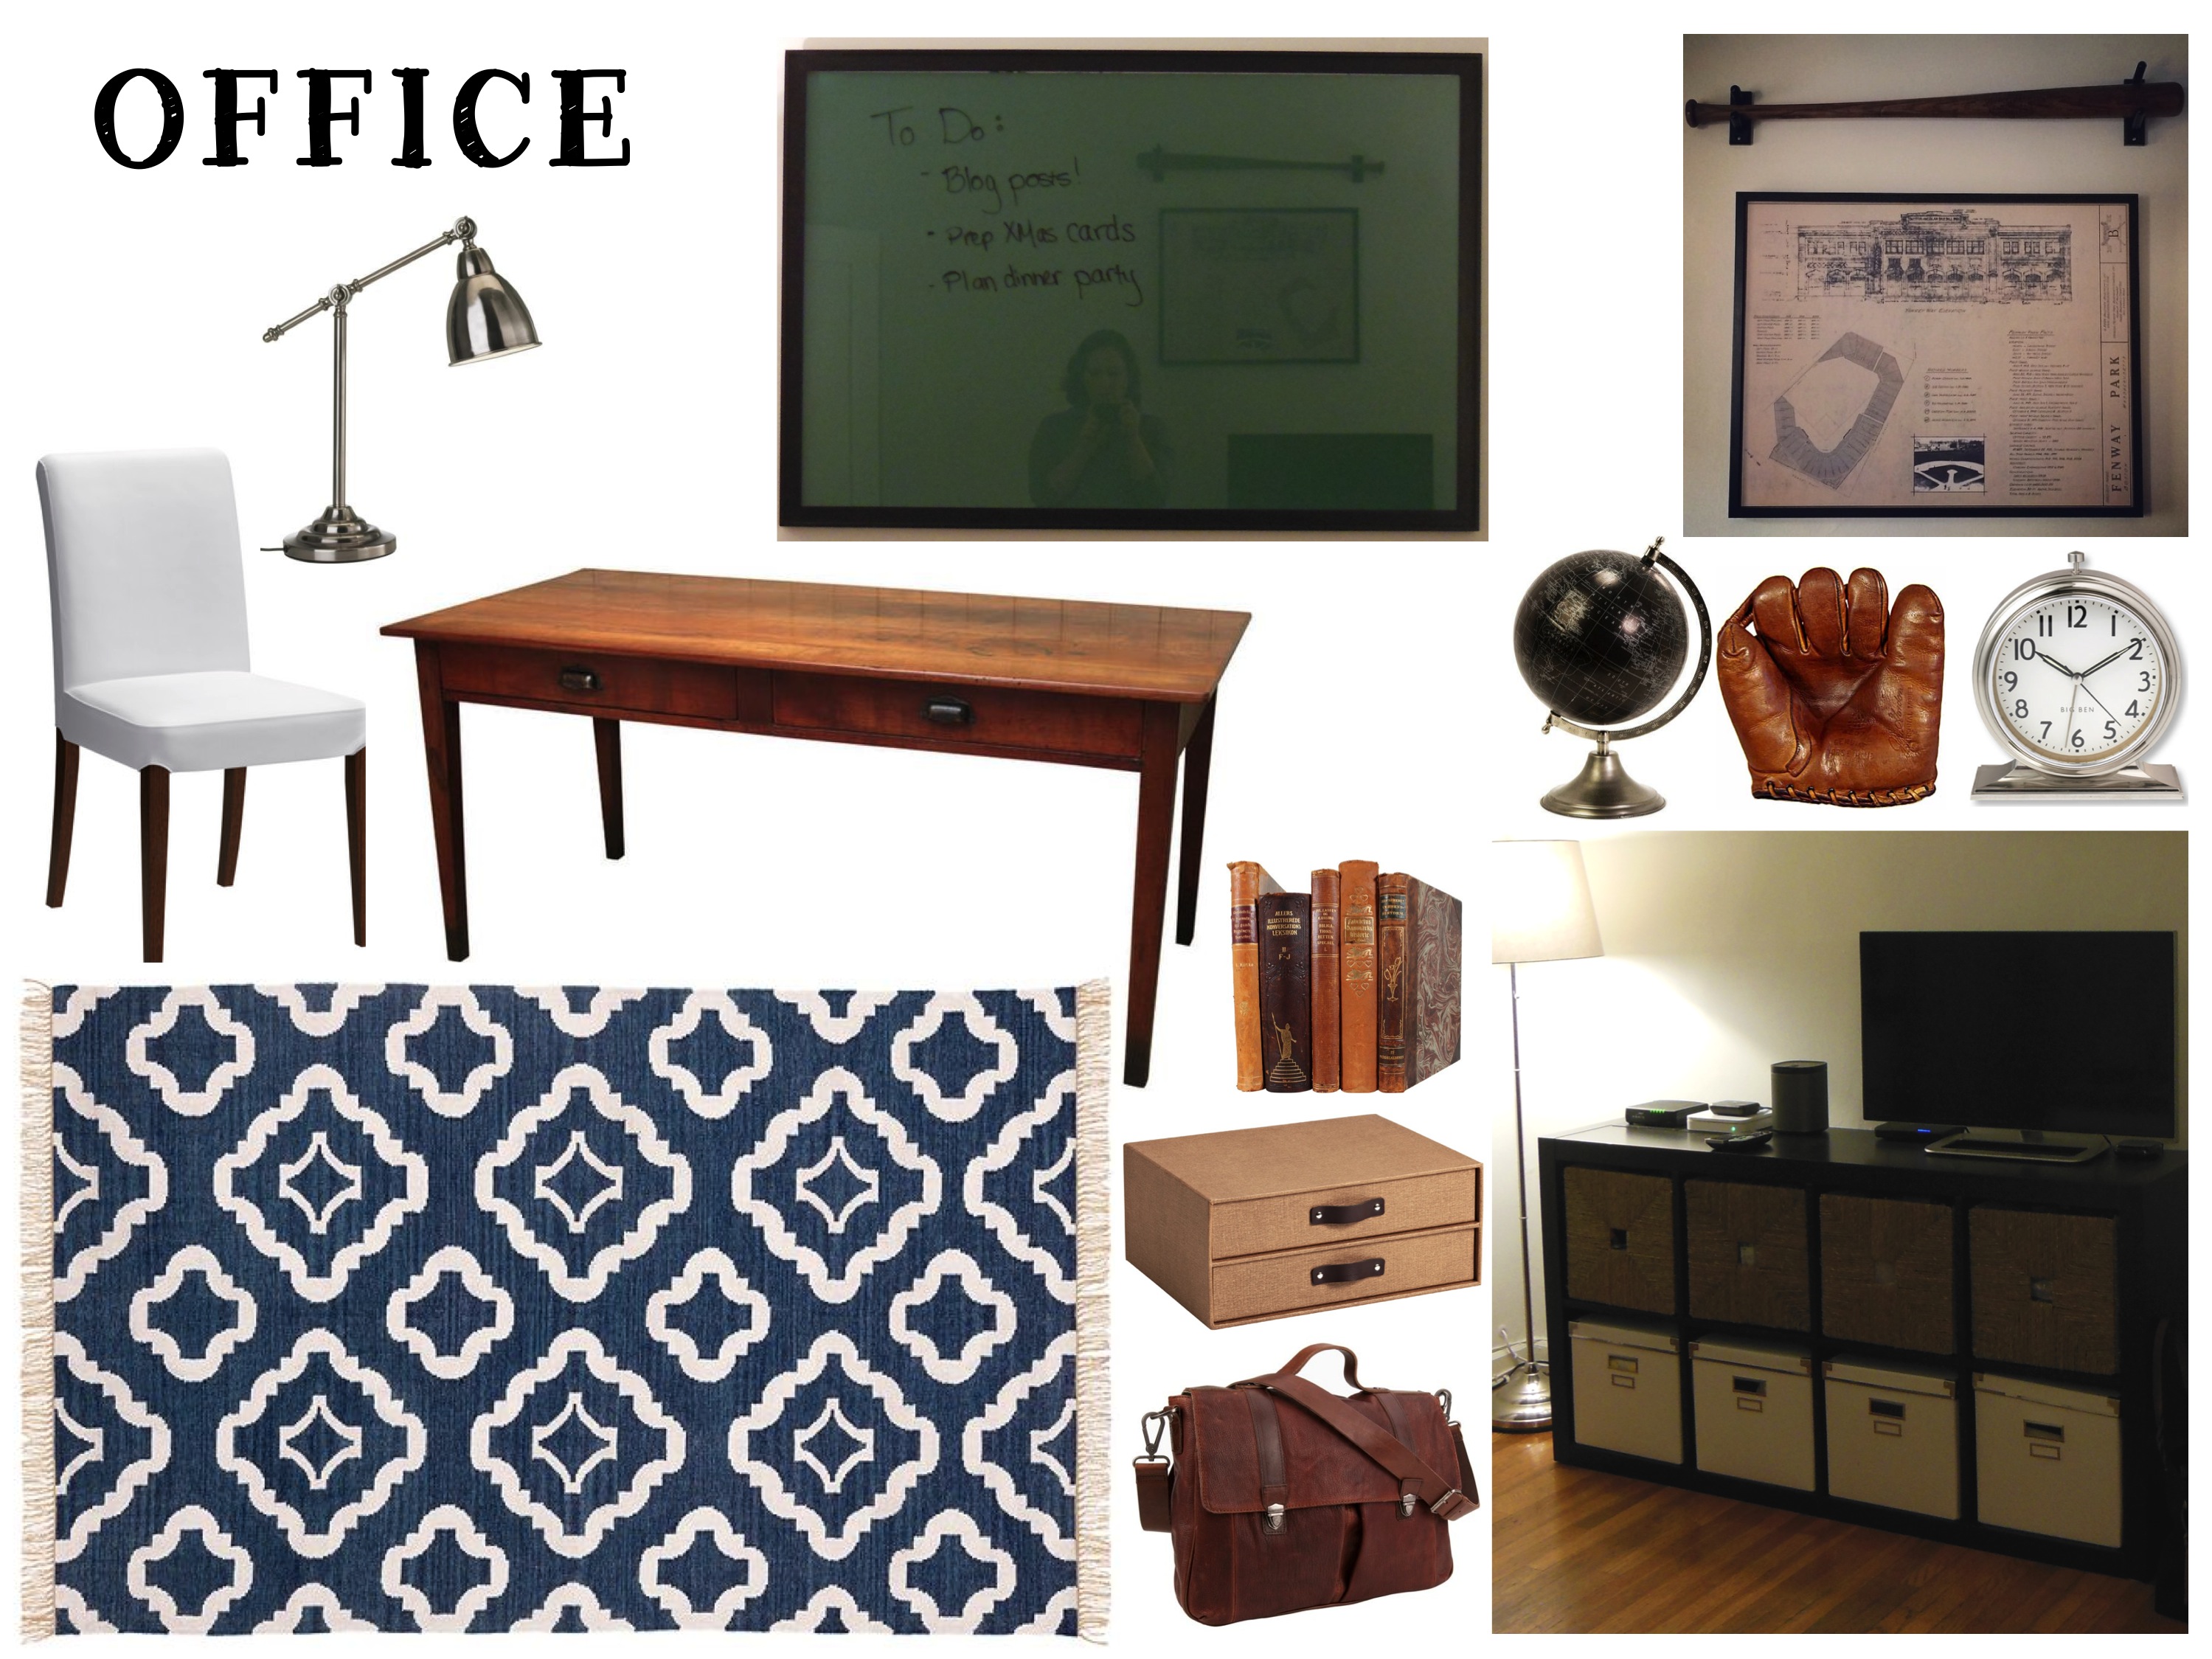
New Office Mood Board- Nov 2014
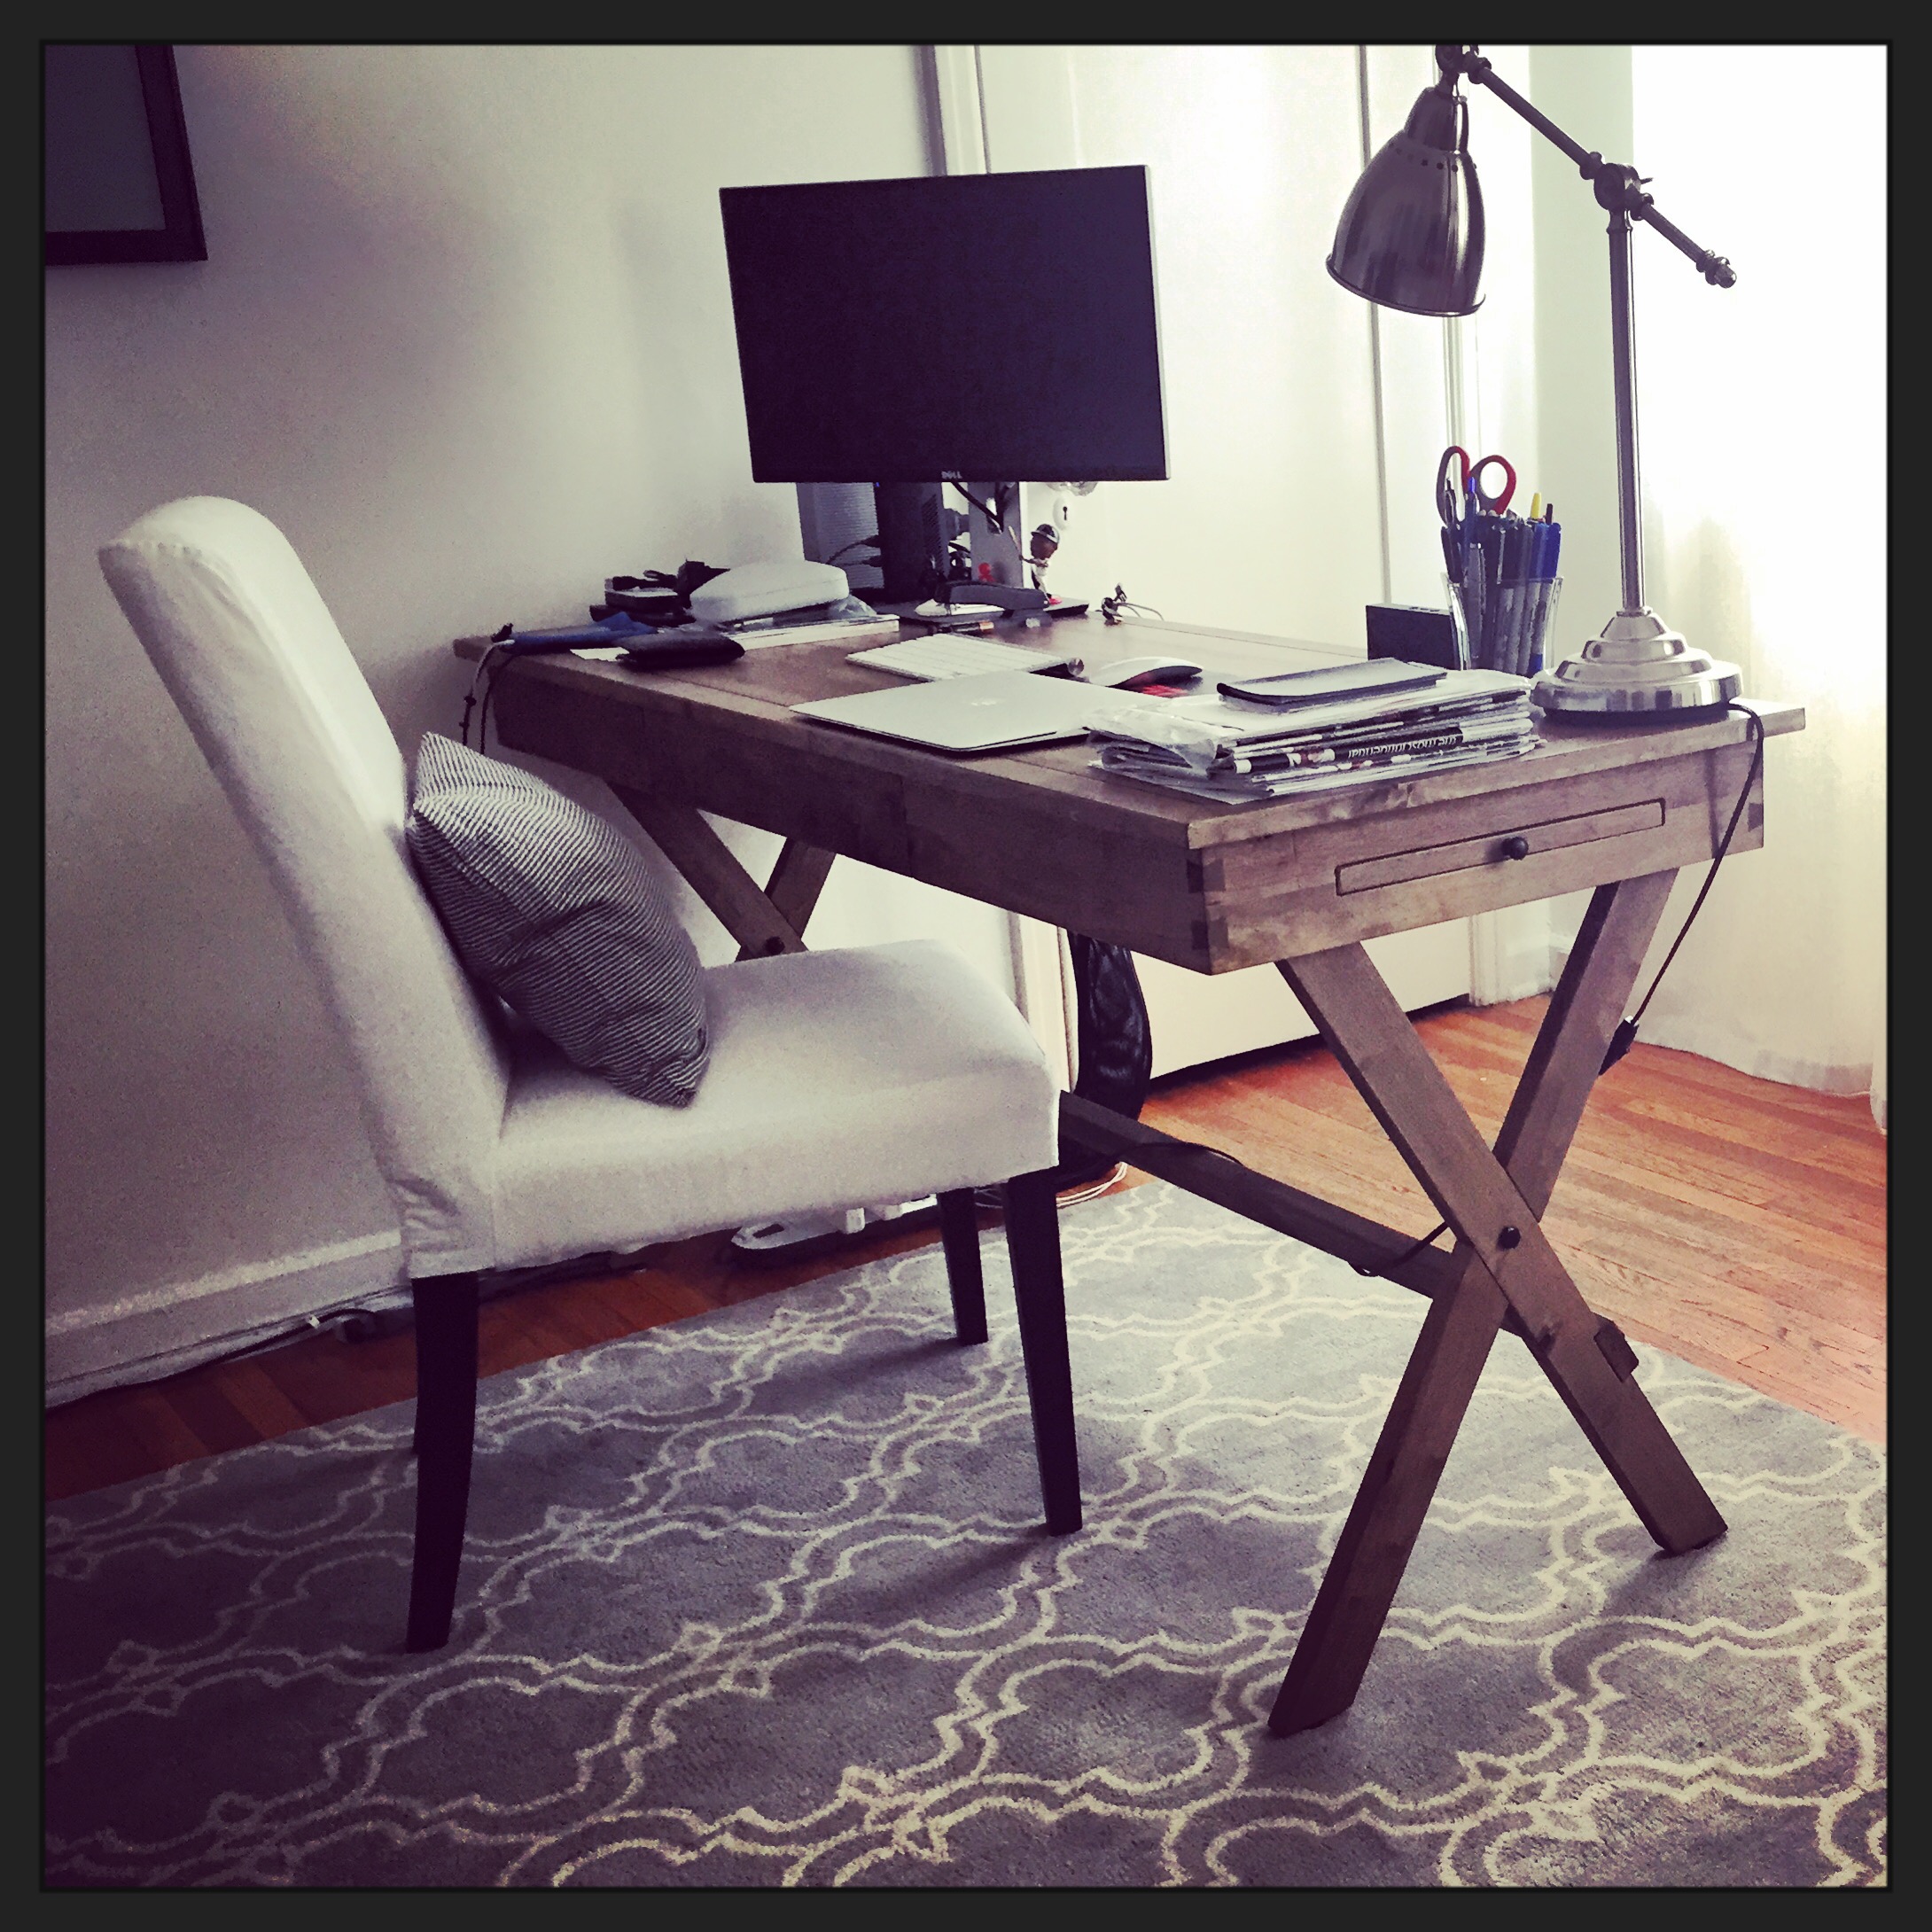
And thanks to Jefe’s impromptu redecorating request, here’s what we’re looking at:
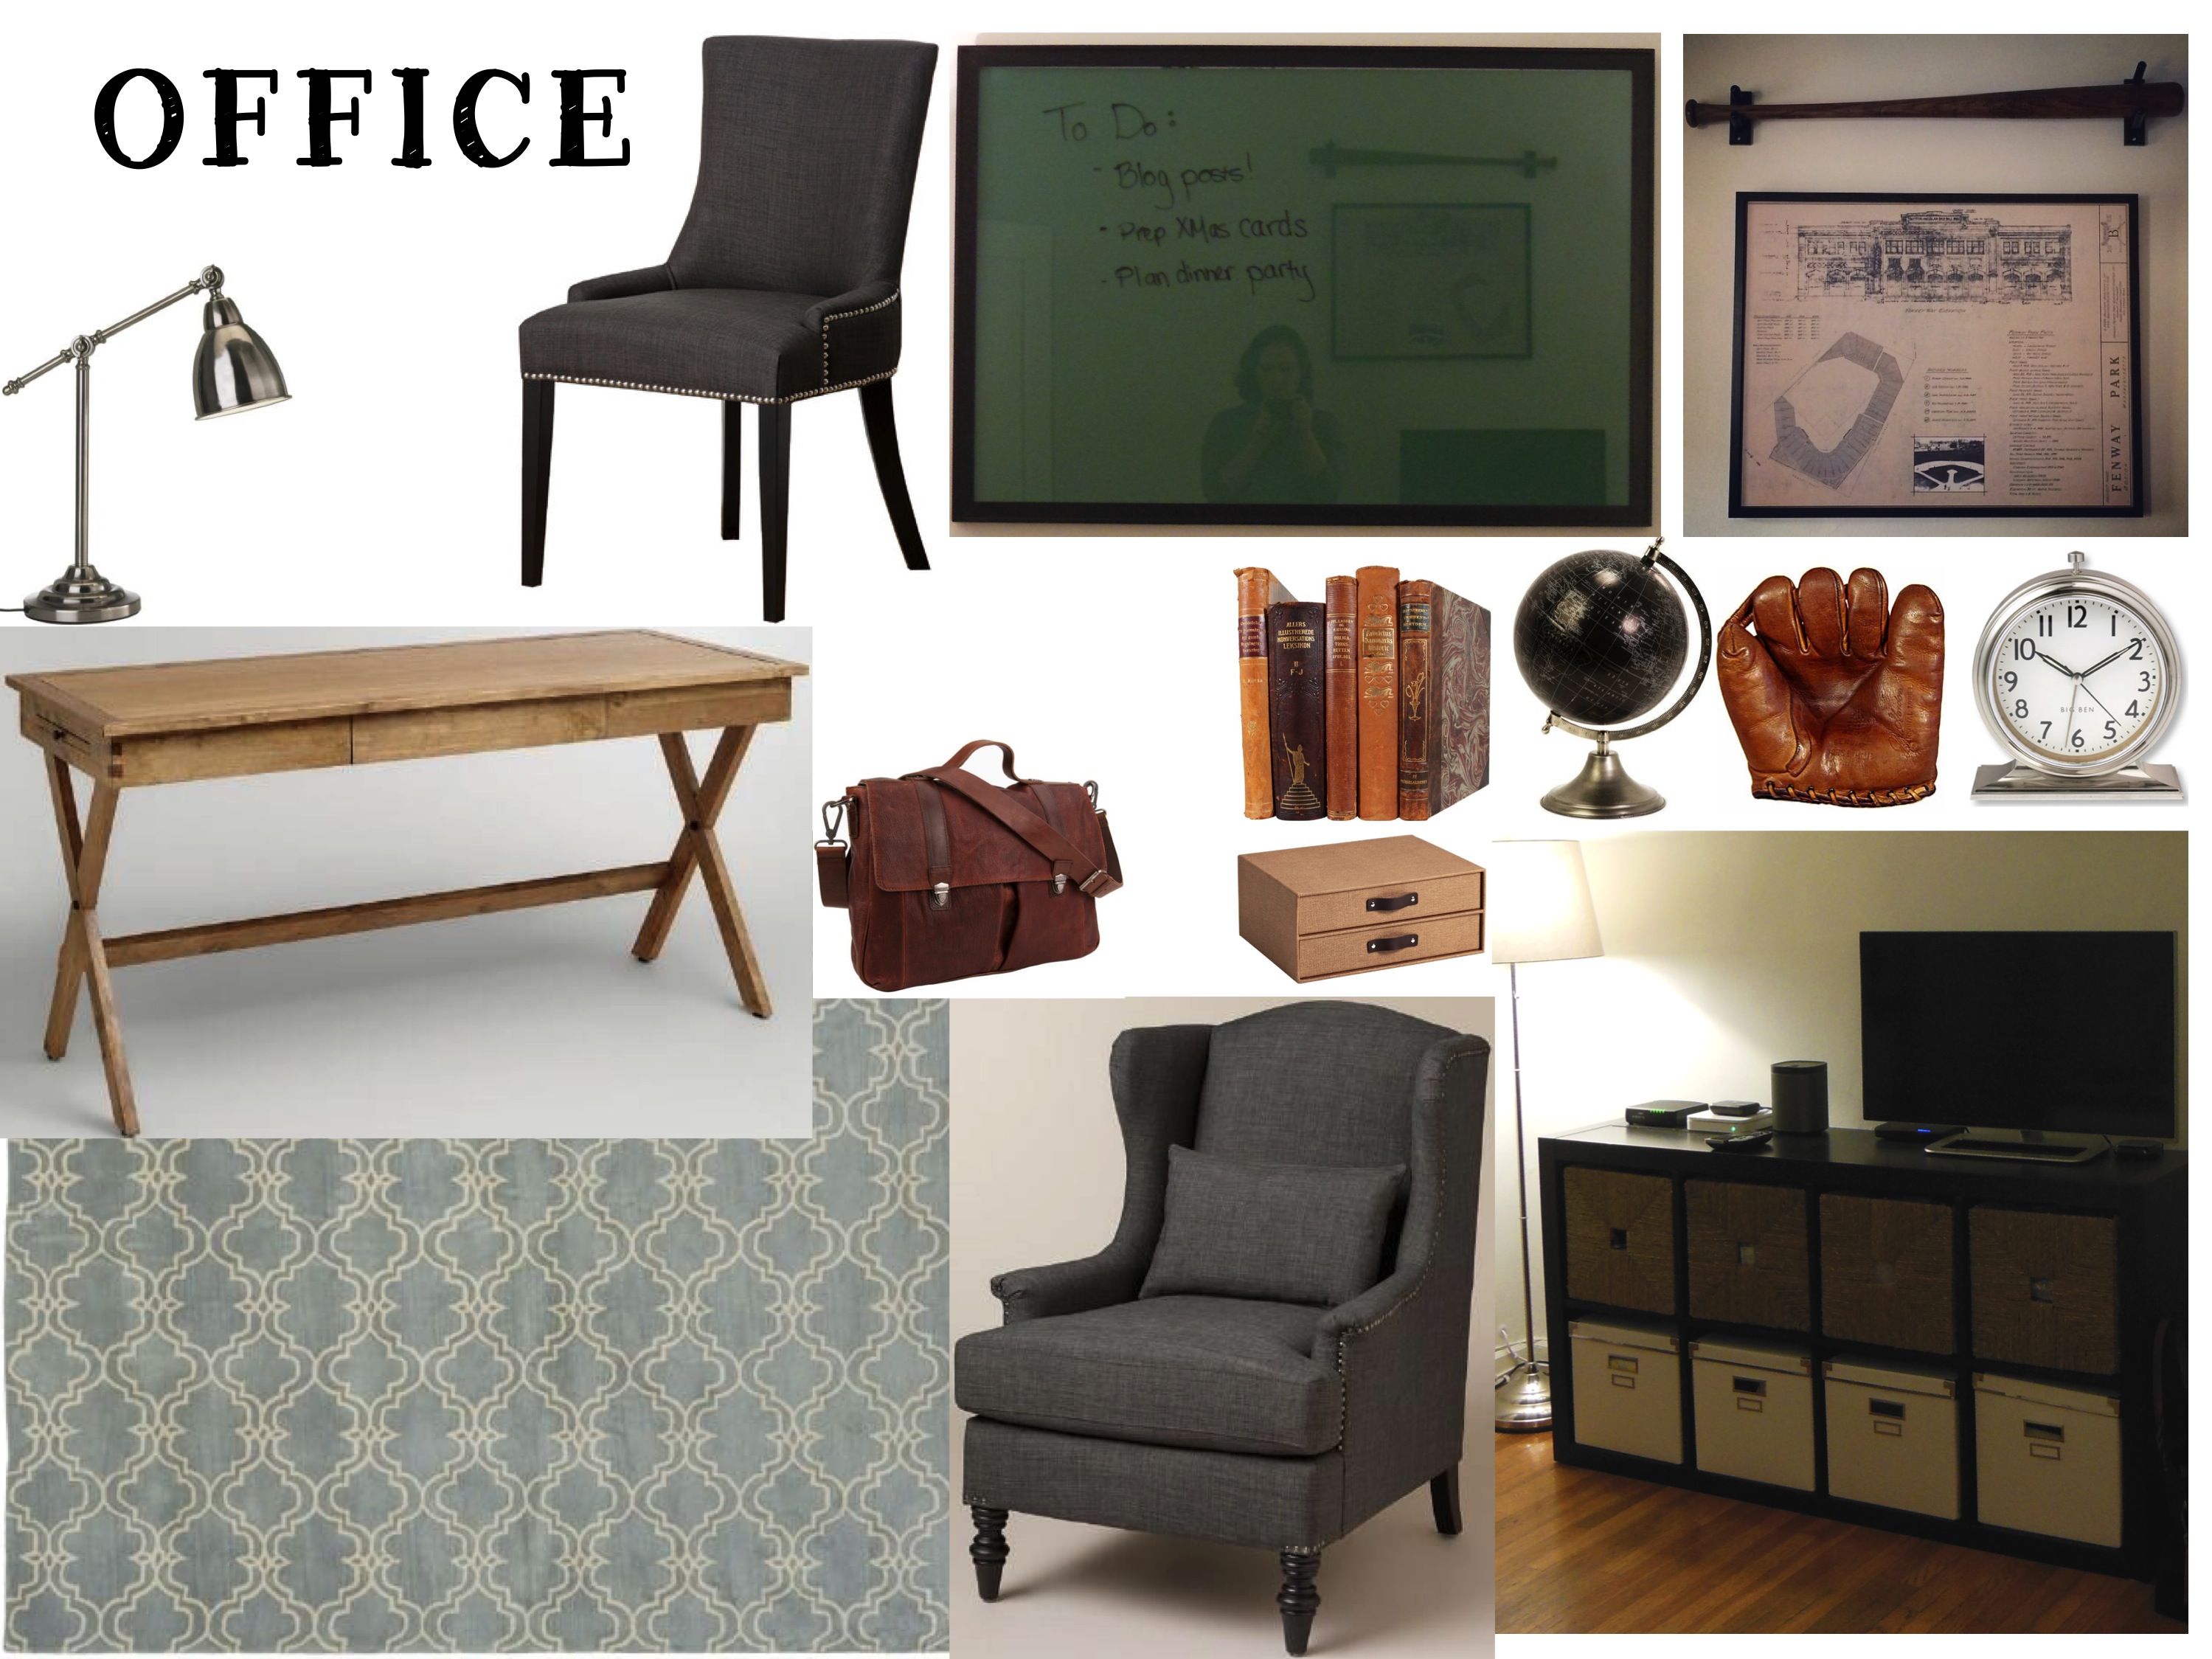
We had already purchased the rug from Pottery Barn over Christmas thanks to their annual sale and that desk is the major purchase from our day of impromptu shopping. It required contacting no less than 5 local World Markets to find the one we really wanted (the floor model we saw was just too wobbly and beat up to consider taking it home). So we drove the 45 minutes to Torrance and got the only one left in the greater Los Angeles area.
During the redecorating discussions I also convinced Jefe to examine and remedy our currently too-short cord situation so that we can shift over the Expedit with the TV to accommodate an armchair by the window and floor lamp; his girlfriend needs a reading nook! While at World Market we spotted this chair and I’m pretty anxious to add it to the soon-to-be vacated corner.
 Now, let’s talk desk chairs. The day we went shopping, after we had secured the desk, we made a quick stop at Target. Much to our surprise they had a gorgeous grey linen dining chair with nailhead trim for $85. DONE. I was stoked to find something so beautiful within our price range. I thought it was too good to be true.

Fast forward two months and our desk is going strong (minus a small nick that I’ll cover DIY solutions for in another post) but our desk chair, not so much. Apparently you get what you pay for:


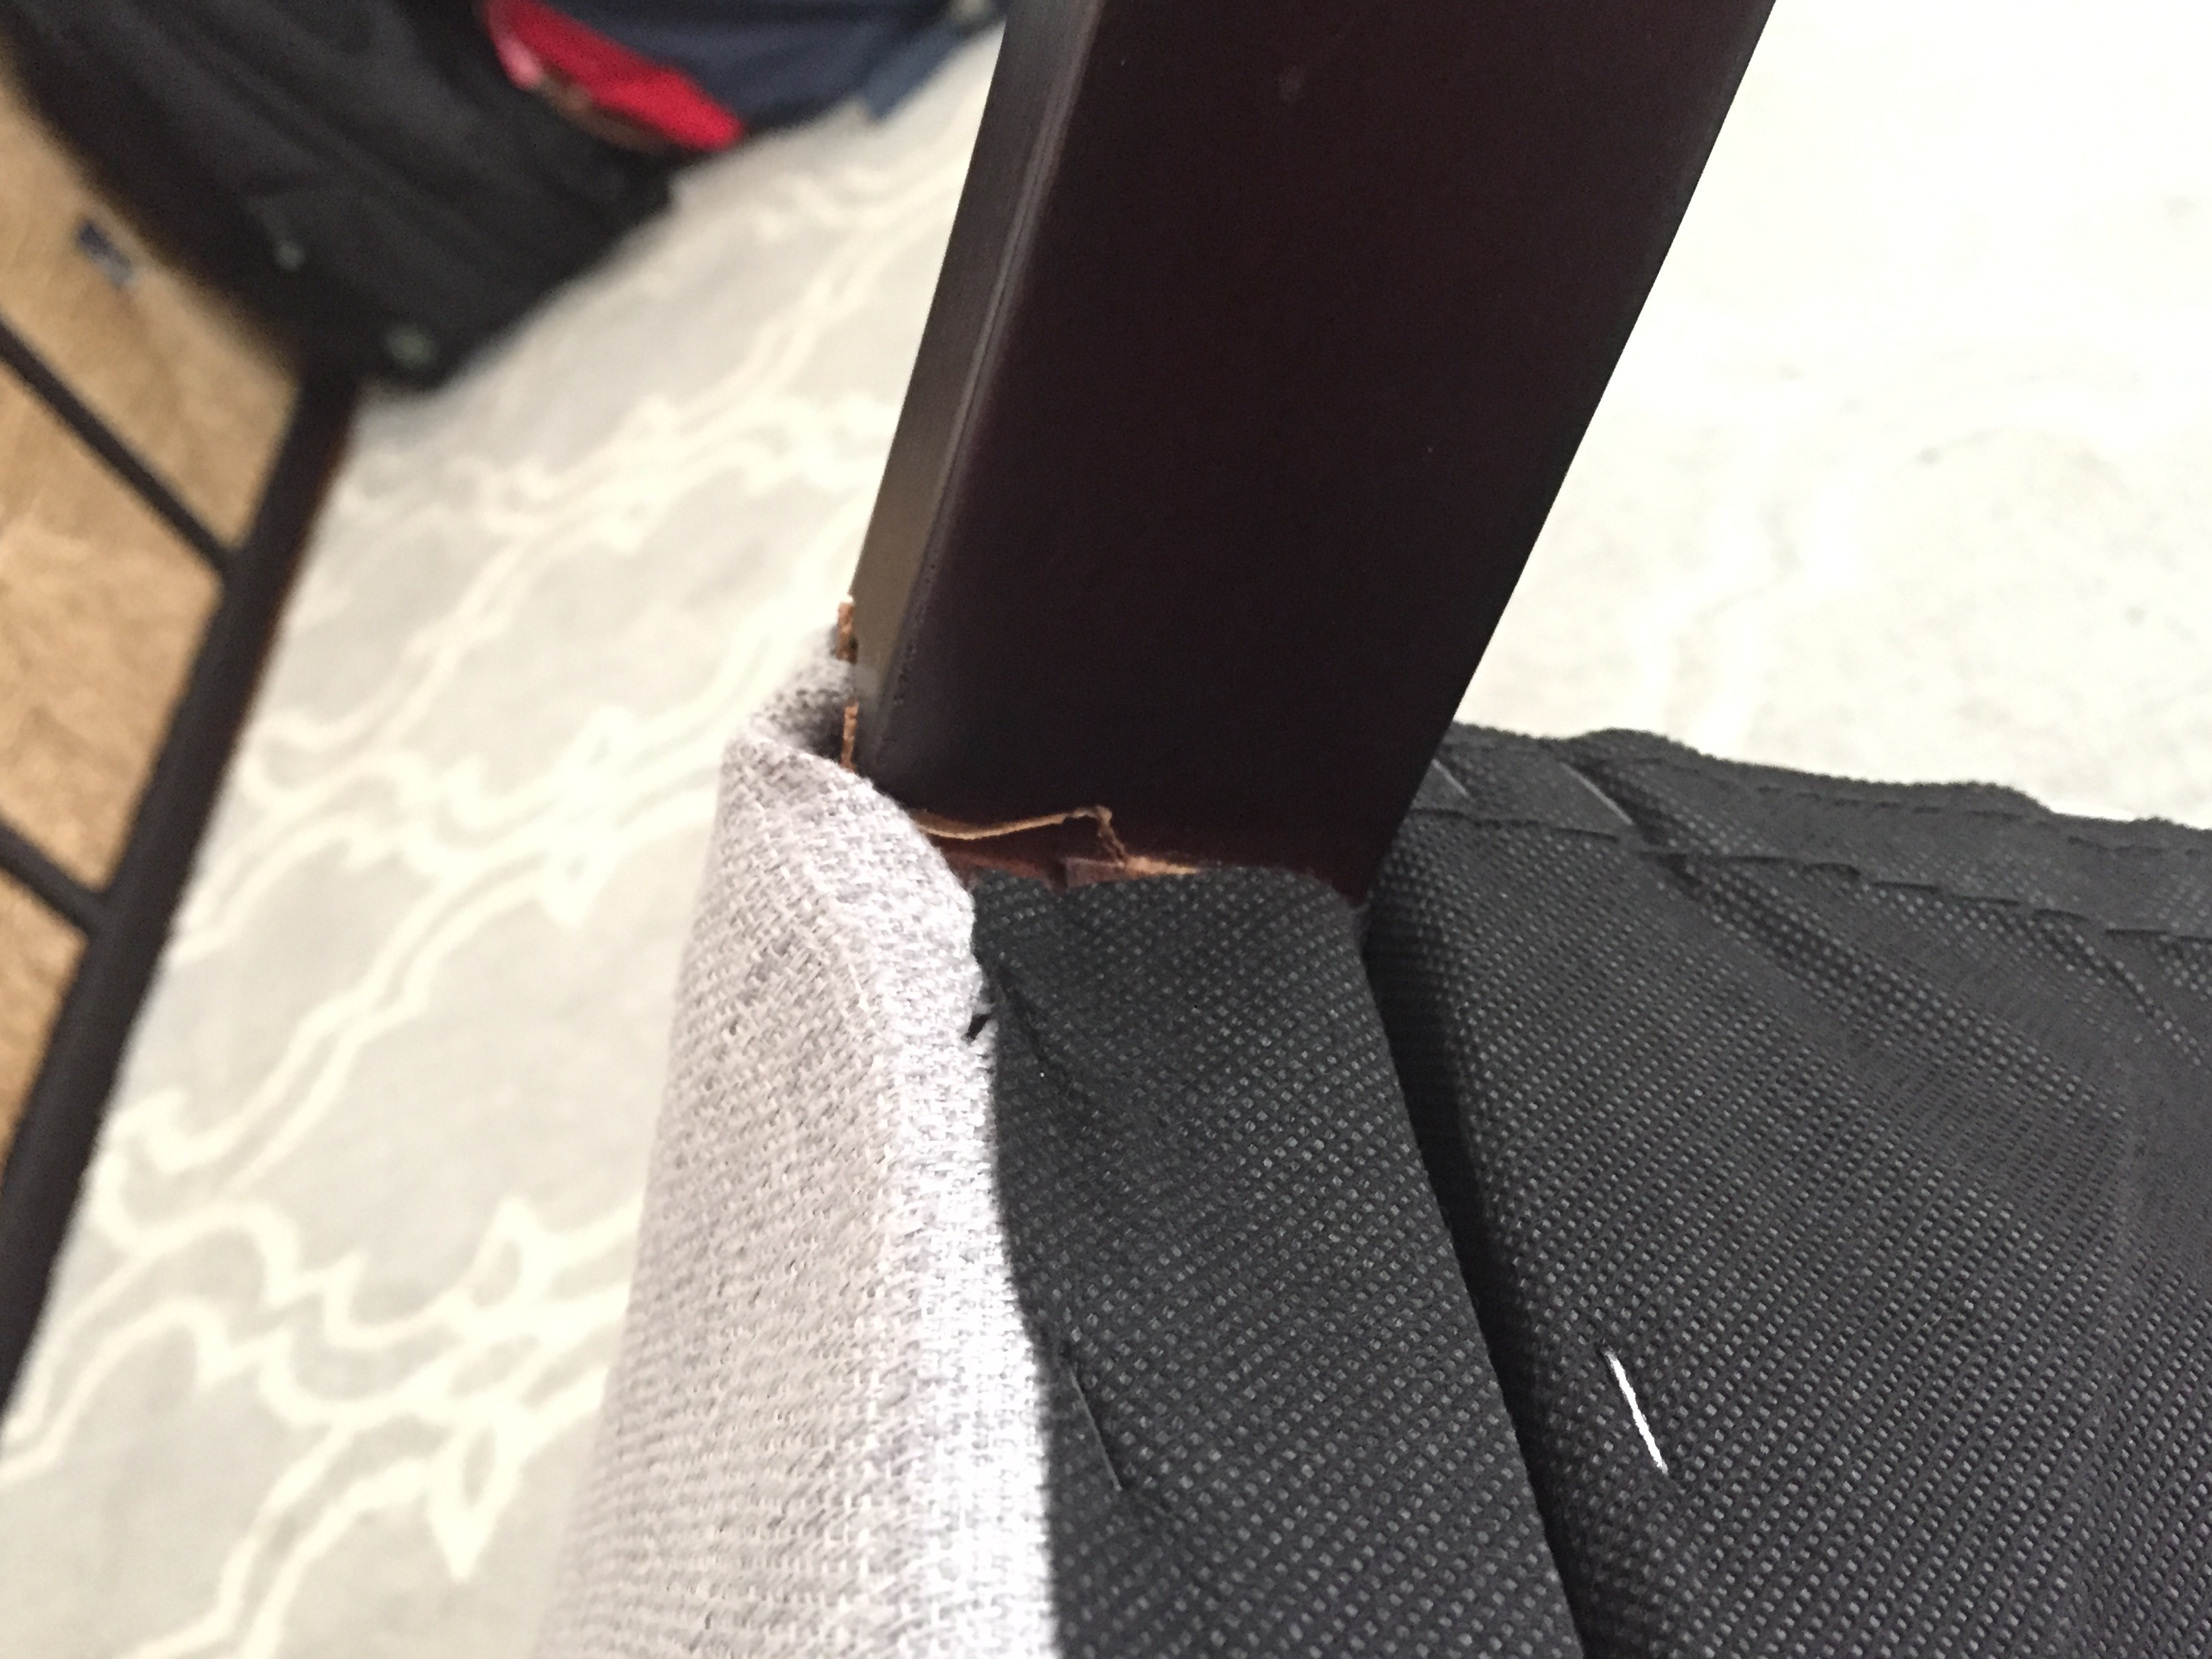
Neither of us have any idea how or when that happened. Needless to say I insisted on returning it. Jefe was skeptical as it had been two months and he didn’t have his original receipt. But I insisted. One quick trip to Target later and we had our $85 back. Lesson: never doubt the Target return policy… but be weary of their furniture!
As the chair was DEFINITELY an impulse buy, we hadn’t checked the reviews, which turns out, are quite mixed. So I did a little digging and after some inspiration from Ellen’s Design Challenge, I decided to give Wayfair a try.
We really had liked the look of the nailhead chair but also knew it had to be sturdier than the Target version, have a slightly larger seat (as the one we returned was admittedly a little small) and have a chair seat height of 19″. That’s a LOT harder to find than you might think.
But after a full week of research, I landed on this beauty which we are currently awaiting delivery:

I can’t wait to finally see it in the space. My only hesitation is that it might be TOO close to the Oscar arm chair we want. So we’ll just have to wait and see.
For now, we’re still using one of our dining chairs at the desk until the new one arrives. Not ideal, but it will do for now.
So what do you think? I’m really loving the vibe the office is giving off. A traditional, masculine study with a few feminine touches.