Happy New Year

Happy New Year friends!  I hope everyone had a restful and relaxing holiday.  I’m still nursing my second cold in the last 3 weeks so it’s been slow going on the restart here at Chez Sledge.

What is it about the last 2 Decembers that they just flew by?  Another holiday season, I blinked, and next thing you know Jefe and I are hauling our sad, dry skeleton of a Christmas tree to the curb for recycling. We had all sorts of plans this year, most of which we accomplished.  It did, however, leave little time for blogging.  So here’s a little recap of the Holidays with Sledge:

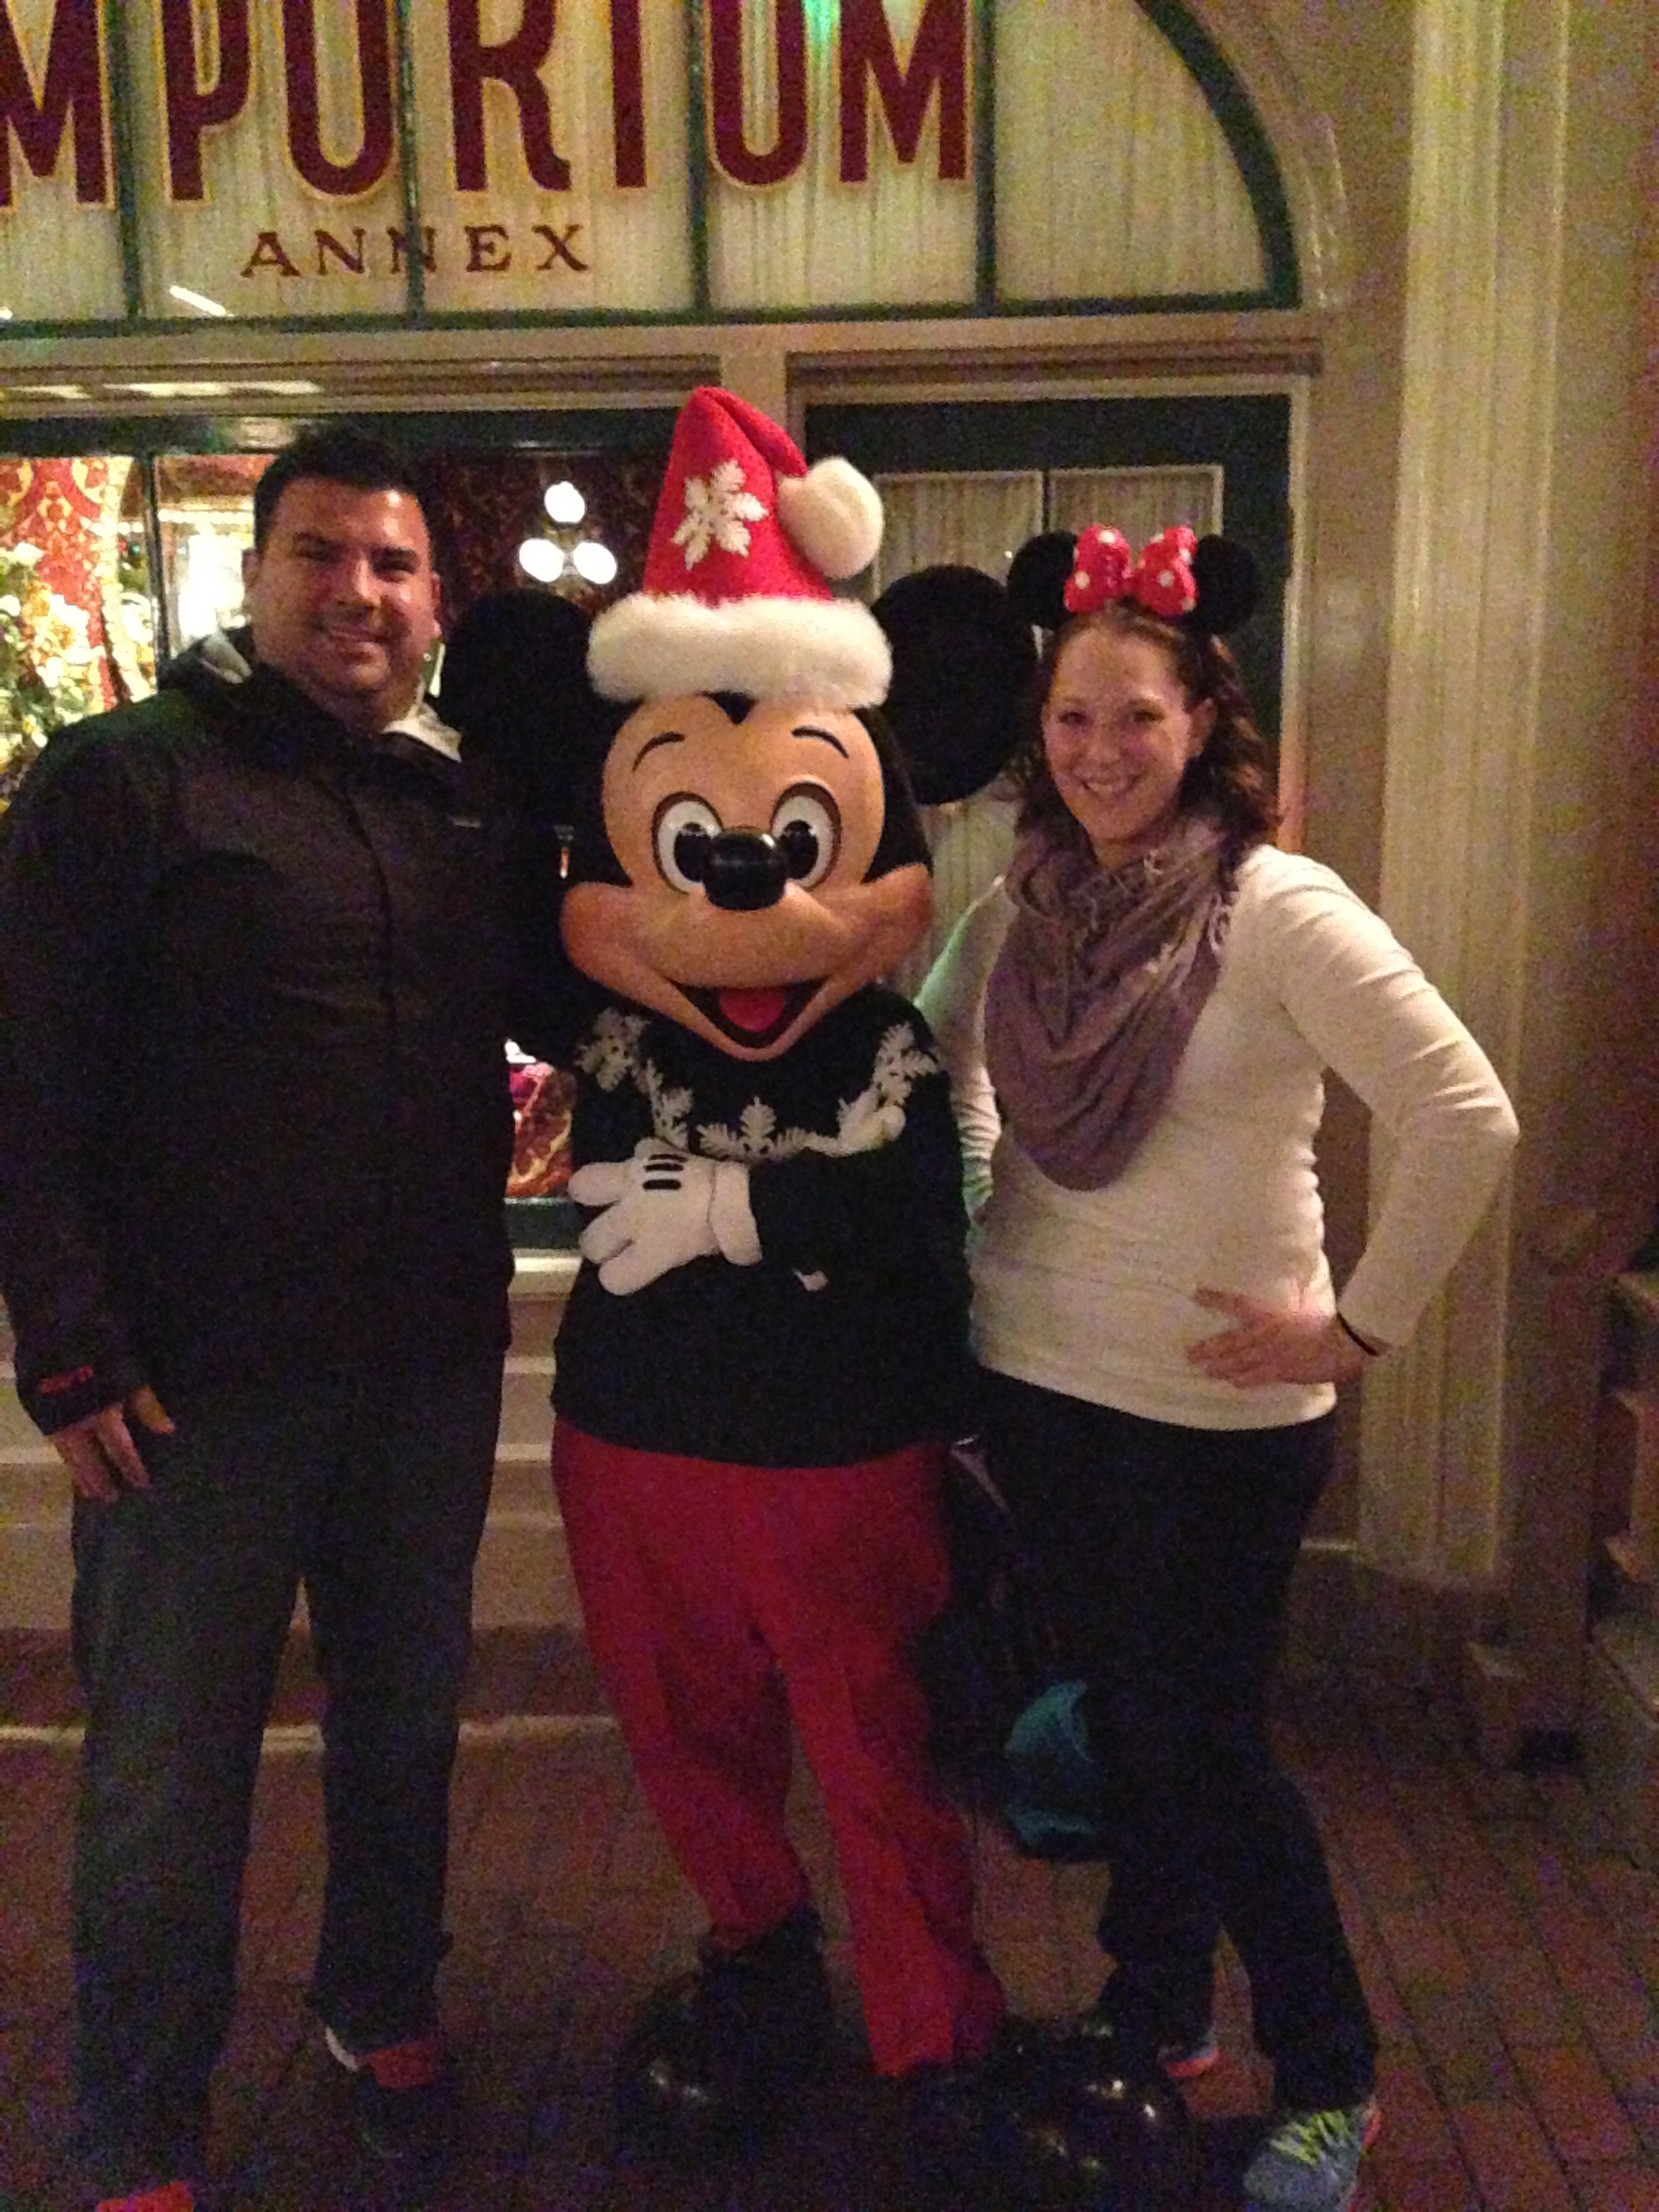
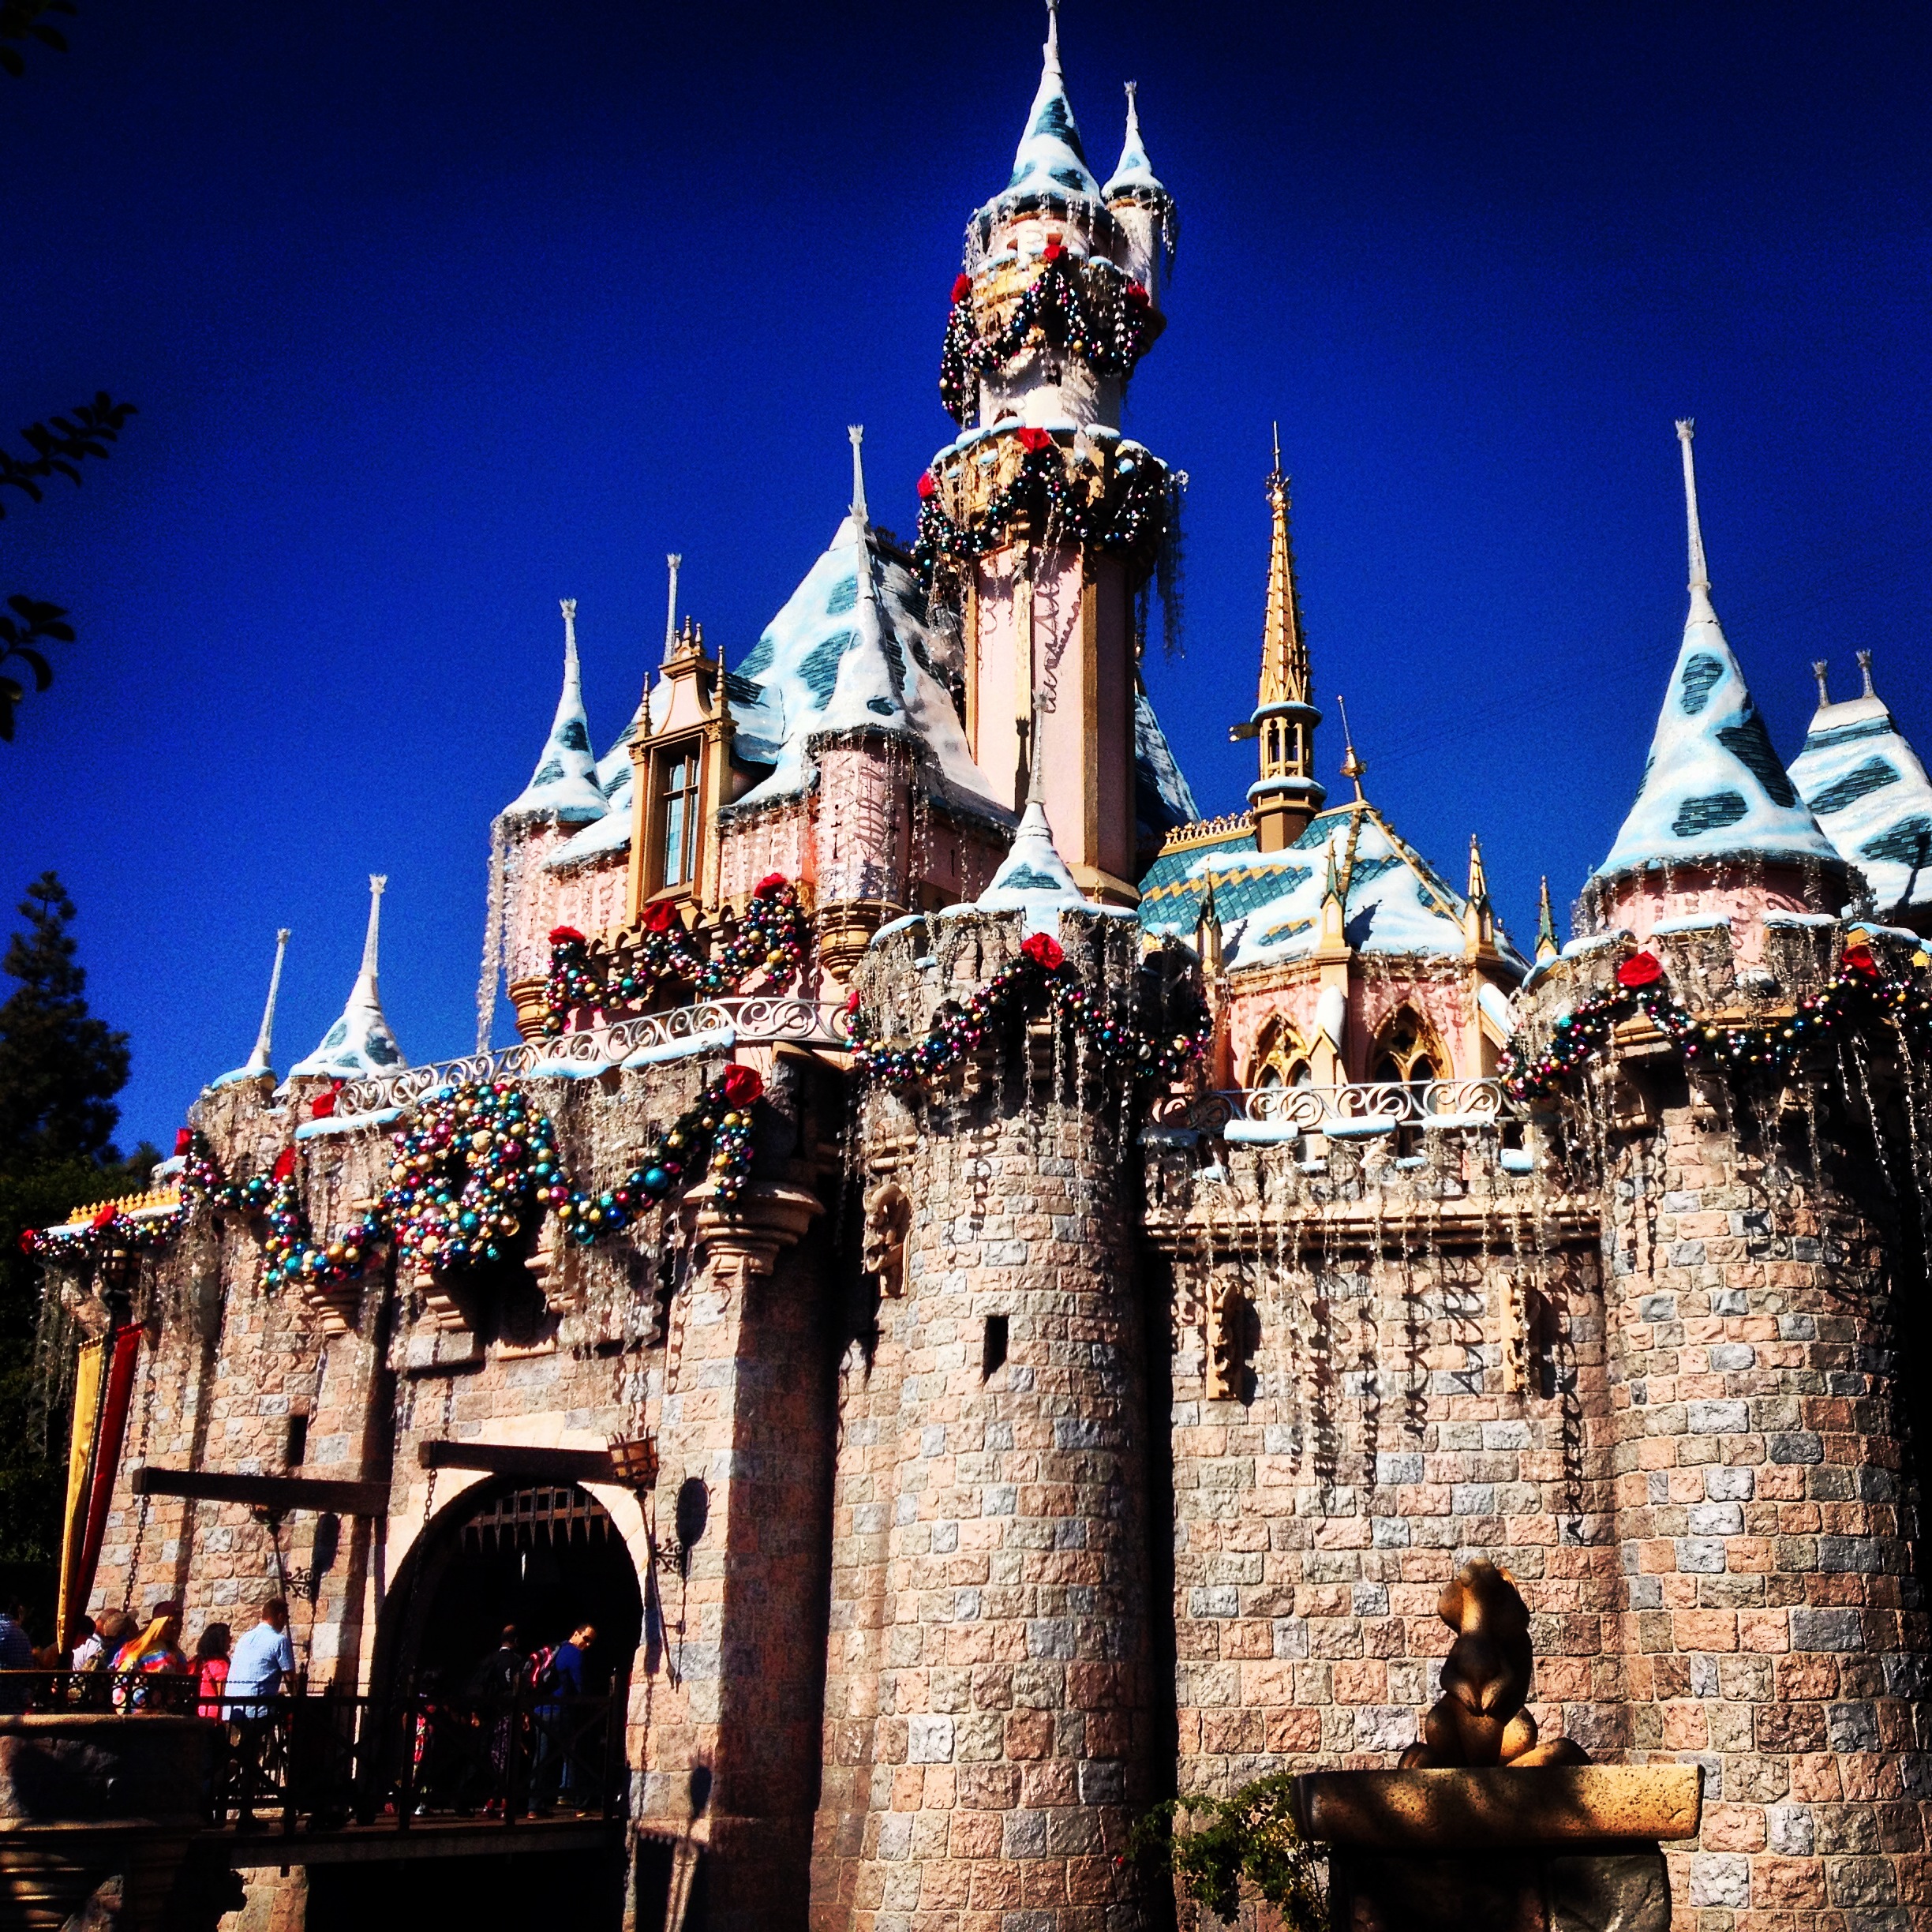
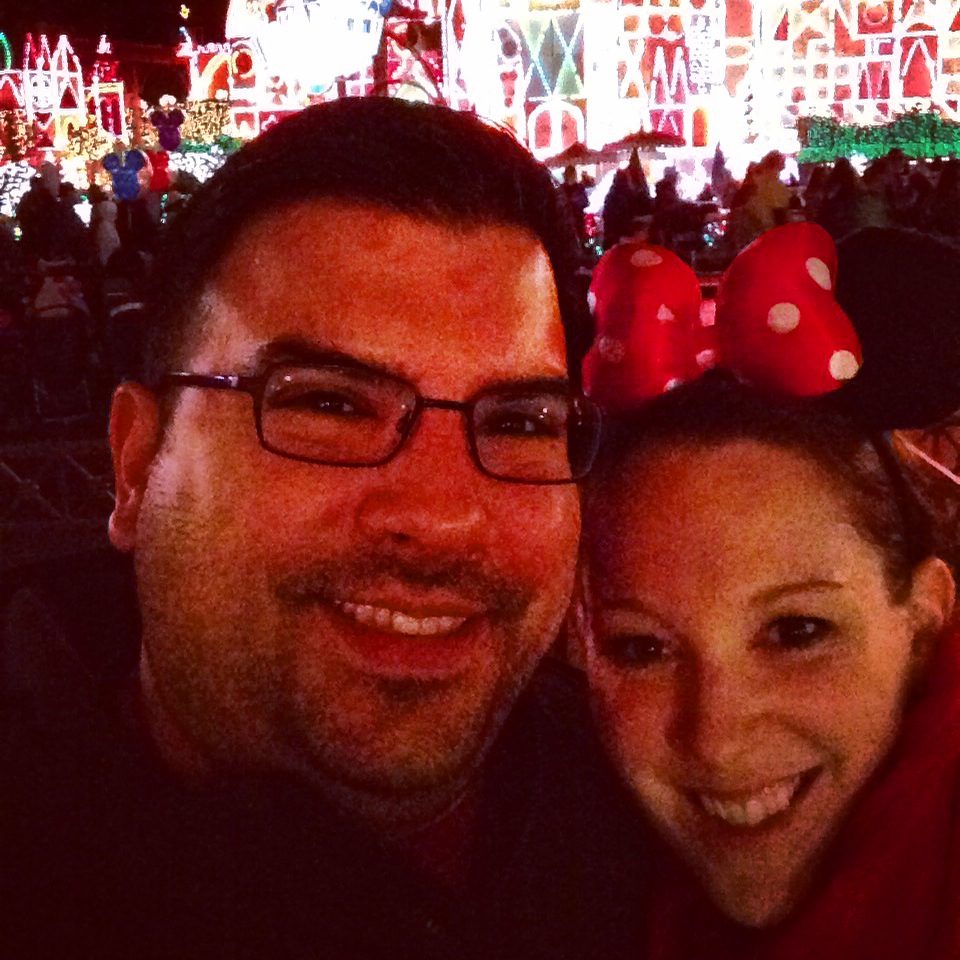
Black Friday – Jefe and I continued our tradition for the 5th year in a row of braving the masses at Disneyland.  It truly is the happiest place on Earth and best place to start getting in to the holiday spirit.  Everything is covered in lights, ornaments and general festiveness.  This year we decided to try out a few new restaurants as we’ve done all of the rides so many times.

After watching CHEF, we were craving beignets and heard raves about those shaped like a Mickey at Cafe Orleans.  Our lunch was delicious, especially Jefe’s Croque Monsieur, but we were left so full that there was no room for beignets.  Sad Mickey :-(.

For dinner we trekked over to California Adventure to Carthay Circle.  It looked like something you’d find in Beverly Hills in the 1920’s.  Just a stunning combination of art deco meets spanish mission.  And the food was good enough to rival any trendy restaurant in Weho.

Disneyland - Sleeping Beauty's Castle

Disneyland - Jefe & Sledge


The next day we piled in the car and headed to our favorite tree lot to pick this year’s winning Noble Fir.  After little deliberation, we decided on the fullest pine tree I have ever tried to decorate.  He stood about 7 feet tall.  We debated whether we could have gone taller, but the 8-9 foot Firs were not looking nearly as Noble.

Chauvet Farms Tree Stand - Culver City

The Noblest of Firs

We invited Jefe’s parents over that night to help decorate and quickly realized that next year, we can definitely go with a taller tree thanks to our 9-foot high ceilings, but I’m still more than pleased with this year’s selection.

Holiday Coffee Spread


A holiday coffee spread to invigorate for tree decorating!

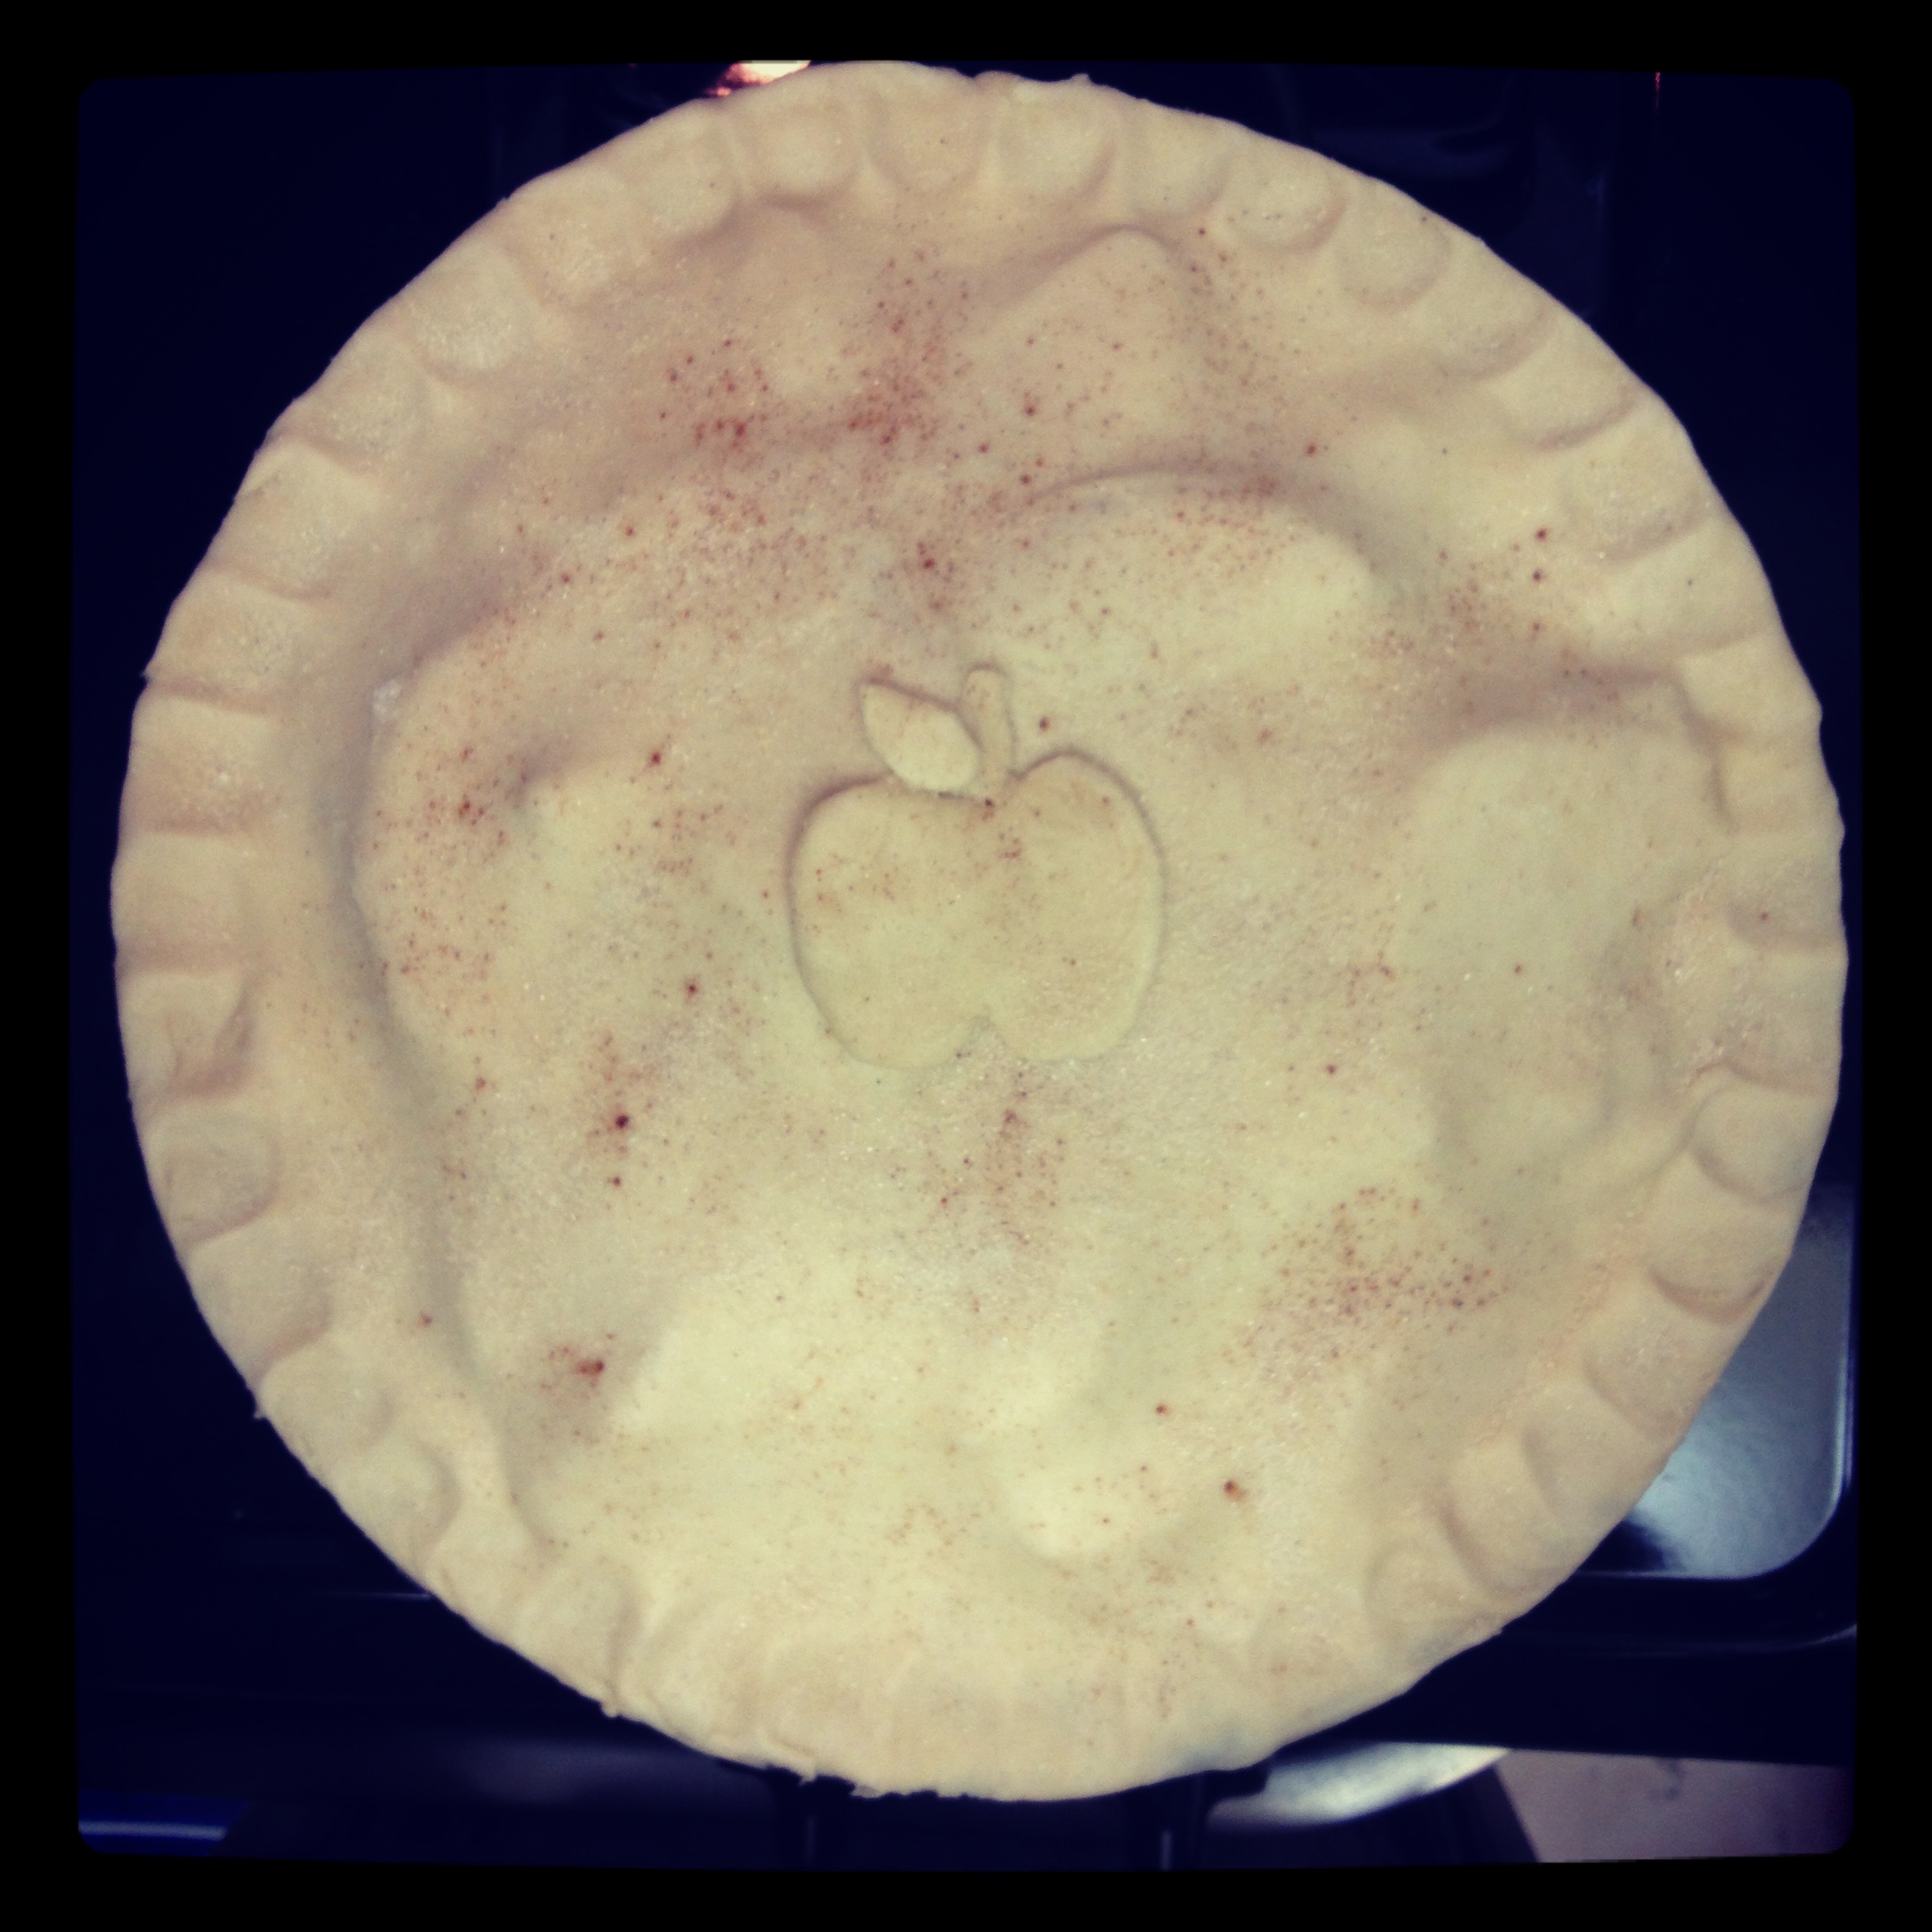
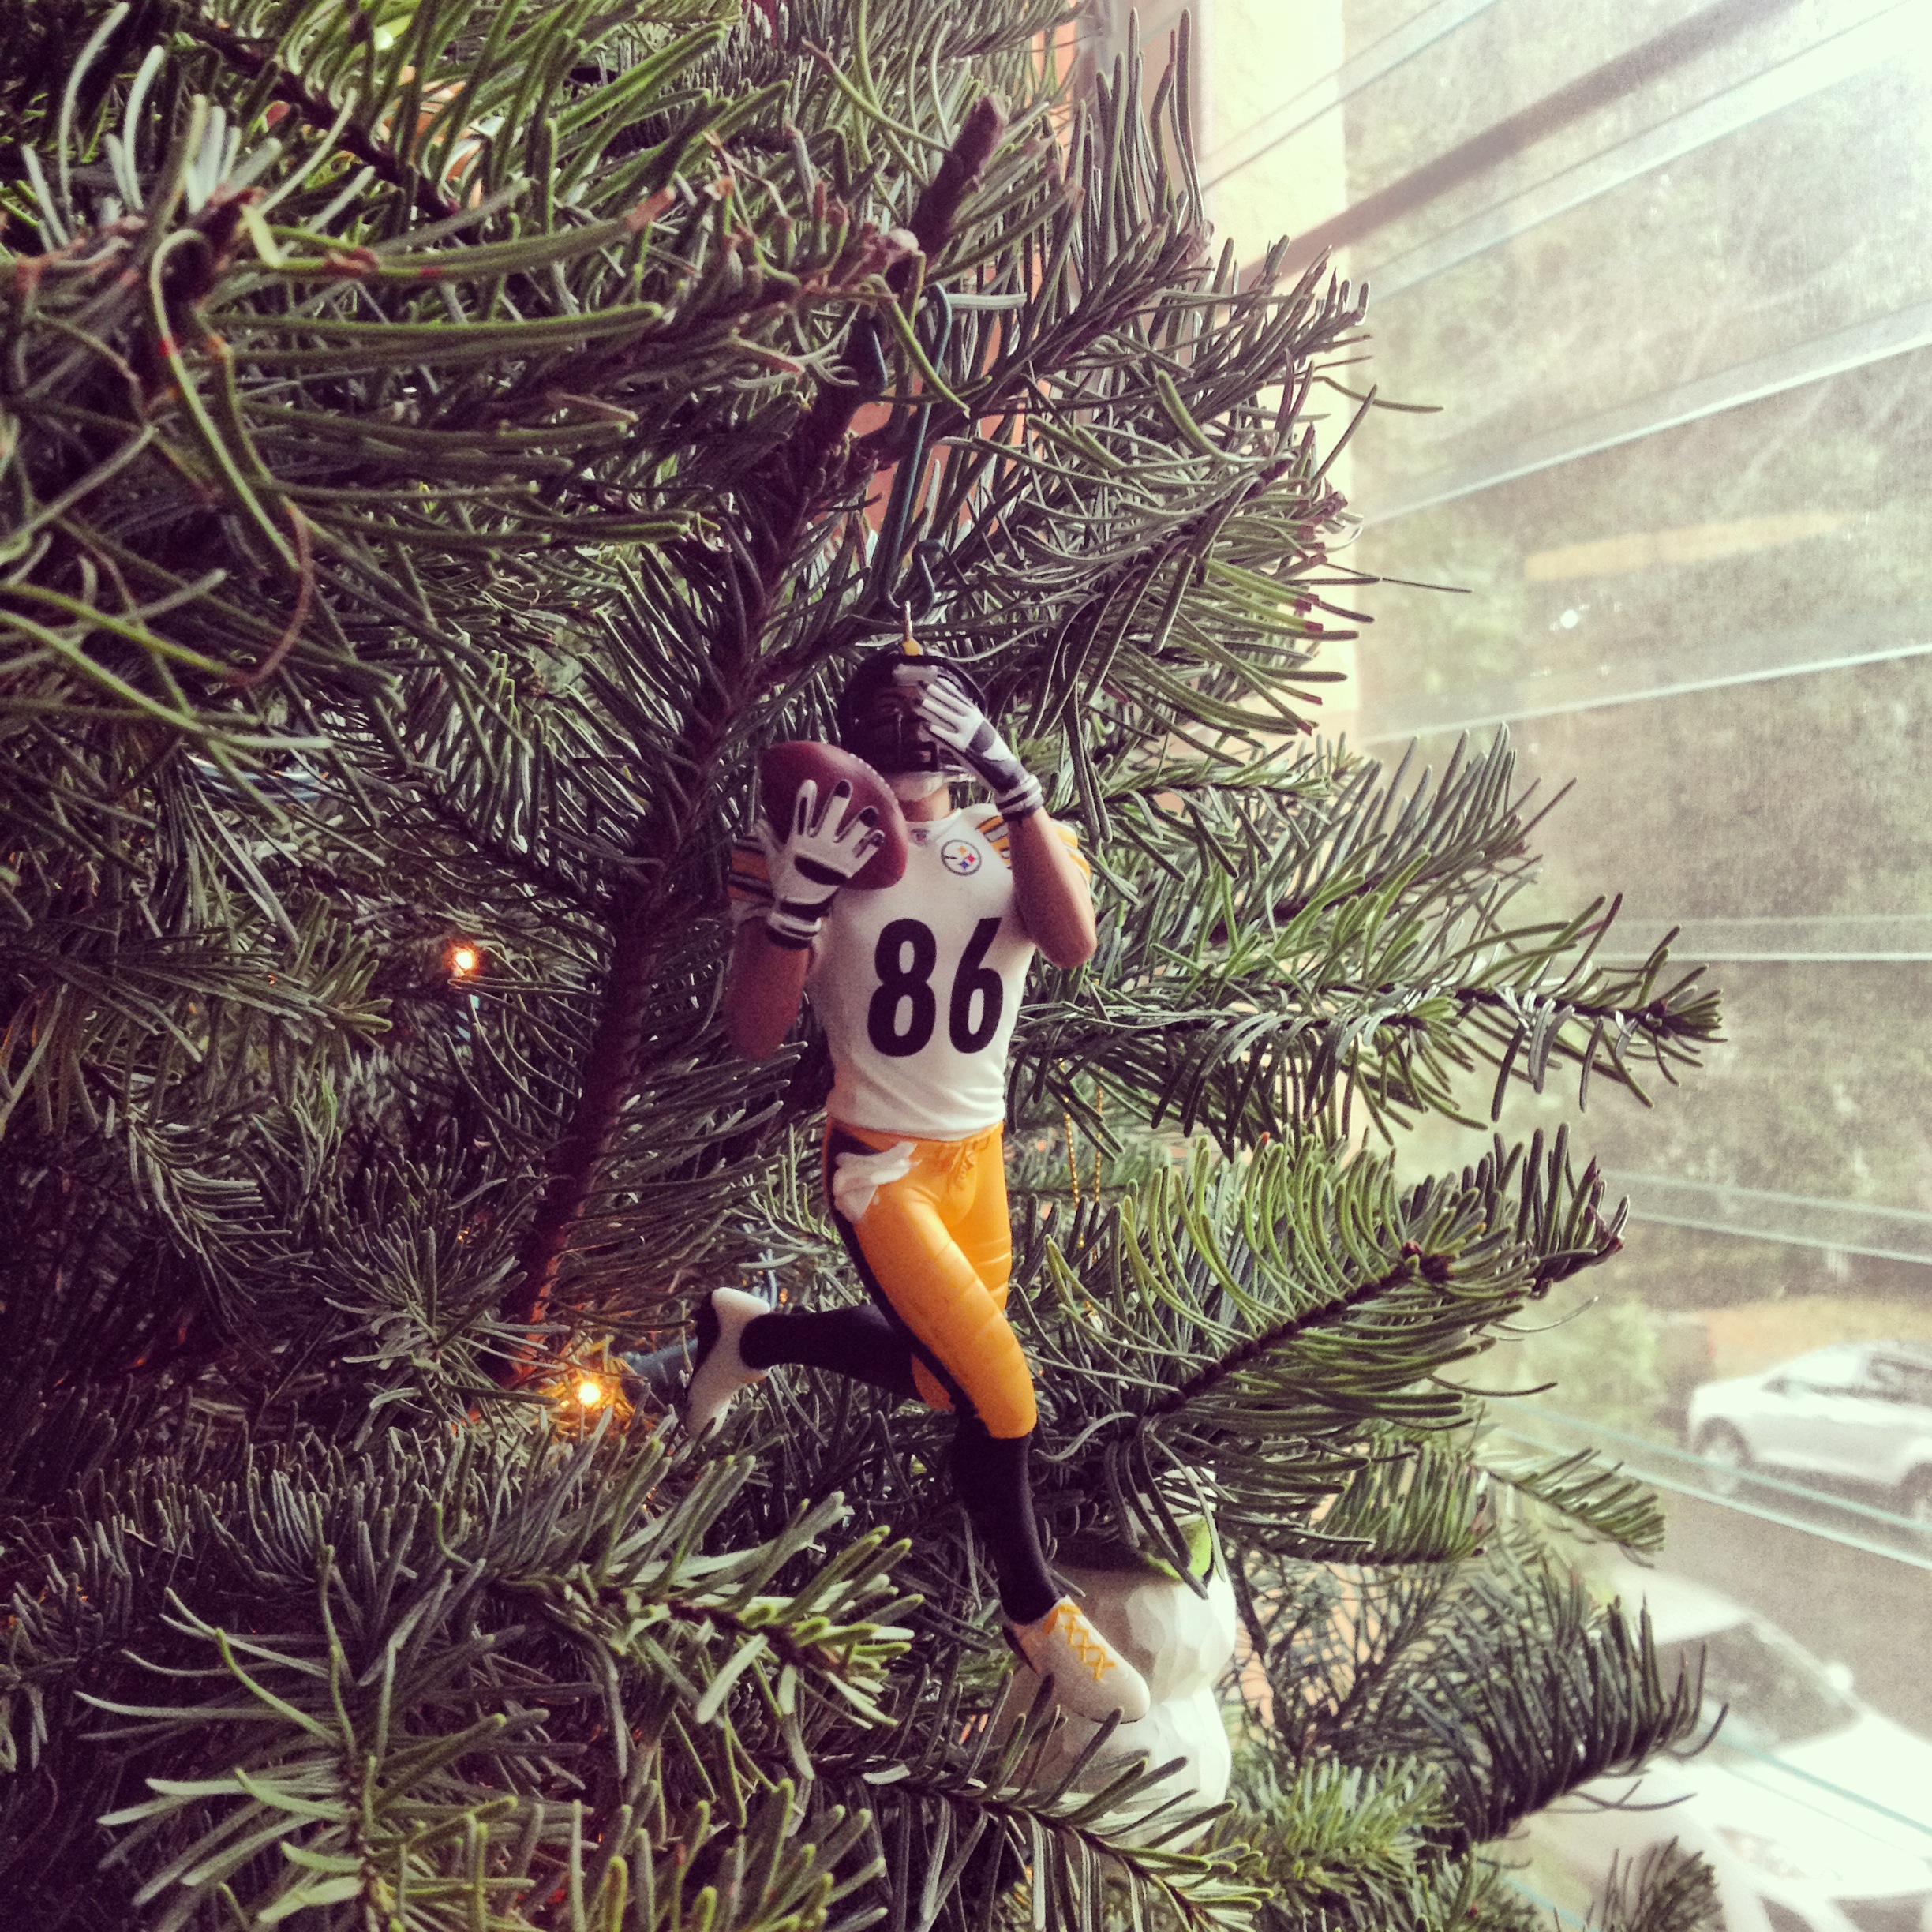
So the next 24 hours we spent decking the halls.  The only new addition to this year’s festive artillery was a $2.99 traditional star tree topper from Ikea and a few ornaments from Disneyland.

Morning Coffee Done Right

Hines Ward Ornament!


Xmas Tree 2014

Stockings

DSCN1910

DSCN1930

Nutcrackers!


More Nutcrackers


Nutcrackers!!!

Holiday Cards


Little Village

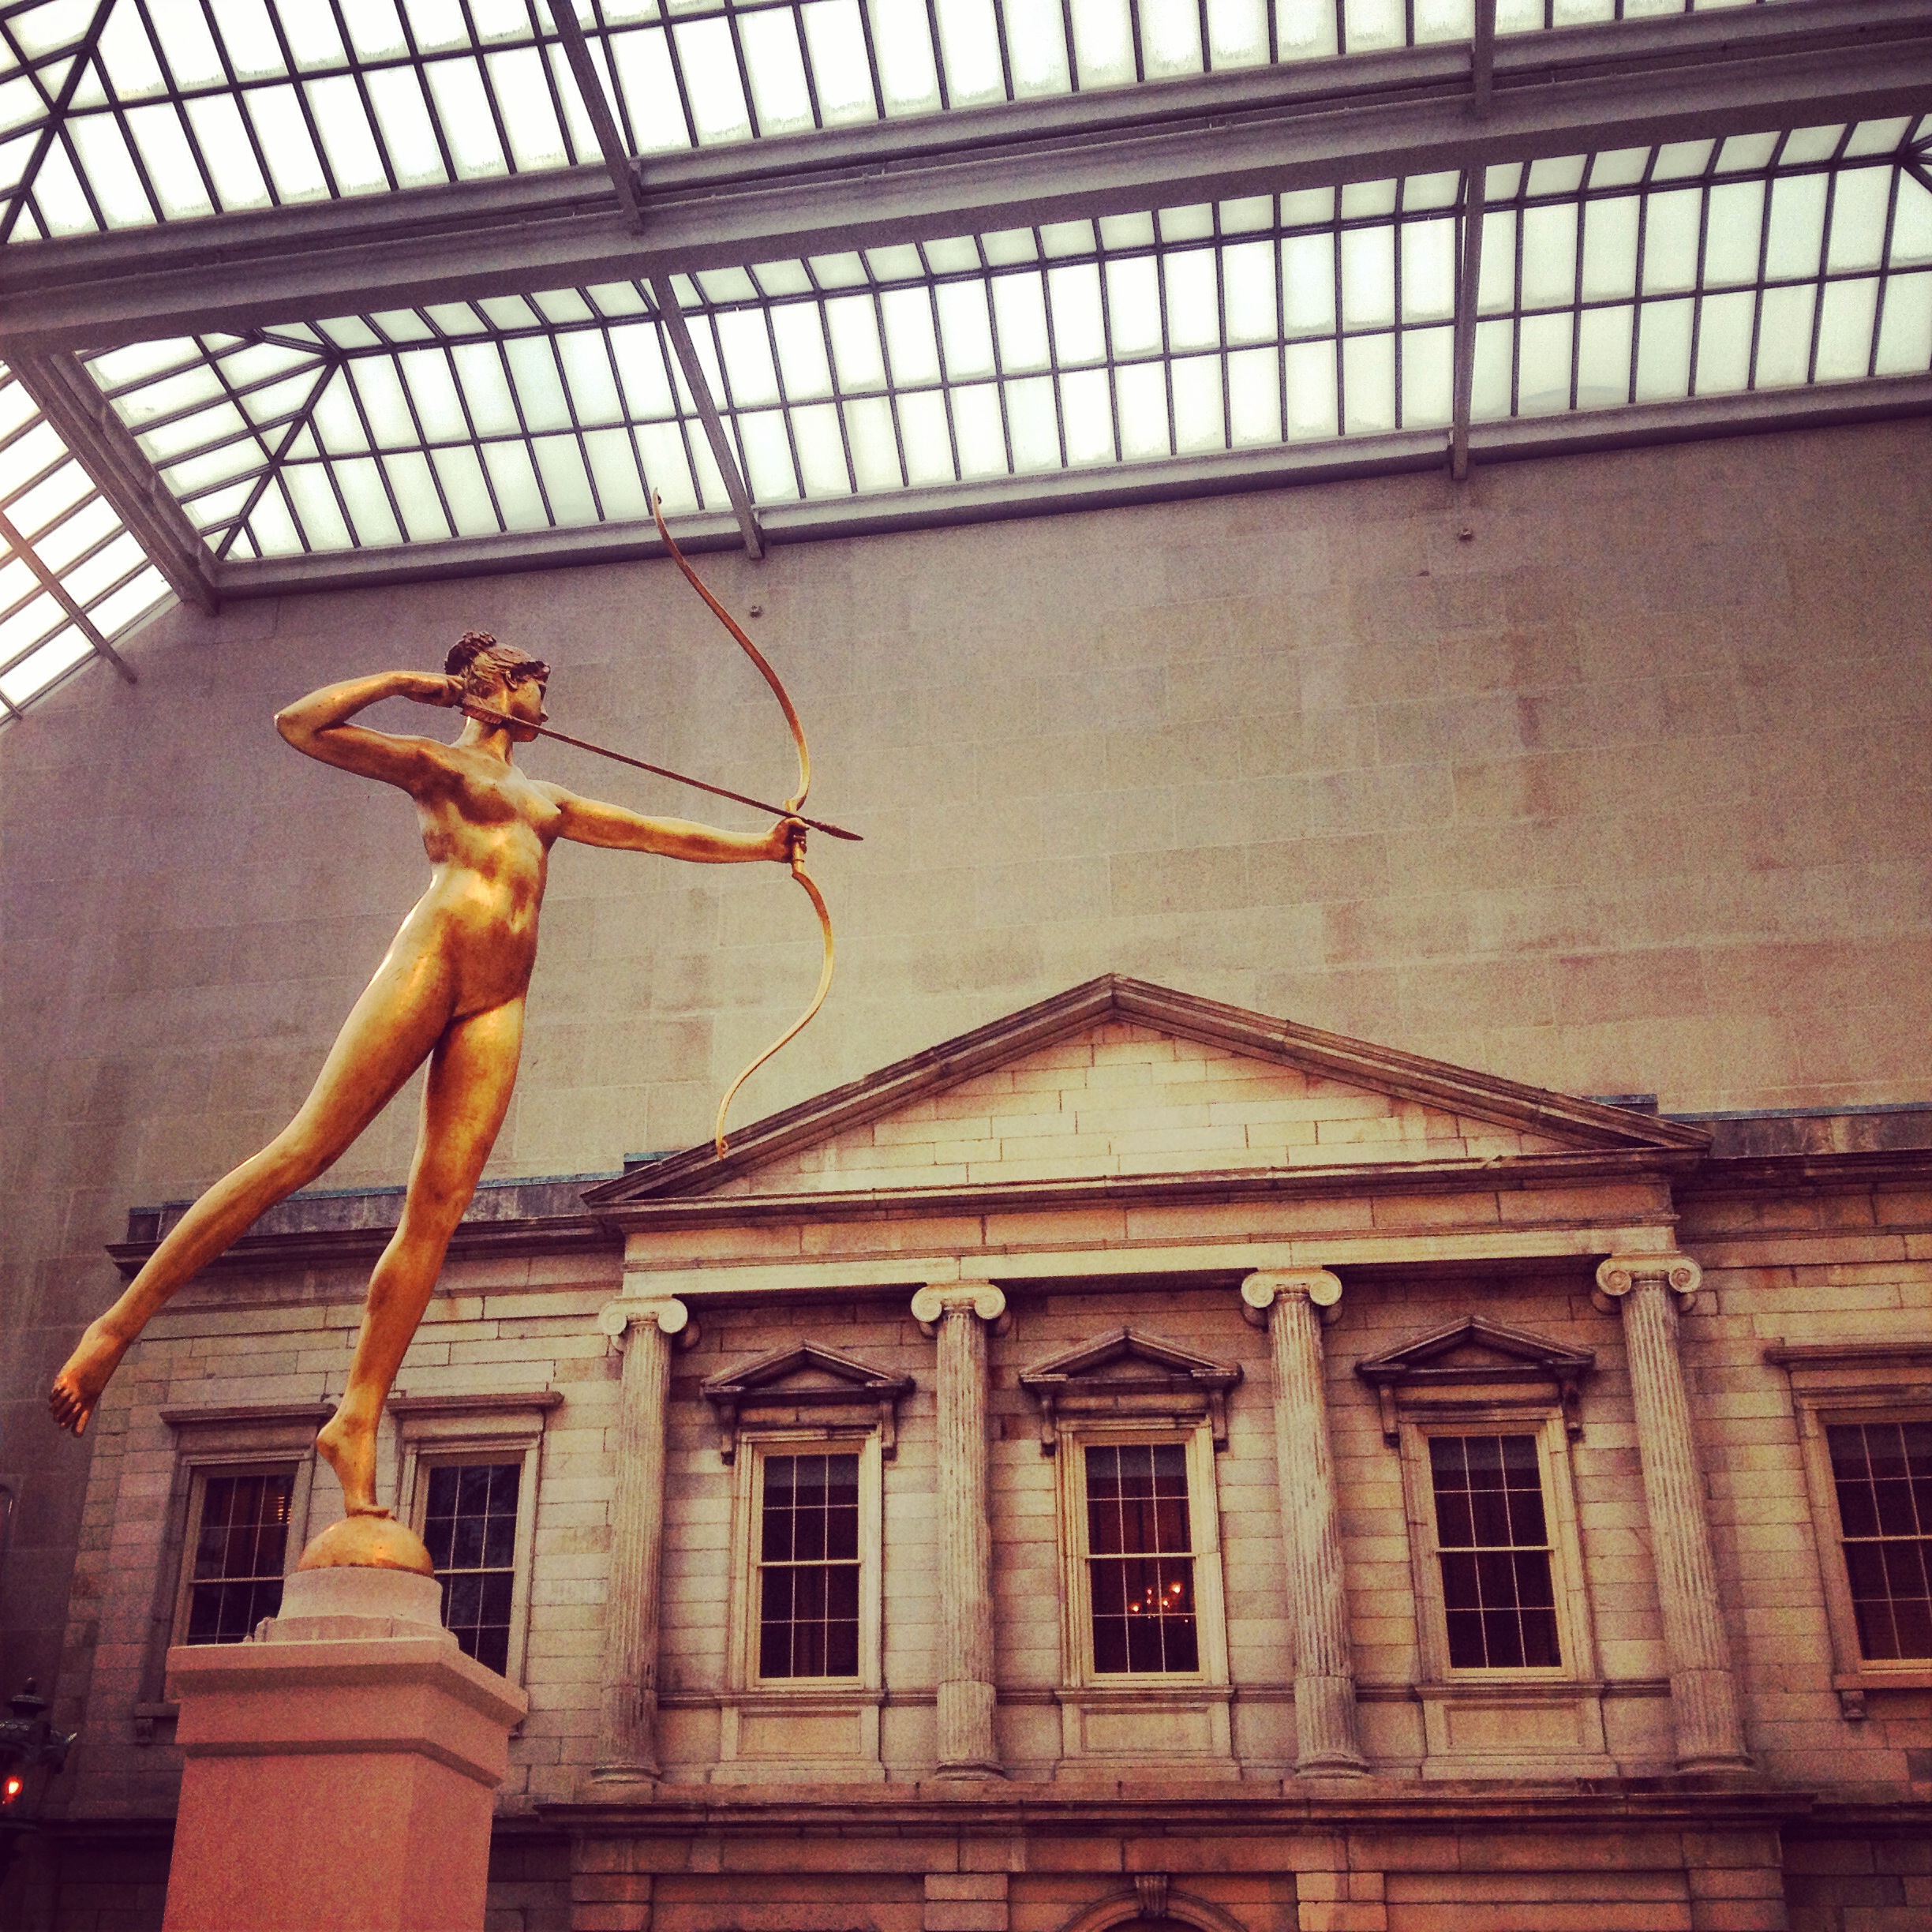
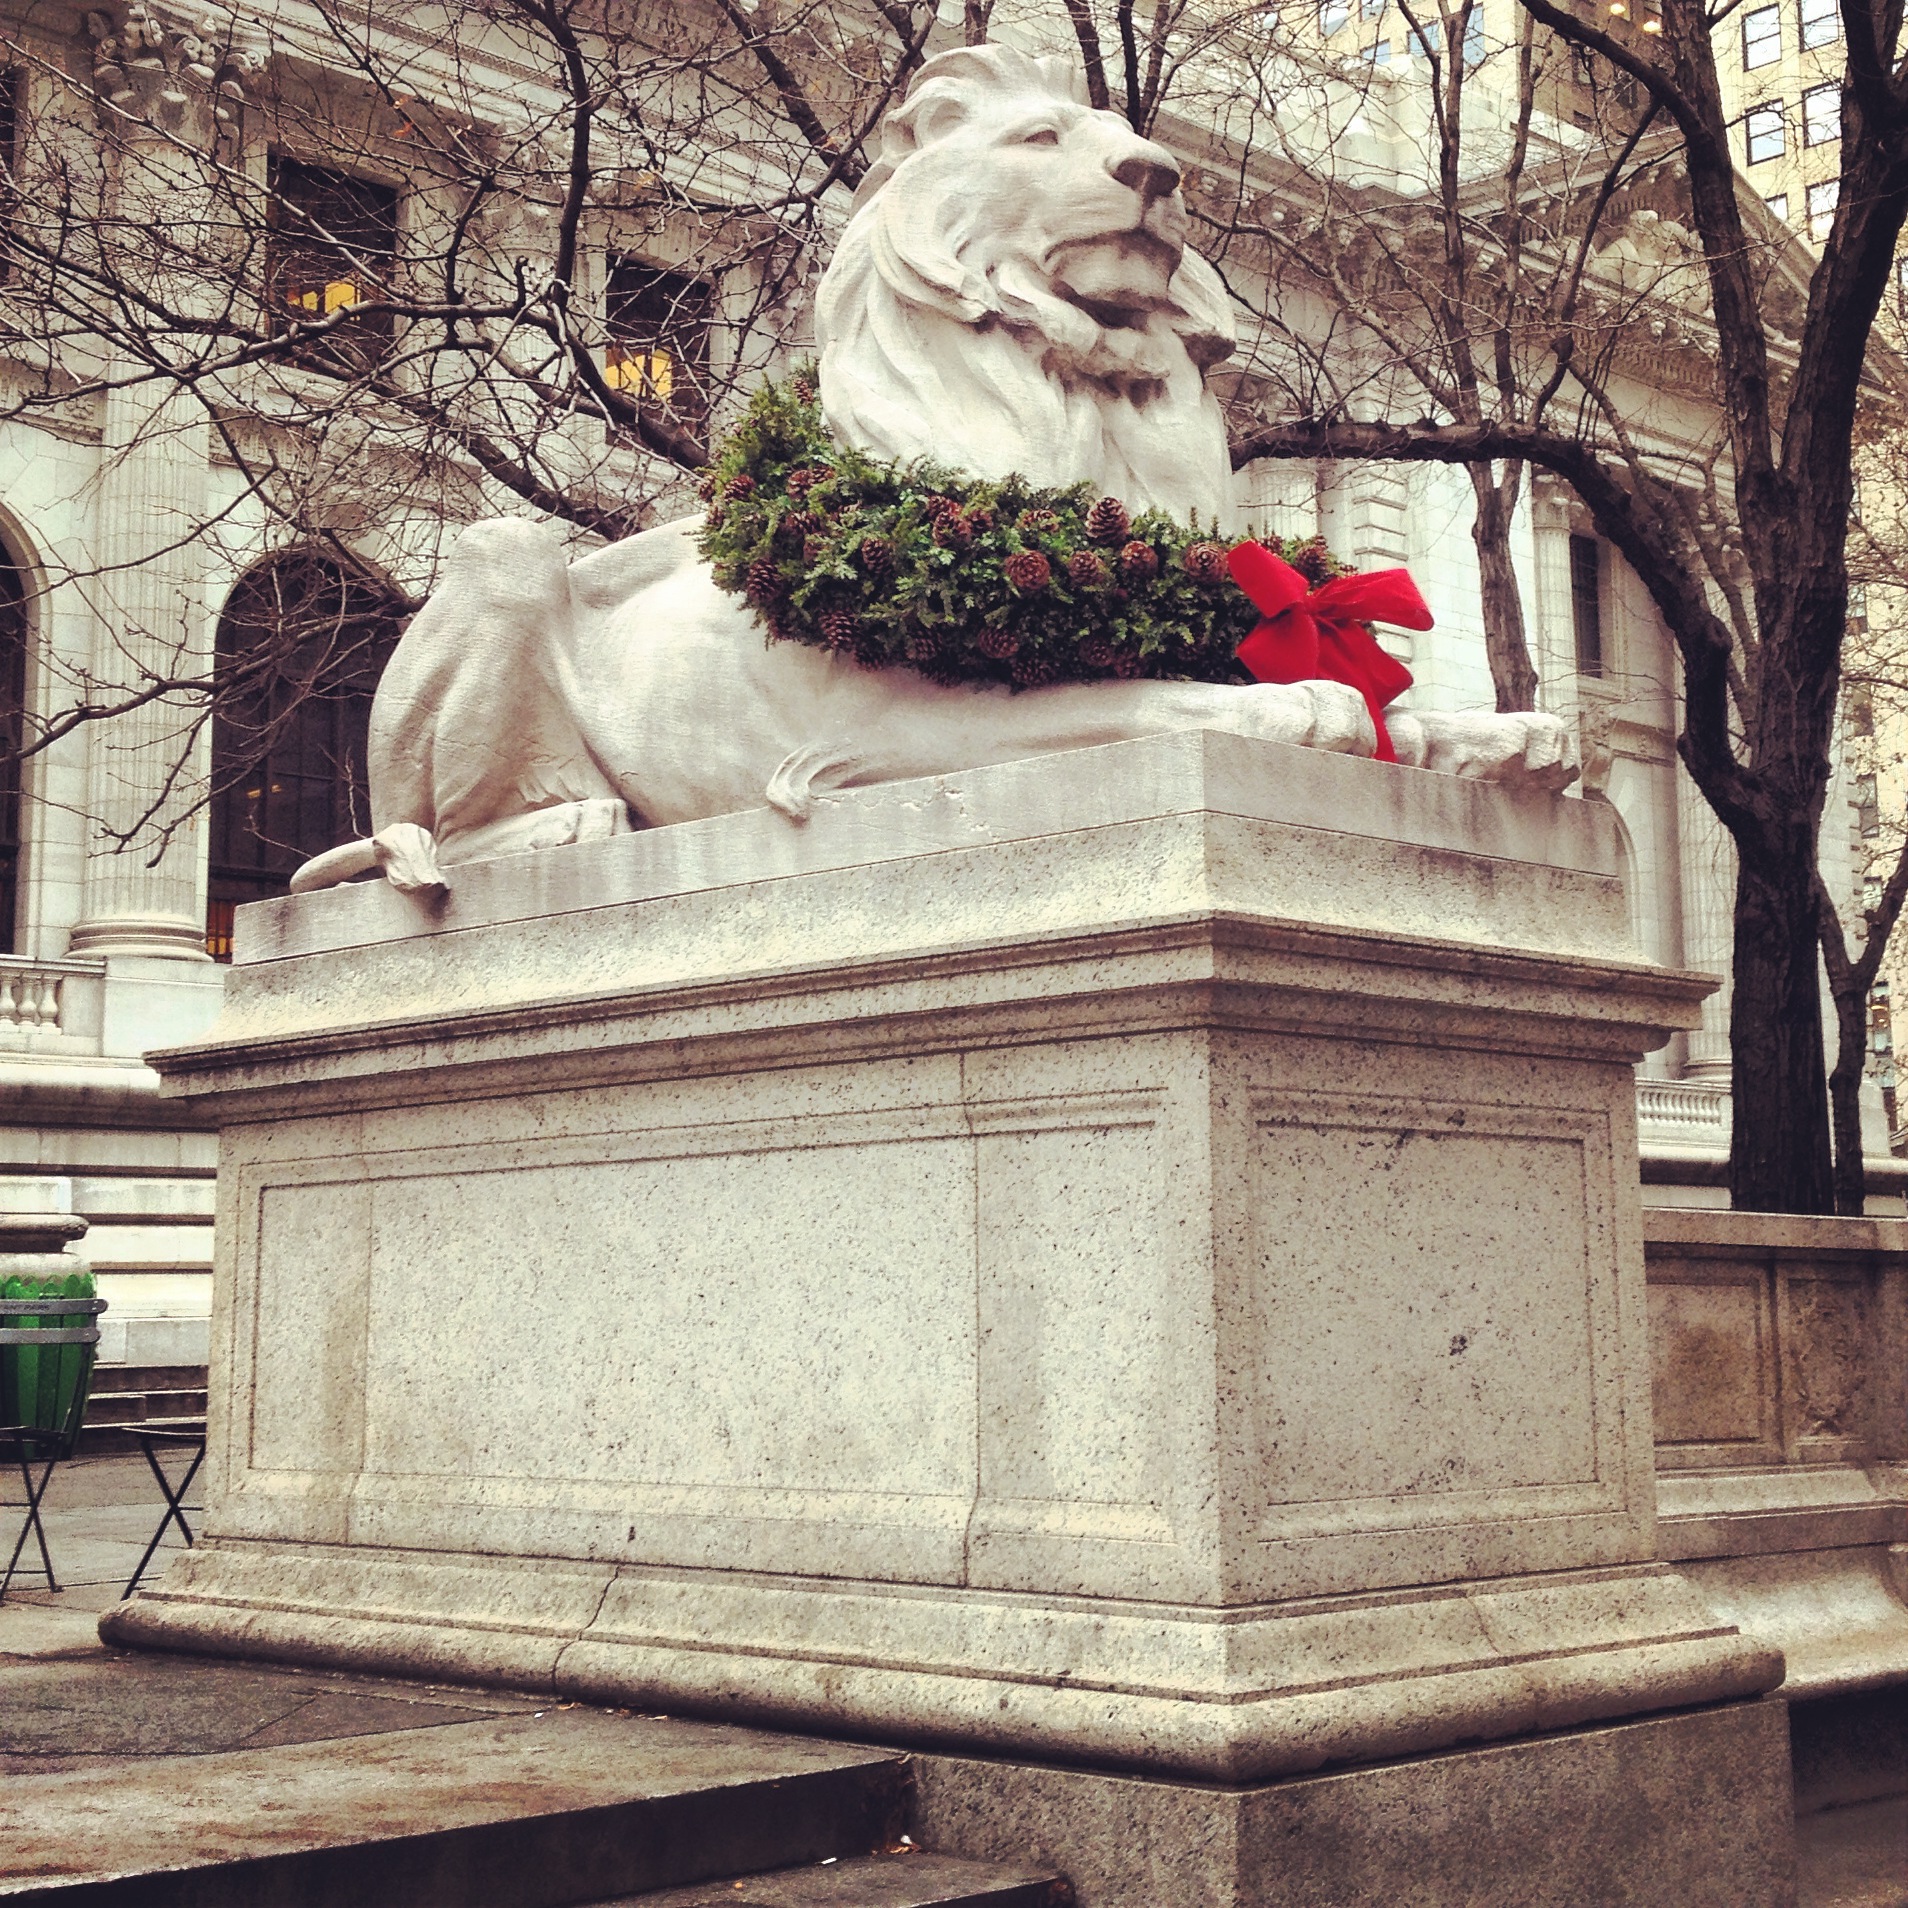
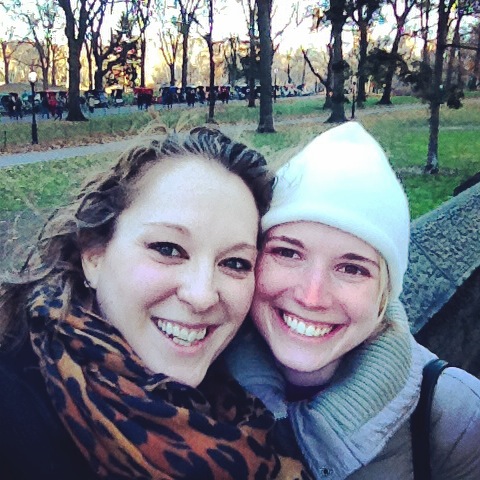
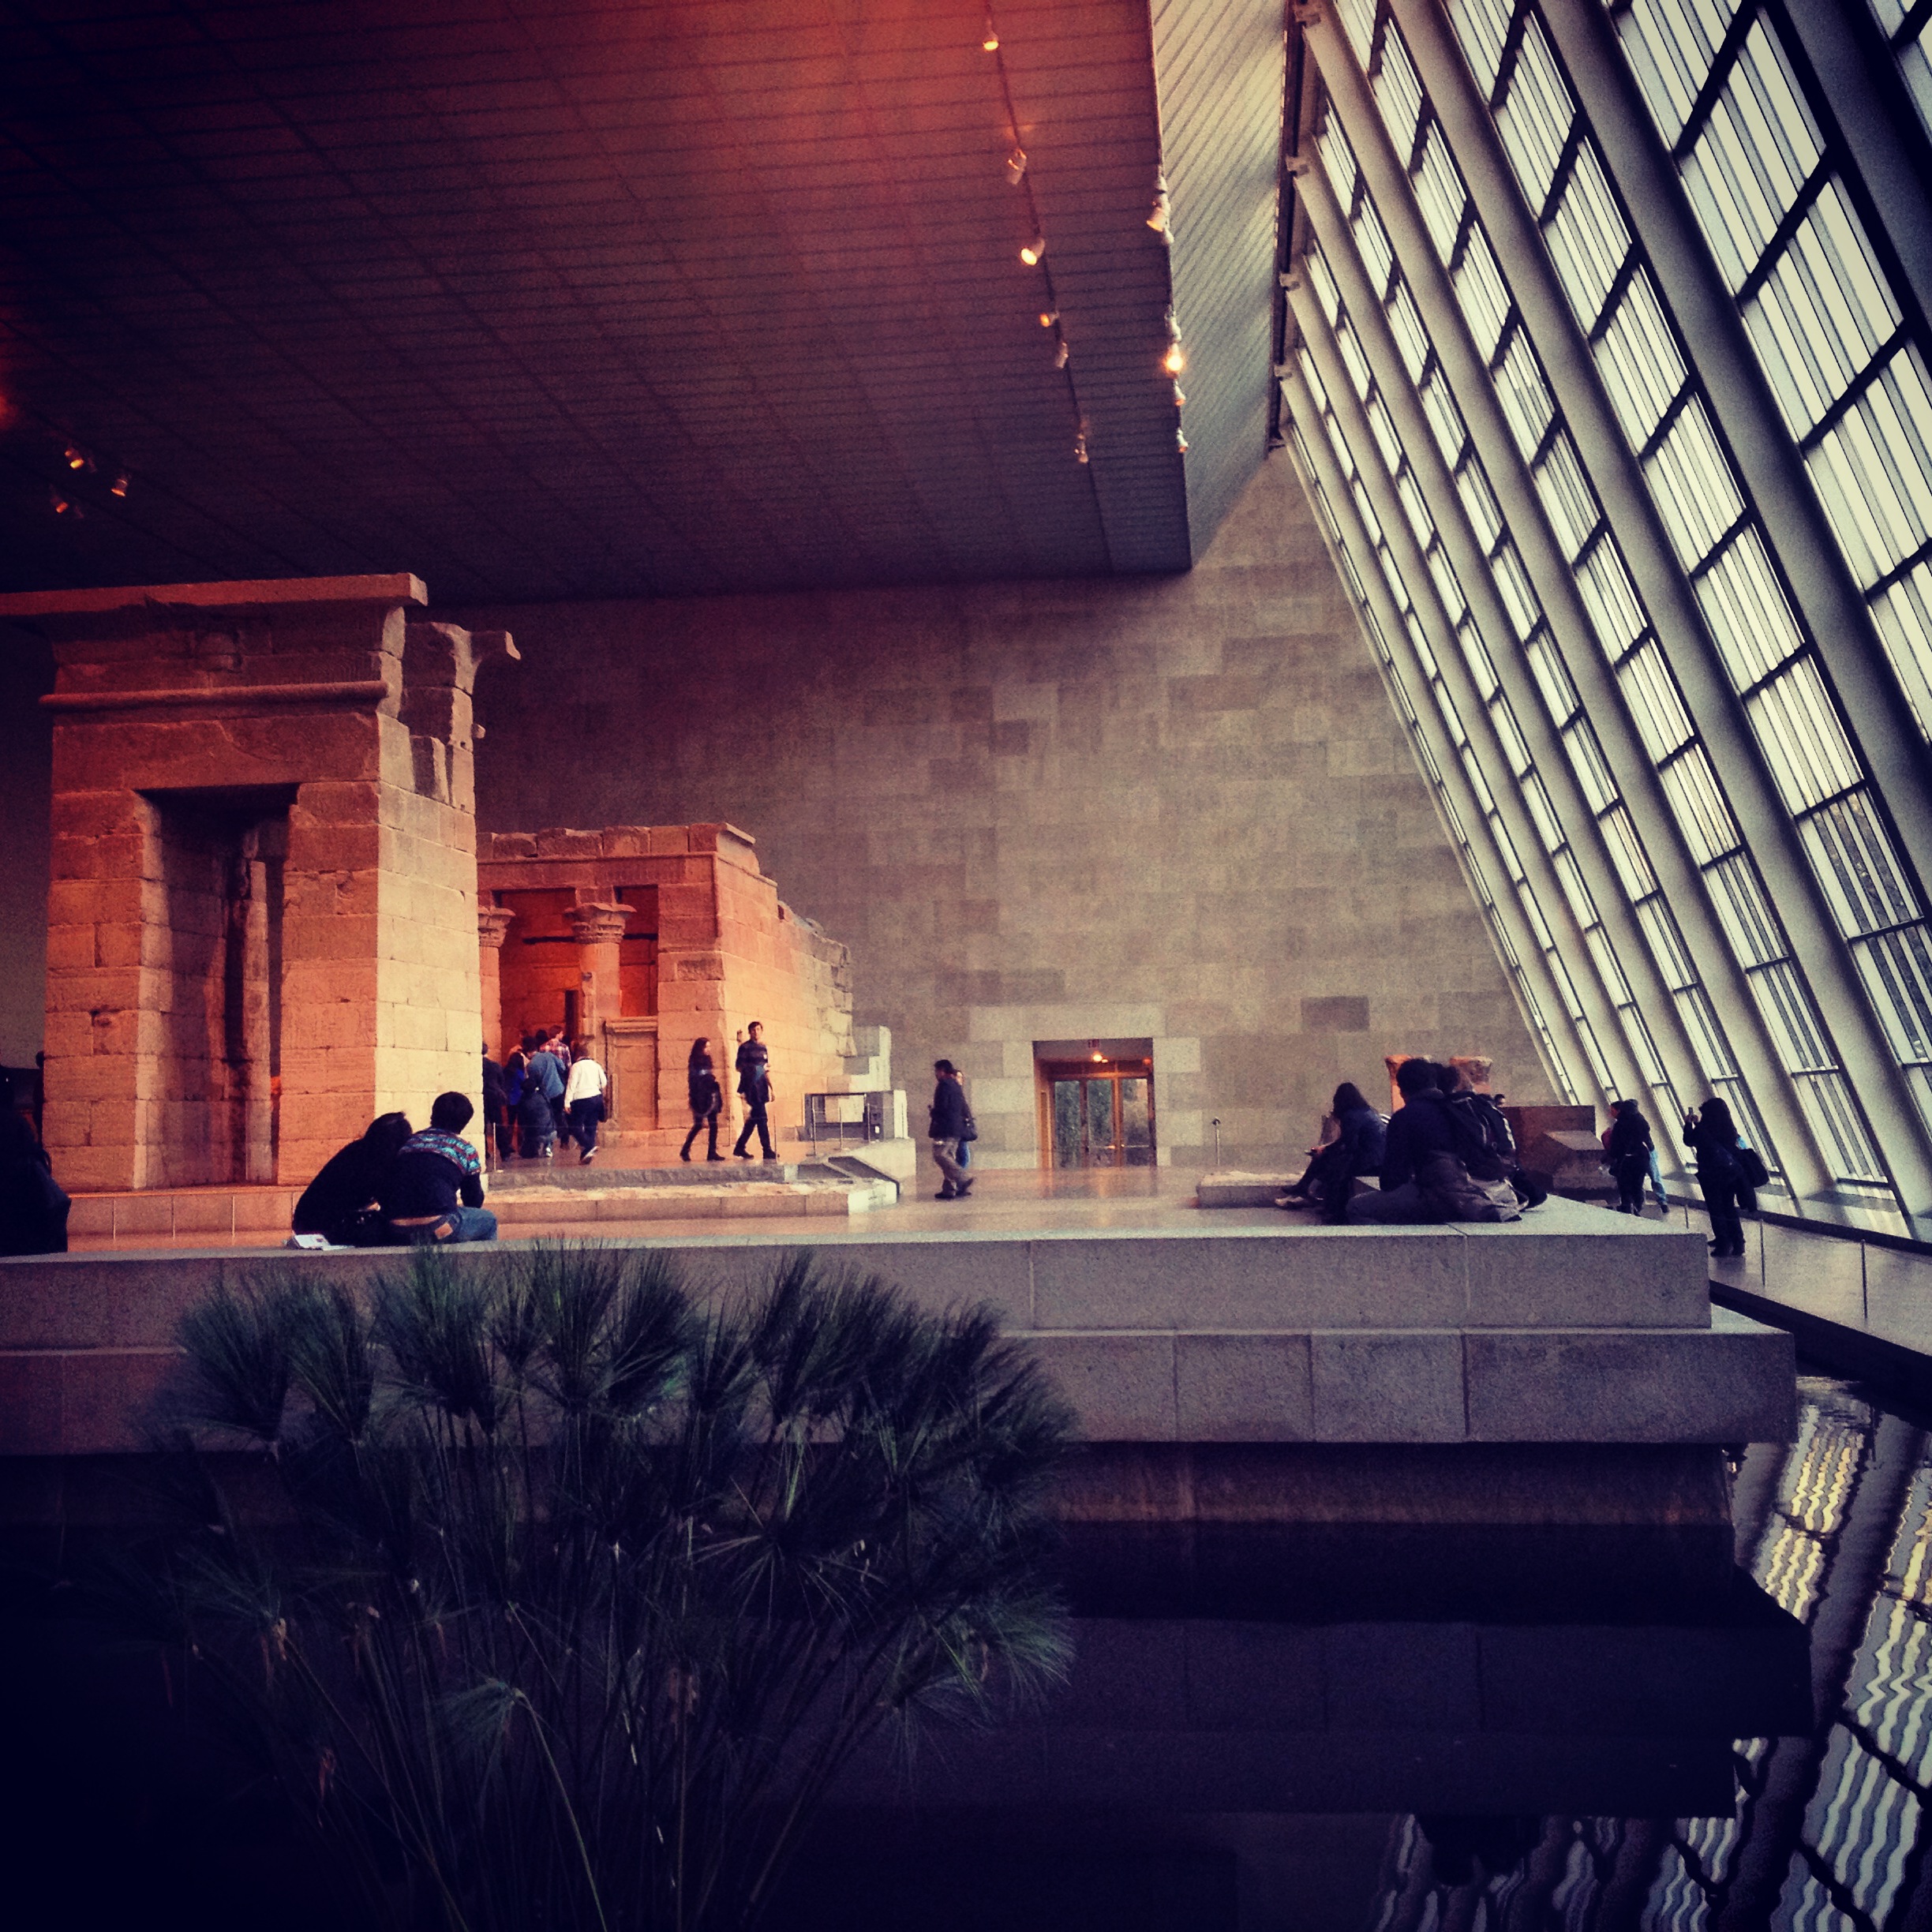
The following weekend Jefe and I jetted off to New York to celebrate my birthday and decorate tree #2, Jefe’s brothers.  We did it last year and it was so fun to be able to continue the tradition this year.  I also managed to drag Jefe to the ballet for the first time to see “The Nutcracker” at Lincoln Center, did some holiday sight-seeing, did an awesome #museumhack tour of the Met and caught up with my high school friend Beth!

The Met

NY Public Library Lions

Rockefeller Tree

The ballet!

SM #1 and #2

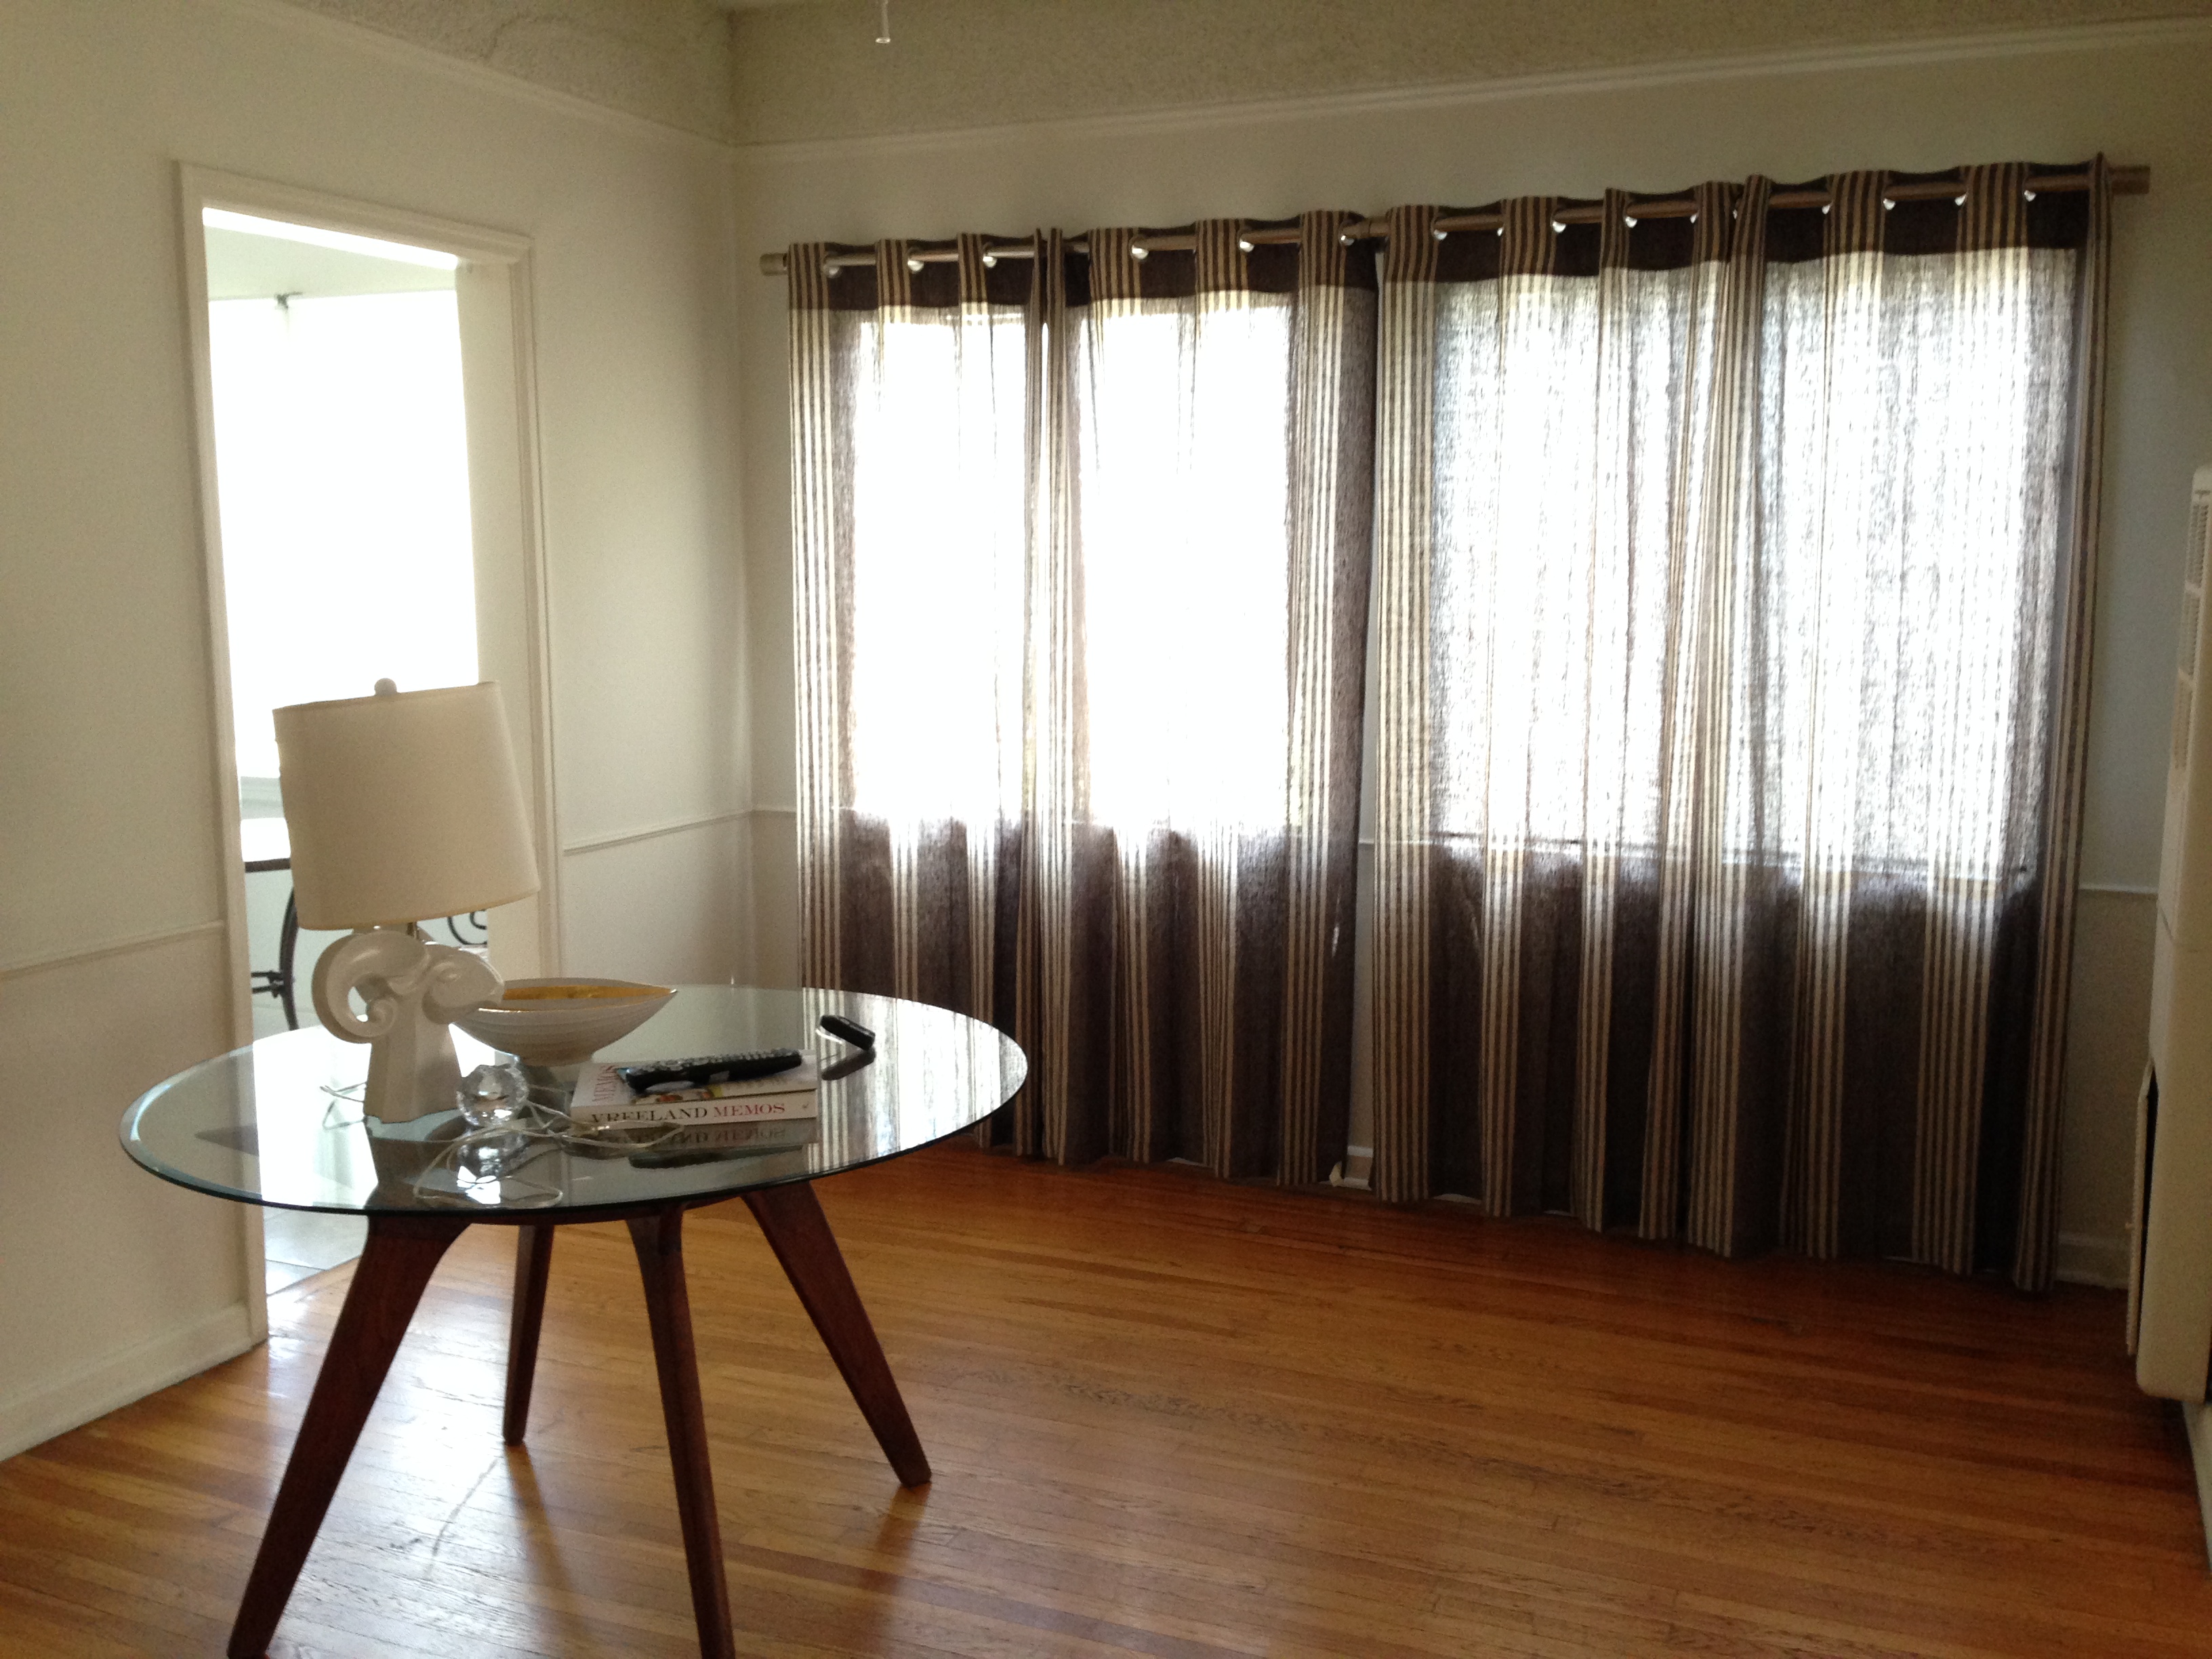
This brings us to mid-December already!  After 5 months of living in our new place, we finally decided to host a housewarming / holiday / birthday party.  Things were a little harried prepping for guests so I didn’t manage to get any photos but I can say that Trader Joe’s can make a mean appetizer.  You really can fool anyone in to thinking something was homemade when it’s fresh out of the oven and artfully displayed on a Santa platter.  I’m pretty sure 95% of the food we offered came from TJ’s.  Seriously, it’s the best way to host – no cooking, just artful arrangements.

Falalala

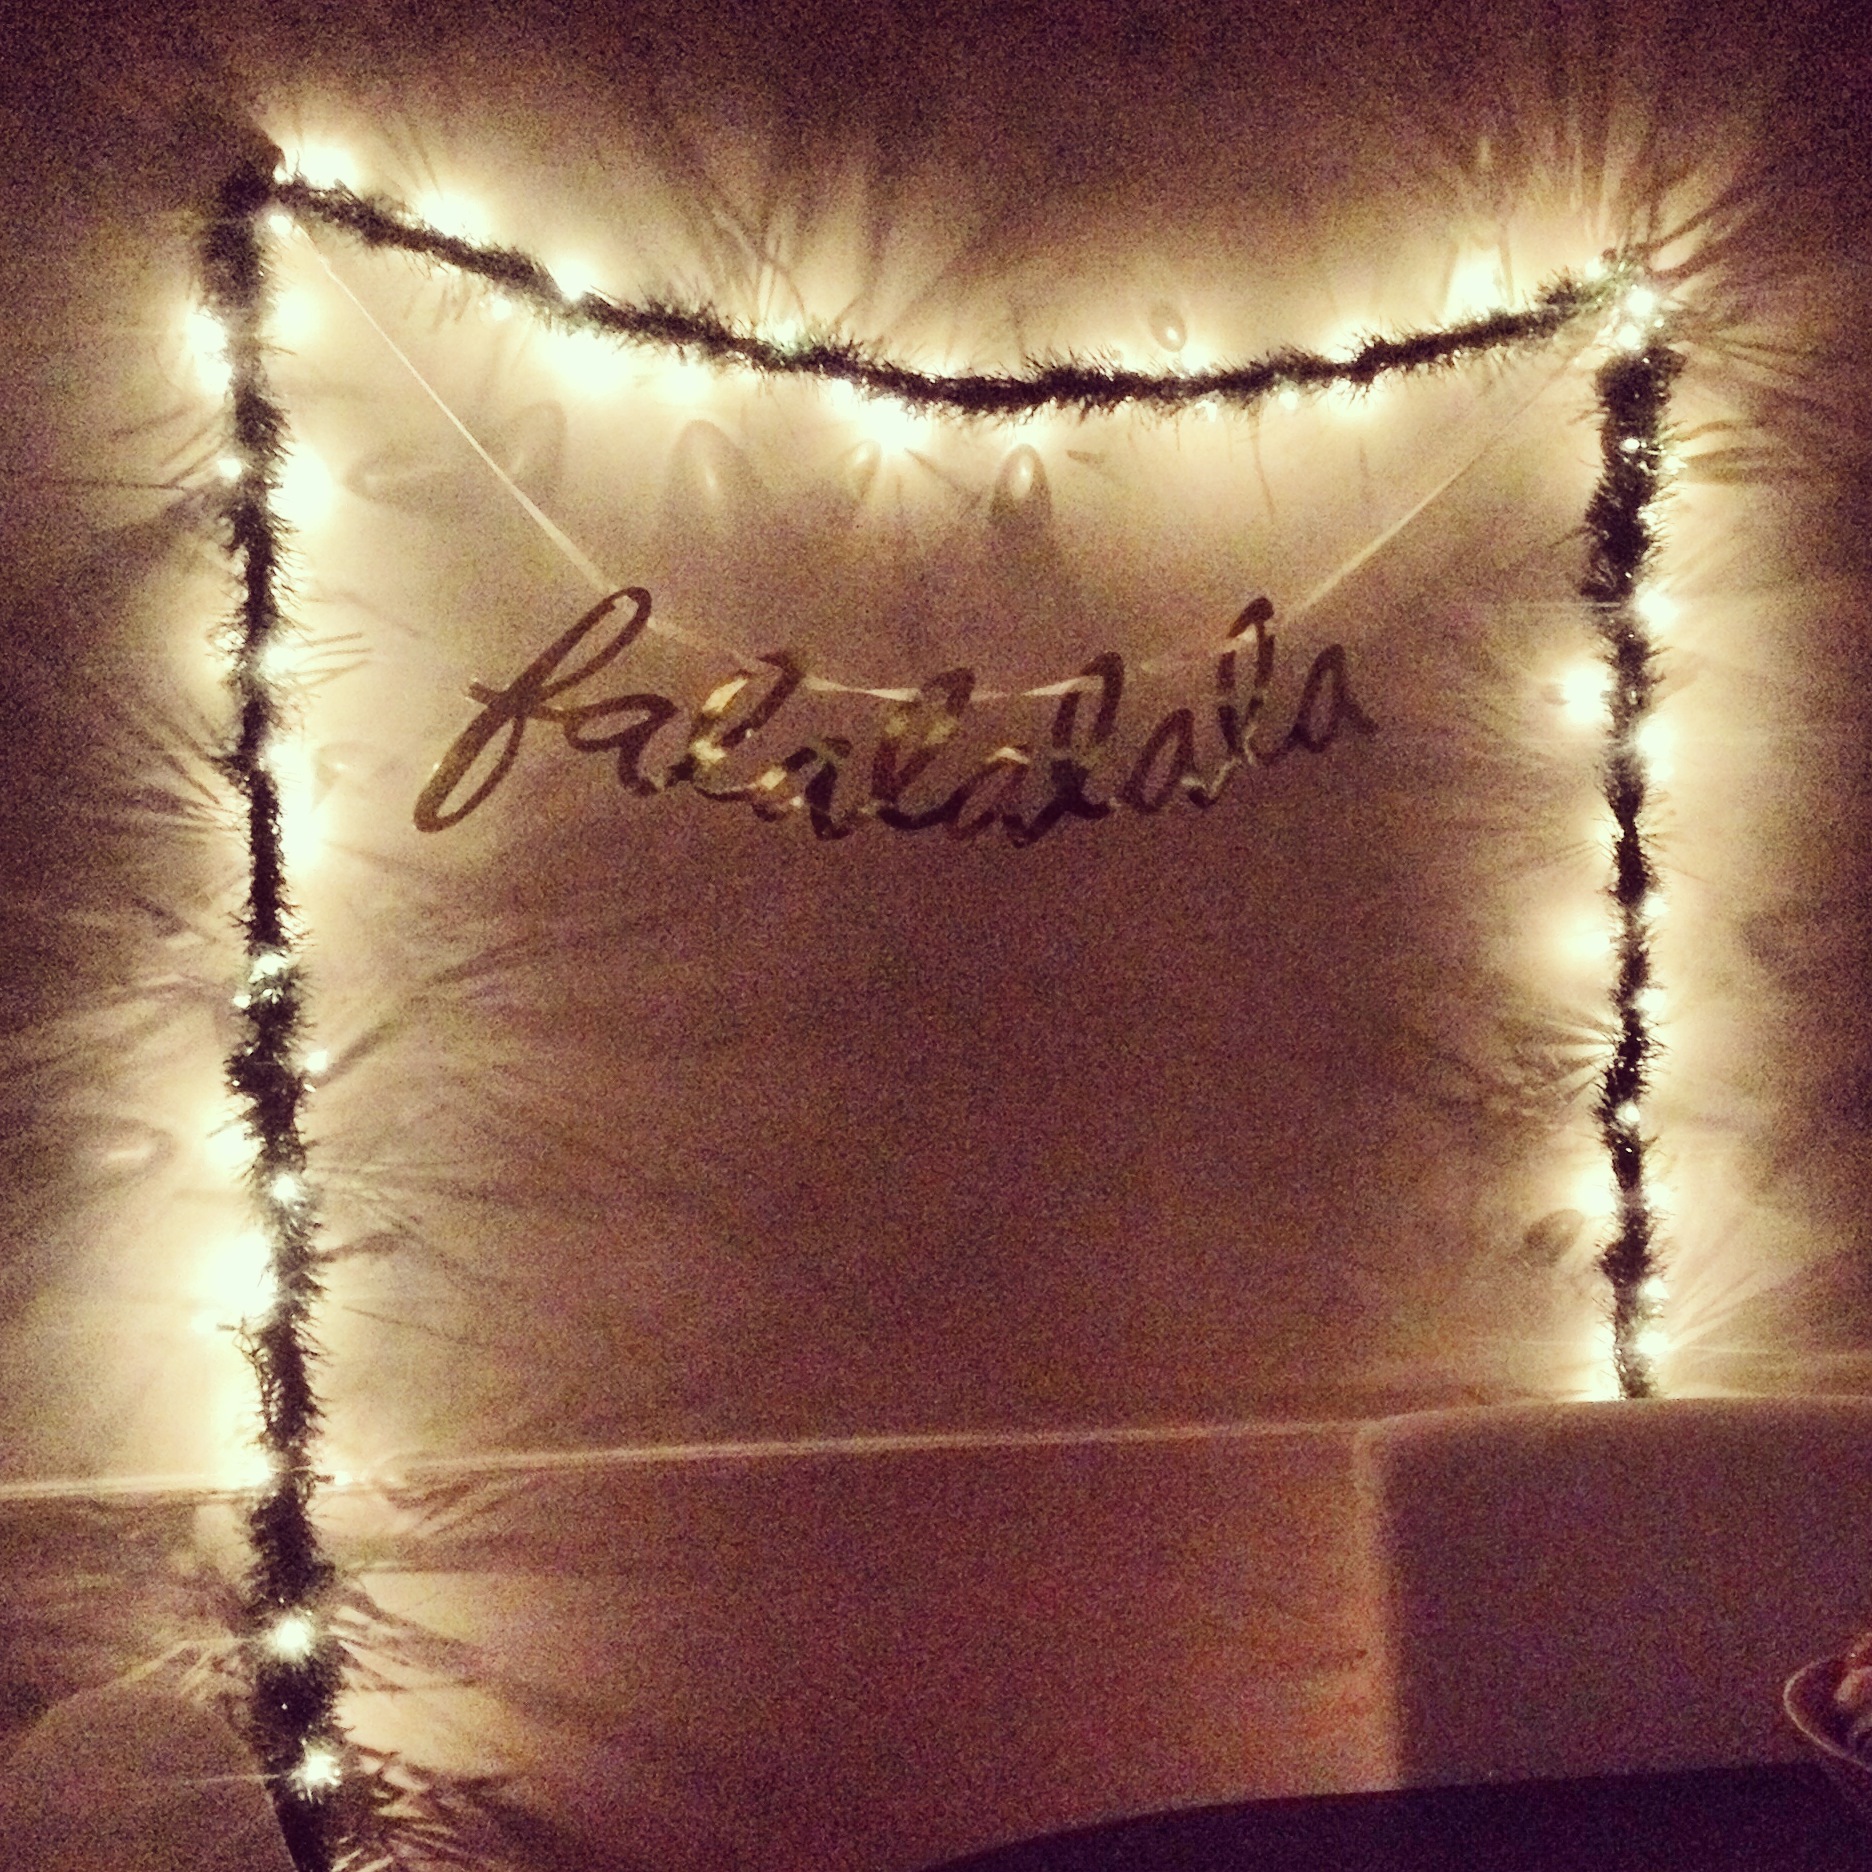
Falalala sign courtesy of Oh Joy!’s line at Target

By the following week, Jefe and I were packing our bags to head back east.  Within the span of 7 days, we slept in 5 beds and traveled via UBER, plane, train and mom’s automobile.  We made merry in Los Angeles, Lancaster and Tyrone, PA and New York City.  It was quite the whirlwind.

Family Cousins

Cousins reunion in Tyrone, PA

Jefe & I Xmas Eve 2014

Jefe & I on Christmas Eve

Casey & his Elf

My brother Casey and his “elf on a shelf” (our nephew Raylen)

And here’s a little tour of my mom’s place all decked out.  I get the Christmas love honestly…

Mom's Dining Room

No fireplace means stockings go on the chairs 😀

Mom's - Dining Room

I love me a good tartan tablecloth!

Mirror on display

I love this old window-turned-mirror.  Wouldn’t be Xmas without some lit garland though.

Mom's Xmas Tree 2014

Excuse the lack of focus.  This was prior to 9am and I hadn’t had ANY coffee yet….

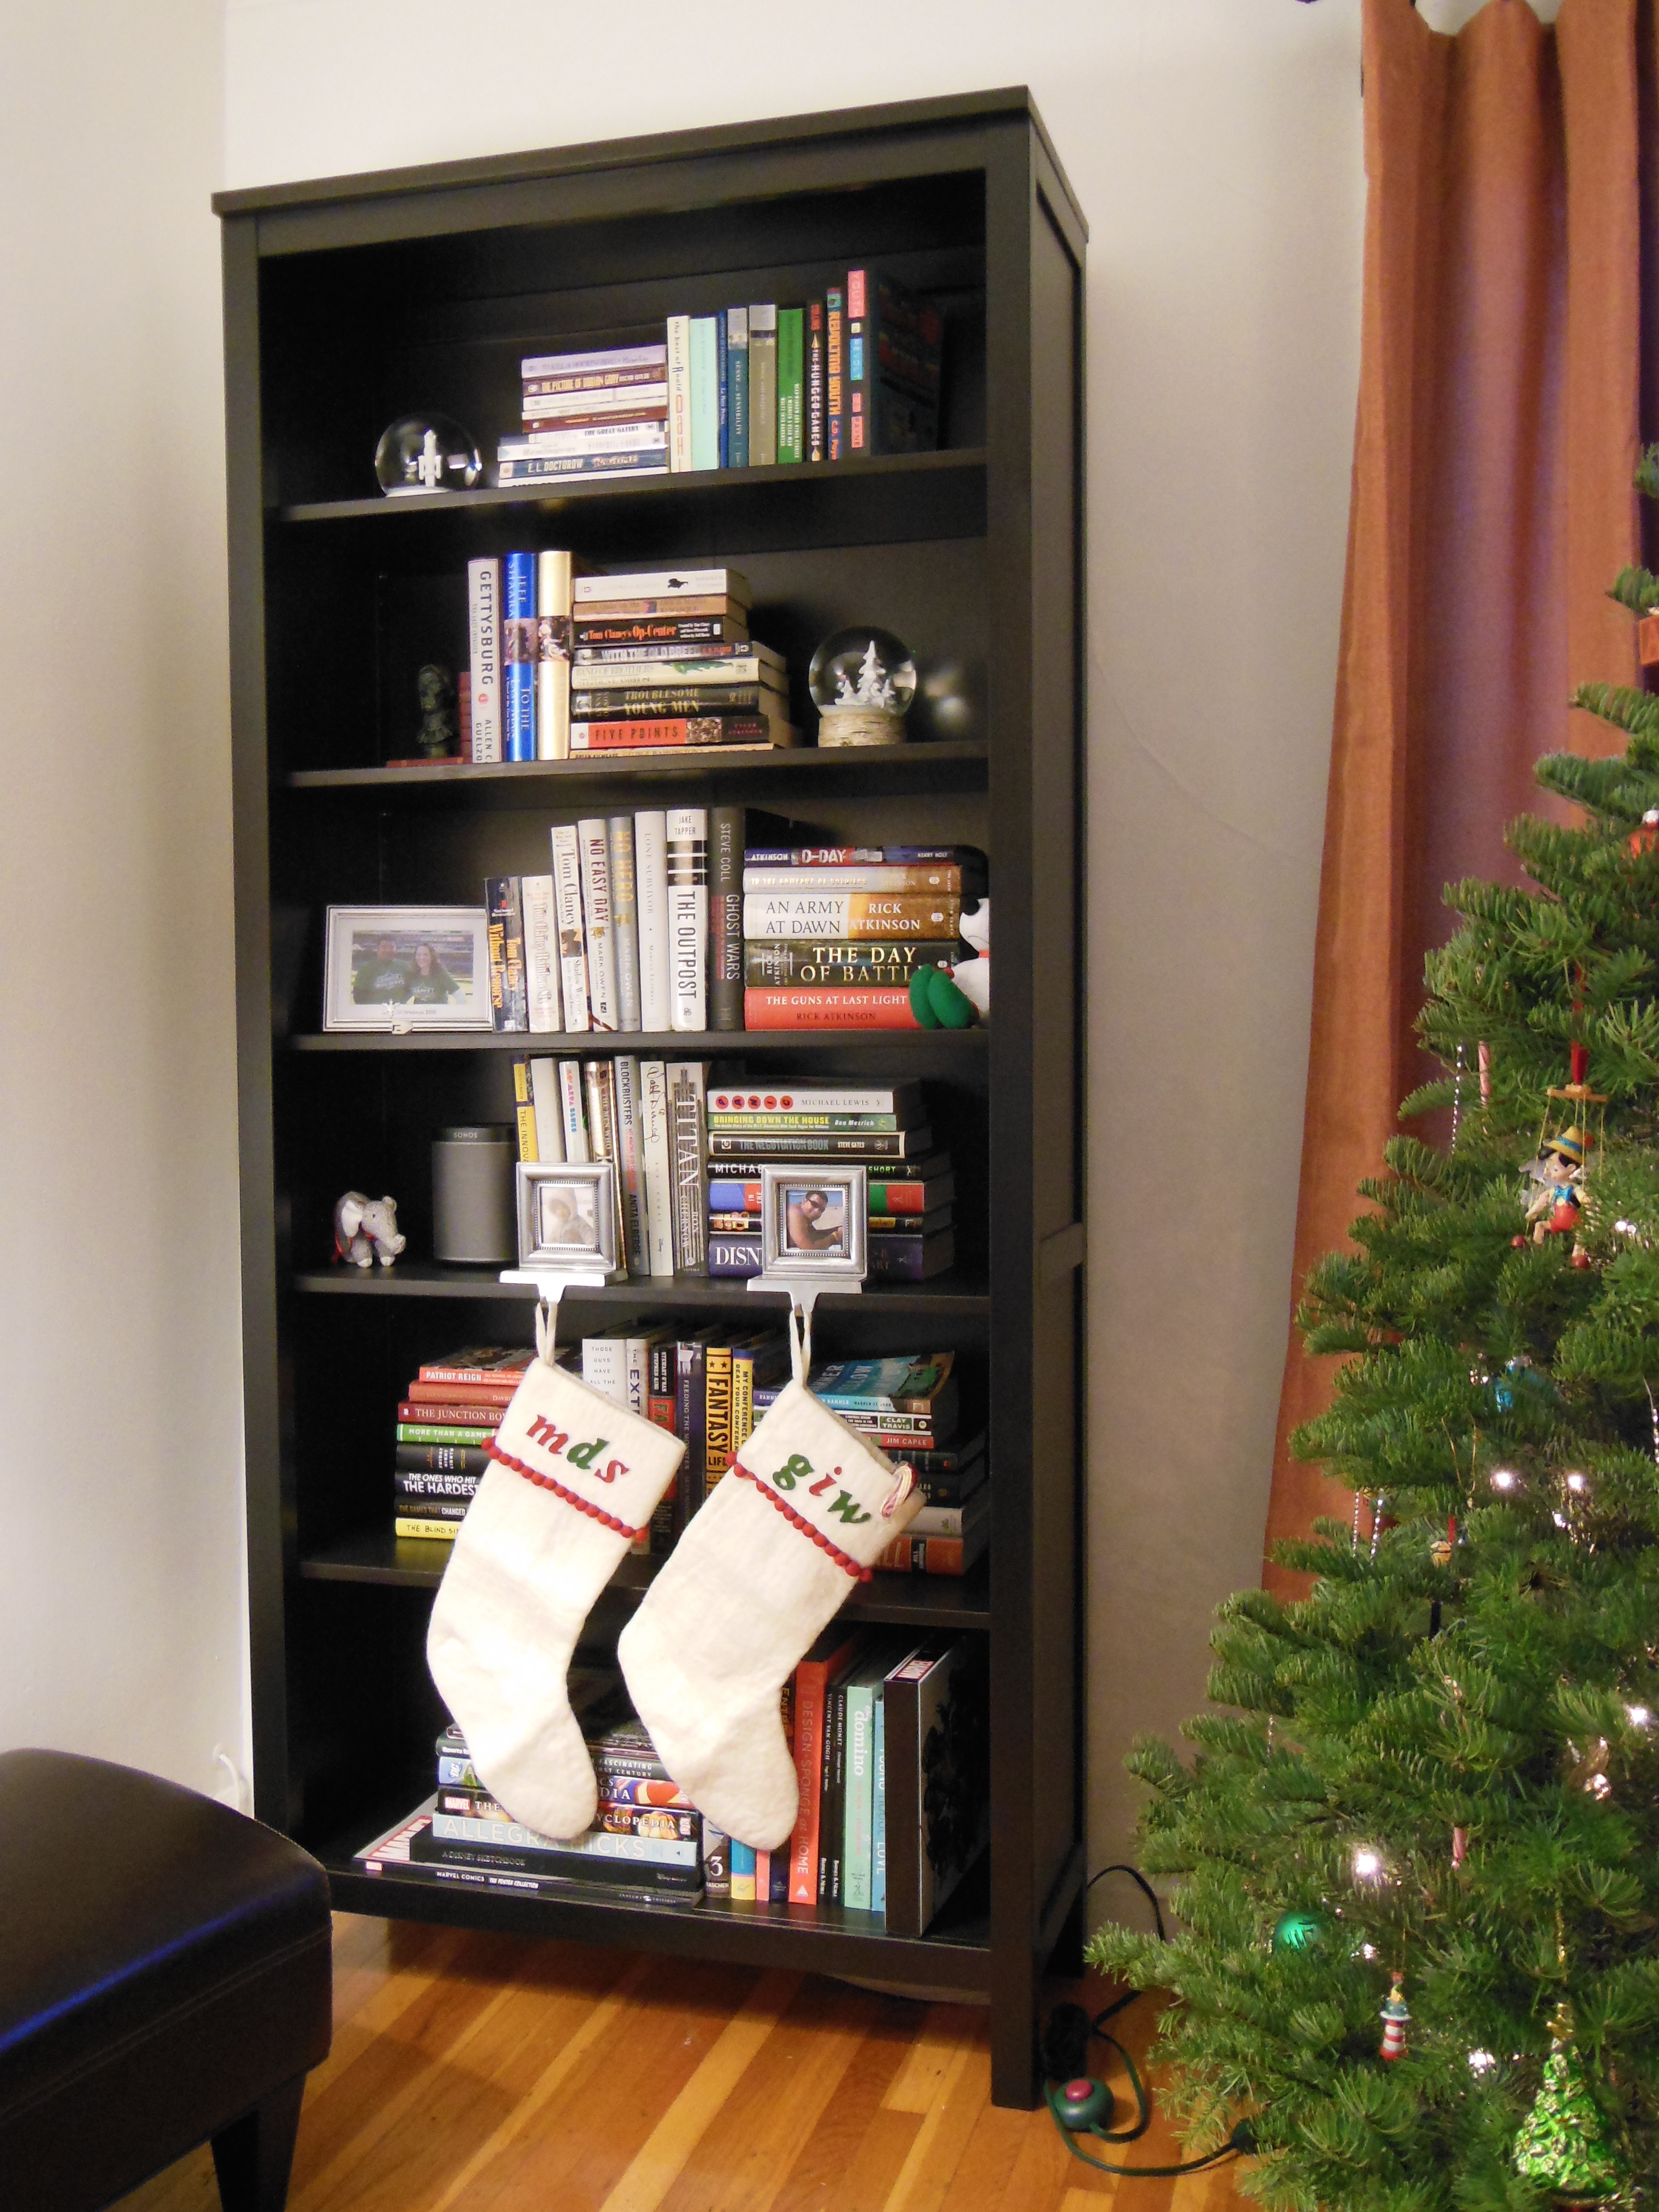
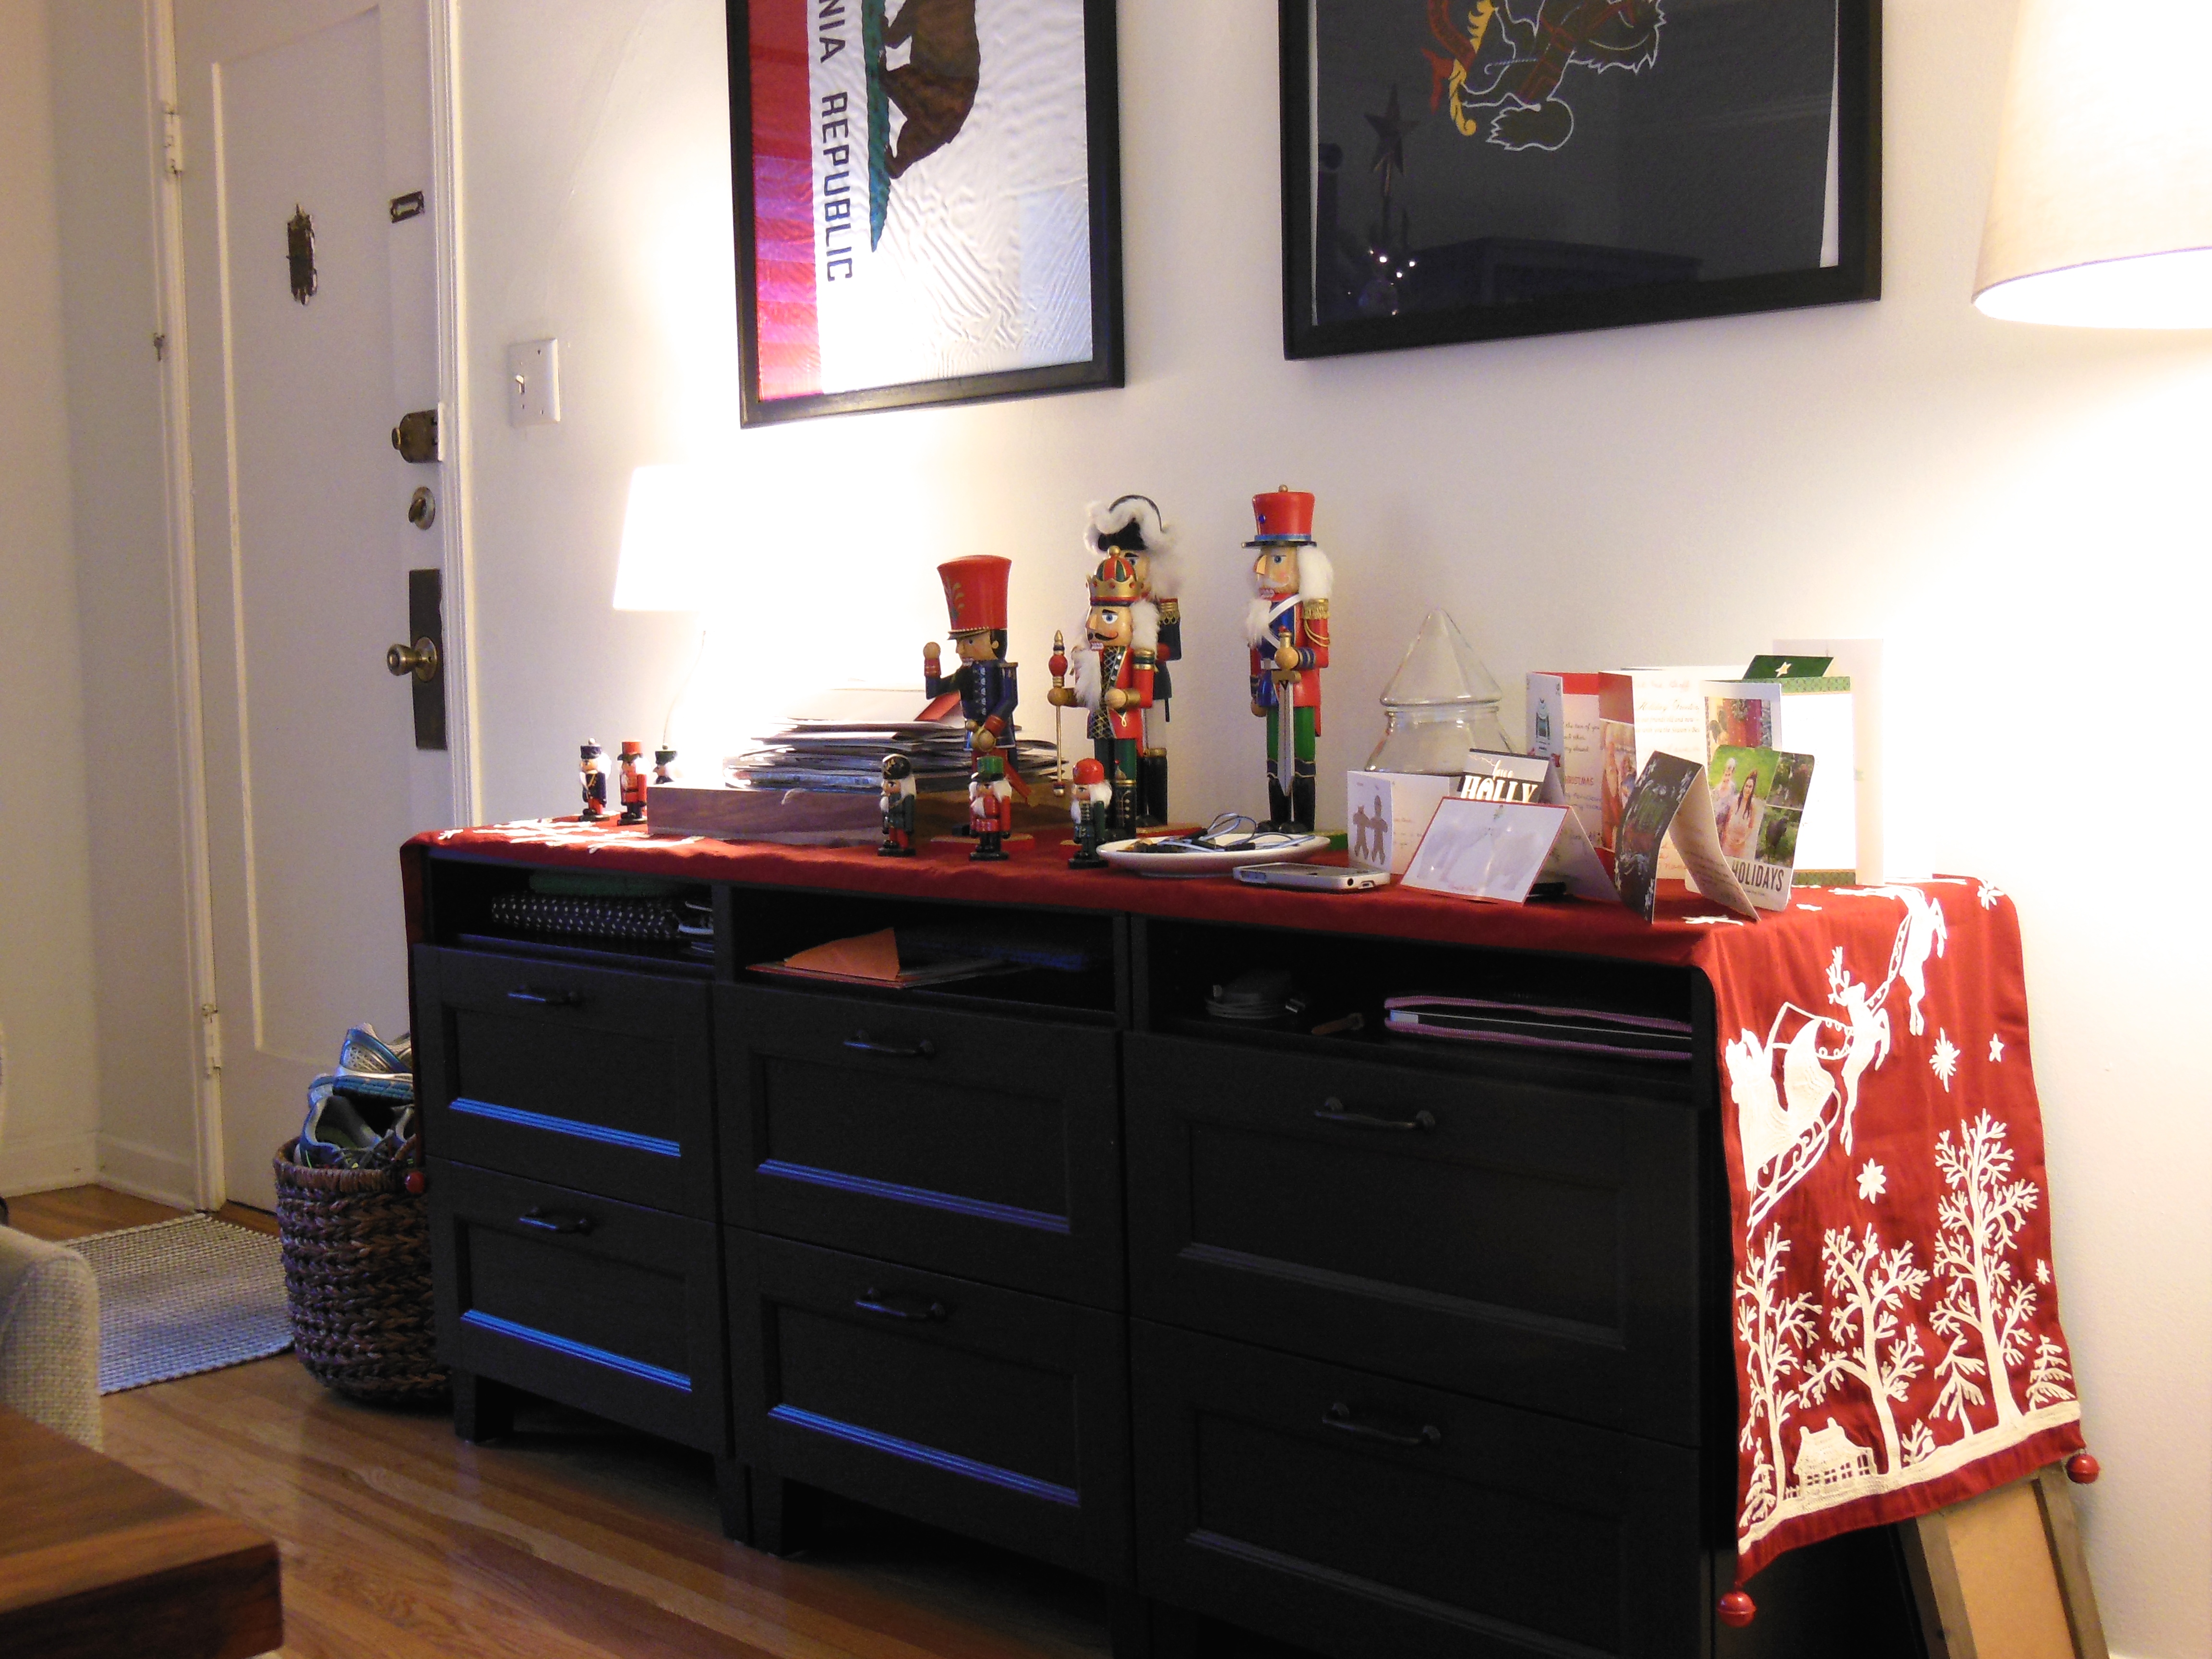
And some of Christmas in NY (Jefe was so bummed he missed the Met #museumhack tour, we went again!):

The Met - Again!

30 Rock

Time Warner Center

And then I caught the plague which had me laid up on my mother’s couch for the next 5 days.  New Years Eve was spent with my family, one good friend who braved my contagion thanks to a hearty dose of antibiotics, and a piping hot mug of green tea.  No champe this year for the Champe Champ.

Then Jefe and I headed back to LA where we undecked the halls and dragged our poor tree out to the curb.  Nothing makes me sadder than seeing Christmas trees on the side of the road.  Their time is so short….

Packing Up

Leftover Candy Canes

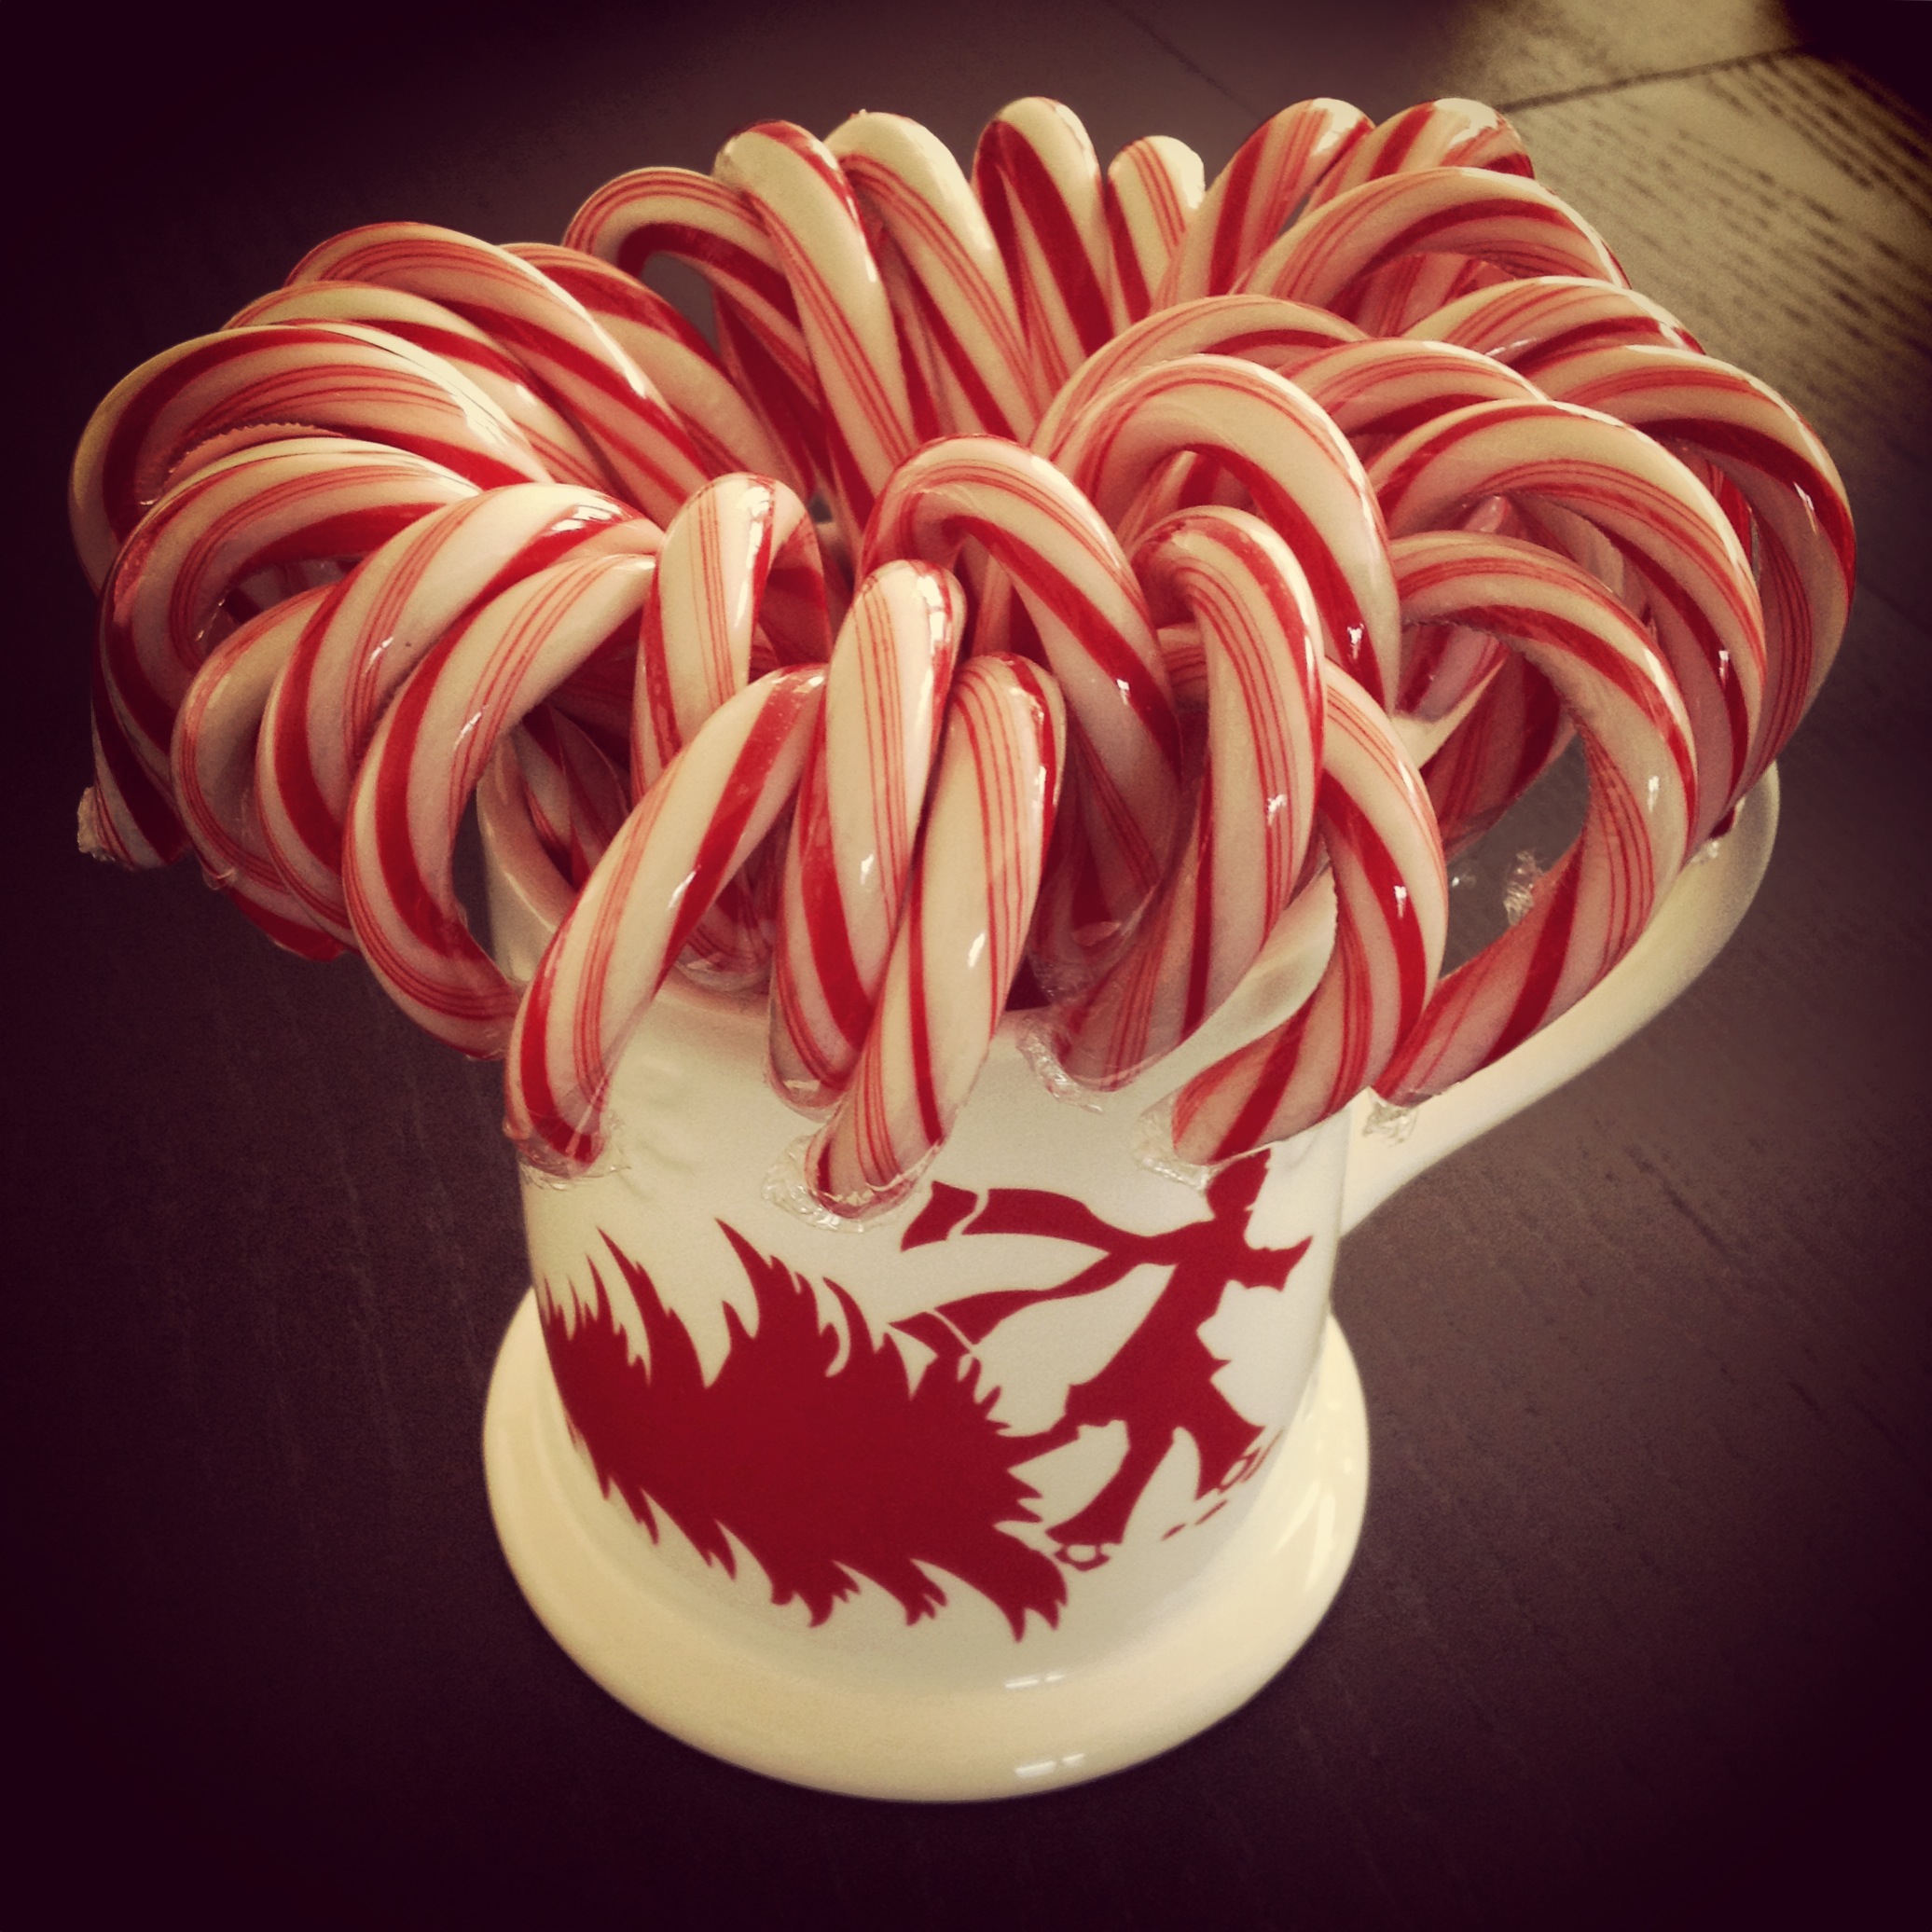
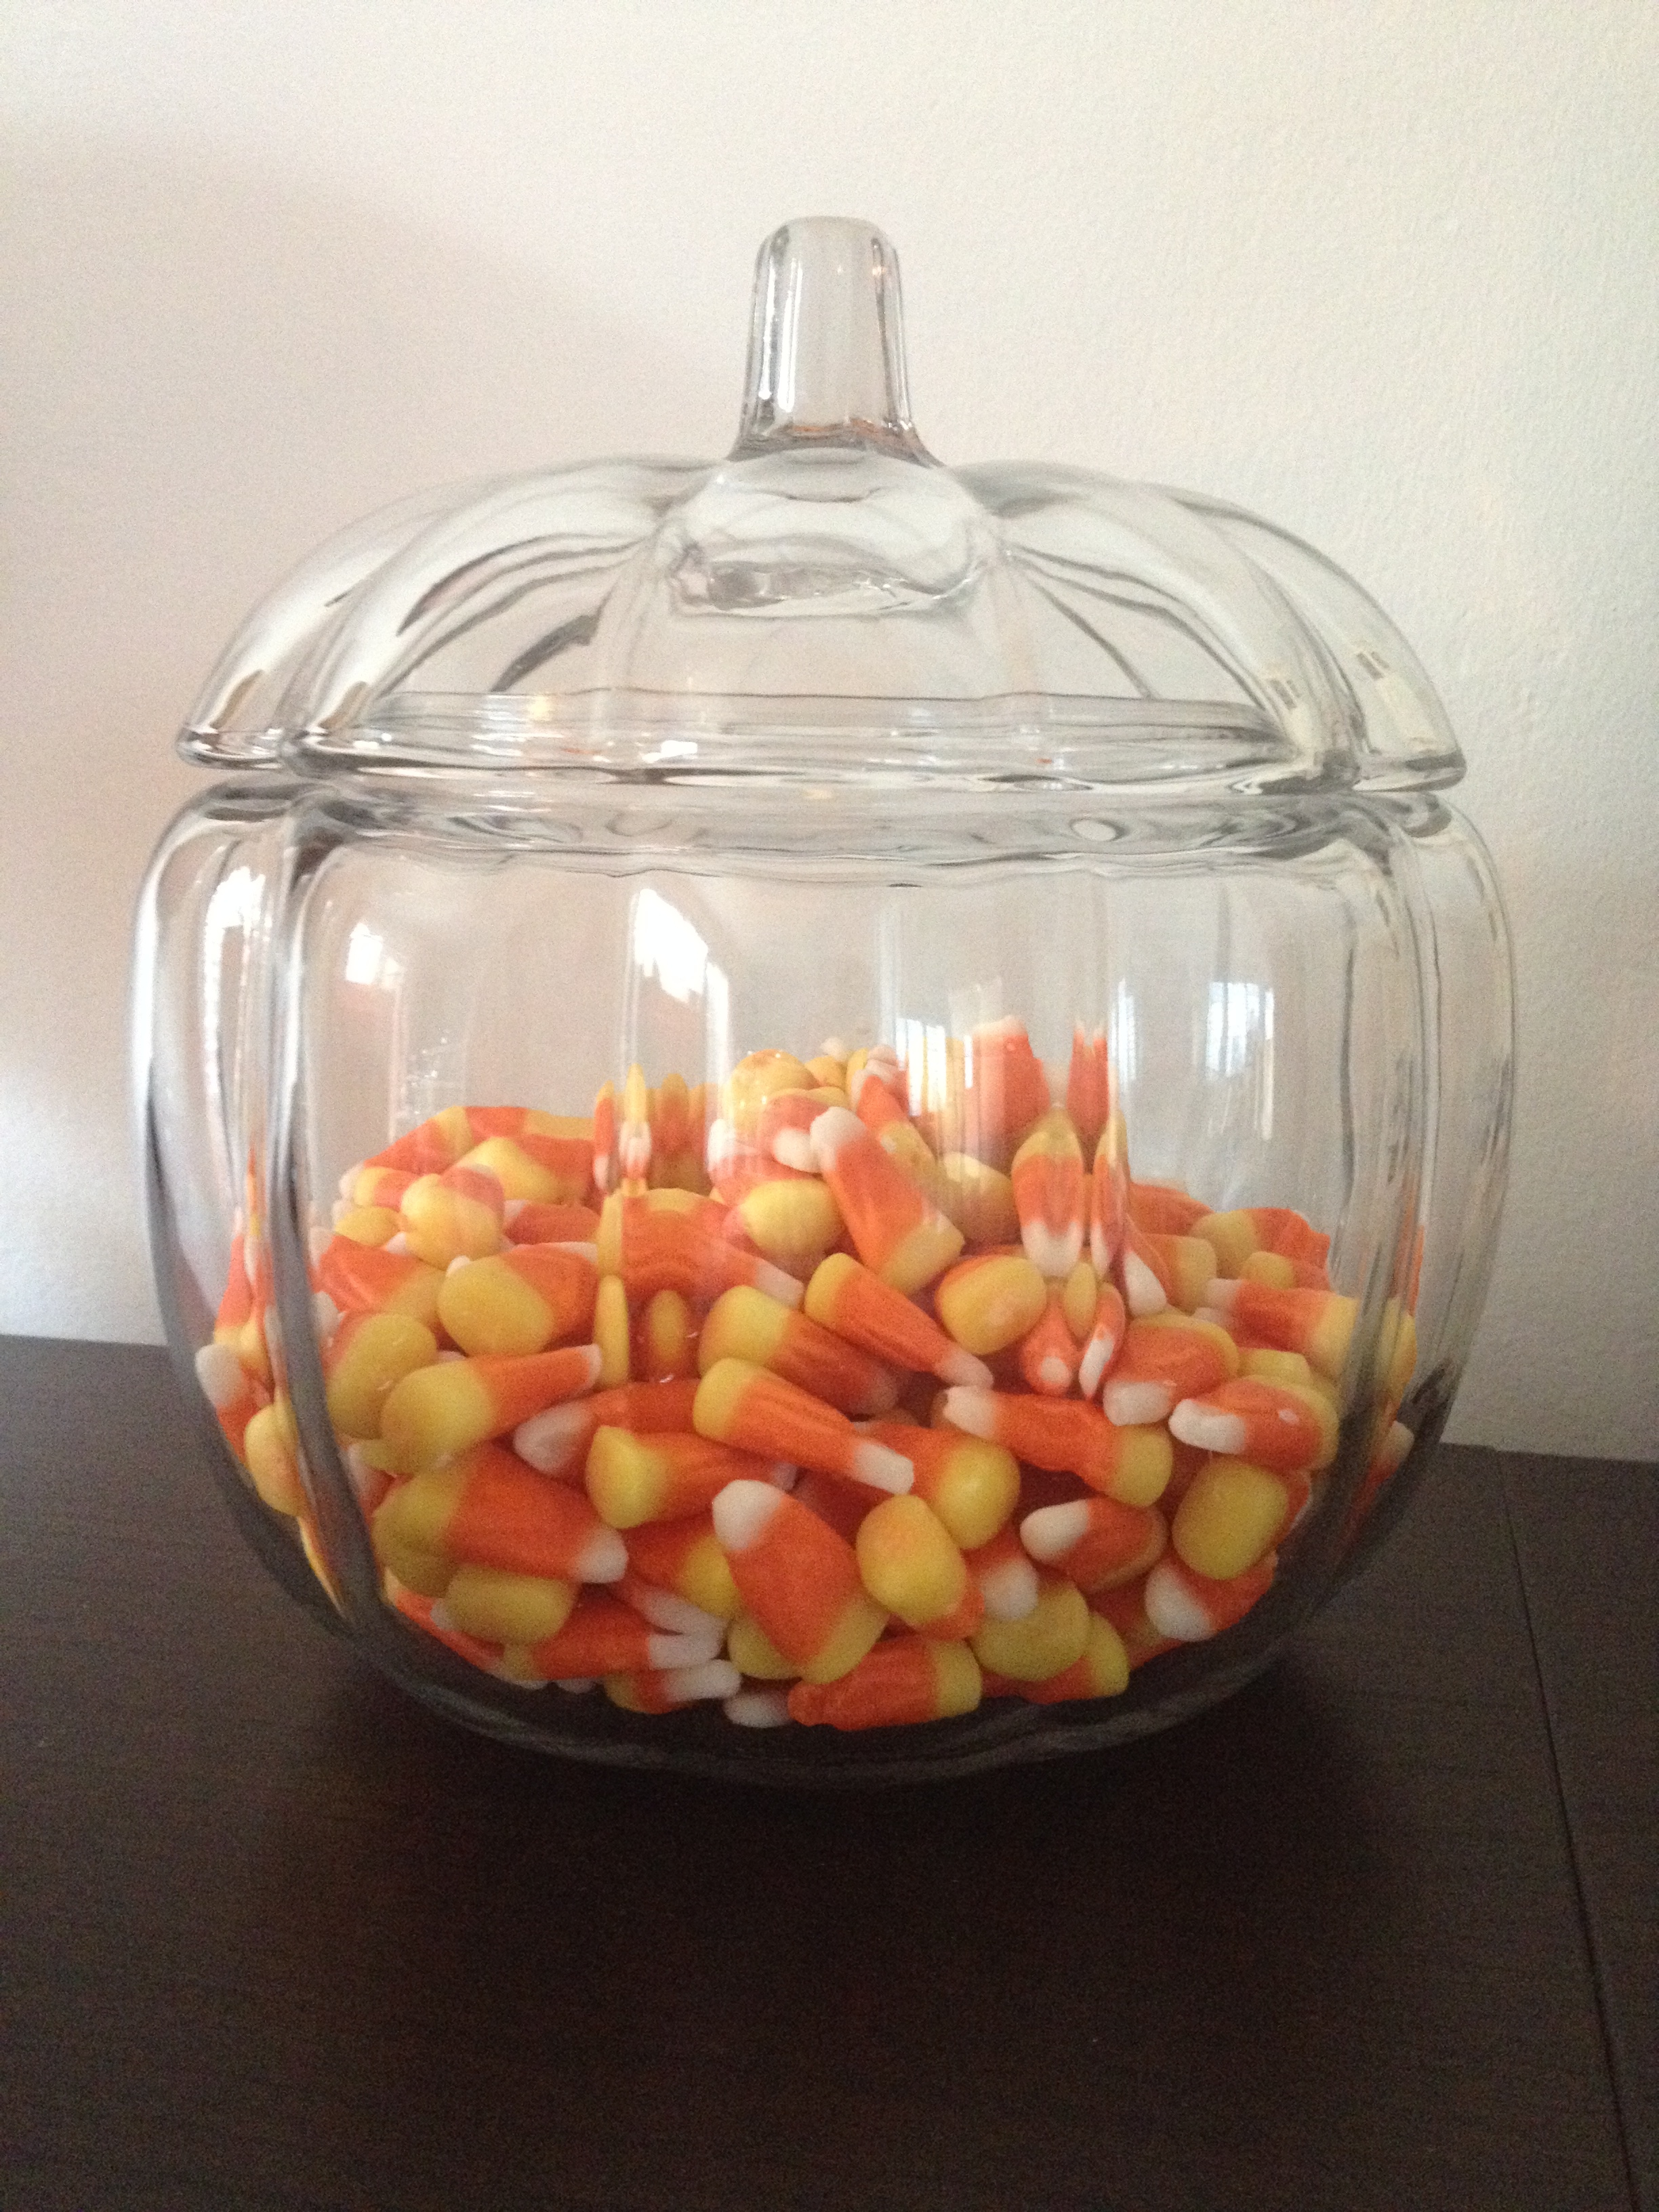
We have a lot of candy canes to get through in January….

Boy and his toys

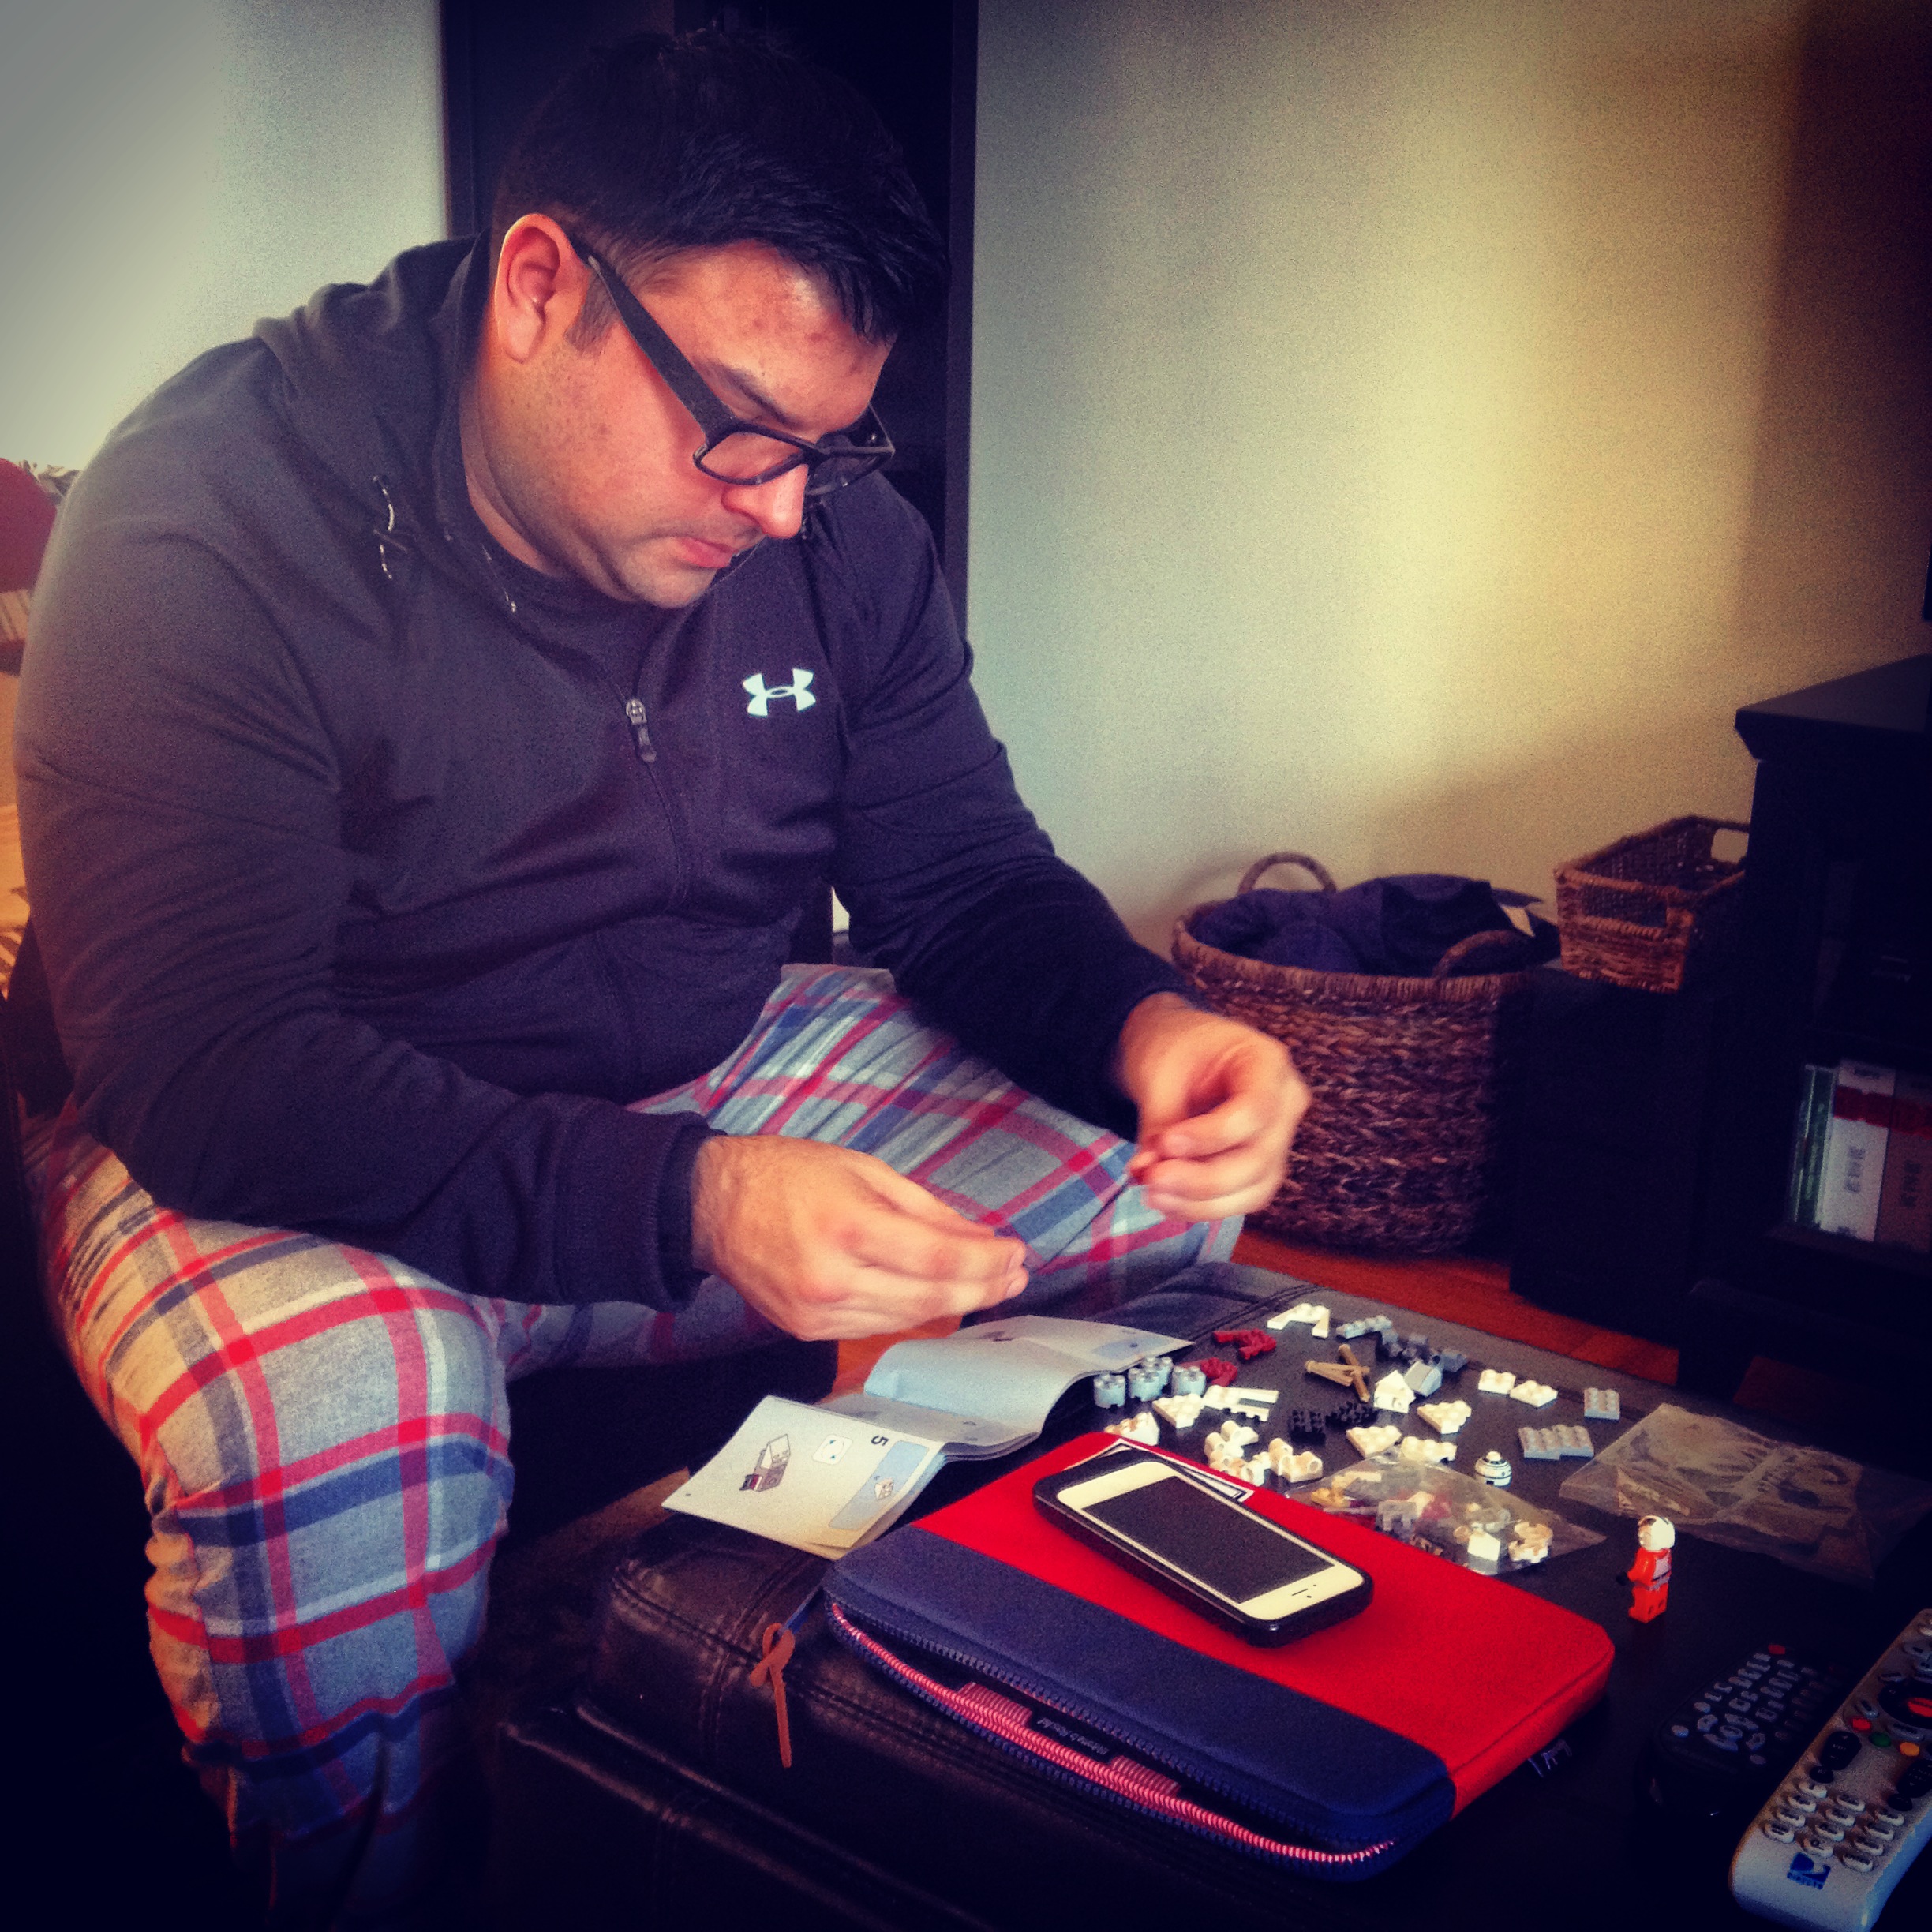
Jefe got distracted from un-decorating by a Christmas present…

And to wrap it all up, one final shot of our beautiful tree of 2014:

Christmas Tree 2014

Falling for FALL!

Autumn is my jam.  Nothing makes me happier than a crisp fall day mixed with cable-knit sweaters and hot apple cider.  But sub-80 degree temperatures is as close to fall that this Angeleno is gonna get.  We were blessed this weekend with highs in the 70s and lows in the 60s – I even had to grab a throw last night while reading!  Go ahead and roll your eyes East Coast readers – after the heat waves we’ve been experiencing, 60 degree temps feel down right frigid.  And I’m loving every minute of it.

With that in mind, I’ve been fully embracing this bit of fall we had this weekend.  I spruced up the place with a few pumpkins, some burnt orange mums and my favorite fall table runner.  I even splurged on a glass pumpkin candy dish at Target which is regularly $7.99, but was 20% off thanks to my favorite new app – Cartwheel.

Mini pumpkins!

Mums & fall runner

Pumpkin Candy Dish


I grabbed that Yankee candle too (Apple & Pumpkin Picking scent) as I needed a more fall “smell” in the apartment but it’s not my favorite.  I’ve tested countless pumpkin-sceneted candles in the last few weeks but have yet to find one I truly love that doesn’t give me a headache.  I’m open to any recommendations if you have found a good one!

Pumpkin Candy Dish & Candle

But the main purpose of today’s post is to actually share a recipe with you!  Anyone who has ever done Weight Watchers is probably very familiar with this one, but for those that aren’t, I wanted to share the world’s EASIEST pumpkin muffin recipe.  Now that a huge figurative weight has been lifted off me at work, I’ve decided it’s time to refocus on some literal weight and get my ass back in shape.

Now for the recipe.  You’ll need:

  • 1 box of spice cake mix (any brand will do)
  • 1 can of pure pumpkin
  • 1-2 egg whites (not necessary, but it gives the muffins a bit more of a cake-like texture and makes them a little less doughy)

Spice Cake mix

Canned Pumpkin & Egg Whites

Follow the directions on the cake mix box for cupcakes.  Most boxes recommend preheating your oven to 350.  While that’s preheating, mix together the pumpkin, cake mix and egg whites.  The batter will make anywhere from 12 to 18 muffins, depending on how large a muffin you want.  I err on the side of smaller muffins as I know I’ll be eating more than one no matter what size they are.

Next I scoop the batter in to the pan.  To make clean-up easier, I line the pan with cupcake liners.  It also will keep them from sticking together once they’re done as I just store them in a large ziploc.  For easiest portioning of the batter, I prefer to use my ice cream scoop.

Pop them in the oven.  I usually set the timer for 15 minutes, then check them with a toothpick (or knife if you don’t mind the gapping hole it will leave, which I don’t).  As I’m still learning the intricacies of my own oven, I popped them back in for another 4 minutes. Once they’re done, let them cool for a few minutes before devouring.  They’re not the prettiest things, but they sure are good.

Pumpkin Muffins!

For those of you counting points, if you divide the mix into 18 muffins, 1 muffin = 1 point.  But if you’re like me and eat 3 in one sitting, 3 muffins will set you back 4 points so just make sure you’re doing the math accurately.

As I’ve been making this recipe for years, I have altered it a few times.  Once I even slathered them with some WW friendly cream cheese icing and passed them off as pumpkin spice cupcakes for a pot luck.  No one knew they were eating half the calories of the real things.  So feel free to jazz them up however you see fit.  As I’m a total baking novice, I can’t advise on how they bake if you, say, throw in some raisins or nuts, but I’m sure they’re just as tasty.

My favorite way to eat them is for breakfast with a piping hot cup of coffee and my Steelers on TV.  It makes for a perfect Sunday!

IMG_4963


Knob Job & Lighting the Kitchen Shadows

(This post is prefaced by apologies for the shotty photography.  One of these days I’ll learn to remember to take pictures during daylight hours on a tripod….)

Continuing on our kitchen adventure, there is one thing that has been just NAGGING at me since we moved in.  Its presence has offended me since I walked in the door.  The culprit:

The great gold offender

The world’s ugliest gold-plated cabinet knob

So on one of our many trips to Home Depot over the last few weeks, I knew I had to find a replacement IMMEDIATELY.  Lucky for me, I found a new brushed silver version that was sold in a 10 piece multi-pack.  This value pack was a lifesaver as we had 18 knobs to replace!

Once I knew they were within budget, I knew the little gold ones’ days were numbered. Why wouldn’t I switch them out for $45 and about 10 minutes worth of work?!  Now some of you may say that’s a LOT of cash for something so insignificant.  But I’ve swapped out knobs on dressers, kitchens, etc and they ALWAYS make a difference.  I’ve never regretted it and provided you save the offending originals, you can take your pretty knobs with you when you leave.  95% of knobs like this are all installed with a single, universally-sized screw which makes replacement a snap.

The great gold offenders - Part 2

Before (insert sad trombone here)

Lovely silver knobs

After (and the heaven’s just opened up and harps are playing my favorite tune)

Now on this same trip to Home Depot and thanks to the moving coupon we signed up for, I knew that I still had some cash left so I decided to fix another simple, but glaring problem in our kitchen.

We are the proud renters of an apartment with boob lights (yes, that’s plural).  We have a horrendous monstrosity that matched those gold knobs currently hanging in our kitchen.  His (or should I say hers?!) days are also coming to a close.

Boobilicious

But while I prep that DIY (thinking a little John & Sherry action here like I did 2 apartments ago for the same problem), I figured I’d fix the sheer lack of light it puts out.

Exhibit A:

DSCN1698

SHADOWS.

DSCN1700

How is a girl to chop an onion without chopping her finger which I have been known to do from time to time….

DSCN1717

Or wash dishes in the dark?!

So thanks to a bit of searching and the eagle eyes of Jefe, we found these little self-sticking, battery operated puck lights.  We needed something that wasn’t permanent and I preferred to not have to worry about finagling a cord.  I also didn’t want something super expensive on the off chance the adhesive wasn’t so easy to remove later on and they become a permanent part of the kitchen.

Now check out the beauty:

Let there be light

DSCN1720

Now that I see this picture, I think I need 1 more for the sink…

Based on the “lip” on the underside of our cabinets, it hides the puck lights perfectly and the light they cast looks like the nicer, permanently installed version.  And the best part – they’re LED without casting that ugly blue light which was a serious prerequisite of mine.

Puck it

In all honesty, these only get 4 stars in my book.  They have an auto shut-off feature after 30 minutes which in theory is great since it saves the battery… until you find yourself hands deep in raw hamburger making dinner and these suckers all decide to go off at once.  Overall though, I’m really pleased with our $12 finds.

Since I ended up using all 3 puck lights we purchased under the sink side of the room, I need to make one more trip to find another option for over the stove that puts out a bit more light and can be left on for much longer periods of time.

Dark sad stove

There a couple of alternatives Home Depot offered, but we wanted to test out our little puck lights first to see if they were even an option with how much light they put out.  Ultimately, we may have to resort to a wired situation here, which I don’t love, but I just feel like this area needs a whole lot more light so I can see what I’m cooking.  No one wants burnt bacon, now do they?!

And since I know it has been awhile and I have yet to show you the rest of the place since we moved in, here are a few teasers of what we have going on in the other rooms:

IMG_4883

Living Room

IMG_4887

Dining Room

IMG_4888

Office / Second Bedroom

IMG_4891

Master Bedroom

So thats the latest around Casa Sledge & Jefe.  Happy Friday!

Hiatus & a Project!

So I inadvertently have been taking a blogging hiatus.  Work has been nuts and as of my last post, Jefe and I were traveling.  A LOT.

Since then, I’ve felt less than inspired as I grew so tired of seeing the same stuff online recycled over and over and felt the pressure that if something wasn’t “Pinterest Perfect” that there was little point in blogging. But I do love writing.  And designing – be it for myself or my limited group of family and friends who are crazy enough to unleash me on their own homes.

With that all said, I have a new life update that will include a LOT of projects in the future that I will do my best to write about and recap in semi-real time: Jefe and I moved!  Now, don’t get too excited dear East Coasters, we haven’t moved that far (yet).  We’re only went a mile east and 2 blocks north of our last apartment.

You may ask – why bother if it’s really that close in the same hood?  #1 = square footage.  We gained over 300 extra square feet back by upgrading to a 2 bedroom.  #2 – PARKING.  I finally have a garage space to call my very own!  No more fighting for a spot and worrying about early morning moves to avoid street cleaning.

There’s also a million other reasons like the 3 walk-in closets, a backyard, etc.  But I’ll let the pictures do the talking.  And note these are all 100% before pictures as we’re still unpacking boxes and I’m not quite ready to share the place in it’s current state.  I also have HUNDREDS of ideas of how to make this place a true stunner that we can call home.

Bedroom: It was painted grey by the previous owner.  And we would have loved to keep it.  But our landlord is pretty strict about paint and we didn’t want to inherit the financial responsibility of required professional painters down the line.  So white it will be (But we’re keeping the navy blackout curtains.  Nap time just got 1,000 times better.)

IMG_3462

IMG_3463

IMG_3467

IMG_3469

Second bedroom: Our future office.  I’m already worried this is going to turn in to a bobblehead museum, but one challenge at a time Sledge.

IMG_3475

IMG_3471

IMG_3474

Bathroom: So this may be the one down side – we’re downgrading from 1.5 pure white bathrooms to a single with pink tile. Luckily, a non-clear shower curtain can cover 75% of it.

IMG_3483

IMG_3484

IMG_3486

Hallway: Closets. Closets.  Closets.  I think I just heard an angel sing.  The grand total is 3 walk-in closets and 2 linen closets, one of which we’ve already turned in to a pantry.

IMG_3482

IMG_3481

Kitchen: What it lacks in counter space it definitely makes up for in storage space.  And new appliances are a definite perk I was afraid we weren’t going to find again.  And although I’d prefer stainless steel, I honestly don’t mind the white, especially with what I have in mind.  Winner winner, chicken dinner.

IMG_3498

IMG_3500

IMG_3505

IMG_3506

IMG_3501

Living room: All the space we could need and then some.  I’ll just need to create some sort of fake mantel/shelf getup for the Christmas stockings.

IMG_3493

IMG_3495

IMG_3520

Dining room:  No longer will we have to cram into a tiny space between our dresser in the living room, the bedroom door and the sliding balcony door.  We shall have a whole room for eating and entertaining.  And it’s got a walk-in closet.  I am officially spoiled.

IMG_3519

IMG_3521

Backyard: The landlord told us no one ever uses it and we’re welcome to set up a grill, furniture, etc.  My head is bursting with ideas, I can hardly stand it.  I’m already envisioning dining al fresco, Parenthood-style.

Parenthood Outdoor Dining

IMG_4720

IMG_4722

So there you have it friends, the new space.  We moved in two weeks and although we still have a ways to go, its already starting to feel like home.

I’ll be back soon with ideas and plans for each of the rooms; I can’t wait to get started!  But for now, I’ll leave you with a preview of the first real project in the new place:

Instagram - Kitchen Islands

Gobble Gobble DIY

As promised last week, we’re going to do a little time traveling here on SWS and travel back to the days of yore – holiday season so that I can recap some of my fabulously festive projects for you.  Today I’m sharing with you the little last-minute DIY burlap runner I whipped together in the few days before Thanksgiving.

Threshold Trellis Runner

This idea came to me when I realized that my new, lovely fall-themed Threshold runner from Target probably wouldn’t make it through Turkey Day unscathed.  It also didn’t look like it would hold up well through a cycle in the washer, so I decided that I needed an alternative runner option for our holiday table.  Enter free burlap fabric I had stashed in a drawer for the last year.

DSCN1267

I knew I wanted something Thanskgiving themed and after seeing more than my fair share of “Give Thanks” signs across Pinterest, I decided to make my own.  As my painting skills are seriously sub-par, I headed to Michael’s for some stencils provided by the god of craft, Martha.  Her stencils are pricey, so I searched for one with the highest likliehood of reuse, whipped out my coupon via iPhone, and dolled out $31 to the cashier (note: this was for ALL supplies purchased).  Now, I realize that this is $11 more than I paid for the finished runner I purchased at Target, but I really was looking for a one-of-a-kind piece that I made myself and the supplies I can reuse for many projects to come.

DSCN1259

Had there been more time this holiday season, I would have attempted to hand-make most of my gifts included a few of these bad boys for family members, but as we all know, December was a BLUR this year.

So, down to the nitty gritty.  First, I took one look at my burlap and knew it needed finished edges.  I used this tip (and overall DIY as a base) from Inspired By Charm and for the first time managed to cut a clean edge with the this type of fabric.

DSCN1272

Then I whipped out my handy no-sew hem type (who has room for a sewing machine anymore?!) and really cleaned up those edges.

DSCN1291

DSCN1282

Half-way through I also realized I *might* want to iron the rest of the fabric – just keeping it real folks.

DSCN1293

And it wasn’t until I had already done 2 corners that I realized I should be paying a *bit* more attention to detail, and decided to neatly fold the ends to give them a more finished and professional look.  (Did I mention it was VERY late at night when I finished this?!)

DSCN1299

Once I had the finished edges, I decided on my stencil design which I didn’t want it to look like a stencil – I chose to use a small brush to connect any lines.  When planning the spacing, laying the stencils out side by side left too much space between the letters in particular.  So I traced them on to a piece of paper with the desired spacing and laid them out.

DSCN1303

The blue painters tape represents both the horizontal and vertical centers of the burlap.

With that done, it was time to pull out the paint.  I kept the pencil tracing versions for reference and moved VERY slowly.  We don’t want this looking like a craft project, now do we?

DSCN1309

DSCN1315

DSCN1325

Once I had the middle painted, I decided it needed just a little more punch, so I pulled out another stencil to finish the ends.

DSCN1349

(Ignore the pulled thread in the middle of the fabric.  A casualty discovered too late in the game to stop crafting…)

After a few hours dry time, I had myself a new table runner!

DSCN1355

DSCN1352

On Thanksgiving Day, I was a bit preoccupied cooking an entire dinner for Jefe’s family to do much decorating, but I did manage to throw together an acceptable table setting.  At the time I was so busy and decided that ironing the table cloth was not worth the added fuss, but now that I see these pictures, I’m quickly regretting that.

IMG_0608

IMG_0617

Kudos go to Momma Sny for the turkey place card holders courtesy of the Dollar Spot at Target.  Dishware is Ikea 365 (5+ years old) and the napkins and water glasses were new from World Market.

The menu included a brined, 16 lb.  turkey (World Market’s Turkey Brine has done me well twice now), Momma Sny’s sweet potatoes, some mashed potatoes with a touch of garlic, stuffing, Jenny Hobick’s Bacon Green Beans, homemade cranberry sauce, my grandmother’s secret recipe apple pie and 2 pumpkin pies from Magnolia Bakery.  We capped it off with some fabulous wine and some VERY tired feet on my part.

IMG_3769

(secret Snyder family recipe apple pie, before baking)

So naturally the next day I did what any sane person would do after spending the previous day on her feet, cooking a meal for hours on end: ventured to Disneyland for Black Friday!

IMG_3809