…And Sledge is back with a vengeance!
Let’s talk college. For those of us who have been there, we all remember the grueling late nights of studying (or rehearsing for us theater folk), the horrible cafeteria options and the dorms. Oh the dorms. That ridiculous rite of passage where by you’re forced to live with a perfect stranger for 9-10 months and cram your entire life into a poorly lit space the size of a shoe box.
Well for you new readers, I promise you there’s hope. Your first year does NOT have to consist of you gaining the freshman 15 and sleeping in a drafty room that reminds you of where Martha spent a year in West Virginia.
No matter how many times you’ve scoured your school’s website and Google Image searched, you really have no idea what kind of space you are walking in to. Maybe a little something like this:

via
Or worse:

via
But there are plenty of tips, tricks and advice towards making this cement block of a space feel like home.
The key to really enjoying your space is making it comfortable. That starts with the piece of furniture you’re going to spend most of your time in: the bed. Let’s start with support – a solid mattress pad and an egg crate are musts. Egg crate you ask? Yes, you can thank me later. Those mattresses are likely very uncomfortable and any extra cushion will be appreciated.
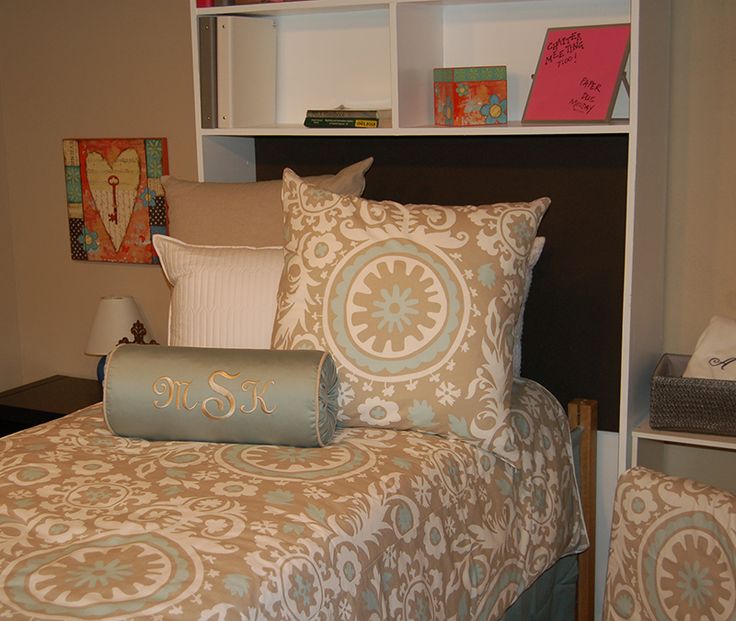
Good sheets are just as important. I’d recommend going a step up in the quality department. Seriously. Those college nights can be long, no matter what you’re doing and you’ll love coming home to a bed that doesn’t like it came out of Van Wilder. Personally, Jefe and I loved our Striped Sheet Set from West Elm. They’re extremely soft and held up really well after 2 years of solid use.

Comforters and duvets should be washable. Trust me. This will be your bed, couch, study spot, dinner table, and dance floor all in one. Spills are bound to happen. In terms of style, I’d pick something that’s uniquely you without screaming “Star Wars is my jam!” Going a little bit more sophisticated never hurt anyone. A moderately priced duvet may be your best best as it’s washable and can be swapped out if you tire of it. This actually was my duvet eons ago, in a bit more a sage color, and it was worth every penny; it got softer with every washing and paired nicely with the buttery yellow walls of my bedroom in our sorority house. To pair with those great striped sheets, you could try a luxurious, yet neutral option from H&M’s new home line:

Now lets talk pillows. As I suggested, that bed is going to get some serious use (wink wink). So besides your usual pillows, I would get a few “decorative” ones that can serve multiple purposes. I’ve found bigger European and body pillows are best and can turn any bed in to a couch or help create an extra seat on the floor.

via
Luckily, floor pillows are all the rage so it should be easy to find something in your particular taste. I’m a big fan of these floor cushions that would work great as a backrest on your bed or tossed on the floor for added seating.

Lastly, I would add a throw blanket. It can be folded at the end of the bed, draped over the foot rail or used for extra warmth in cold months (or to cover your new best friend who fell asleep on your floor after a late night out). And it adds a homey touch to an otherwise cold room.

via
After move-in day and you’ve had the chance to spend some time in your space, you can always look in to some DIY options for headboards. Is it necessary? No. Will it help make the space feel like it’s more yours and less like a cement cell? Definitely. There are plenty of options from large wall decals to simple pieces of foam and fabric-wrapped wood that would really take your room up a notch. You’d be amazed what batting your eyes at that upper-class man with a pick-up truck will get you. Usually a free trip to Home Depot for the wood for your DIY project AND an invite to his house party later that night ;-). Alternatively, you could go the wall decal route:

via
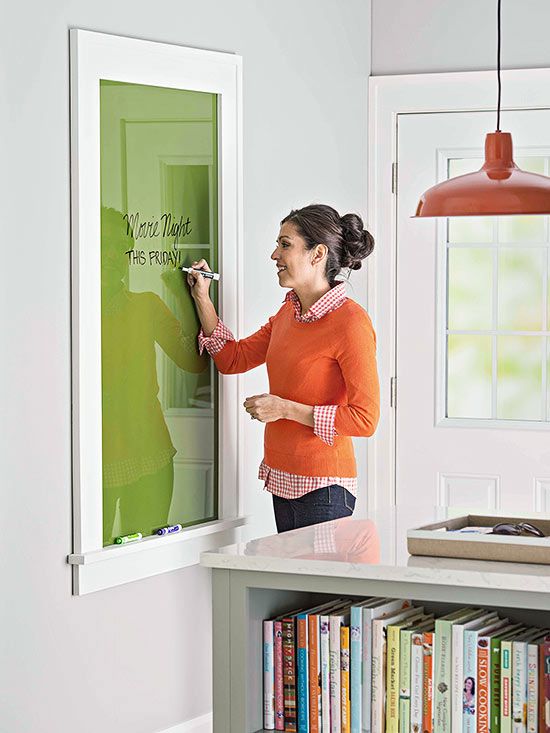
While researching this post, I also came across this great new invention: over the bed storage that can also double as a “headboard”. You can customize the back wall with decorative paper or fabric and a little modge podge. It also gives you some much needed storage above your bed for those photos of your besties from back home.

via

via
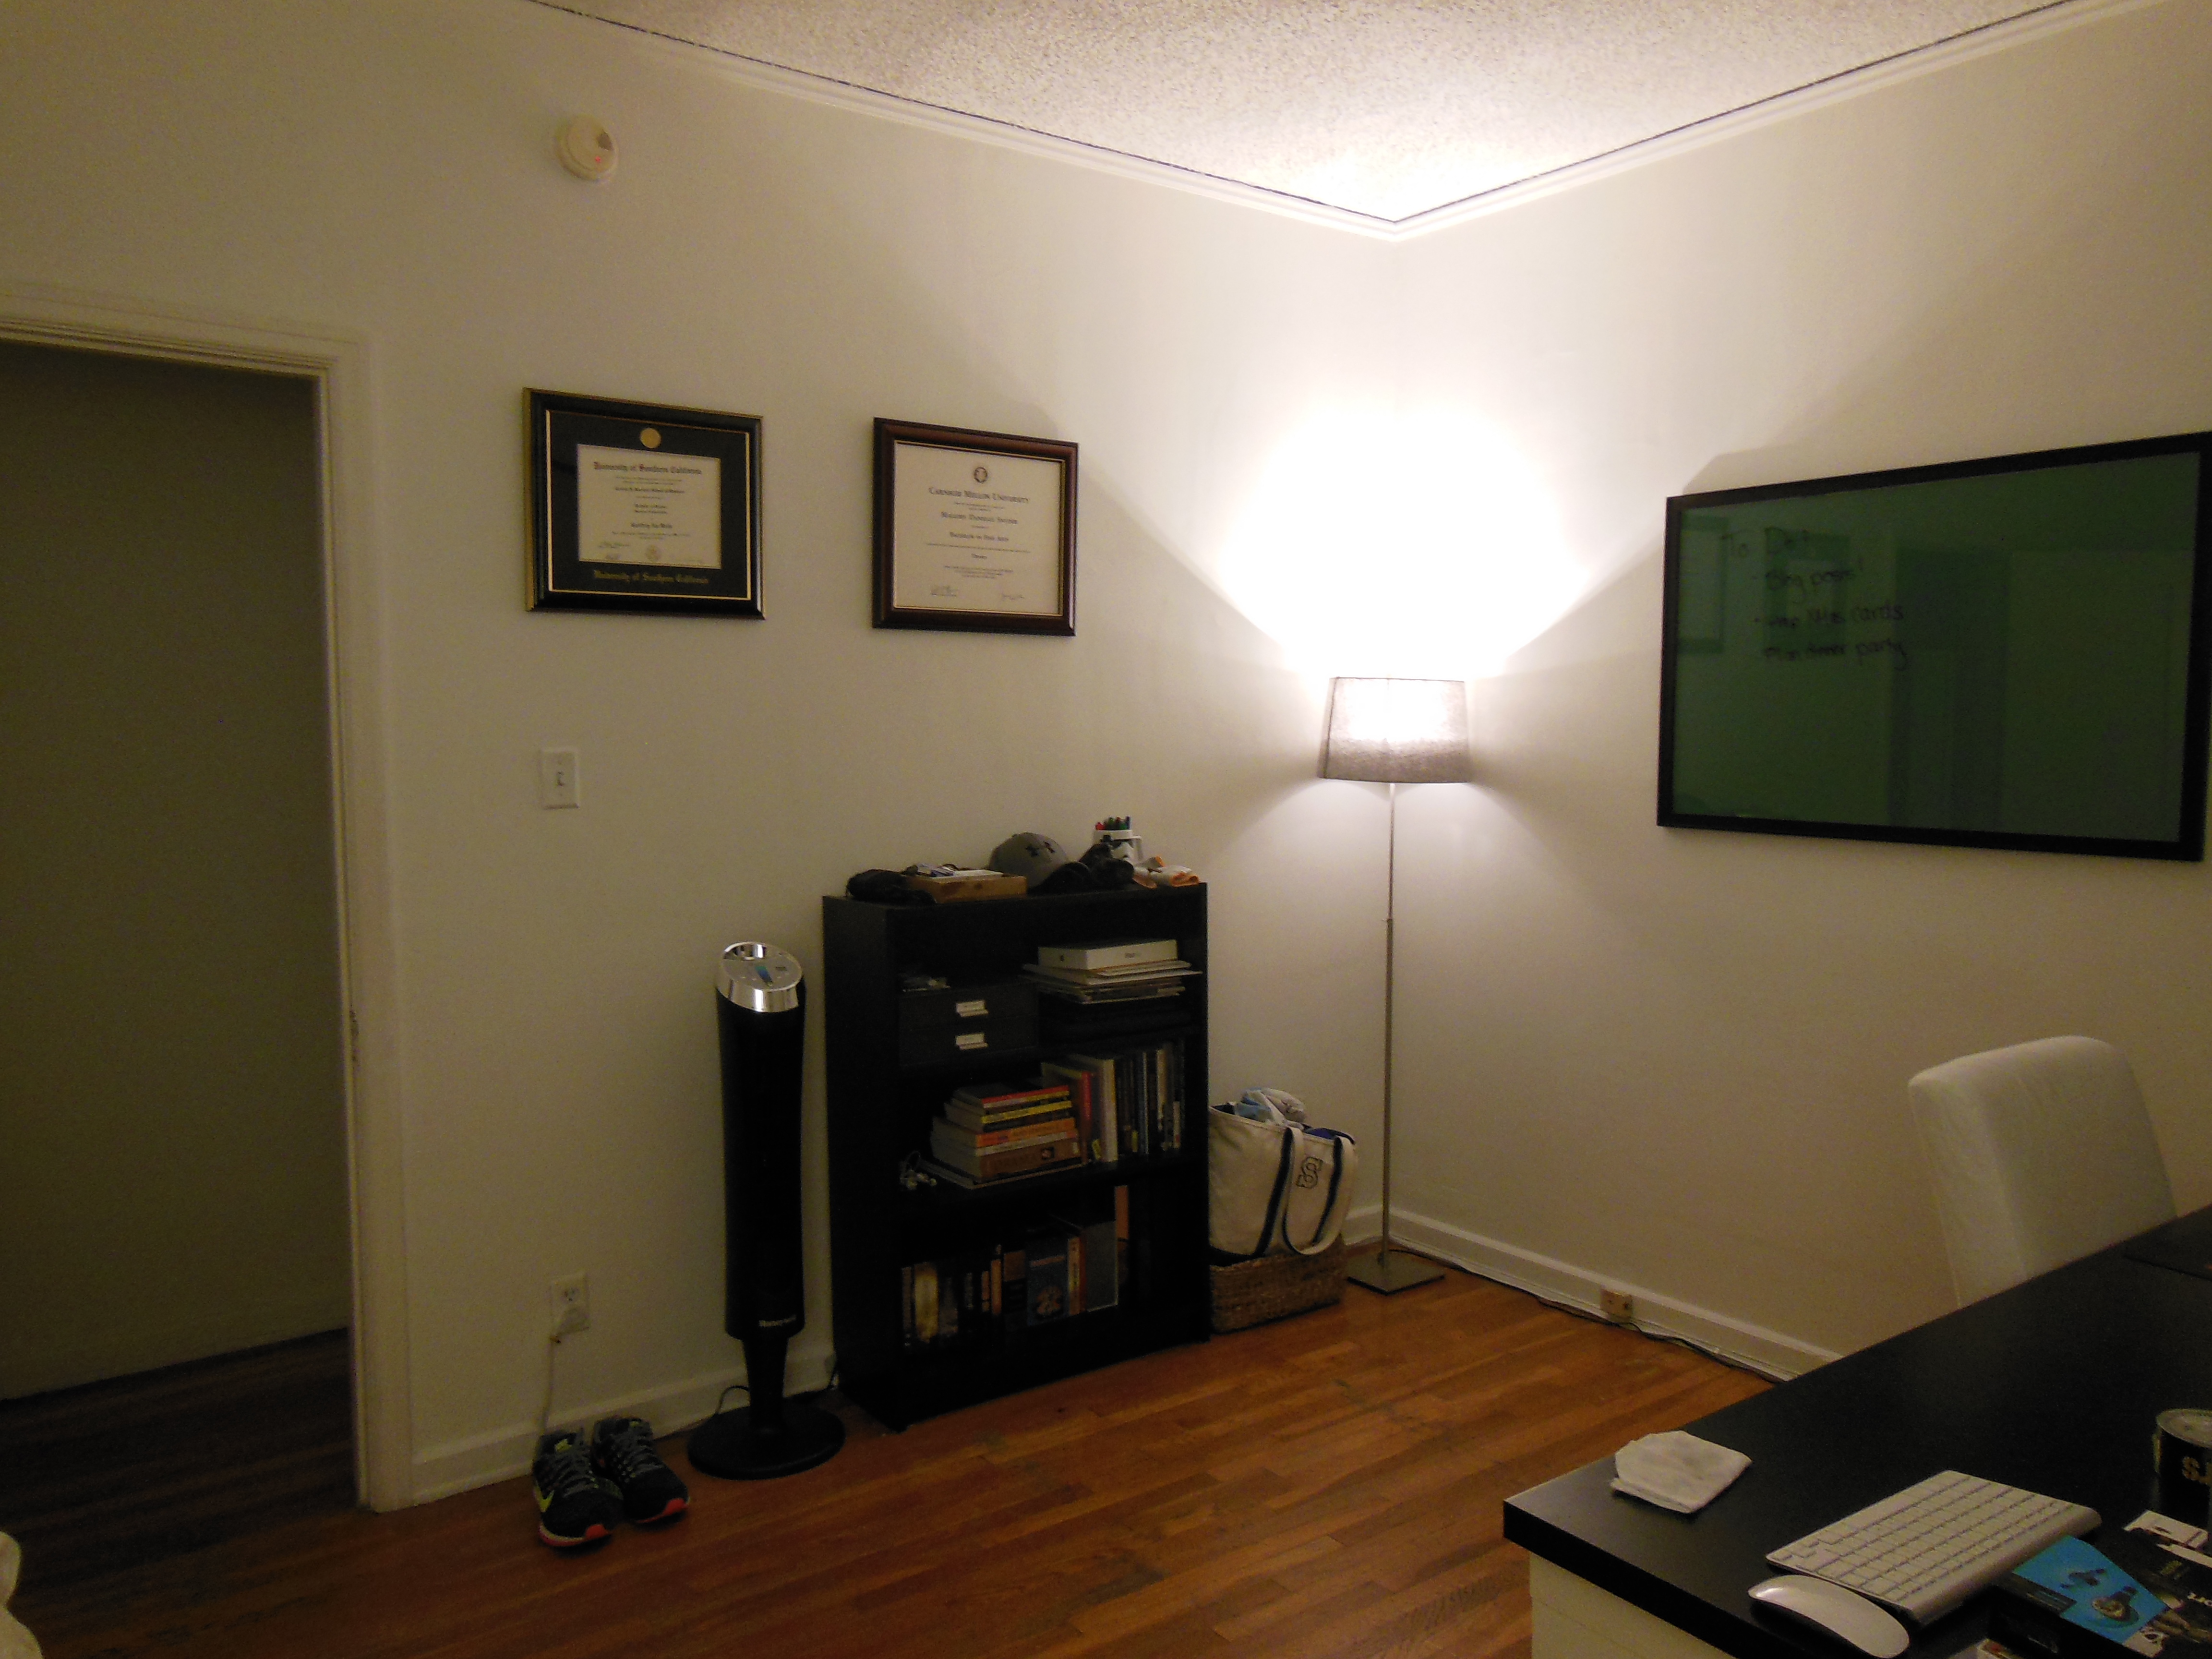
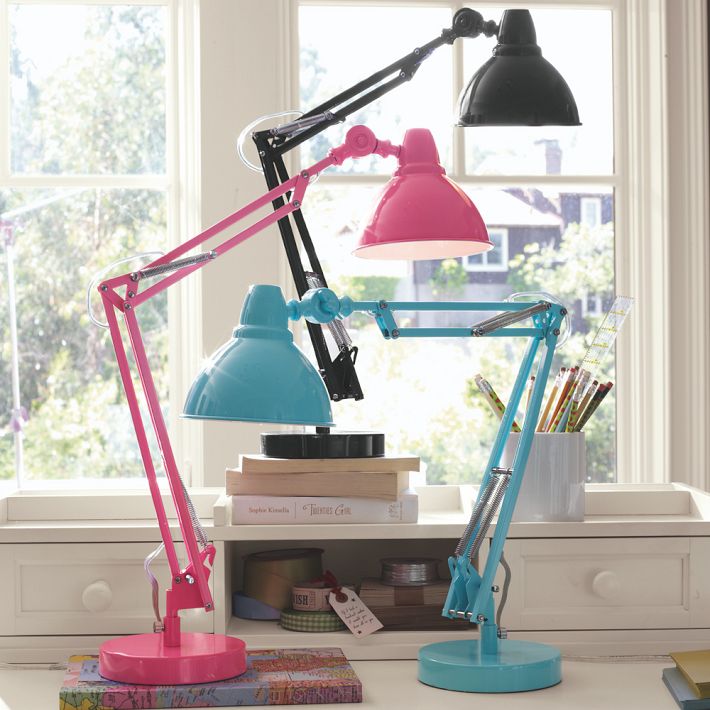
Lets talk lighting. Quite possibly the worst part of dorm life – those horrendous overhead fluorescents that make your skin look green. So we are going to TURN. THEM. OFF. Lamps are your best friends. It’s safe to say that you’ll need a minimum of 2 to truly avoid the overhead: one for your desk exclusively and one for the rest of the living space. And your eyes will thank you for that soft white light while you’re cranking away during a marathon study session. It will also give your space a great, homey atmosphere that will be the envy of all your hallmates. I would recommend a style that could easily transition to a first apartment so you’re not buying something as a temporary solution.

via

via
And that rule applies for just about everything other than those extra long twin sheets that you will most certainly never use again: purchase for longevity. My third year of college I bought a queen size duvet for my twin bed; my only regret was not doing it 2 years earlier. I manage to found one that was great quality (without breaking my budget), so I was able to keep it for the long haul and still use it today.
Desk space. Lets get creative. Do you really need that plain mesh pencil cup from Office Depot? How about a pretty monogrammed mug from CWonder instead? It serves the same purpose but gives you a little panache.

via
I think the same can be applied for just about anything: why choose a plain notebook when you can get one covered in chevrons that makes you smile every time you look at it? Or how about a cork board covered in fabric? Maybe some DIY bookends (kids still use actual books, right? Or am I that old?!)

These are from CB2 but could EASILY be DIY’ed
The point is, take this as an opportunity to really exercise your imagination in how you can really put your stamp on the space so it’s as inviting as possible.
Storage. You’re gonna need more, no matter who you are. Unless you’re one of those lucky kids that gets an apartment in their first year and are spared this form of mild university-condoned hazing, you will inevitably need some form of storage beyond the blond wood, 30 year old dresser you’re issued. Once you’ve spent some time in your space, figured out what fits where and what still needs a home, plan that trip to your local Target (or if you’re one of the lucky kids near a city, a nearby Ikea). Modern, design savvy storage has come a long way since the standard clear plastic bins of my college years. Below are some suggestions:

via

via
(Drink cart anyone?! For your bottles of Diet Coke…)
Closet storage is pretty straightforward. Just find the things that work for you and your space. 3M hooks can be a lifesaver as are those hangers that can hold 4 pairs of pants at once. I also used to drape my scarves over hangers to save space.
Lastly, let’s talk food. Yes, I know you’ve got a meal plan. But there will inevitebly be those times that you’re just sick of the cafeteria’s chicken parm or you really want a late night snack and don’t feel like leaving the building. For this, I’d recommend one full set of dishware. We’re talking real metal silverware kids. As for the plates, melamine has come a LONG way and there are so many cute options now. Just make sure that yours is microwavable as you never know when you want to heat up some leftovers or make a bowl of soup. Yes, you will have to wash them, but there’s just something nice about having something to call your own that is semi-permanent. And besides – you don’t have the space to hoard stacks of paper plates and cups.
Now for some inspiration of some epic dorm room design:

Boho Glam

This is probably the most shared, epic dorm room design I’ve ever seen.

Minimal Glam

So simple and easy! A rug, some art, a pedestal, a plant and a new bookshelf.

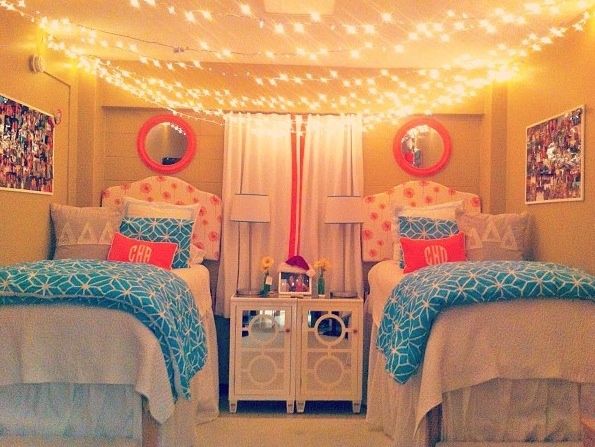
For the bright and bubbly sorority girl

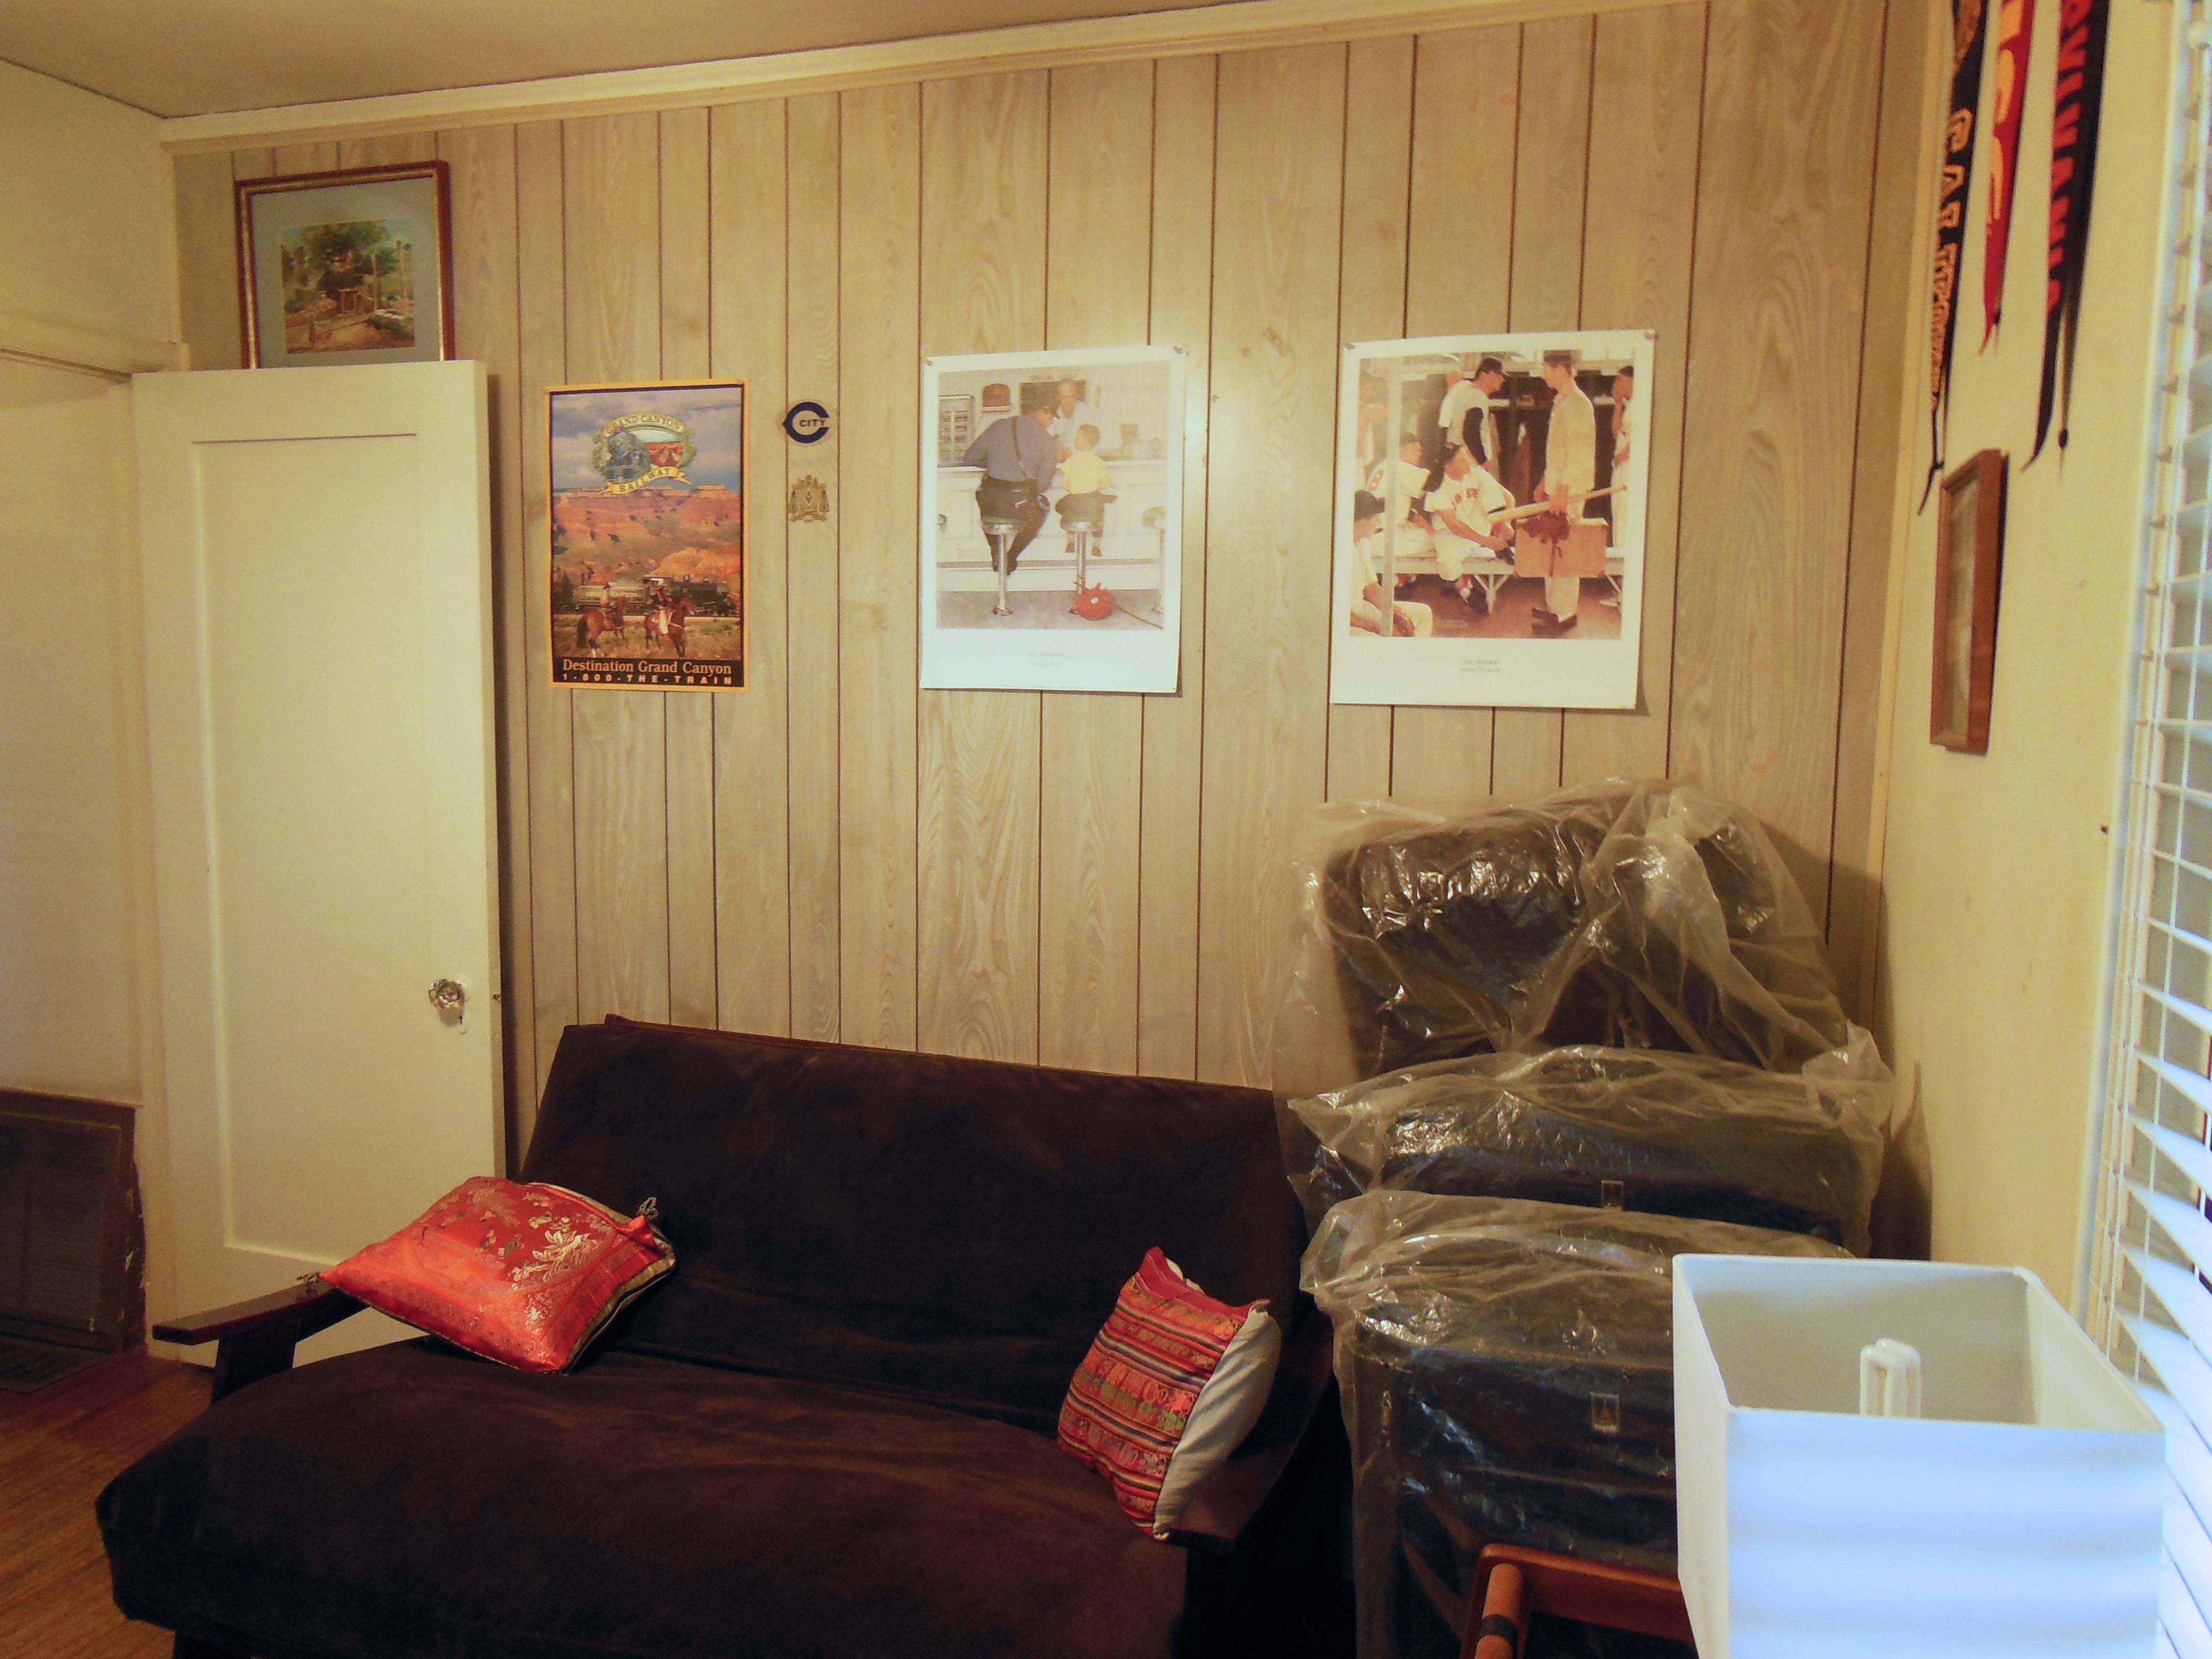
Traditional and masculin. Love the suitcases for some under the bed storage!
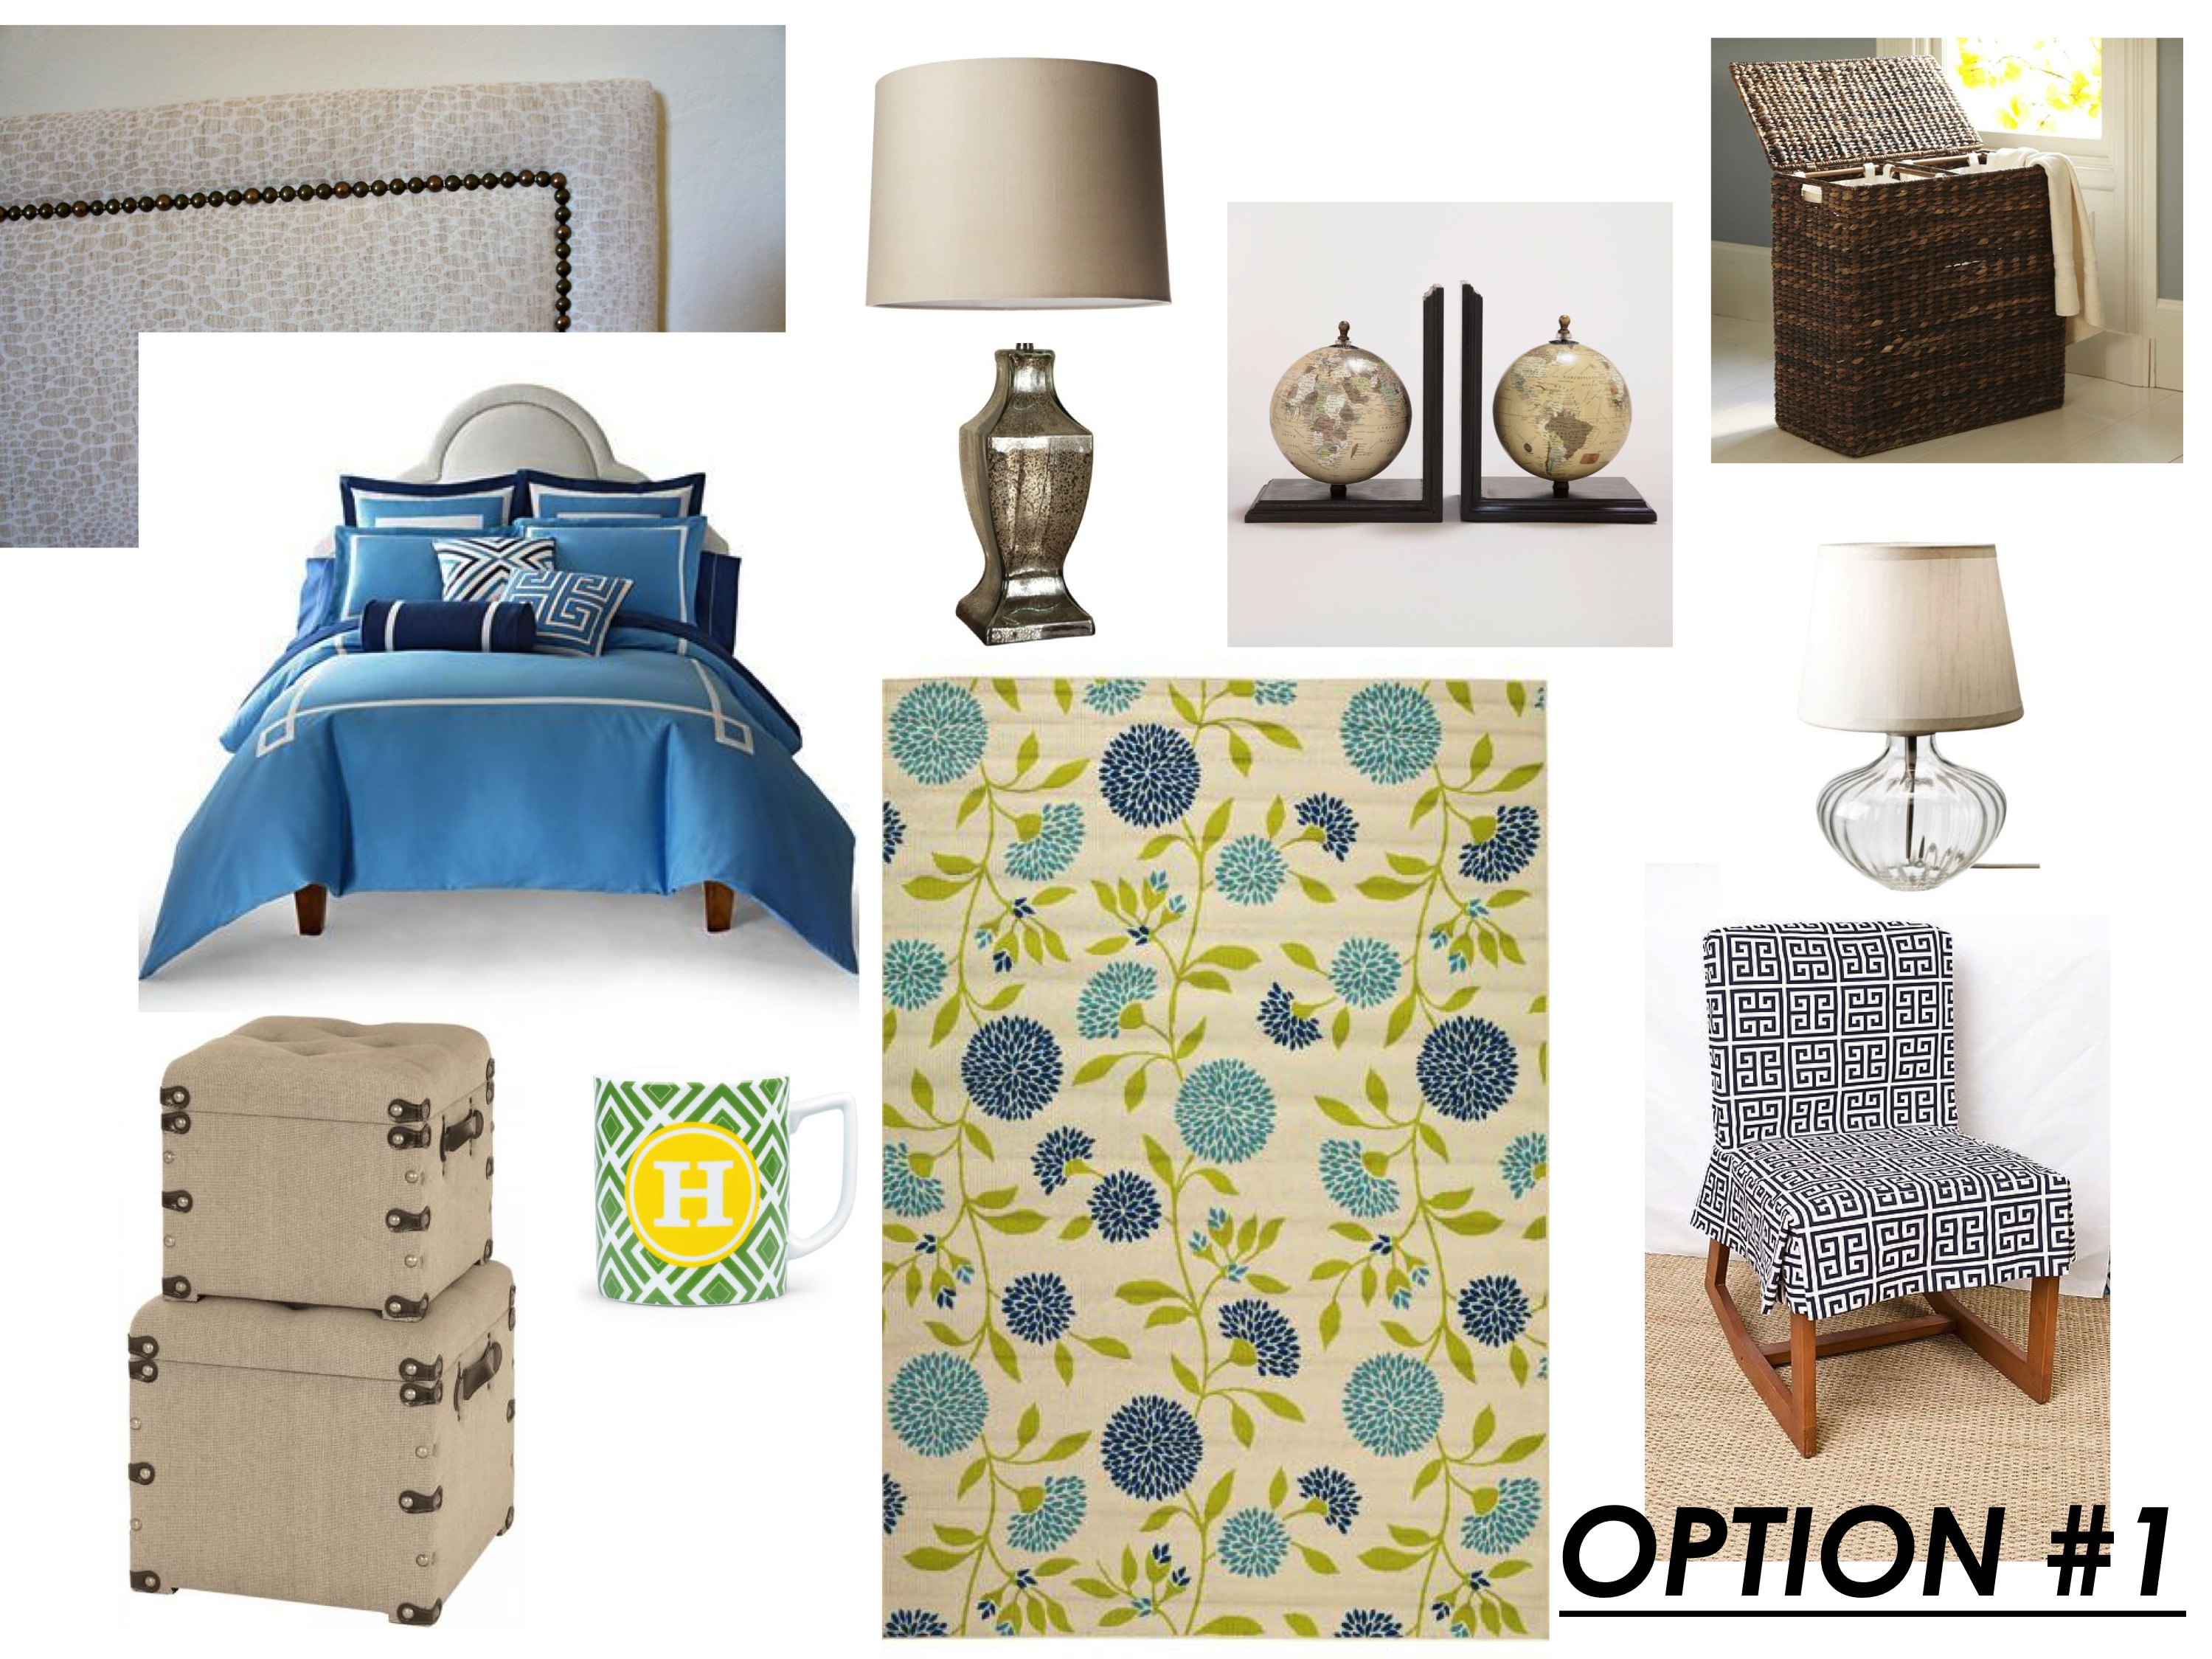
As you can see, dorm room decorating has come a long way. So here are two great examples of how to do a blue dorm room, on a budget, in different styles to really make your space your own:
PREPPY FEMININE

MASCULINE ECLECTIC


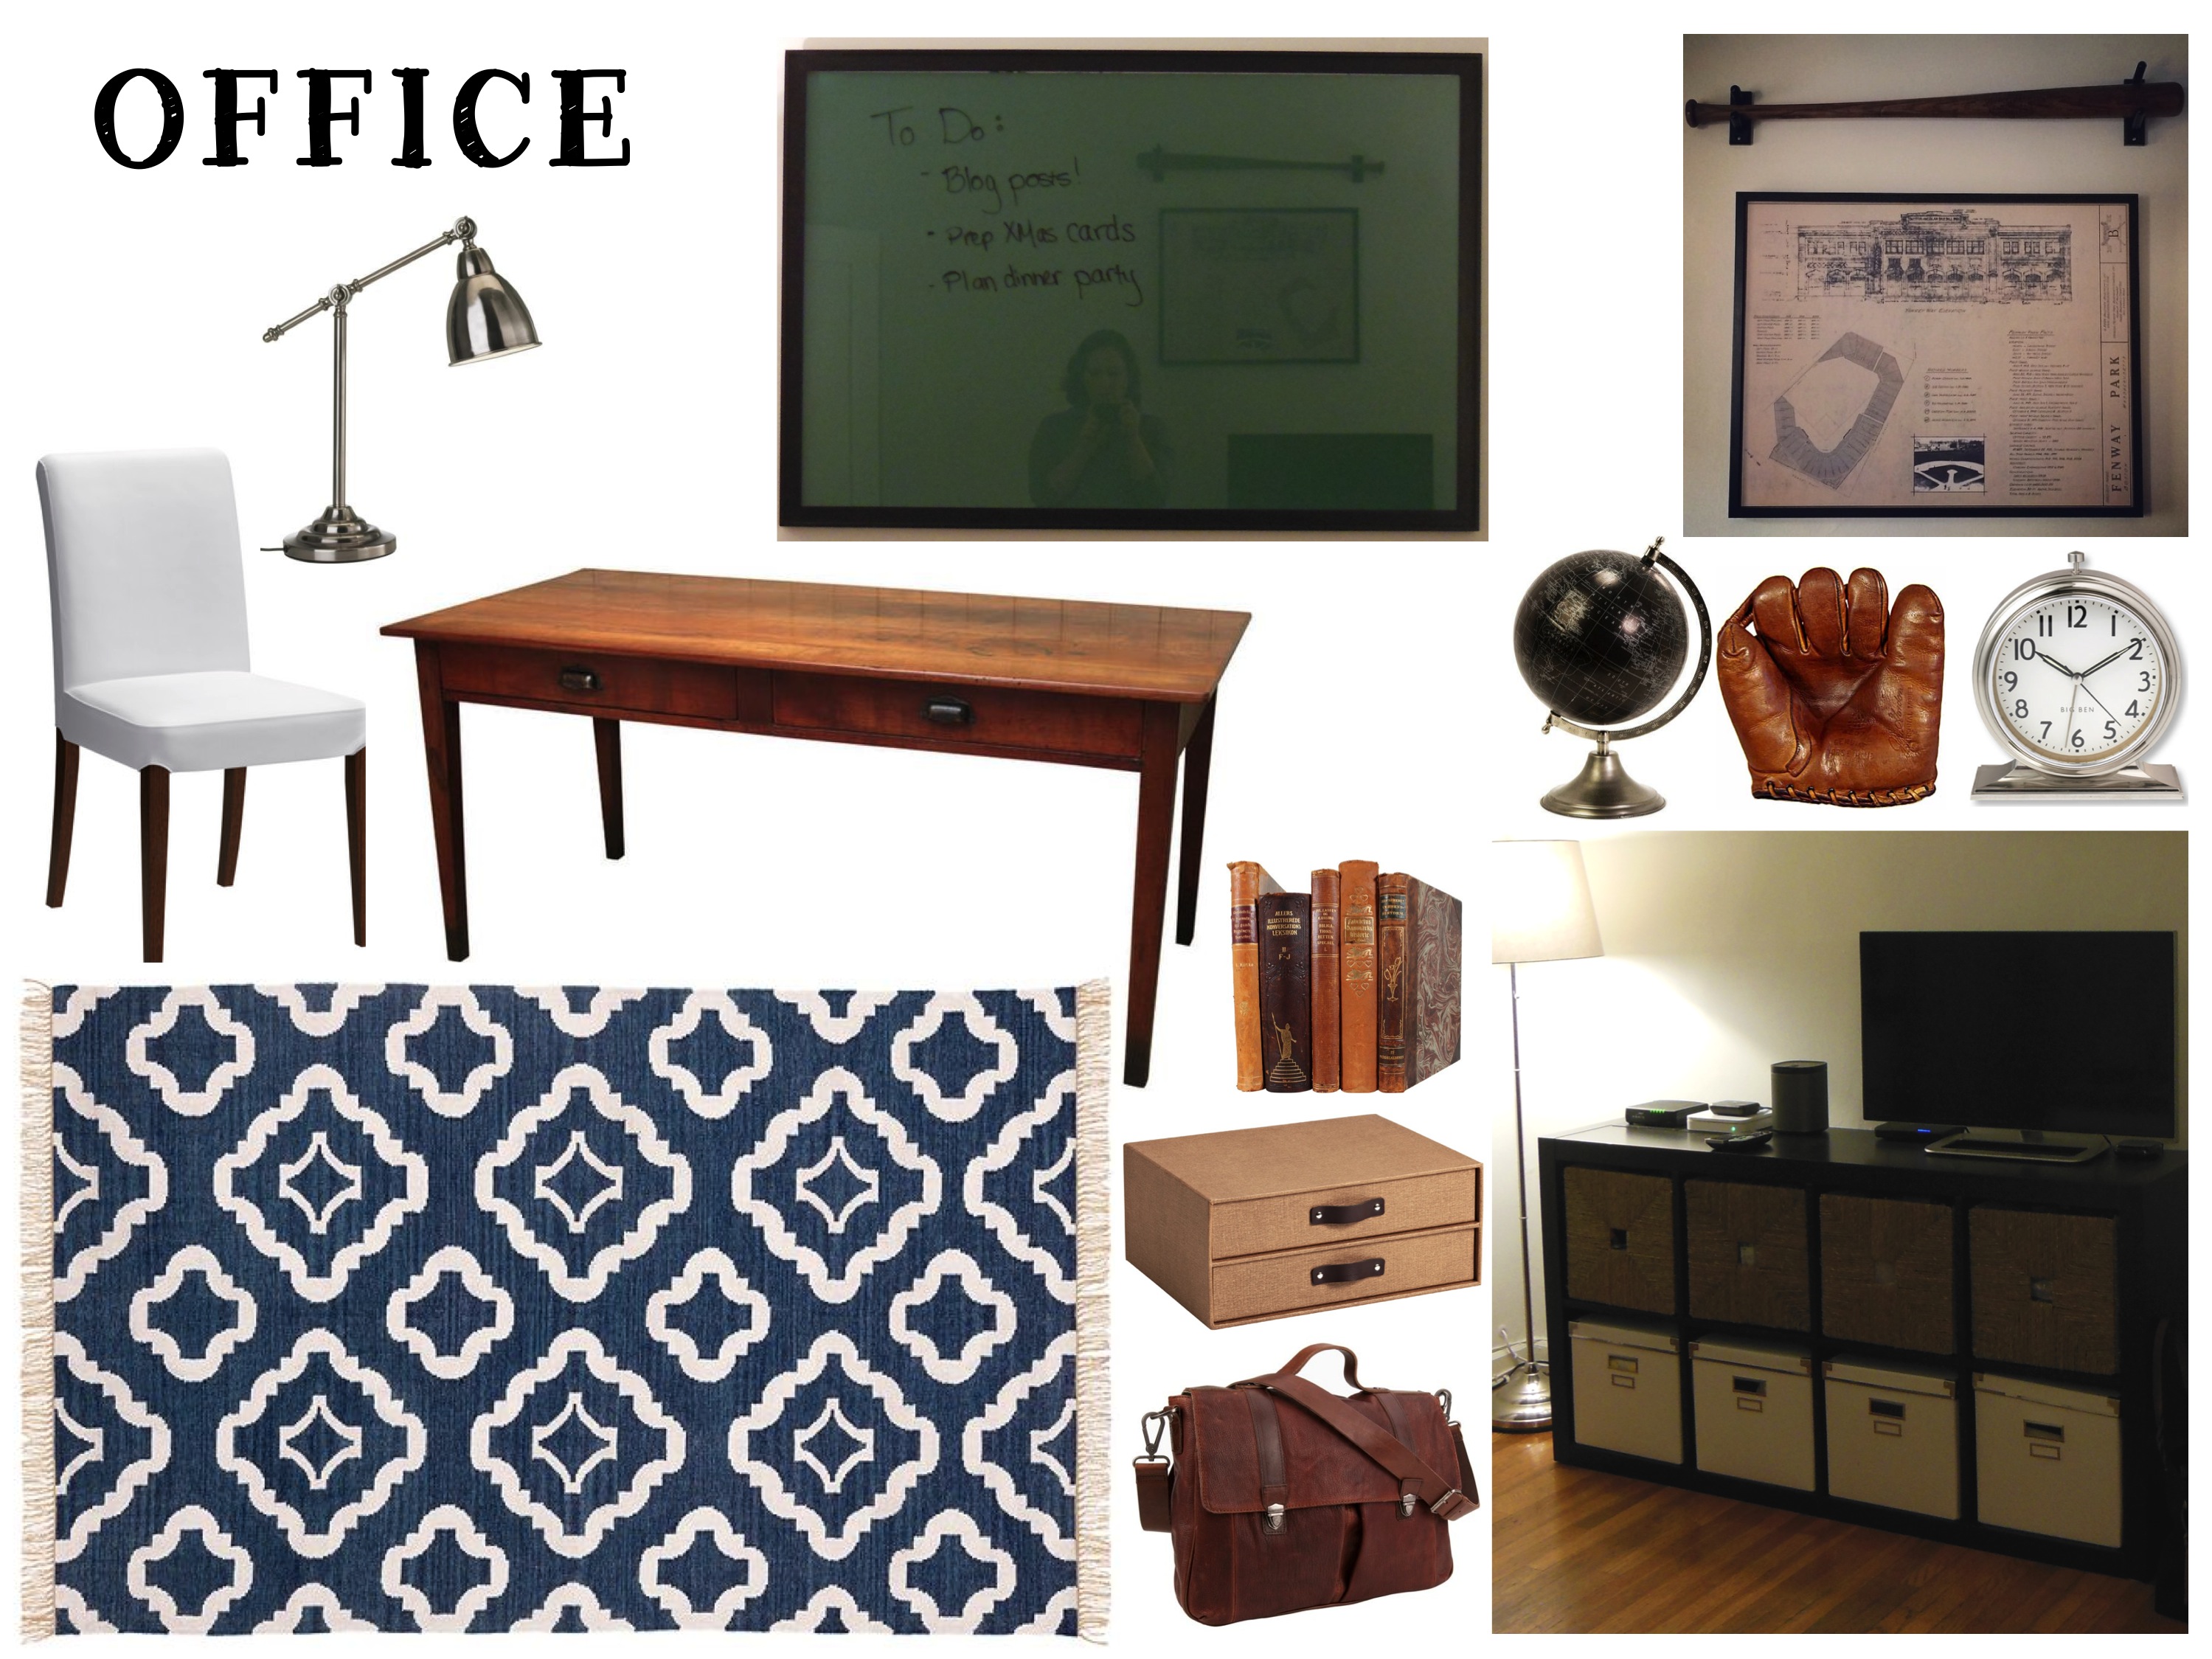
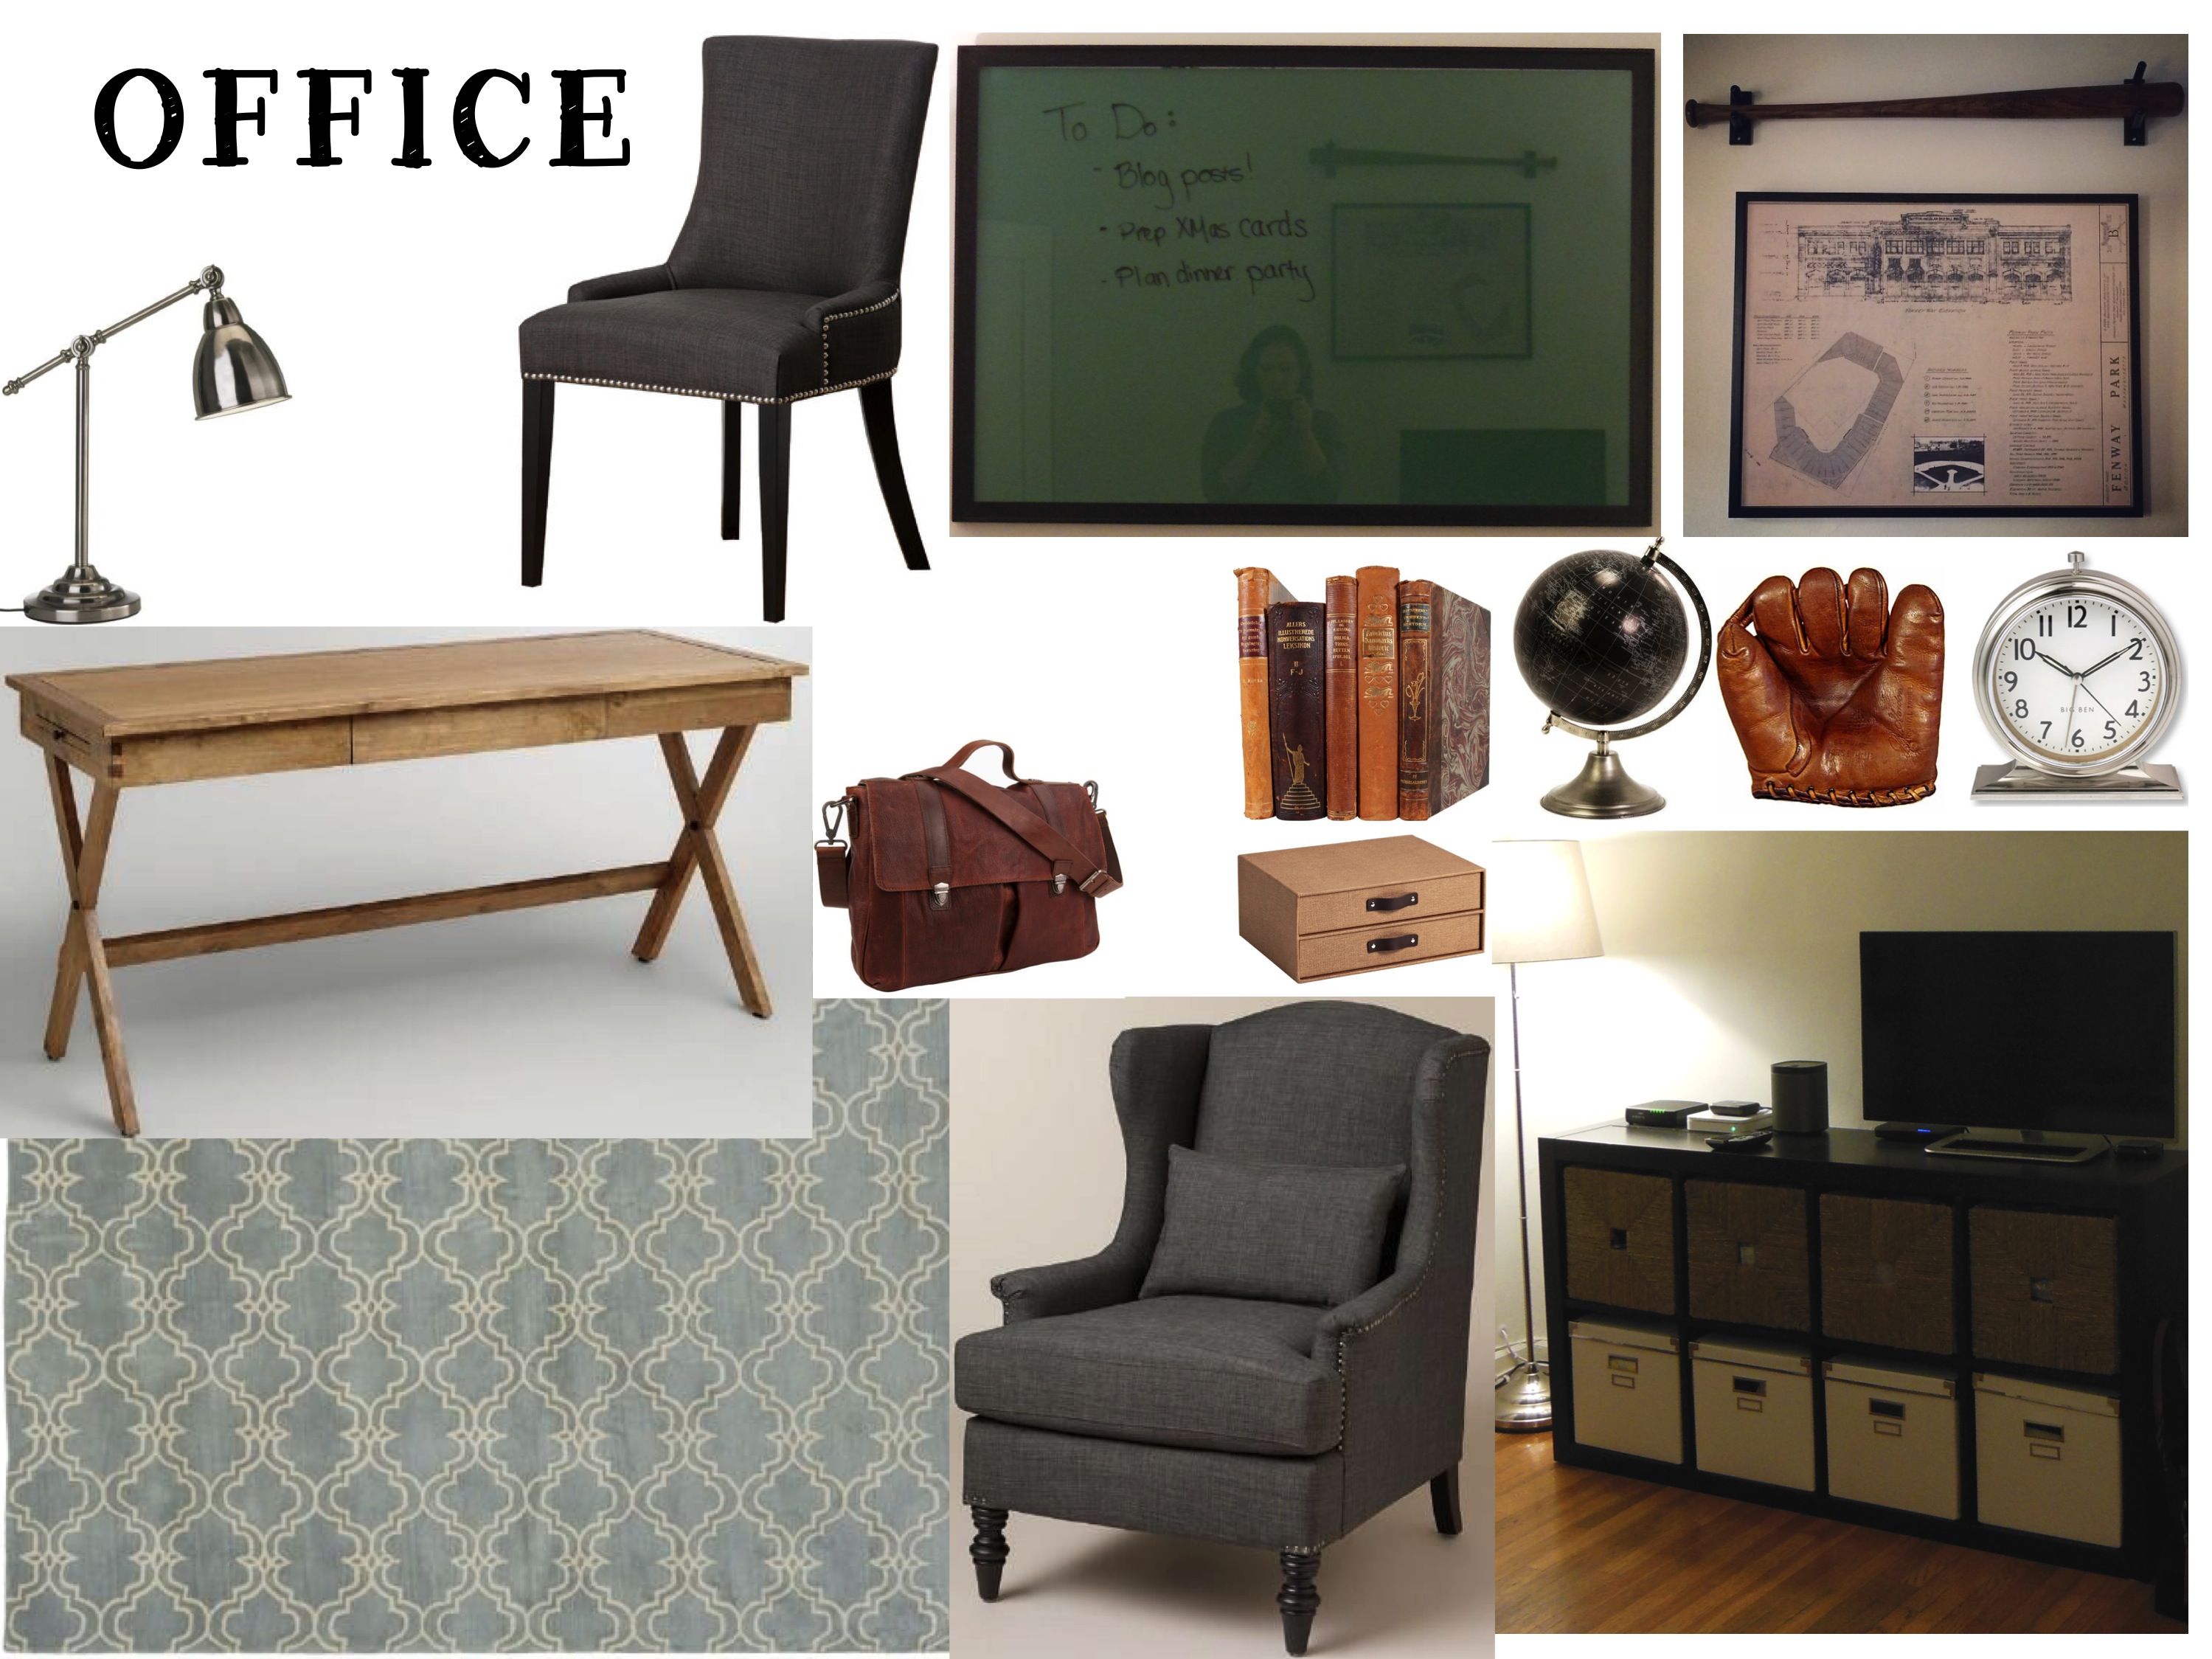
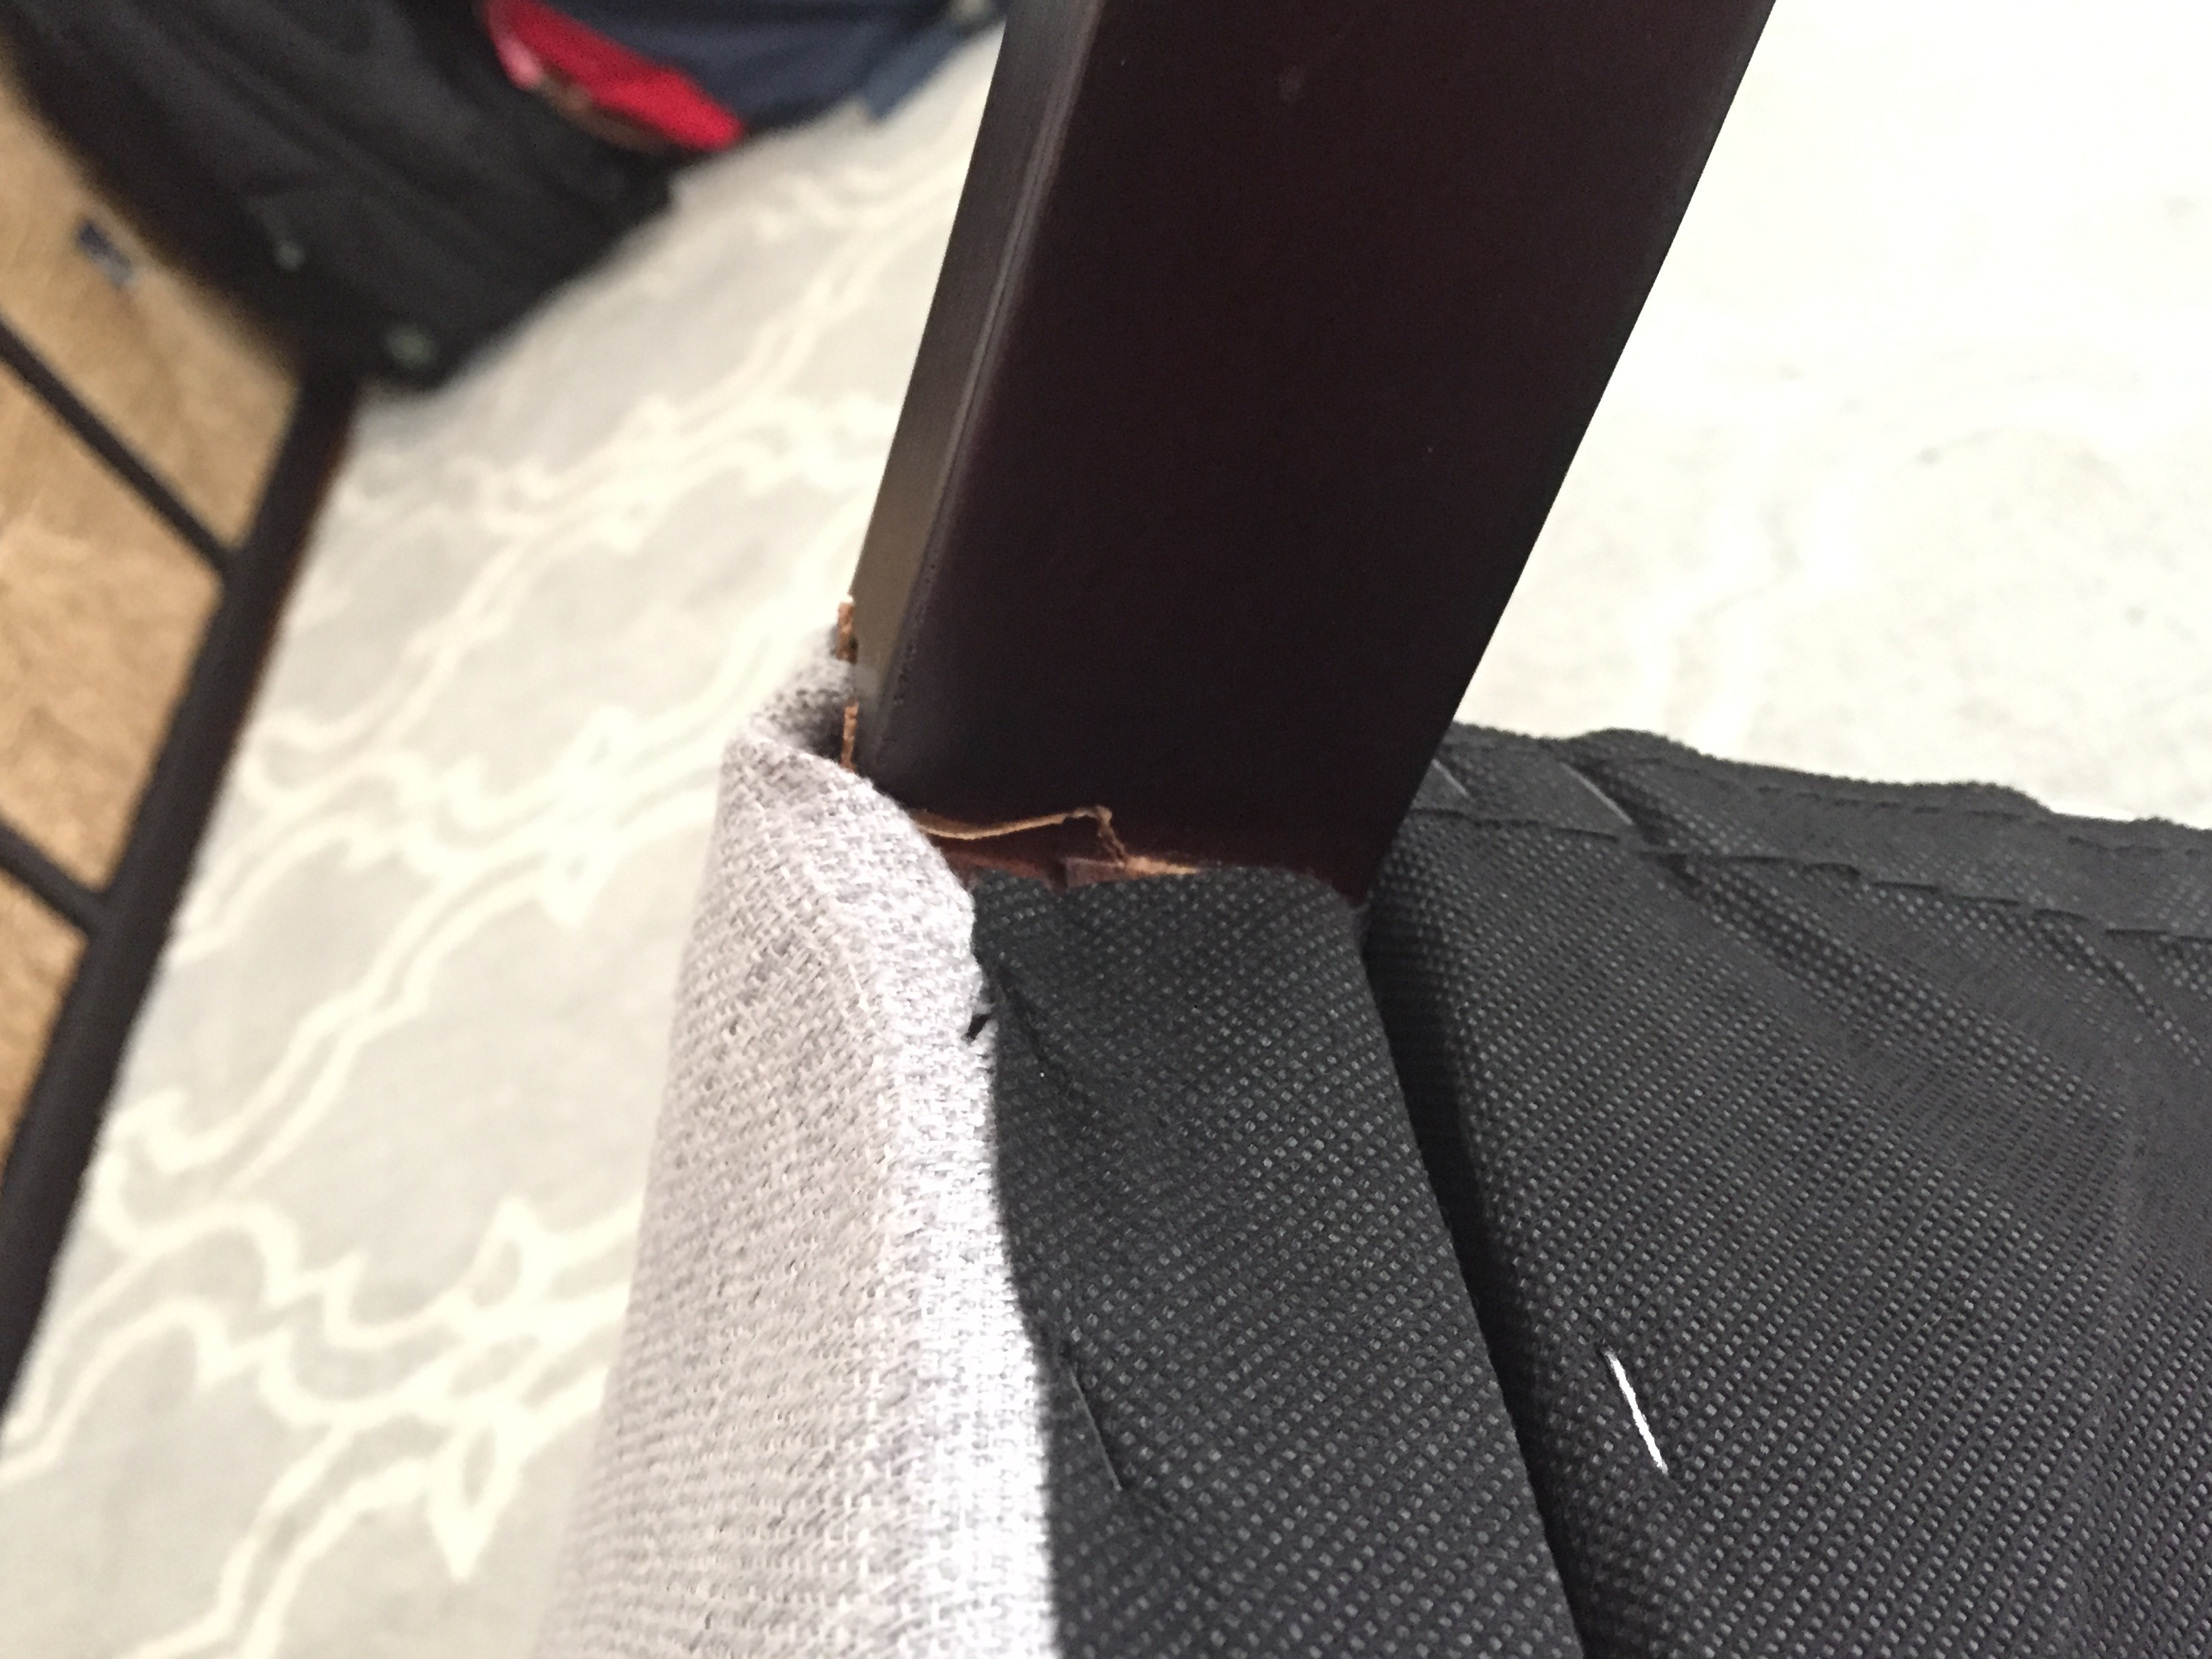
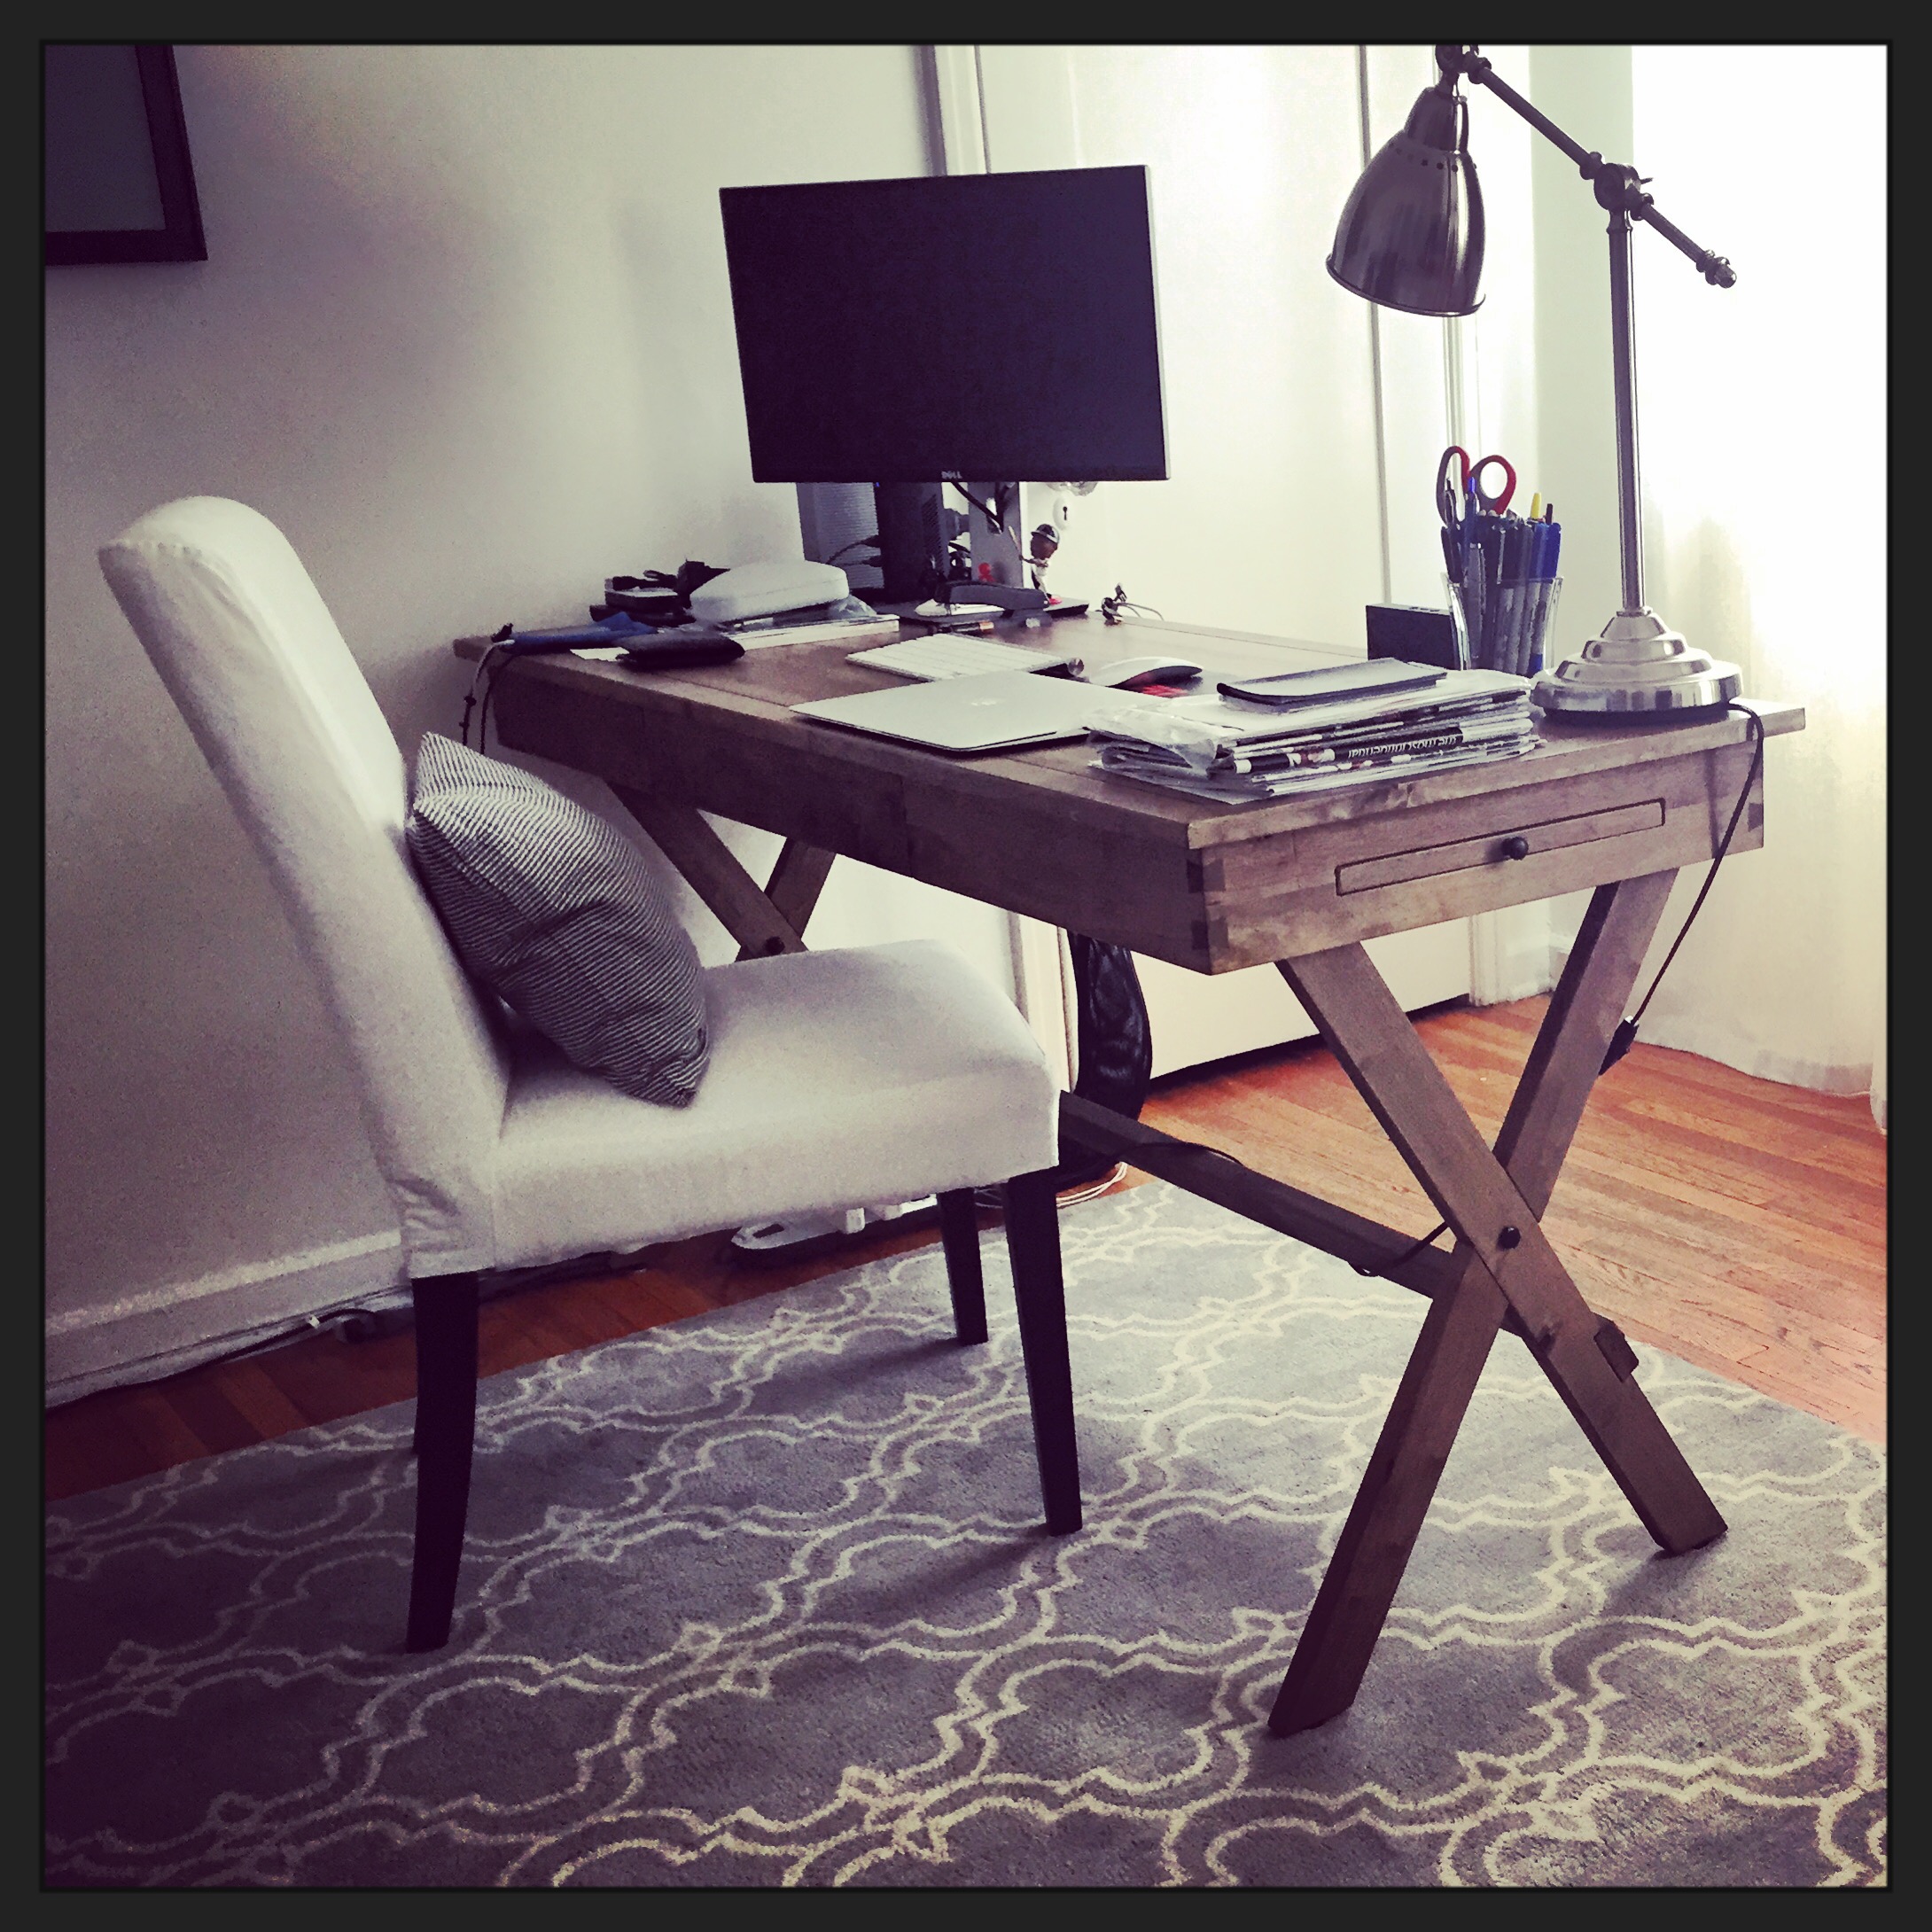
 Now, let’s talk desk chairs. The day we went shopping, after we had secured the desk, we made a quick stop at Target. Much to our surprise they had a gorgeous grey linen dining chair with nailhead trim for $85. DONE. I was stoked to find something so beautiful within our price range. I thought it was too good to be true.